TRU-SCAPES TS-B1 Series Manual

INSTALLATION AND SAFETY INSTRUCTIONS
READ THESE INSTRUCTIONS BEFORE ATTEMPTING INSTALLATION
This fixture is intended for installation in accordance with the National Electric Code (NEC) and
Local code specifications. Failure to adhere to these codes and instructions may result in serious
injury and/or property damage and will void the warranty.
1) WARNING: This fixture is not to be installed within 10 feet (3M) of a pool, spa or fountain.
2) This fixture is to be used only with a power unit (transformer) rated a maximum of 300 W (25 AMPS) 15 volts.
3) The #18 ga. fixture wire is not intended for direct burial.
4) Direct burial rated wire is to be buried a minimum of 6" (152mm) beneath the surface of the ground. Contact your Tru-Scapes
Dealer for direct burial wire
5) Wiring connections must be made with provided wire nuts or other equally suitable connector for the application. Do not
exceed manufacturers’ wiring combination specifications for size and quantity of conductors.
CAUTION - WHEN INSTALLING ANY LANDSCAPE LIGHTING (LINE VOLTAGE OR LOW VOLTAGE), CARE SHOULD BE TAKEN
TO KEEP CLEAR OF POTENTIALLY COMBUSTIBLE MATERIALS. WHEN MAINTAINING THE FIXTURES, BE SURE TO
REMOVE LEAVES, PINE NEEDLES, GRASS CLIPPINGS, MULCH, OR ANY DEBRIS THAT HAS ACCUMULATED ON THE LIGHT
BULB, LENS, OR BODY OF THE FIXTURE.
ASSEMBLY AND INSTALLATION
Part Numbers TS-B1xx-xxx, TS-B3xx-xxx
1) TURN OFF POWER.
2) At desired location, hammer stake (C)
into ground. To avoid damage to stake,
place a board on top of stake while
hammering.
3) Clear away area in ground at wireway
slot (B) in top of stake (A).
4) Lay 12V cable into wireway slot (B) and
screw stem (A) into stake (C). If
assembly is not straight, adjust by
pushing or pulling on stake only, not the
stem.
5) Make wire connections using supplied
wire nuts.
ASSEMBLY AND INSTALLATION
Part Numbers TS-Axxx-xxx, TS-A2xxx-xxx
1) TURN OFF POWER.
2) Determine location of
each fixture before wall is
installed.
3) DO NOT install in walls
where the capstones
overhang the wall less
than ¾” (19mm)
4) Insert stainless steel
mounting plate between
layers of hardscape
blocks. Use adhesive or mortar if desired.
5) Route the fixture wire through the wall to using notches cut into block as needed.
6) Make wire connections using supplied wire nuts.
ASSEMBLY AND INSTALLATION
Part Numbers TS-B2xx-xxx
Lamp fixture is NOT submersible and adequate dranage must be provided
during installation. It is recommended that fixture be surrouded by 3 to 4 inches
of pea gravel or sand to assure proper drainage. Top of fixture must remain
above grade so rain and irrigation water can not accumulate for a long time
1. TURN OFF POWER
2. Dig a hole according to the fixture dimension, allowing 3-4” of pea
gravel or sand to surround it.
3. Make wire connections with supplied wire nuts
4. Place fixture in hole and backfill with pea gravel or sand

INSTRUCCIONES DE INSTALACIÓN Y SEGURIDAD
LEA ESTAS INSTRUCCIONES ANTES DE INTENTAR LA INSTALACIÓN
Este luminario esta destinado para la instalación de acuerdo con el código eléctrico nacional
(NEC) y las especificaciones de código Local. Hacer caso omiso a estos códigos e instrucciones
puede resultar en lesiones graves y daños materiales y anulará la garantía.
1) ADVERTENCIA: Este aparato no es instalarse a menos de 10 pies (3M) de una piscina, spa o fuente.
2) Este aparato debe utilizarse solamente con una unidad de alimentación (transformador) clasificada un máximo de 300 W (25
amperios) 15 voltios.
3) El cable de accesorio de calibre #18 no está diseñado para entierro directo.
4) Entierro directo alambre clasificado es ser enterrados un mínimo de 6"(152mm) por debajo de la superficie de la tierra. Contacte
con su distribuidor de Tru-Scapes cable de entierro directo
5) Las conexiones de cableado debe hacerse con capuchones para cable suministrados u otro conector apropiado para la
aplicación. Exceder los cables combinación las especificaciones fabricantes de tamaño y cantidad de conductores.
PRECAUCIÓN - CUANDO INSTALE CUALQUIER ILUMINACIÓN DEL PAISAJE (LÍNEA VOLTAJE O BAJO VOLTAJE), CUIDADO
SE DEBE MANTENER ALEJADO DE MATERIALES POTENCIALMENTE COMBUSTIBLES. AL MANTENER LOS ACCESORIOS,
ASEGÚRESE DE QUITAR HOJAS, AGUJAS DE PINO, HIERBA RECORTES, PAJOTE O CUALQUIER SUCIEDAD QUE SE
ACUMULA EN EL FOCO, LENTE O CUERPO DE LA LÁMPARA.
...
MONTAJE E INSTALACIÓN
Part Numbers TS-B1xx-xxx, TS-B3xx-xxx
1) APAGUE LA ALIMENTACIÓN ELÉCTRICA.
2) En el lugar deseado, martillo juego (C) en la
tierra. Para evitar daños a la estaca, coloque
una tabla encima de juego mientras martilla.
3) Limpiar área de tierra en el slot del canal de
alambres (B) en la parte superior de la estaca
(A).
4) Tienda el cable de 12V en la ranura del canal
de alambres (B) y tallo de tornillo (A) en el
juego (C). Si la Asamblea no es recta, se
ajusta empujando o tirando de juego sólo, no
el tallo.
5) Hacer conexiones de alambre usando las
tuercas para alambre incluida.
MONTAJE E INSTALACIÓN
Part Numbers TS-Axxx-xxx, TS-A2xxx-xxx
1) APAGUE LA ALIMENTACIÓN
ELÉCTRICA.
2) Determinar la ubicación de
cada aparato antes de instala la
pared.
3) No instale en paredes donde
los capstones sobresalgan la
pared menos de ¾"(19mm)
4) Inserte el montaje placa entre
capas de manzanas sólidas del
acero inoxidable. Use un adhesivo o mortero si se desea.
5) El alambre del luminario a través de la pared de la ruta a las muescas cortadas en
bloques según sea necesario.
6) Hacer conexiones con tuercas de cable provisto.
MONTAJE E INSTALACIÓN
Part Numbers TS-B1xx-xxx, TS-B3xx-xxx
Lámpara no es sumergible y adecuado drenaje debe proporcionarse durante la
instalación. Se recomienda que la luminaria se rodeado por 3 a 4 pulgadas de
grava o arena para asegurar un drenaje adecuado. Parte superior de la luminaria
debe permanecer sobre el grado por lo que no puede acumular agua de lluvia y
riego durante mucho tiempo
1) APAGUE LA ALIMENTACIÓN ELÉCTRICA.
2) Cavar un agujero según la dimensión de la luminaria, permitiendo que 3-4" de
gravilla o arena que lo rodean.
3) Hacer conexiones de alambre usando las tuercas para alambre incluida.
4) Coloque el accesorio en el agujero y rellenar con gravilla o arena.
This manual suits for next models
4
Table of contents
Languages:
Popular Landscape Lighting manuals by other brands

Malibu Boats
Malibu Boats LD641 Assembling & installation instructions
CLS
CLS Revo Compact Basic manual

AMP Lighting
AMP Lighting Estate PendantPro ASI-9006-4036-B-BZ Installation & maintenance guide
structura
structura Mac installation instructions
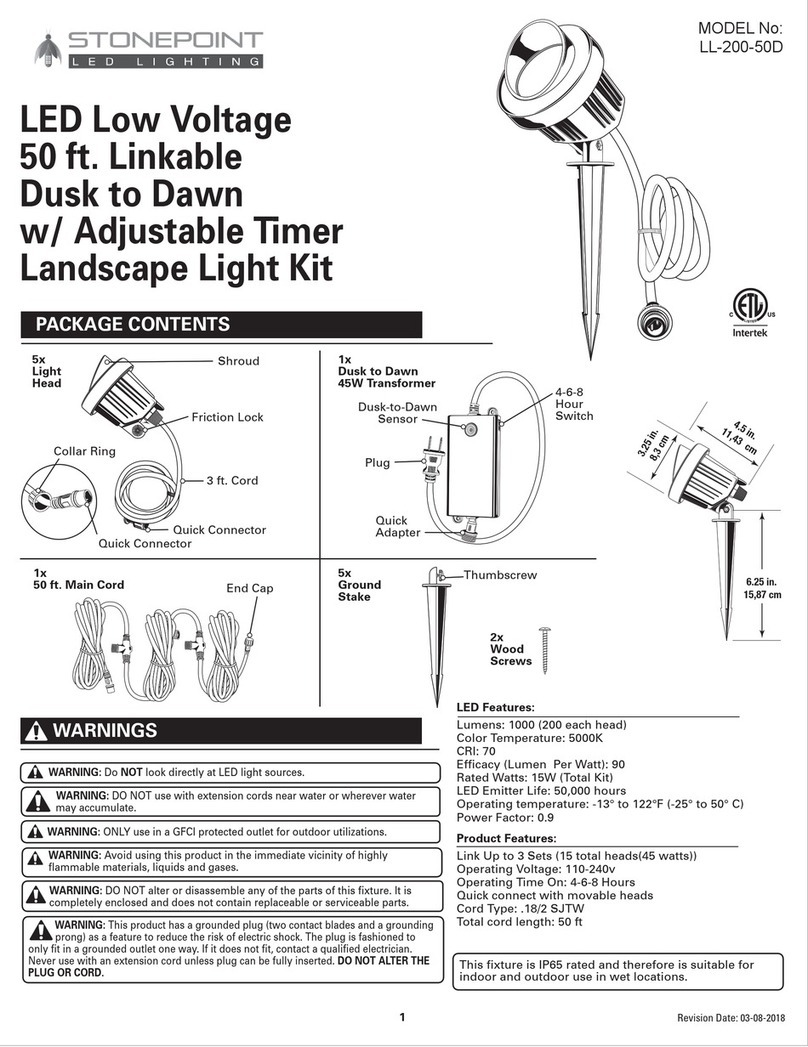
StonePoint
StonePoint LL-200-50D quick start guide
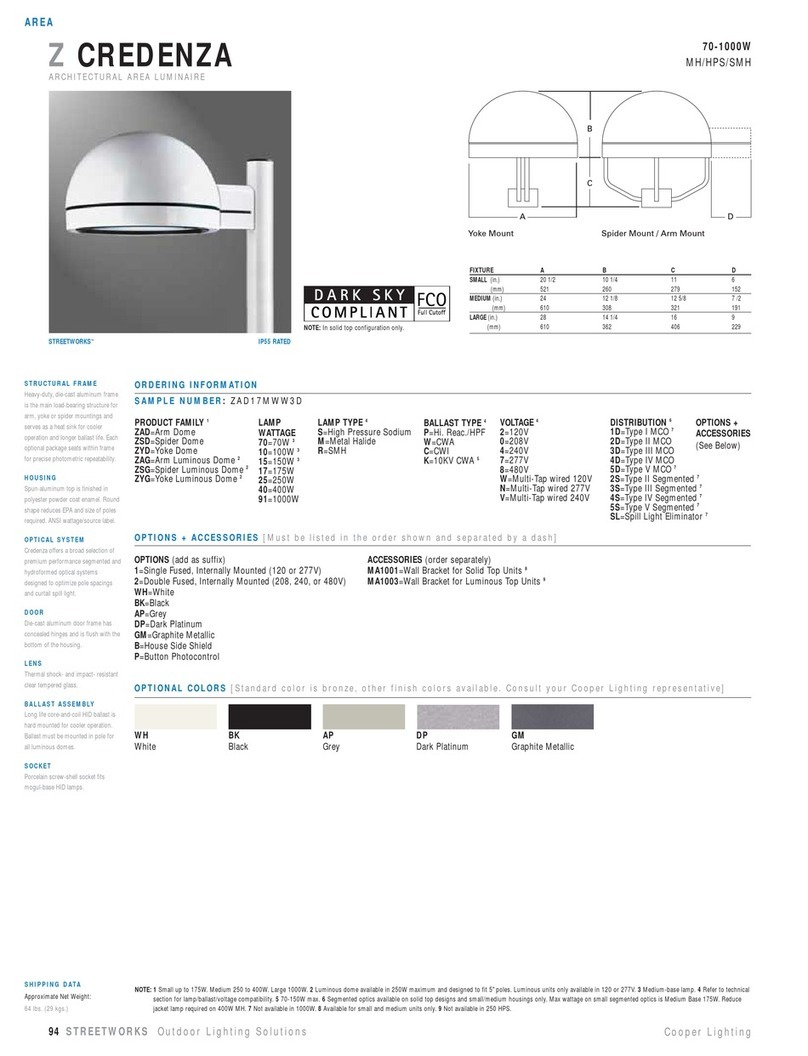
Cooper Lighting
Cooper Lighting ZAD17MWW3D datasheet
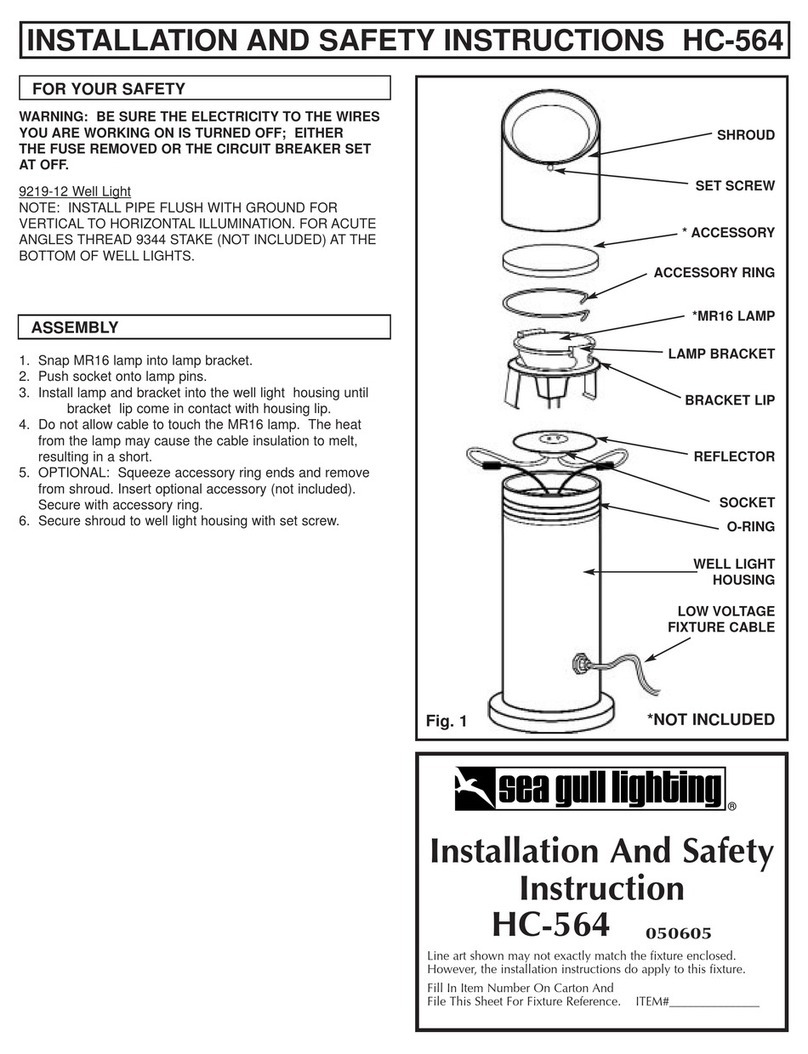
Sea gull lighting
Sea gull lighting HC-564 Installation and safety instructions

LIGMAN
LIGMAN LIGHTALK 14 LA-30035 installation manual
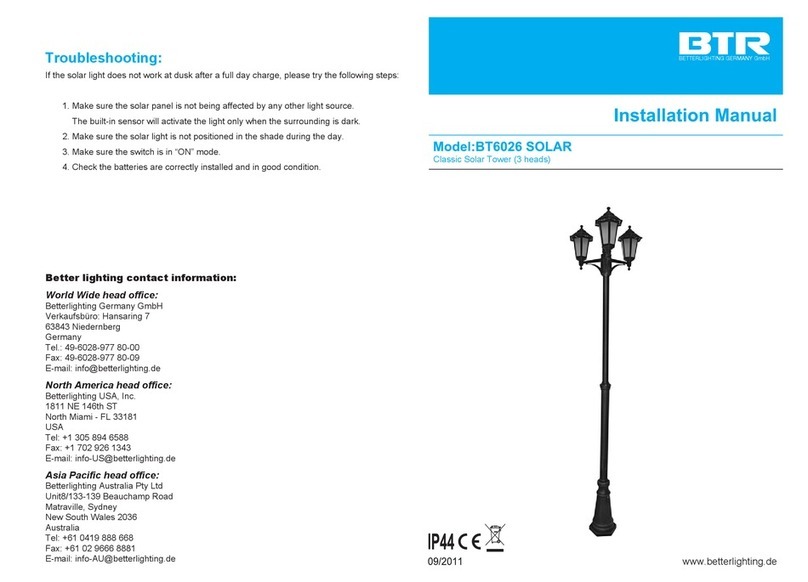
BTR
BTR BT6026 SOLAR installation manual
XanLite
XanLite APFE40WNW manual

Eurotops
Eurotops 45133 quick start guide
Cooper Lighting
Cooper Lighting INVUE IMI-575 installation instructions
