manuals.online logo
Brands
  1. Home
  2. •
  3. Brands
  4. •
  5. Cooper Lighting
  6. •
  7. Landscape Lighting
  8. •
  9. Cooper Lighting INVUE IMI-575 User manual

Cooper Lighting INVUE IMI-575 User manual

These instructions do not claim to cover all details or variations in the equipment, procedure, or process described, nor to provide directions for meeting every possible
contingency during installation, operation or maintenance. When additional information is desired to satisfy a problem not covered sufficiently for user’s purpose, please
contact your nearest representative.
ARM & FIXTURE INSTALLATION
Bishop Arm (VA6005-VA6008, VA6054-VA6057, VA6105-VA6108
& VA6154-VA6157)
See Figure 1.
1. Secure arm onto pole and orient.
2. Tighten the six set screws located near bottom of arm to
150 in/lbs. to secure arm.
3. Loosen the three arm cap set screws and remove arm cap.
4. Pull fixture leads through arm to arm cap location.
5. Raise fixture to arm aligning locating pin and socket.
See Figure 2.
6. Insert and tighten 4 fixture screws with Teflon washers, provided
in polybag, to 80 in/lbs.
7. Connect fixture leads to service leads.
8. Resecure arm cap with arm cap set screws tightened to
50 in/lbs.
Traditional Arm (VA6009-VA6021 VA6058-VA6070,
VA6109-VA6121 & VA6158-VA6170)
See Figure 3.
1. Slip arm onto pole and orient.
2. Tighten the six set screws located near bottom of arm to
150 in/lbs. to secure arm.
3. Loosen the three arm cap set screws and remove arm cap.
4. Pull fixture leads through arm to arm cap location.
5. Raise fixture to arm aligning locating pin and socket.
See Figure 2.
6. Insert and tighten 4 fixture screws with Teflon washers, provided
in polybag, to 80 in/lbs.
7. Connect fixture leads to service leads.
8. Resecure arm cap with arm cap set screws tightened to
50 in/lbs.
Customer First Center • 1121 Hwy 74 South • Peachtree City, GA 30269 IMI-575 AVU040300
Epic/Pole Mounted
Fixtures
Sheet 1 of 4
2/18/04 IMI-575
INSTALLATION INSTRUCTIONS
IMPORTANT: Read carefully before installing fixture. Retain for future reference.
General: Upon receipt of fixture thoroughly inspect for any
freight damage, which should be brought to the attention of
the delivery carrier. Compare the catalog description listed
on the packing slip with the fixture label on the housing to
assure you have received the correct merchandise.
Safety: This fixture must be wired in accordance with
the national electrical code and applicable local codes
and ordinance. Proper grounding is required to insure
personal safety. Carefully observe grounding procedure
under installation section. All work should be done by a
qualified electrician.
TM
WARNING: Risk of Electric Shock. Disconnect power at fuse or circuit breaker before installing
or servicing.
Fixture Screws
Fig. 1
Teflon Washers
Arm Cap
Arm Cap
Set Screws
Set Screws
Bishop Arm
Aligning Pin
Aligning Socket
Fig. 2a
Modern Top
Customer First Center •1121 Hwy 74 South •Peachtree City, GA 30269 IMI-575 AVU040300
Epic/Pole Mounted
Fixtures
Sheet 2 of 4
2/18/04 IMI-575
INSTALLATION INSTRUCTIONS
IMPORTANT: Read carefully before installing fixture. Retain for future reference.
TM
FIXTURE MAINTENANCE
A. Relamping
Horizontally lamped
1. Loosen two door screws.
2. Lower door to tethered resting position. See Figure 4.
3. Install suitable lamp. Consult re-lamp label and lamp
instructions for details. Do not overtighten.
4. Raise door and secure with screws.
Vertically lamped
1. Loosen and remove ring retaining screws globe retaining
ring and globe. Components are not tethered.
See Figure 5.
2. Install suitable lamp. Consult re-lamp label and lamp
instructions for details. Do not overtighten.
3. Reinstall ring retaining screws securing globe retaining ring
and globe. In the case of type 3 refractive glass globe, use
the mark on globe bottom for orientation.
B. Starter and Fuse Replacement (Where applicable)
Horizontally lamped
1. Loosen two door screws.
2. Lower door to tethered resting position. See Figure 4.
3. Loosen thumbscrew until rectangular washer can be rotated
90 degrees. See Figure 6.
4. Rotate reflector faceplate to release from screws using key
hole slots.
5. Unplug optic quick-disconnect.
6. Remove two screws on ballast cover followed by ballast
cover. See Figure 7.
7. For starter replacement, remove the plug-in starter from
receptacle and replace.
For fuse replacement, unscrew fuse holder cap and replace
fuse. Resecure fuse holder cap.
8. Resecure the ballast cover with the two screws.
9. Plug optic quick-disconnect and secure reflector by keyhole
slots and thumbscrew.
10. Raise door and secure with screws.
Aligning Socket
Fig. 2b
Aligning Pin
Classical Top
Fixture Screws
Teflon Washers
Fig. 3
Arm Cap
Arm Cap
Arm Cap
Set Screws
Traditional Arm
Door Screws
Fig. 4a Options
FG, FR, SG & FRS
These instructions do not claim to cover all details or variations in the equipment, procedure, or process described, nor to provide directions for meeting every possible
contingency during installation, operation or maintenance. When additional information is desired to satisfy a problem not covered sufficiently for user’s purpose, please
contact your nearest representative.
Customer First Center •1121 Hwy 74 South •Peachtree City, GA 30269 IMI-575 AVU040300
Epic/Pole Mounted
Fixtures
Sheet 3 of 4
2/18/04 IMI-575
INSTALLATION INSTRUCTIONS
IMPORTANT: Read carefully before installing fixture. Retain for future reference.
TM
WARNING: Risk of Electric Shock. Disconnect power at fuse or circuit breaker before installing
or servicing.
Vertically lamped
1. Loosen and remove ring retaining screws globe retaining ring
and globe. Components are not tethered.
See Figure 5.
2. Remove two screws on ballast cover followed by ballast
cover. See Figure 7.
3. Unplug optic quick-disconnect.
4. For starter replacement, remove the plug-in starter from
receptacle and replace.
For fuse replacement, unscrew fuse holder cap and replace
fuse. Resecure fuse holder cap.
5. Plug optic quick-disconnect.
6. Resecure the ballast cover with the two screws.
7. Reinstall ring retaining screws securing globe retaining ring
and globe. In the case of type 3 refractive glass globe, use the
mark on globe bottom for orientation.
C. Power Pack Replacement
Horizontally lamped
1. Loosen two door screws.
2. Lower door to tethered resting position. See Figure 4.
3. Loosen thumbscrew until rectangular washer can be rotated
90 degrees. See Figure 6.
4. Rotate reflector faceplate to release from screws using key
hole slots.
5. Unplug optic quick-disconnect.
6. Remove two screws on ballast cover followed by ballast
cover. See Figure 7.
7. Unplug service quick-disconnect.
8. Holding the handle, loosen the two screws holding the power
pack to the fixture housing. See Figure 8.
9. Holding the handle, rotate the power pack until free and lower.
10. Holding replacement power pack by handle, raise onto screw
heads and rotate.
11. Tighten the two screws while holding power pack in position.
12. Plug together the service quick-disconnect.
13. Resecure the ballast cover with the two screws.
14. Reconnect optic quick-disconnect and secure reflector by
keyhole slots and thumbscrew.
15. Raise door and secure with screws.
Tether
Door Screws
Fig. 4b Options
FG, FR, SG & FRS
Ring Retaining Screws
Fig. 5a
Globe Retaining Ring
Globe
Option MA
Ring Retaining Screws
Fig. 5b
Globe Retaining Ring
Globe
Options
3R & 5R
These instructions do not claim to cover all details or variations in the equipment, procedure, or process described, nor to provide directions for meeting every possible
contingency during installation, operation or maintenance. When additional information is desired to satisfy a problem not covered sufficiently for user’s purpose, please
contact your nearest representative.
Customer First Center •1121 Hwy 74 South •Peachtree City, GA 30269 IMI-575 AVU040300
Epic/Pole Mounted
Fixtures
Sheet 4 of 4
2/18/04 IMI-575
INSTALLATION INSTRUCTIONS
IMPORTANT: Read carefully before installing fixture. Retain for future reference.
TM
WARNING: Risk of Electric Shock. Disconnect power at fuse or circuit breaker before installing
or servicing.
Vertically lamped
1. Loosen and remove ring retaining screws globe retaining
ring and globe. Components are not tethered.
See Figure 5.
2. Remove two screws on ballast cover followed by ballast
cover. See Figure 6.
3. Unplug optic quick-disconnect.
4. Unplug service quick-disconnect.
5. Loosen the two screws holding the power pack to the
fixture housing. See Figure 7.
6. Holding the power pack by the handle, rotate the power
pack until free and lower.
7. Holding replacement power pack by handle, raise onto
screw heads and rotate.
8. Tighten the two screws while holding power pack in
position.
9. Plug together the service quick-disconnect.
10. Plug together the optic quick-disconnect.
11. Resecure the ballast cover with the two screws.
12. Reinstall ring retaining screws securing globe retaining ring
and globe. In the case of type 3 refractive glass globe, use
the mark on globe bottom for orientation.
Keyhole Slot
Fig. 6
Rectangular Washer
Thumbscrew
Reflector
Removal
Ballast Cover
Screws
Optic
Quick-
Disconnect
Fig. 7a
Starter
Fig. 7b
Handle
Fuse
Service
Quick-Disconnect
Screws
Fig. 8
Power Pack Removal

Other Cooper Lighting Landscape Lighting manuals
Cooper Lighting Envoy User manual

Cooper Lighting

Cooper Lighting Envoy User manual

Cooper Lighting Lumark SF Falcon User manual

Cooper Lighting

Cooper Lighting Lumark SF Falcon User manual

Cooper Lighting Pole Mount Icon User manual

Cooper Lighting

Cooper Lighting Pole Mount Icon User manual

Cooper Lighting Sure-Lites STL StairLite User manual

Cooper Lighting

Cooper Lighting Sure-Lites STL StairLite User manual

Cooper Lighting MCGRAW-EDISON 1192 User manual

Cooper Lighting

Cooper Lighting MCGRAW-EDISON 1192 User manual

Cooper Lighting Westminster Post Top Luminaire User manual

Cooper Lighting

Cooper Lighting Westminster Post Top Luminaire User manual

Cooper Lighting Bollard SBS100M12W366 User manual

Cooper Lighting

Cooper Lighting Bollard SBS100M12W366 User manual

Cooper Lighting Vision AVM40MWW3S User manual

Cooper Lighting

Cooper Lighting Vision AVM40MWW3S User manual

Cooper Lighting Woodbridge MPW50SR255 User manual

Cooper Lighting

Cooper Lighting Woodbridge MPW50SR255 User manual

Cooper Lighting Nighthawk III User manual

Cooper Lighting

Cooper Lighting Nighthawk III User manual

Cooper Lighting CI Cirrus User manual

Cooper Lighting

Cooper Lighting CI Cirrus User manual

Cooper Lighting Lexington LXT70SR2554 User manual

Cooper Lighting

Cooper Lighting Lexington LXT70SR2554 User manual

Cooper Lighting MEM17MWW2SXSNBK User manual

Cooper Lighting

Cooper Lighting MEM17MWW2SXSNBK User manual

Cooper Lighting MCGRAW-EDISON GAR User manual

Cooper Lighting

Cooper Lighting MCGRAW-EDISON GAR User manual

Cooper Lighting McGraw-Edison ZD Credenza User manual

Cooper Lighting

Cooper Lighting McGraw-Edison ZD Credenza User manual

Cooper Lighting N175MV User manual

Cooper Lighting

Cooper Lighting N175MV User manual

Cooper Lighting Avenue ARC25MWW5C652 User manual

Cooper Lighting

Cooper Lighting Avenue ARC25MWW5C652 User manual

Cooper Lighting Bollard Series User manual

Cooper Lighting

Cooper Lighting Bollard Series User manual

Cooper Lighting Invue 42 - 175W User manual

Cooper Lighting

Cooper Lighting Invue 42 - 175W User manual

Cooper Lighting Manchester 70-175W User manual

Cooper Lighting

Cooper Lighting Manchester 70-175W User manual

Cooper Lighting Concourse III UCS10SR223D4 User manual

Cooper Lighting

Cooper Lighting Concourse III UCS10SR223D4 User manual

Cooper Lighting Lexington LXD70SR2334 User manual

Cooper Lighting

Cooper Lighting Lexington LXD70SR2334 User manual

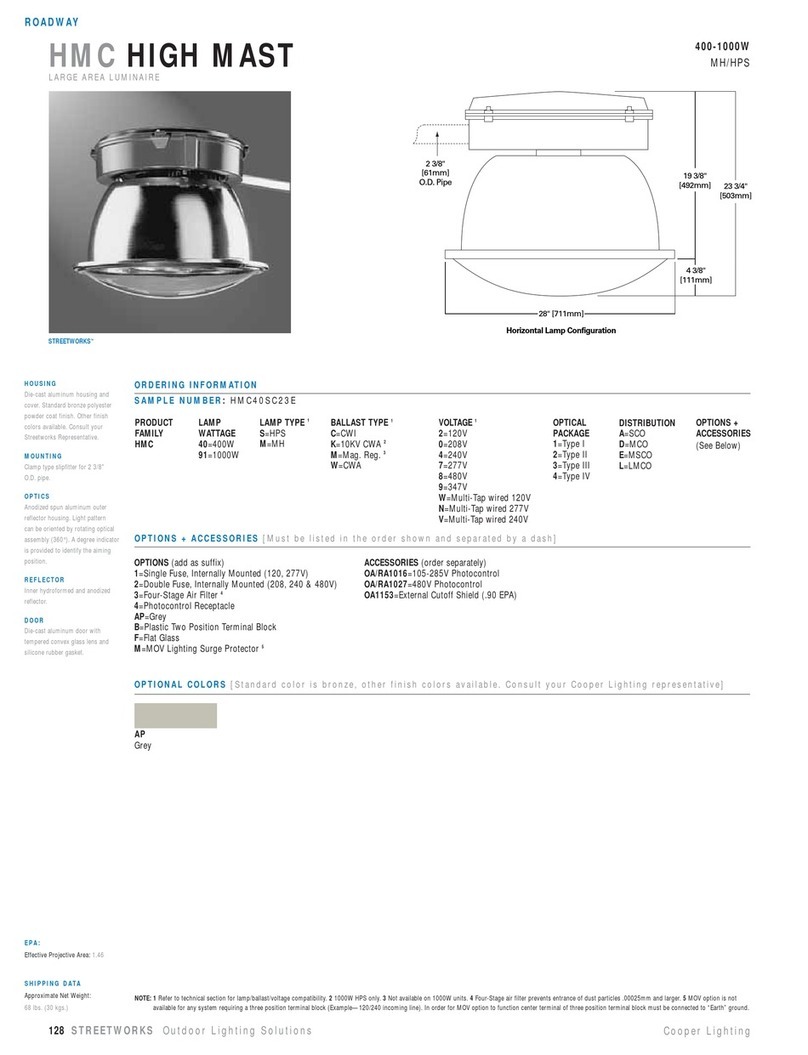
Cooper Lighting High Mast HMC40SC23E User manual
Cooper Lighting

Cooper Lighting High Mast HMC40SC23E User manual

Cooper Lighting FTS User manual

Cooper Lighting

Cooper Lighting FTS User manual

Popular Landscape Lighting manuals by other brands

Alpine Luminosity SLA308 Series quick start guide

Alpine

Alpine Luminosity SLA308 Series quick start guide

Malibu Boats LZ11101P instructions

Malibu Boats

Malibu Boats LZ11101P instructions

Kanlux MORO DL-35 manual

Kanlux

Kanlux MORO DL-35 manual

WAC Lighting Fuego EIR3SF installation instructions

WAC Lighting

WAC Lighting Fuego EIR3SF installation instructions

Kanlux IDAVA 25 quick start guide

Kanlux

Kanlux IDAVA 25 quick start guide

LIGMAN MARVIK 6 installation manual

LIGMAN

LIGMAN MARVIK 6 installation manual

LIGMAN HAYS 1 installation manual

LIGMAN

LIGMAN HAYS 1 installation manual

LightPro Castor 8 179S user manual

LightPro

LightPro Castor 8 179S user manual

Cooper MODEL 4  LED STYLE III L-852T instruction manual

Cooper

Cooper MODEL 4 LED STYLE III L-852T instruction manual

Kichler Lighting 15310 Assembly and installation

Kichler Lighting

Kichler Lighting 15310 Assembly and installation

Malibu Boats LZ1W instructions

Malibu Boats

Malibu Boats LZ1W instructions

Griven Moon AL5325 user manual

Griven

Griven Moon AL5325 user manual

Stoane Lighting inter-lux Pipien Spike Installation and maintenance instructions

Stoane Lighting

Stoane Lighting inter-lux Pipien Spike Installation and maintenance instructions

Effekta TWINLED manual

Effekta

Effekta TWINLED manual

LIGMAN DU-10206-2 installation manual

LIGMAN

LIGMAN DU-10206-2 installation manual

PELI 9430 user manual

PELI

PELI 9430 user manual

LIGMAN NYBRO 8 installation manual

LIGMAN

LIGMAN NYBRO 8 installation manual

Hess AGENA Installation and operating instructions

Hess

Hess AGENA Installation and operating instructions

manuals.online logo
manuals.online logoBrands
  • About & Mission
  • Contact us
  • Privacy Policy
  • Terms and Conditions

Copyright 2025 Manuals.Online. All Rights Reserved.