7
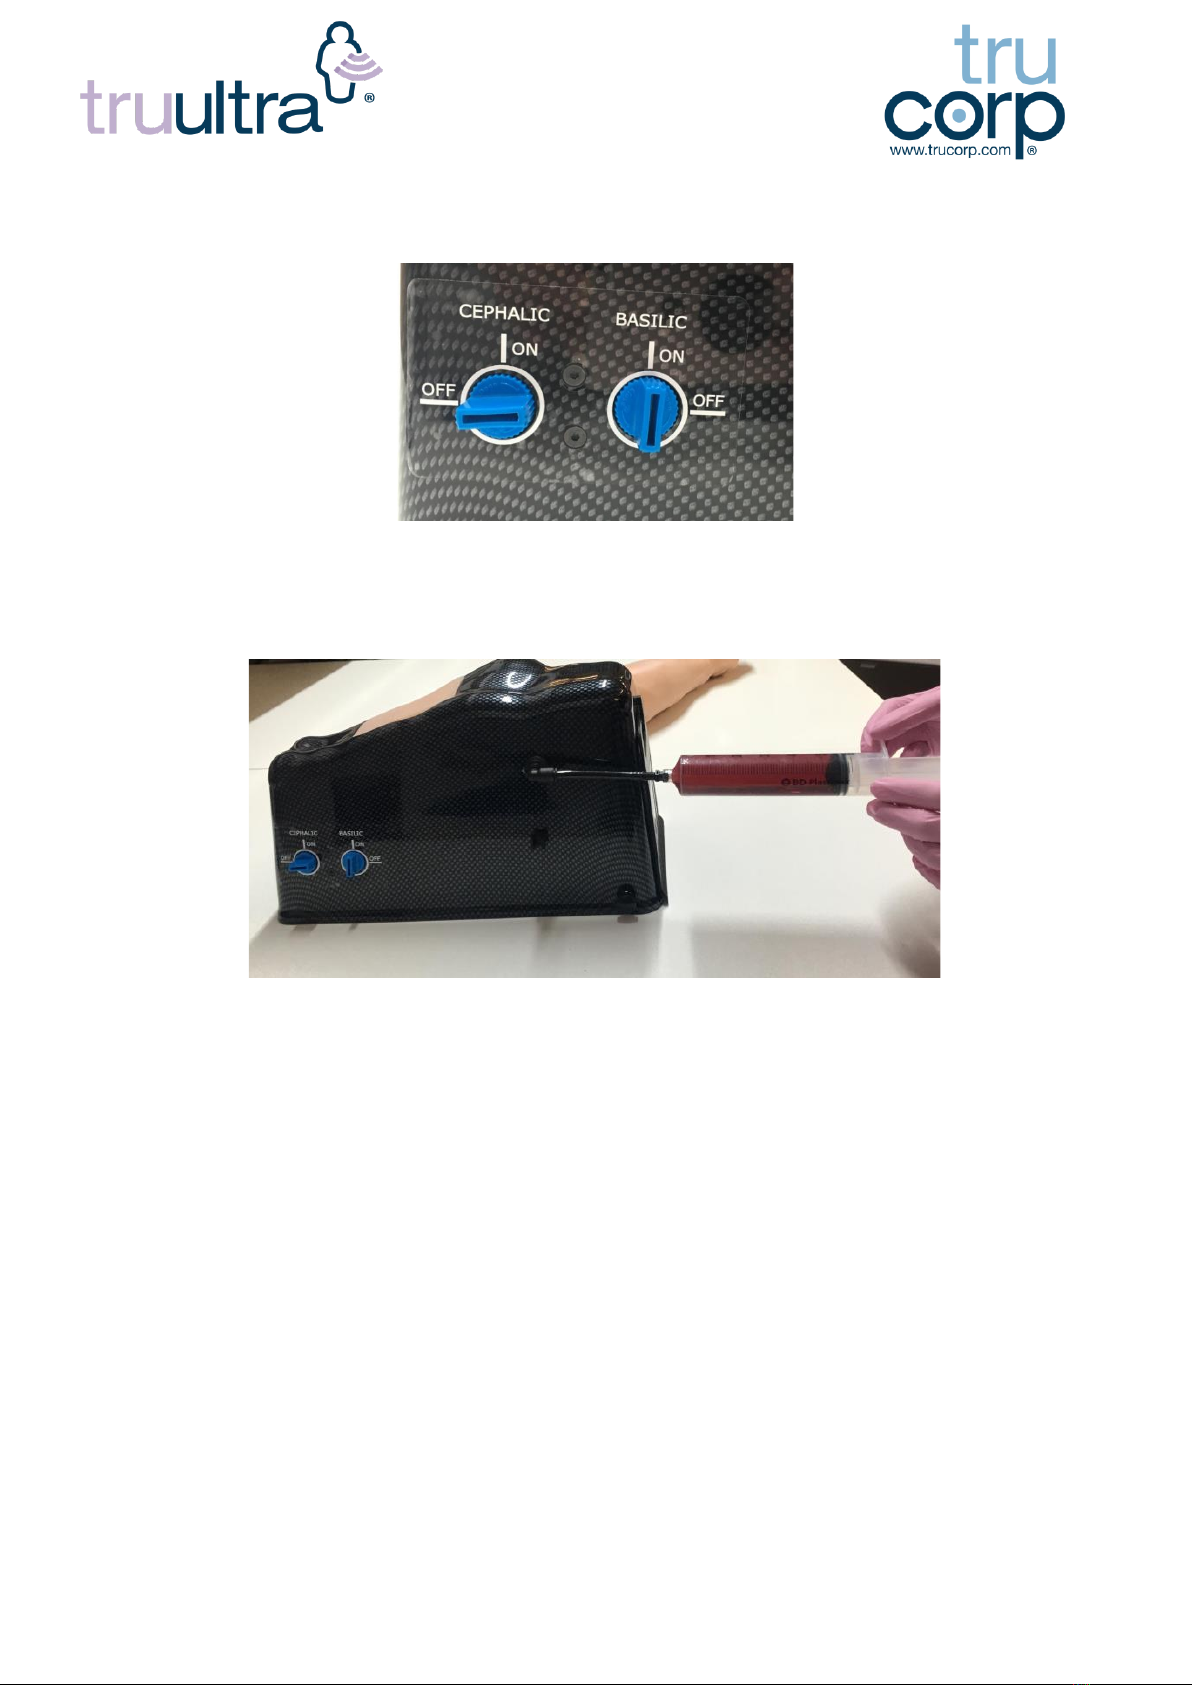
Re-filling the fluid system
1. Users can remove fluid through the syringe after the veins have been cannulated to
confirm correct needle placement. Please note that the volume of fluid previously
withdrawn will need to be refilled to maintain a high-quality ultrasound image for
further training
2. Follow steps 1-5 in the fluid system preparation section (please refer to page 5) to
slowly re-fill approx. 15-20ml of blood into the veins (may be higher than 15-20ml
depending on the previous volume of blood withdrawn)
3. Blood can be inserted directly back into the veins after withdrawal if desired. This will
not cause damage to the veins, but please ensure to avoid injecting blood with air
bubbles as this will have a negative impact on the image quality. Blood should be
inserted slowly
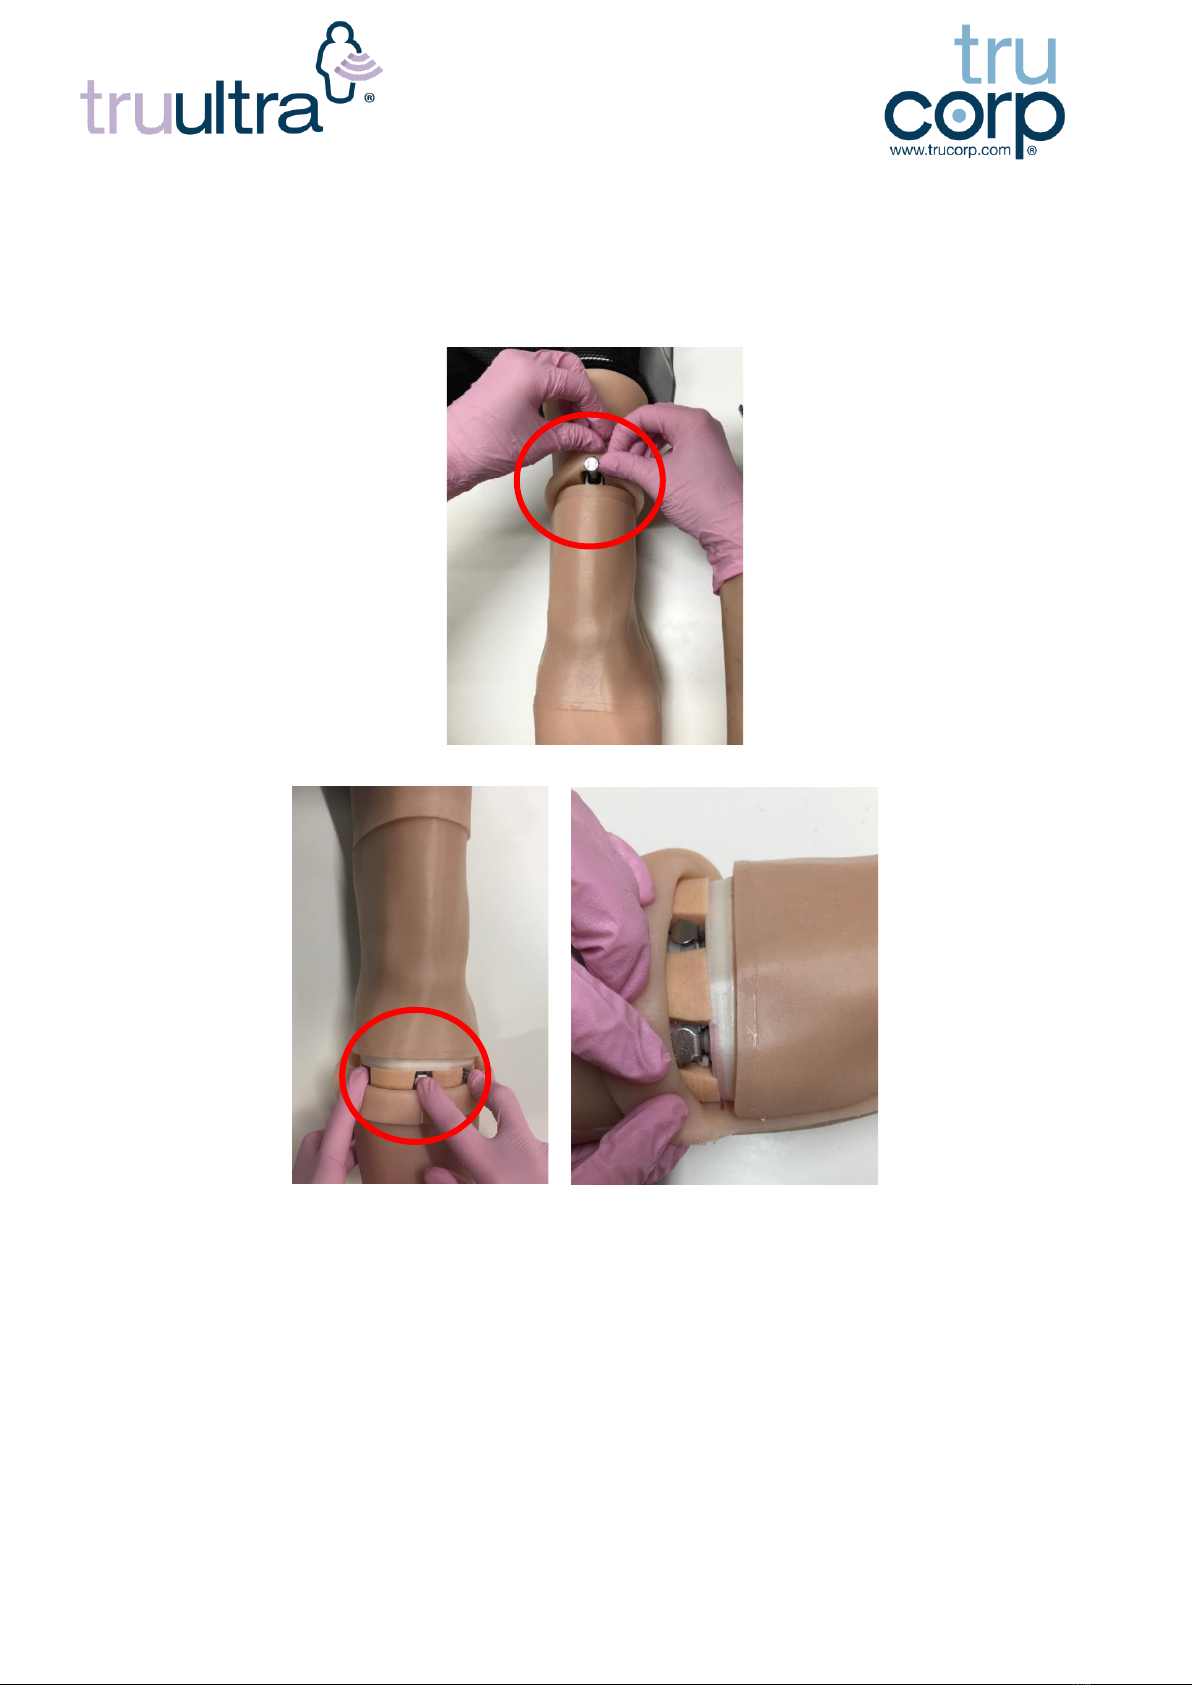
IV cannulation
1. In line with clinical guidelines, ultrasound gel should be applied to the ultrasound probe
prior to use to ensure a high-quality ultrasound image is obtained
2. IV cannulation can be performed using the median cubital, brachial or basilic veins
3. A 20G needle should be used for IV techniques for optimal performance. Using a needle
larger than 18G will void the warranty if damage is caused to the model (please refer to
page 16 for warranty information)
4. Correct needle placement can be visually confirmed by attaching a syringe to the needle
and withdrawing blood