............ www.truemfg.com ............
True Food Service Equipment, Inc.
33
SAFETY INFORMATION
Thepowercordofthisapplianceisequippedwitha
groundingplugwhichmateswithastandardgrounding
walloutlettominimizethepossibilityofelectricshock
hazardfromthisappliance.
Havethewalloutletandcircuitcheckedbyaqualified
electriciantomakesuretheoutletisproperlygrounded.
Iftheoutletisastandard2-prongoutlet,itisyour
personalresponsibilityandobligationtohaveitreplaced
withtheproperlygroundedwalloutlet.
Theheatedcabinetshouldalwaysbepluggedintoit’s
ownindividualelectricalcircuit,whichhasavoltage
ratingthatmatchestheratingplate.
Thisprovidesthebestperformanceandalsoprevents
overloadingbuildingwiringcircuitswhichcouldcausea
firehazardfromoverheatedwires.
Neverunplugyourcabinetbypullingonthepowercord.
Alwaysgripplugfirmlyandpullstraightoutfromthe
outlet.
Repairorreplaceimmediatelyallpowercordsthathave
becomefrayedorotherwisedamaged.Donotuseacord
thatshowscracksorabrasiondamagealongitslengthor
ateitherend.
Whenremovingthecabinetawayfromthewall,be
carefulnottorolloverordamagethepowercord.
HOW TO CONNECT ELECTRICITY
Do not, under any circumstances, cut or remove the ground prong from the power cord.
For personal safety, this appliance must be properly grounded.
WARNING!
USE OF EXTENSION CORDS / ADAPTER PLUGS
Do not use adapter plugs or extension leads as these can cause safety issues and early failure of electrical components.
The use of adapters and extension cords will invalidate your warranty. NEVER USE AN EXTENSION CORD! NEVER USE AN
ADAPTER PLUG!
WARNING
Power supply cord ground should not be removed!
NOTE
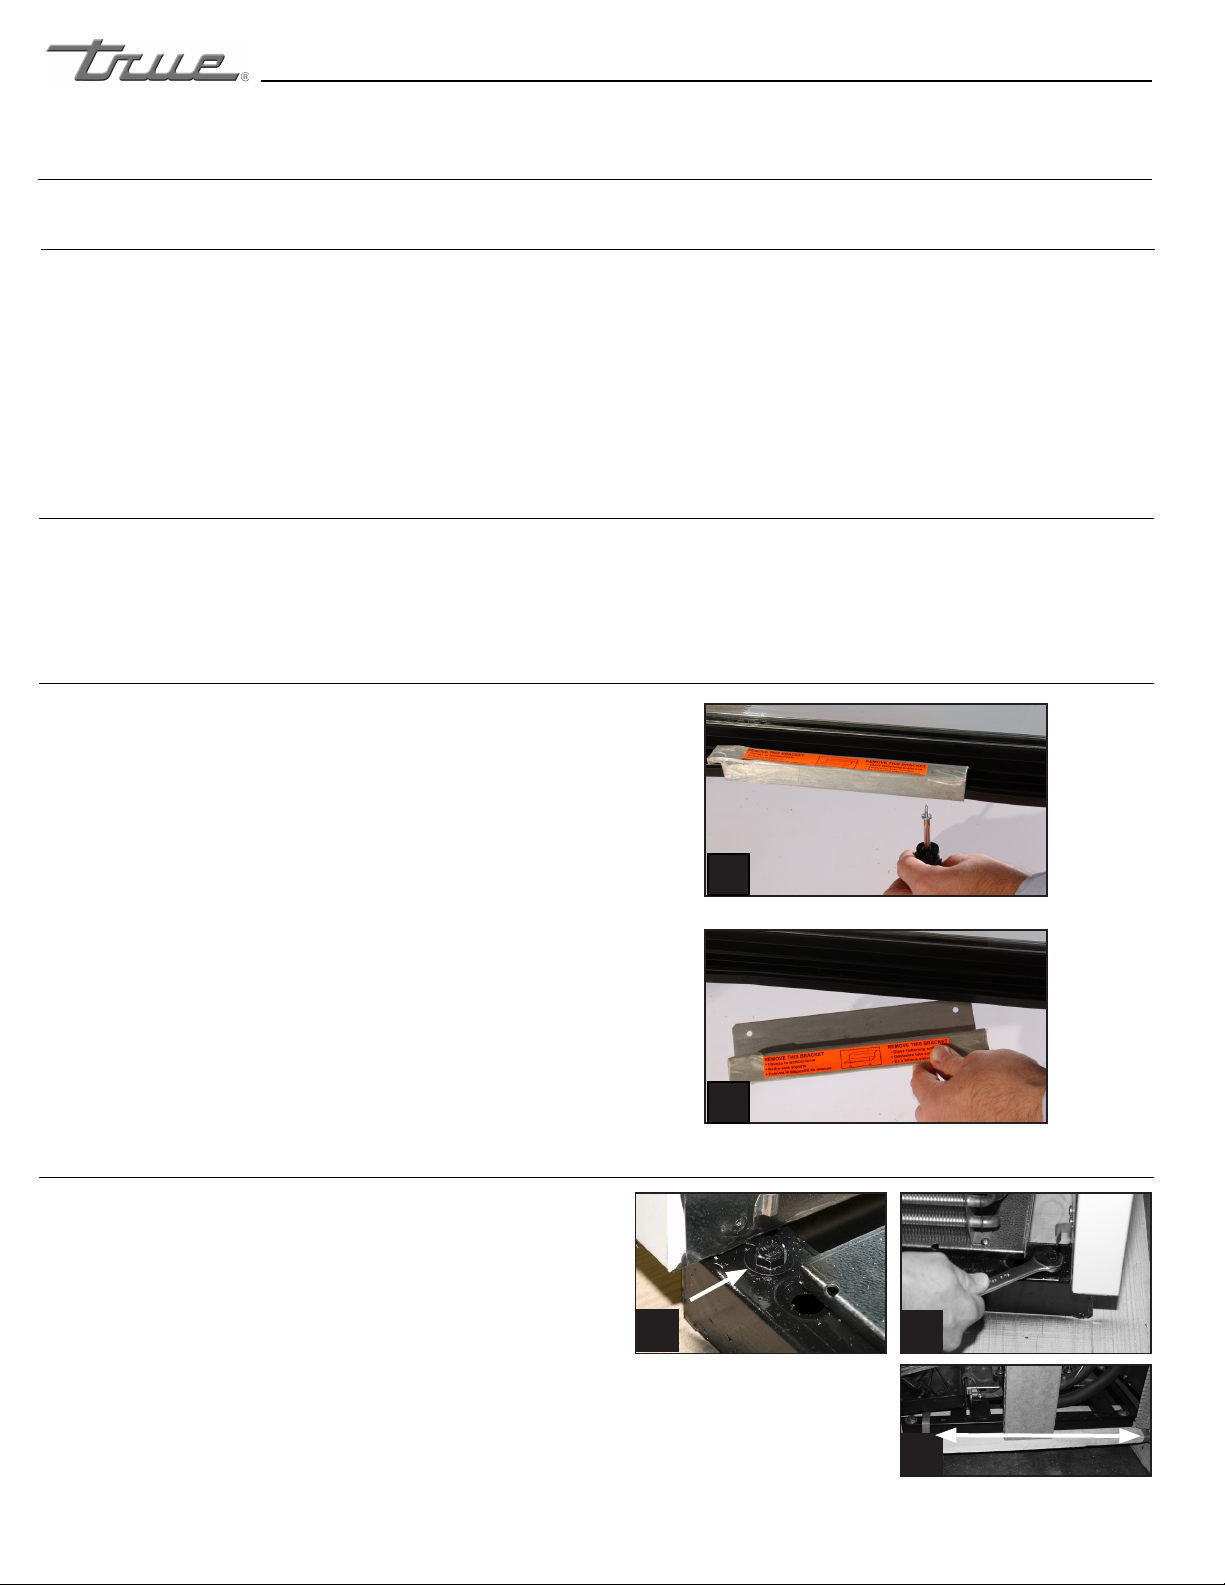
To reference wiring diagram - Remove lower rear grill.
Wiring diagram is positioned on the inside cabinet wall.
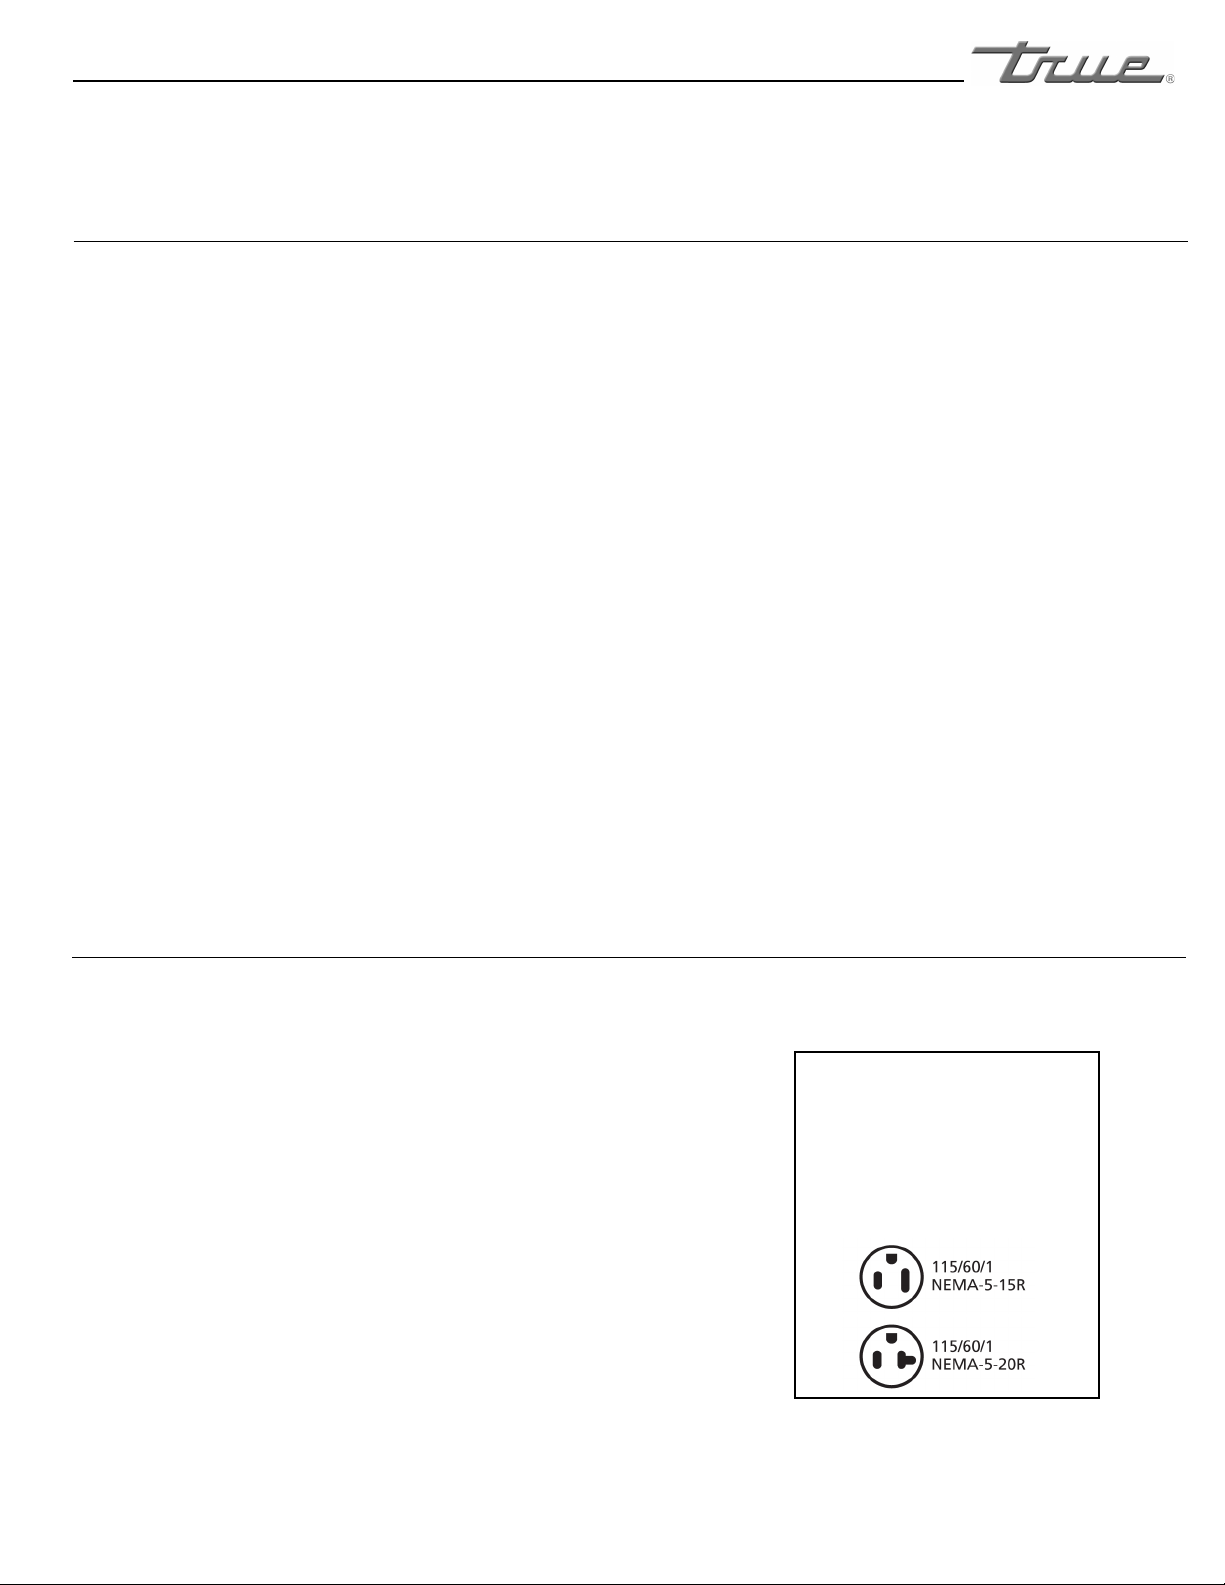
NEMA plugs
TRUE uses these types of
plugs. If you do not have
the right outlet have a
certied electrician install
the correct power source.