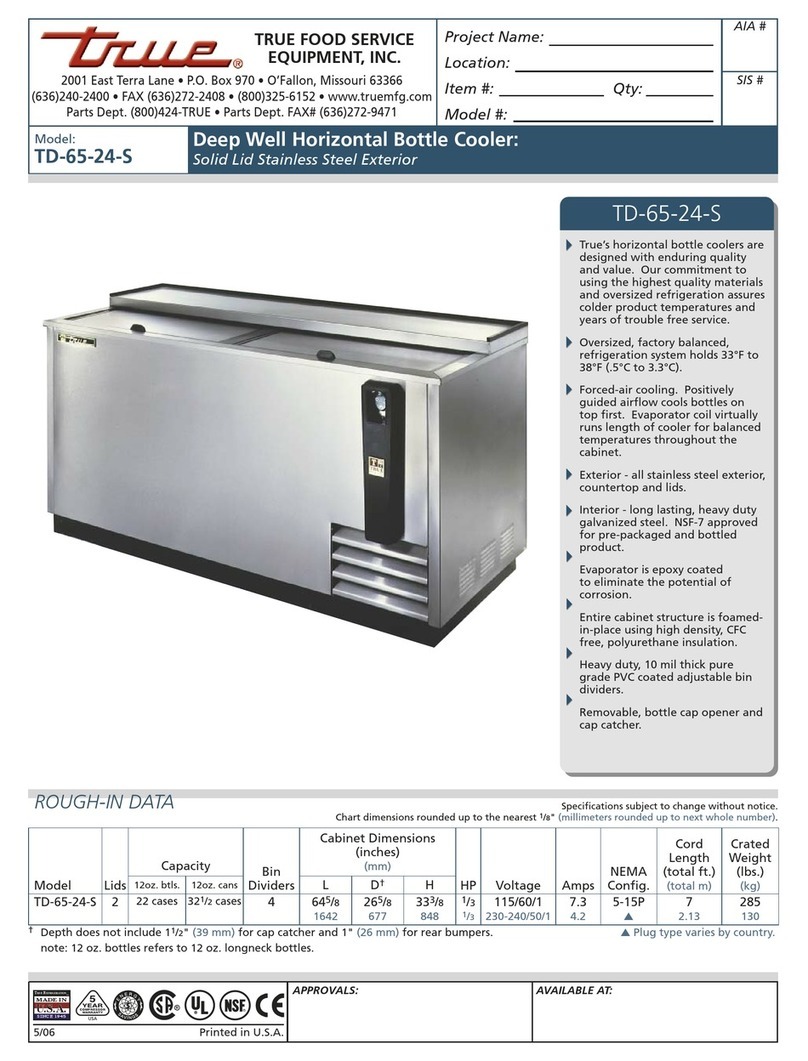
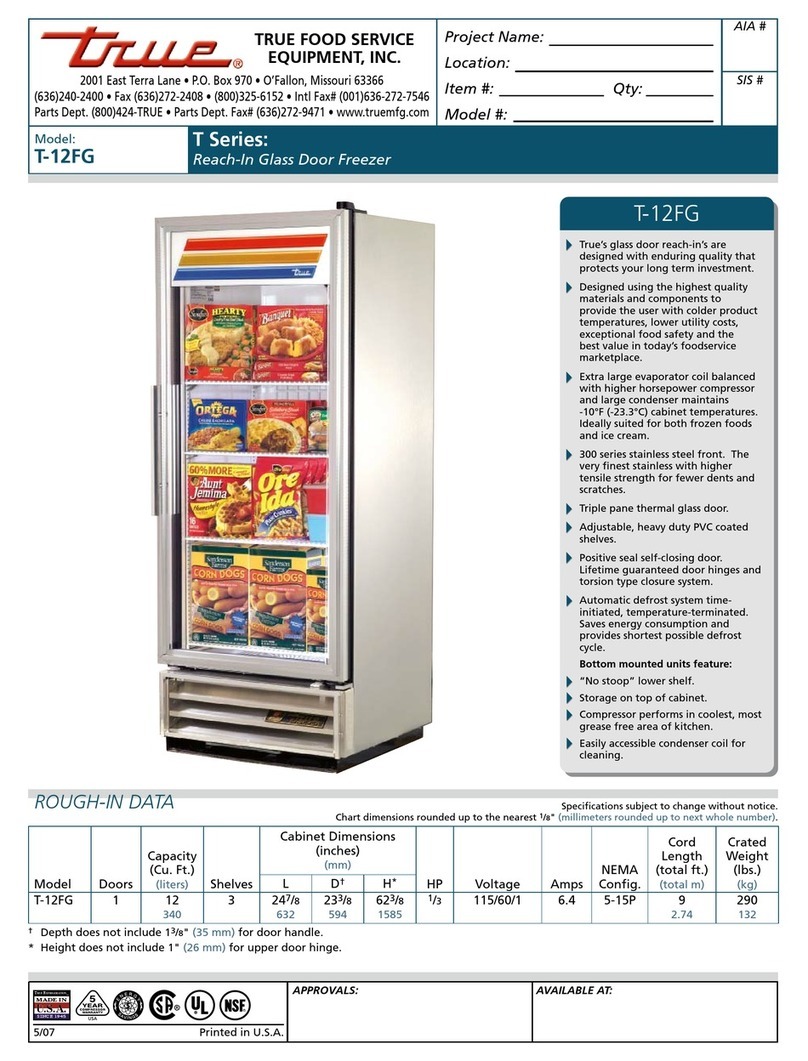
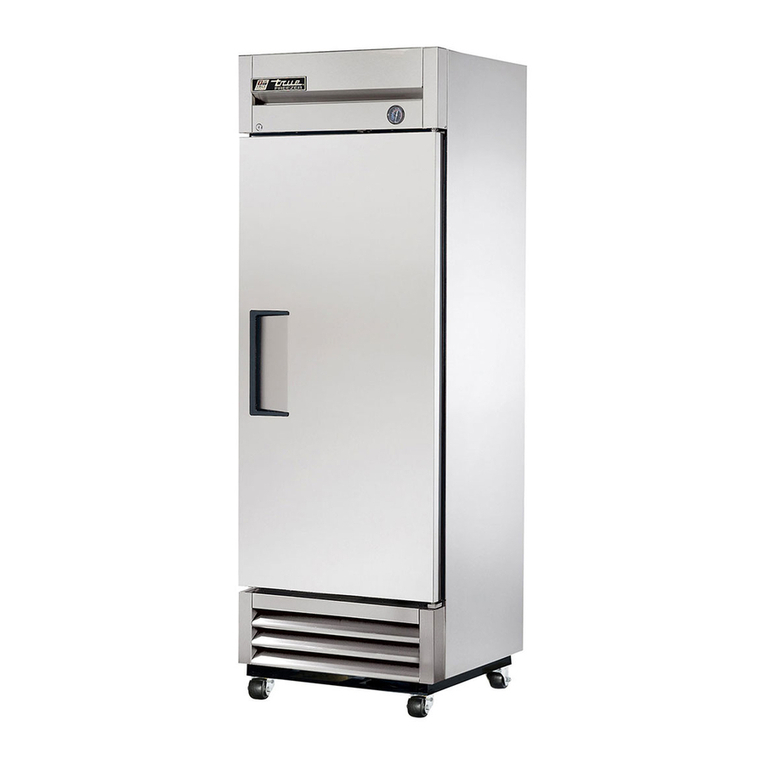
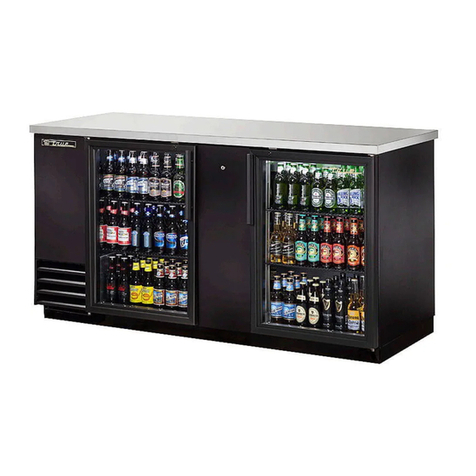
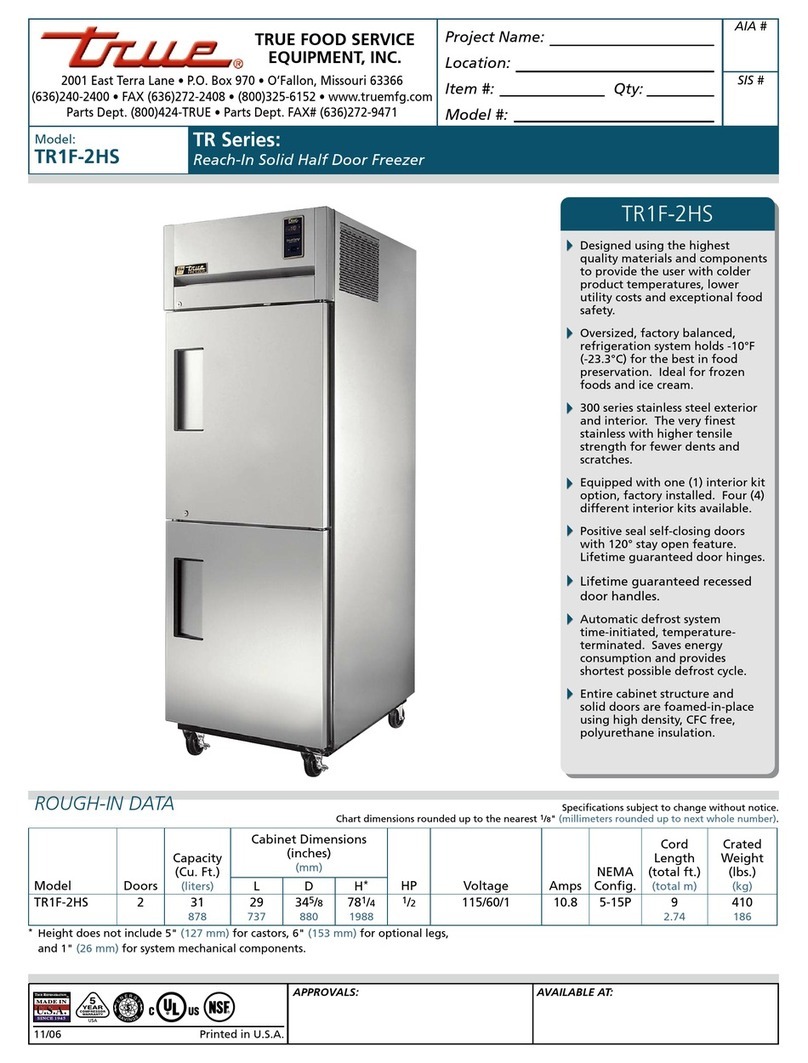
True RESIDENTIAL TR36RBFRSGA User manual

TR-36RBF INSTALL GUIDE10/30/2023TEC_TM_151 | REV. E | EN
36 INCH BUILT-IN BOTTOM FREEZER
INSTALL GUIDE & USER'S MANUAL
TRUE RESIDENTIAL®
PRESERVE THE MOMENT®

TRUE RESIDENTIAL
®10/30/2023 TEC_TM_151 | REV. E | EN
INSTALLATION CHECKLIST
To ensure no part of the installation process has been overlooked, complete the checklist below.
☐Have all packaging materials been removed?
☐Are the anti-tip brackets securely installed and properly engaging the unit?
☐Has the unit been properly leveled? Do all leveling legs touch the floor?
☐Is the kickplate installed?
☐Is the doorstop being installed (if needed)?
☐Does the customer understand the unit’s operation?
☐Has the customer been given the key and literature package?
☐Have all stainless steel surfaces been inspected for imperfections?*
☐Is the unit operating correctly? If not, is the unit plugged in? Is the control turned on?
*To be completed by either an installer with the customer or an authorized True dealer upon
completion of installation. Stainless steel doors, handles, and shelves are covered by a
limited 30-day warranty for cosmetic defects.
THANK YOU
FOR YOUR PURCHASE

TR-36RBF INSTALL GUIDE10/30/2023 Page 3 of 56TEC_TM_151 | REV. E | EN
TABLE OF CONTENTS
NOTE: AS WE STRIVE FOR CONTINUOUS IMPROVEMENTS, FEATURES AND SPECIFICATIONS ARE
SUBJECT TO CHANGE WITHOUT NOTICE.
SAFETY INFORMATION & OWNERSHIP
SAFETY WARNINGS & PRECAUTIONS 6
PROPER DISPOSAL OF THE CABINET 7
OWNERSHIP 8
SERIAL LABEL LOCATION 8
SITE PREPARATION
ROUGH OPENINGS & PLAN VIEWS 10
ANTI-SWEAT FOAM END PANELS 12
ELECTRICAL SAFETY & INSTALLATION
REQUIREMENTS 13
WATER SUPPLY REQUIREMENTS 15
INSTALLATION
UNCRATING 18
ANTI-TIP BRACKET INSTALLATION 21
LEVELING 22
WATER FILTER INSTALLATION &
PERFORMANCE DATA 23
KICKPLATE INSTALLATION 25
JOINING KIT INSTALLATION 26
CABINET SETUP
DOOR INSTALLATION & REMOVAL 32
REFRIGERATOR STORAGE 33
FREEZER STORAGE 34
ICEMAKER 35
ELECTRONIC CONTROL OPERATION
USER INTERFACE 38
SET POINT MENU 39
ICE MENU 40
MODE MENU 41
SERVICE REPORT 42
LIGHT MENU 43
DOOR AJAR ALARM 44
SHOWROOM MODE 45
SYSTEM NOTIFICATIONS 46
GENERAL MAINTENANCE, CARE &
CLEANING
APPLIANCE CARE & CLEANING 48
WATER FILTER REPLACEMENT 50
CONDENSER COIL CLEANING 51
SERIAL LABEL LOCATION 52
CONTACT INFORMATION 52
WARRANTY STATEMENT
WARRANTY 53

TRUE RESIDENTIAL
®TEC_TM_151 | REV. E | EN10/30/2023Page 4 of 56 P#829102
THE TRUE 36RBF
36" BUILT-IN BOTTOM FREEZER
STAINLESS SOLID DOOR
36" BUILT-IN BOTTOM FREEZER
STAINLESS GLASS DOOR
LUXURY REFRIGERATION WITH COMMERCIAL DNA.

TR-36RBF INSTALL GUIDE10/30/2023 Page 5 of 56TEC_TM_151 | REV. E | EN
SAFETY INFORMATION & OWNERSHIP
SAFETY WARNINGS & PRECAUTIONS
CORRECT DISPOSAL OF OLD REFRIGERATOR
OWNERSHIP
SERIAL LABEL LOCATION
PRESERVE THE MOMENT®

TRUE RESIDENTIAL
®TEC_TM_151 | REV. E | EN10/30/2023Page 6 of 56 P#829102
You have selected one of the finest commercial
refrigeration units made. It is manufactured under
strict quality controls with only the best quality
materials available. Your TRUE cooler, when properly
maintained, will give you many years of trouble-free
service.
WARNING! Use this appliance for its
intended purpose as described in this
Installation Manual.
REFRIGERANT SAFETY & WARNING
INFORMATION
See the serial label inside the cabinet for the units
refrigeration type. For Hydrocarbon Refrigeration
(R290 only), see below:
DANGER! Risk of fire or explosion.
Flammable refrigerant used. DO NOT
use mechanical devices to defrost
refrigerator. DO NOT puncture refrigerant
tubing; follow handling instructions
carefully. To be repaired only by trained
service personnel.
DANGER! Risk of fire or explosion
(flammable refrigerant used), consult
repair manual/owner’s guide before
attempting to service this product. All
safety precautions must be followed.
Dispose of properly in accordance with
local and federal regulations. Follow all
safety precautions.
CAUTION! Keep all ventilation openings
clear of obstruction in the appliance
enclosure or in the structure housing the
appliance.
BASIC SAFETY & WARNING
PRECAUTIONS
• Take care during operation, maintenance or repairs
to avoid cuts or pinching from any part/component
of the cabinet.
• Units may pose a tipping hazard while uncrating,
during installation, or when moving the unit.
• Ensure the unit is properly installed and located in
accordance with the Installation Instructions before
use.
• This appliance is not to be used, cleaned or
maintained by persons (including children) with
reduced physical, sensory or mental capabilities or
lack of experience and knowledge, unless they have
been given supervision or instruction.
• DO NOT allow children to play with the appliance
or climb, stand, or hang on the unit’s shelves to
prevent damage to the refrigerator and personal
injury.
• DO NOT touch the cold surfaces in the freezer
compartment when hands are damp or wet. Skin
may stick to these extremely cold surfaces.
• Unplug the refrigerator before cleaning and making
repairs.
• Setting temperature controls to the 0 position or
powering off an electronic control may not remove
power from all components (e.g., light circuits,
perimeter heaters, and evaporator fans).
• DO NOT store or use gasoline, or other flammable
vapors and liquids, in the vicinity of this or any
other appliance.
HOW TO MAINTAIN YOUR TRUE REFRIGERATOR TO RECEIVE THE MOST
EFFICIENT AND SUCCESSFUL OPERATION
SAFETY INFORMATION & OWNERSHIP
TR-36RBF INSTALL GUIDE10/30/2023 Page 7 of 56TEC_TM_151 | REV. E | EN
CABINET DISPOSAL WARNING
DANGER! RISK OF CHILD
ENTRAPMENT
PROPER DISPOSAL OF THE CABINET
Child entrapment and suffocation are not problems of
the past. Junked or abandoned refrigerators are still
dangerous, even if they will sit for "just a few days." If
you are getting rid of your old refrigerator, please follow
the instructions below to help prevent accidents.
Before throwing away your old refrigerator or freezer:
• Take off the doors.
• Leave the shelves in place so that children may not
easily climb inside.
DANGER! Risk of fire or explosion.
Flammable insulation and/or refrigerant
used. Dispose of all in accordance with
local and federal regulations. Follow all
safety precautions.
SAFETY INFORMATION & OWNERSHIP
• DO NOT store explosive substances such as
aerosol cans with a flammable propellant in this
appliance.
• Keep fingers out of the "pinch point" areas;
clearances between the doors and cabinet are
necessarily small; be careful closing doors when
children are in the area.
• DO NOT use electrical appliances inside the food
storage compartments of the units unless the
appliances are of the type recommended by the
manufacturer.
NOTE: ALL SERVICING MUST BE
PERFORMED BY A QUALIFIED TECHNICIAN.

TRUE RESIDENTIAL
®TEC_TM_151 | REV. E | EN10/30/2023Page 8 of 56 P#829102
OWNERSHIP
To ensure that your unit works properly from the
first day, it must be installed properly. We highly
recommend a trained refrigeration mechanic and
electrician install your True equipment. The cost of a
professional installation is money well spent.
Before you start to install your TRUE unit, carefully
inspect it for freight damage. If damage is
discovered, immediately file a claim with the delivery
freight carrier.
TRUE is not responsible for damage incurred during
shipment.
For any questions about installation, please contact
your True dealer or True Residential Technical
Service at 844-746-9423 or TrueResidentialService@
TrueMfg.com. Please have your model and serial
number available.
NOTICE TO CUSTOMER
Loss or spoilage of products in
your refrigerator/freezer is not
covered by warranty. In addition
to following recommended
installation procedures, run the refrigerator/freezer
for 24 hours prior to usage to verify its proper
operation.
REGISTER YOUR PRODUCT
To qualify for TRUE’s extended
7–12 year parts only sealed
system warranty, you must
register your product* within 12
months of the unit’s installation
date. To register your unit,
complete and submit the form
at https://www.true-residential.com/product-registration.
For warranty details, please see page 53.
SERIAL LABEL LOCATION
The serial label is located on the upper right wall of the
freezer drawer. See fig. 1.
This label contains important information such as
your model name and serial number. Please have this
information on hand when contacting True so we can
better assist you with your service- or parts-related
inquiries.
SAFETY INFORMATION & OWNERSHIP
FIG. 1.
Serial label location.
CONTACT INFORMATION
WARRANTY DEPARTMENT
Phone: 844-849-6179
TrueResidentialWarranty@truemfg.com
CUSTOMER SERVICE
Phone: 888-616-8783
info@true-residential.com
SERVICE DEPARTMENT
Phone: 844-746-9423
TrueResidentialService@truemfg.com
* Please note that ice machines do not qualify for this extended warranty.

TR-36RBF INSTALL GUIDE10/30/2023 Page 9 of 56TEC_TM_151 | REV. E | EN
ROUGH OPENINGS & PLAN VIEWS
ANTI-SWEAT FOAM END PANELS
ELECTRICAL SAFETY & INSTALLATION REQUIREMENTS
WATER SUPPLY REQUIREMENTS
SITE PREPARATION
PRESERVE THE MOMENT®

TRUE RESIDENTIAL
®TEC_TM_151 | REV. E | EN10/30/2023Page 10 of 56 P#829102
SITE PREPARATION
SITE PREPARATION
Due to the weight of this unit, True recommends
consulting a flooring expert prior to installation.
The flooring beneath the unit should be rated to
support ≥150 lb/ft2(732.36 kg/m2).
NOTE: IT IS NOT RECOMMENDED TO INSTALL
UNITS SIDE BY SIDE WITH HINGES TOUCHING
EACH OTHER. IF YOU PLAN TO INSTALL UNITS
HINGE-TO-HINGE, YOU MUST HAVE A MINIMUM
1/4”(6.35 MM) GAP BETWEEN THE APPLIANCES
BEING JOINED HINGE-TO-HINGE.
ROUGH OPENINGS & PLAN VIEWS
TR-36RBF
Flush installation: The front face of the unit is flush
with the surrounding cabinets
Proud (standard) Installation: The front face of the
unit extends beyond the surrounding cabinets
NOTE: DIMENSIONS MAY VARY BY ± 1/8” (3.175 mm)
Rough Opening Dimensions
Flush Install Proud Install
Width 36 -1/4"
(920.75 mm)
35-3/4"
(908.05 mm)
Depth 25-25/32"
(654.84 mm)
23-25/32"
(604.04 mm)
Height 8 4-1/4"
(2,139.95 mm)
84"
(2,133.6 mm)
ELECTRICAL AREA
WATER AREA

TR-36RBF INSTALL GUIDE10/30/2023 Page 11 of 56TEC_TM_151 | REV. E | EN
SITE PREPARATION
ROUGH OPENINGS & PLAN VIEWS
TR-36RBF / TR-36RBF
Flush installation: The front face of the unit is flush
with the surrounding cabinets
Proud (standard) Installation: The front face of the
unit extends beyond the surrounding cabinets
NOTE: DIMENSIONS MAY VARY BY ± 1/8” (3.175 mm)
ELECTRICAL AREA
WATER AREA
Rough Opening Dimensions
Flush Install Proud Install
Width 72-1/4"
(1835.15 mm)
71-3/4"
(1822.45 mm)
Depth 25-25/32"
(654.84 mm)
23-25/32"
(604.04 mm)
Height 8 4-1/4"
(2139.95 mm)
84"
(2,133.6 mm)
FLUSH INSTALL

TRUE RESIDENTIAL
®TEC_TM_151 | REV. E | EN10/30/2023Page 12 of 56 P#829102
SITE PREPARATION
ANTI-SWEAT FOAM END PANELS
When installing two or more True units side-by-side, be sure to install foam pads between the appliances (on each
appliance) to prevent moisture from developing on applications.
True recommends applying a panel to each of the units being joined together. To order foam pads, contact our
parts department at 844-849-6226 or TrueResidentialParts@TrueMfg.com.
NOTE: DIMENSIONS MAY VARY BY ± 1/8” (3.175 mm)

TR-36RBF INSTALL GUIDE10/30/2023 Page 13 of 56TEC_TM_151 | REV. E | EN
SITE PREPARATION
ELECTRICAL SAFETY
Power Supply: 115VAC, 60hz
Circuit Breaker: 15 Amp
Receptacle: 3-Prong Grounding-Type
• For all built-in models, the electrical supply should
be located within the indicated shaded area shown
in the figure below.
• Be sure to follow the National Electrical Code, as
well as local codes and ordinances, when installing
the receptacle.
• A ground fault circuit interrupter (GFCI) is not
recommended and may cause interruption of
operation.
• The power cord from this appliance is equipped
with a grounding plug which minimizes the
possibility of electric shock hazard.
• The wall outlet and circuit should be checked by a
licensed electrician to be sure the outlet is wired
with the correct polarity and properly grounded.
• If the outlet is a standard 2-prong outlet, it is your
personal responsibility and obligation to have it
replaced with a properly grounded wall outlet.
• DO NOT, under any circumstances, cut or remove
the ground prong from the power cord. For personal
safety, this appliance must be properly grounded.
• The refrigerator/freezer should always be plugged
into a dedicated electrical circuit. This provides
the best performance and prevents building wiring
circuits from overloaded, which could cause a fire
hazard from overheated wires.
• NEVER USE AN ADAPTER PLUG!
An adapter plug alters the original
equipment manufacturer (OEM)
plug configuration when connecting
it to a power source. True will not warranty any
refrigerator/freezer that has been connected to an
adapter plug.
• NEVER USE AN EXTENSION
CORD! An extension cord is any
component that adds length to the
OEM power cord when connecting
it to a power source. True will not warranty any
refrigerator/freezer that has been connected to an
extension cord.
• Before your new unit is connected to a power
supply, check the incoming voltage. If the recorded
voltage is less than the rated voltage for operation
(+/-5%) and amp rating, correct immediately. Refer
to the serial label for this voltage requirement.
• NEVER unplug your refrigerator/freezer by pulling
on the power cord. Always grip the plug firmly and
pull straight from the outlet.
• When moving the refrigerator/freezer for any reason,
take care to no roll over or damage the power cord.
• Immediately repair or replace all power cords
that have become frayed or otherwise damaged.
DO NOT use a power cord that shows cracks or
abrasion damage along its length or at either end.
• If the supply power cord is damaged, replace it
with OEM components. To avoid hazard, this should
be done by a licensed service provider or similarly
qualified person.
ELECTRICAL
AREA
NOTE: DIMENSIONS MAY VARY BY ± 1/8” (3.175 mm)

TRUE RESIDENTIAL
®TEC_TM_151 | REV. E | EN10/30/2023Page 14 of 56 P#829102
SITE PREPARATION
POWER CORD
INSTALLATION
Fully seat the power cord into the cabinet receptacle
until it locks in position. See fig. 1.
REMOVAL
Depress the red button. See fig. 2.
FIG. 1.
Fully insert the power
cord into the receptacle.
FIG. 2.
Push the red button to
remove the plug.

TR-36RBF INSTALL GUIDE10/30/2023 Page 15 of 56TEC_TM_151 | REV. E | EN
SITE PREPARATION
FIG. 1.
Water line connection. Fitting included, PEX not included
WATER SUPPLY REQUIREMENTS
The unit comes with 20” (508 mm) of polyethylene
tubing with a 1/4” O.D. push connector for customer
attachment.
Before installing your unit, prepare the water supply
line. Please see plumbing requirements in the
plumbing requirements table.
• Purge the water line prior to final connection to the
unit. This removes any debris present in the line.
• Only connect to a potable water supply!
• Do not connect to a hot water supply!
• Install the water filter before turning on the
water supply to the icemaker. See “Water Filter
Installation” (page 23).
• A copper line is not recommended for this
application.
• Check all water line fittings for leaks.
• Tape the supply line to the floor before moving the
unit into its final installation location.
• In the water connection area (see the rough opening
illustration), tape the water line to the floor.
WATER AREA
NOTE: DIMENSIONS MAY VARY BY ± 1/8” (3.175 mm)
Plumbing Requirements
Water Supply
1/4" PEX tubing (1/4" O.D. lines
and fittings not included
NOTE: Copper line is not
recommended
Flow Rate 0.5 gpm / 1.89 lpm
Operating Pressure 30-100 psi (207-689 kPa)
Incoming Water Temperature 33-100°F (0.6 -38°C)

TRUE RESIDENTIAL
®TEC_TM_151 | REV. E | EN10/30/2023Page 16 of 56 P#829102
NOTES

TR-36RBF INSTALL GUIDE10/30/2023 Page 17 of 56TEC_TM_151 | REV. E | EN
INSTALLATION
UNCRATING
ANTI-TIP BRACKET INSTALLATION
LEVELING
WATER FILTER INSTALLATION & PERFORMANCE DATA
KICKPLATE INSTALLATION
JOINING KIT INSTALLATION
PRESERVE THE MOMENT®

TRUE RESIDENTIAL
®TEC_TM_151 | REV. E | EN10/30/2023Page 18 of 56 P#829102
INSTALLATION
UNCRATING
REQUIRED TOOLS
• Drill or ratchet
• 7/16" Deep well socket
• Cutting Tool
WARNING! TIP OVER HAZARD. Unit
poses a tipping hazard when moving or
during installation. Do not move the unit
without the shipping brackets installed.
Do not remove the appliance from the pallet without
assistance. Failure to do so may result in property
damage, personal injury, or death.
NOTE: YOUR APPLIANCE MAY NOT EXACTLY
MATCH FIGURES SHOWN.
PROCEDURE
1. Inspect the pallet exterior packaging for visible
damage. See fig. 1. Follow TRUE’s recommended
procedure for accepting deliveries.
2. Remove the exterior packaging. Inspect the unit’s
exterior for visible or cosmetic damage. See figs.
2 and 3
NOTE: DO NOT DISCARD THE KICKPLATE
(SEE FIG. 4). IF MOVING THE UNIT A LONG
DISTANCE (E.G., BETWEEN BUILDINGS
OR ON STAIRS), DO NOT DISCARD THE
EXTERIOR CARDBOARD.
FIG. 1.
Inspect the exterior packaging for visible damage.
FIG. 2.
Inspect the unit’s exterior for visible damage.
FIG. 3.
Be sure to inspect behind the rainshield.
FIG. 4.
Packaged kickplate ships tucked under the unit’s front.

TR-36RBF INSTALL GUIDE10/30/2023 Page 19 of 56TEC_TM_151 | REV. E | EN
INSTALLATION
3. Closely inspect the unit’s interior for damage (e.g.,
scratches by shelving or damage to the door seal).
See fig. 5.
NOTE: DO NOT REMOVE THE INTERIOR
PACKAGING.
4. Move the unit as close as possible to the final
installation location.
NOTE: SECURE THE DOOR BEFORE MOVING
THE UNIT TO ITS FINAL LOCATION (SEE
FIG. 6). REPACKAGE THE UNIT WITH THE
EXTERIOR PACKAGING AS NEEDED BEFORE
MOVING THE UNIT.
5. Unbolt the shipping bracket from the castor
housing. Then, remove the anti-tip bracket. See
figs. 7 and 8.
NOTE: DO NOT DISCARD THE ANTI-TIP
BRACKET.
FIG. 5.
Inspect inside the unit for visible damage. Do not remove the
interior packaging.
FIG. 6.
Always secure the door closed before moving the appliance.
F I G . 7.
Shipping bracket bolt locations.
FIG. 8.
Anti-tip bracket shipping bolt locations. Other side not shown.
UNCRATING (CONT.)

TRUE RESIDENTIAL
®TEC_TM_151 | REV. E | EN10/30/2023Page 20 of 56 P#829102
INSTALLATION
FIG. 9.
Adjustment screw location. Other adjustment screw not shown.
FIG. 10a.
With assistance, carefully walk the appliance partially off the
back of the skid.
FIG. 10b.
Then, tilt the unit
backward and remove the skid.
FIG. 10c.
Carefully guide the
appliance to an upright position.
FIG. 11.
Only lift with appliance moving equipment from the SIDES,
NEVER the FRONT or REAR. Take care to avoid damaging the icemaker.
6. Slightly raise the rear leveling leg rollers. Turn the
front adjustment screw 1/4-1/2 turn clockwise.
See fig. 9.
7. With assistance, pull the unit off the back of the
pallet. Then, remove the pallet and Carefully guide
the unit to a fully upright position. See fig. 10.
CAUTION! Only lift with appliance
moving equipment from the unit’s sides,
never the front or rear. See fig. 11. Failure
to do so may result in personal injury or
appliance damage. Do not lift the unit by handles,
doors, or hinges.
shipping bracket
1/4 – 1/2 turn
adjustment screw
UNCRATING (CONT.)
1
2
This manual suits for next models
3
Table of contents
Other True Freezer manuals

True
True TMC-34 User manual

True
True TBB-24GAL-72G-S User manual

True
True TS-23FG User manual

True
True TBB-24-48FR User manual

True
True TRUE EUROPE TMW-36F Installation instructions

True
True TM-74F User manual

True
True TG2F-2S User manual

True
True TM-52F User manual

True
True TR1F-1G User manual

True
True TA2F-2G User manual