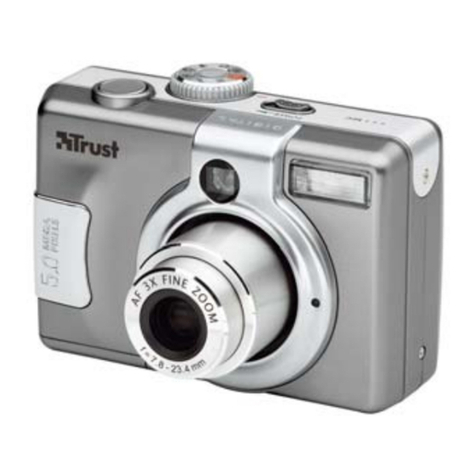
TRUST 922Z POWERC@M OPTICAL ZOOM
7 Viewing photograph & video on camera
Note: Do not judge the picture quality on the LCD screen- it is not
precise.
UK
1. Make sure the mode dial is at Playback mode ( ).
2. Press the display button (2, Fig. 2) twice to display the images in
thumbnails in set of nine.
3. Use 5-way OK button to select the image you want.
4. Press down the OK button to confirm the selection and magnify the
image to standard size on LCD screen.
5. Shift the OK button to left or right to view other images.
Note: During the viewing of the images, if you want to do something, press
the menu button (5, Fig. 2) and select the function (see table 13) you
want to do.
Note: The camera has 4x digital zoom that allows you to zoom in the image
up to 4 times its original size in 5 levels. Simply press the Zoom in
button while viewing the image and use 5-way OK button to adjust the
part of the image where you want to magnify on LCD screen.
8 Delete photograph or video on camera
1. Make sure the mode dial is at Playback mode ( ).
2. Press the menu button (5, Fig. 2).
3. Shift the OK button till ‘ ’.
4. Select either to delete Current or All recordings.
9 Install camera driver in Windows 98/98SE
Note: Make sure all other programs are closed during the installation.
Note: In the example, ‘D:\’ is used to indicate the CD-ROM drive. This may be
different for your computer.
Note: Use the language alter box on the top-right corner of Trust installer to
select the language you want to use for installation.
1. Insert the CD-ROM into your computer’s CD-ROM drive. The installation
program will start automatically. If it does not start automatically, carry out
the following:
a) Select 'Run' from the Windows Start menu.
b) Type [D:\SETUP.EXE] and click on 'OK' to start the Trust Software
Installer.
2. The Trust Software Installer will appear (see Fig. 9).
3. Click on “Install driver”.
4. Follow the on-screen instructions to complete the installation.
10 Connecting camera to computer
1. Turn on the computer.
2. Set the camera to Playback mode.
3. Connect the camera to the PC by the USB cable.
4. Turn on the camera.
7
