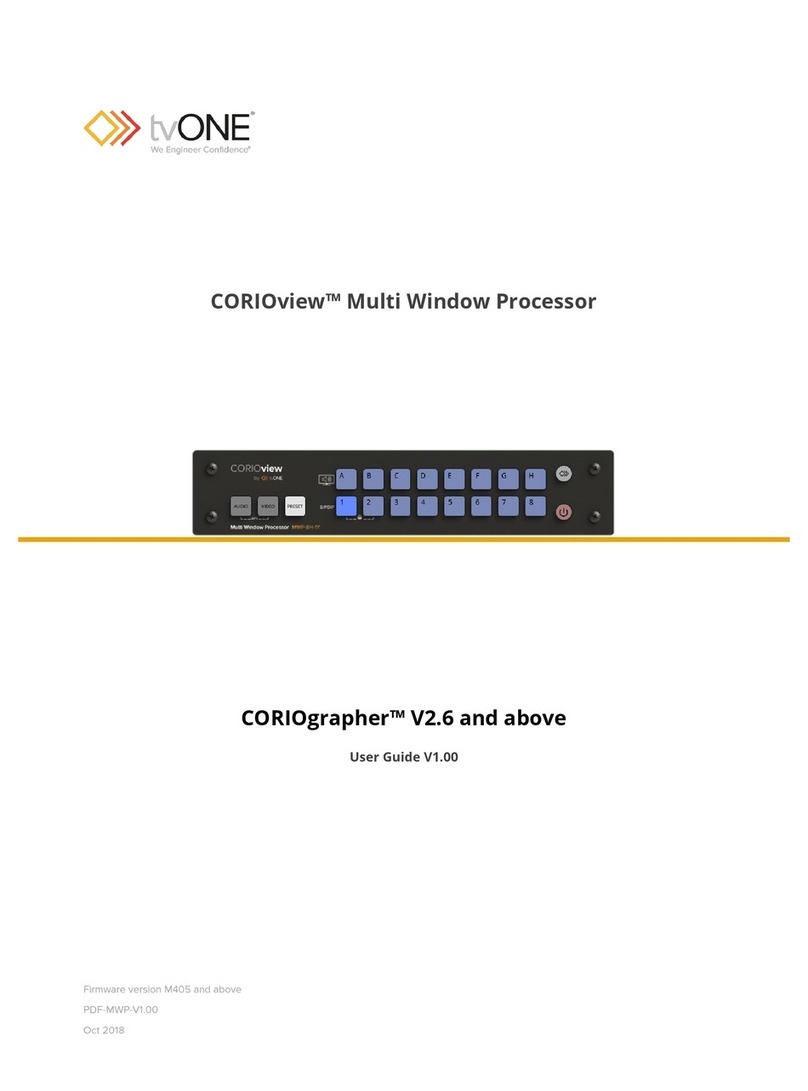
TV One CORIOview MWP Series User manual

Firmware versionM409and above
QSG-MWP-V1.20
Feb 2020
CORIOview™ Multi-window Processor
Classic mode
Dynamic mode
CORIOgrapher™V2.9 and above
Quick Start Guide V1.20

In this guide
Quick start 2
About your CORIOview™ 11
About the buttons of your CORIOview™ 12
Using the buttons of the front panel in dynamic mode 12
Using the buttons of the front panel in classic mode 16
Hardware recommendations 18
About CORIOgrapher™ 19
CORIOgrapher™ system requirements 19
Contact us 20
Start a simple meeting 22

QSG-MWP-V1.20 1
Get more help
You can read more online. To open the online help, select in CORIOgrapher,
or visit help.tvone.com/products/mwp-series/corioview.
Thanks for buying this CORIOview multi-window processor. CORIOview
works with CORIOgrapher software to support your needs with an easy-to-
use interface and front panel buttons.
CORIOview now runs in two modes. This Quick Start Guide covers setting
up your CORIOview in either mode.
About modes:
nClassic mode
Classic mode gives you more control over features like audio,
transitions, borders, and rotating your output. You can more fully
customize your layout, choose your output resolution, and even rotate
your displays into portrait mode. Use classic mode for more
sophisticated activities, such as broadcast management and medical
applications.
If you’ve had a CORIOview for a while running a firmware version below
409, you’re already using classic mode.
nDynamic mode
Dynamic mode automates more of the features of your CORIOview. It
has a simplified interface, automatic layouts, and is easier to use, even
if you’re not very experienced. As a result, dynamic mode is better for
activities like running meetings and lectures, and security monitoring.

2 tvONE
Quick start
This Quick Start Guide gives you an overview of the steps involved in
setting up your CORIOview™ hardware and CORIOgrapher™ software.
It's easy to get started with your CORIOview, but if you want more help with any
of these steps, or with using the features of CORIOgrapher, select in
CORIOgrapher and search, or ask a question. Or visit
help.tvone.com/products/mwp-series/corioview.
1. Install your hardware.
a. Connect your display or displays to your output module.
Connect a source to each port of your input modules. If you intend
to use classic mode, we recommend you label your cables 1 up to 8.
If you intend to use dynamic mode, we recommend you label your
cables A up to H, from left to right.
Connect the LAN port of the CPU module to your network.
Video tearing
Using a mixture of frame rates and/or resolutions can cause video
tearing. For best results, make sure your display and sources use the
same frame rate.
b. OPTIONAL: Connect a digital audio device to the S/PDIF audio
output.
c. Power on your CORIOview.
2. Check your display looks correct for each source.

QSG-MWP-V1.20 3
Press PRESET, and then select the highest number button that is lit. For
example, if buttons 1-4 are dimly lit, press button 4.
Make sure your sources are playing, check that each picture looks
correct.
Not the source you were
expecting
Blue screen
Display keeps dropping signal
No image
Possible causes:
nSource connected incorrectly
nInput ports named incorrectly
nSource not playing
nSource resolution not
supported
nDisplay does not support HDCP
nSource does not support the
required number of HDCP keys
nPoor quality or damaged cables
Sources and display connected
correctly
3. Optional: test the audio from each source.
a. Press AUDIO, then press button 1 and check you can hear your
source.
b. If you can hear your source, repeat this step for buttons 2-8.
c. If you can't hear your source, check it's not muted, at the source
device or in CORIOgrapher.

4 tvONE
Read more about controlling audio with CORIOgrapher in tvONE Help. In
CORIOgrapher, select and search, or ask a question.
4. Install CORIOdiscover and CORIOgrapher.
Download the latest version of CORIOdiscover and CORIOgrapher from
tvone.com/tech-support/software.
5. Open CORIOgrapher and select your CORIOview.
Enter your username and password to log in, and select Read to load
your configuration.
nThe first time you log in, make sure the Secure option is cleared.
nThe default username is admin, and the default password is
adminpw.

QSG-MWP-V1.20 5
If you aren't connected to a CORIOview, you can create an offline
configuration for your device.
The media player of the Streaming media and 4K playback input module is
not available when you work in an offline configuration.
6. Choose your operating mode.
You can use your CORIOview in two modes. Classic mode gives you
more control. Dynamic mode has a simplified interface, and some
functions are automated. Classic mode is better for more sophisticated
activities like broadcast management and medical applications, dynamic
mode is better for running meetings and lectures, and for security
monitoring.
You can change the operating mode later.
Read about changing your operating mode in tvONE Help.
If you selected classic mode, continue on page 6.
If you selected dynamic mode, continue on page 8.

6 tvONE
If you selected classic mode
1. Optional: enable secure mode.
a. Select > Networking.
b. Select Secure connection.
c. Select Save >Save.
CORIOview restarts.
d. Select Secure and log in.
2. Optional, but recommended: name your input and output ports.
nSelect > Slot Status. Give each port a name that describes the
device connected to it.
3. Optional: If you want to use more than one display, enable output
cloning.

QSG-MWP-V1.20 7
a. From Dashboard, select .
b. From Properties< (Clone Output) select On.
4. Optional: If you want your displays in portrait orientation, enable
output rotation.

8 tvONE
a. From Dashboard, select .
b. Select an option from Properties >Orientation.
If you selected dynamic mode
1. Optional: enable secure mode.
a. Select > Networking.
b. Select Secure connection.
c. Select Save >Save.
CORIOview restarts.
d. Select Secure and log in.
2. Optional: If you want to use more than one display, enable output
cloning.

QSG-MWP-V1.20 9
a. From Dashboard, select .
b. From Properties > (Clone Output) select On.
3. Optional: customize your window labels.
You can choose the label text that appears on each window on your
display.
a. From Dashboard, select underneath a presenter.
For example, to add a custom label for presenter A, select
underneath presenter A.
b. From Properties, customize your label. Labels can be up to 20
characters long. For special characters, select .

10 tvONE
Troubleshooting problems setting up
Read troubleshooting advice in tvONEhelp. In CORIOgrapher, select and
search, or ask a question.
Next steps
Congratulations, your CORIOview is set up!
If your CORIOview contains one or more Streaming media and 4K playback
input modules, you need to set those up too.
Read about setting up the Streaming media and 4K playback input module
in tvONEhelp.
If you're using dynamic mode, you can start a simple meeting.
Read about starting a simple meeting on the back cover of this quick start
guide.

QSG-MWP-V1.20 11
About your CORIOview™
Modes
CORIOview has two operating modes.
nIn dynamic mode, use your CORIOview to present and share screens in
a meeting or huddle room. You can connect up to eight presenters at
once. Dynamic mode is also great for security monitoring.
nIn classic mode, use your CORIOview to show up to eight video sources
on a single display.
CORIOview rear panel
S/PDIF
audio
output
Connect to audio device with RCA
Input
module
(black)
Connect to sources
Power
supply
input
Connect to the power supply that came with your
CORIOview
Output
module
(white)
Connect to displays
Note: if you have more than one output port and
connect two displays, they both show the same
output.
CPU
module
Connect to your network with Ethernet
Optional: connect to serial controller with RS-232
Optional: connect directly to a PC with Ethernet or
RS-232

12 tvONE
About the buttons of your CORIOview™
The buttons on the front panel of your CORIOview perform different tasks
depending on the mode you're operating in.
Using the buttons of the front panel in
dynamic mode
In dynamic mode, you can use the buttons of the front panel to choose an
active presenter, choose how many presenters appear on your display, and
choose which presenters appear. You can also cut all video to black, mute
audio, lock the buttons, enter and exit standby mode, and turn on and off
labels.
Presenters are sources. Apresenter could be a person with a laptop, or
could be a video source, for example, a camera feed.
You can show multiple presenters on the same display by using either the
lobby or presets. You can choose a presenter to be the active presenter.
Active presenters appear in larger windows and can share audio.
Using the lobby
When the PRESET buttons is unlit, all connected presenters appear in the
lobby. The lobby changes dynamically to show all connected presenters
together.
nTo enter the lobby, if the PRESET button is lit, press the PRESET button,
and then press 1.

QSG-MWP-V1.20 13
In the lobby:
nThe PRESET button is unlit.
nA button from 1-8 is lit to tell you how many presenters are connected.
nButtons from A-H are lit dimly to tell you which presenters are
connected.
nYour display shows all connected presenters.
Using preset window layouts
If you want to show only specific presenters on your display, enable
presets. When presets are enabled, the PRESETbutton is lit, and buttons 1-
8 select presets.
Presets are layouts that show a specific number of windows, and specific
presenters or sources.
nTo enable presets, press PRESET.
nTo select a preset, press a lit button from 1-8.
When PRESETis lit:
nButtons from 1-8 are lit dimly to tell you which presets are available.
The number of connections available depends on the number of input
ports you have.
nA button from 1-8 is lit more brightly to tell you how many windows
appear on your display.
nButtons from A-H are lit dimly to tell you which presenters are
connected.
nYour display shows the number of windows you selected.

14 tvONE
If you haven't customized your presets, the windows fill up in
alphabetical order.
Customizing presets
You can choose which presenters appear in which windows when you use
presets. Customized presets save on your device, so they're there next time
you choose that preset.
1. Press and hold the button for the preset you want to customize.
For example, if you want to customize which presenters appear in the
three windows of preset 3, press and hold button 3.
2. For each window, press a button from A-H.
The presenters you chose now appear in the windows you chose, even if
they're not connected.
3. To cancel during customization, press PRESET.
Choosing an active presenter
The active presenter appears in a larger window and can share audio.
nPress a lit button from A-H to choose the active presenter. All other
connected presenters appear as thumbnails below the active
presenter.
nPress the button again to switch between showing the chosen

QSG-MWP-V1.20 15
presenter full screen and with thumbnails.
nIf you're using the lobby, press any number button to return to the
lobby.
nIf you enabled presets, press the number button for the preset you
want to return to.
Locking the buttons of the front panel
nTo lock or unlock the buttons of the front panel, press and hold
buttons 1 and 2.
When the front panel is locked, only buttons 1 and 2 are lit dimly.
Window labels
You can show or hide labels that tell you which presenter appears in which
window. If someone is presenting full screen, the label shows for three
seconds and then hides.
nTo show or hide labels, press .
Cutting video to black and muting audio
You can cut all video to black and mute all audio.
nPress VIDEO. When VIDEOis lit, all presenters are cut to black and
muted.
Muting audio
You mute and unmute audio. Only the active presenter can share audio.
nPress AUDIO. When AUDIO is lit, all presenters are muted.
Entering and exiting standby mode
In standby mode, your CORIOview reduces power and does not display
content.
nTo enter and exit standby mode, press and hold .
When your CORIOview is in standby mode, the button is lit red and
other buttons are not lit.

16 tvONE
Using the buttons of the front panel in classic
mode
In classic mode, you can use the buttons of the front panel to load presets,
choose which window to hear, change the source playing in a window, lock
the buttons, enter and exit standby mode, and display information about
how sources are assigned to windows.
Preset mode
In preset mode, buttons A to H and 1 to 8 select presets.
PRESET is lit.
Buttons lit
dimly
Buttons have presets
assigned to them.
Button lit
more brightly
The preset assigned to
button 2 is active.
Unlit buttons Buttons do not have
presets assigned.
Video mode
In video mode, buttons A to H select windows, and buttons 1 to 8 select
sources.
VIDEO is lit.
Buttons lit
dimly
Sources and windows are
available but not active.
Buttons lit
more
brightly
Source 1 is playing in
window A.
Unlit buttons Buttons do not have
windows or sources
assigned.

QSG-MWP-V1.20 17
Audio mode
In audio mode, buttons 1 to 8 and A to H select sources to listen to. Both
sets of buttons select the same sources, for example, you can select source
1 with button 1 or button A.
AUDIO is lit.
Buttons lit
dimly
Audio is available but not
active.
Buttons lit
more brightly
You hear source 1 from your
display and from any device
connected to the S/PDIF
output.
Unlit buttons Buttons do not have windows
or sources assigned.
Locking the buttons of the front panel
nTo lock or unlock the buttons of the front panel, press and hold
buttons 1 and 2.
When the front panel is locked, buttons 1 and 2 are lit dimly.
Entering and exiting standby mode
In standby mode, your CORIOview reduces power and does not display
content.
nTo enter and exit standby mode, press and hold .
When your CORIOview is in standby mode, the button is lit red and
other buttons are not lit.
Viewing sources assigned to windows
You can see which sources are assigned to which windows on your display.
nTo show or hide sources assigned to windows, press .

18 tvONE
Selecting a source for a window
To select a source for a window:
1. Press VIDEO.
2. To select a window, press a button from A to H.
3. To select a source to play in that window, press a button from 1 to 8.
Selecting a preset
Window layouts are saved as presets. To select a preset:
1. Press PRESET.
2. Press a button from 1 to 8 or A to H.
Selecting audio
You hear audio from your display and from any device connected to the
S/PDIF output. To select a source to hear:
1. Press AUDIO.
2. Press a button from 1 to 8.
Hardware recommendations
At tvONE, we design our products to the highest quality standards. To get
the best results from our products, we recommend that you use the best
quality connectors, cables, and adapters. Consider the points below when
you choose accessories and position equipment.
nFor best results with HDMI/DVI, use cables under 15m long, or shorter
if you use connection adapters. If you need to place your products
more than 15m apart, use a signal extender.
See our range of signal extenders at tvone.com/signal-extension-
systems.
nFor best results with HDMI, use High Speed or Premium High Speed
HDMI cables.
nIn industrial environments, use shielded Ethernet cables.
Shielded Ethernet cables are often marked F/UTP or FTP. Use shielded
Cat 6 cables with HDBaseT input and output modules and Streaming
media and 4K playback input modules.
nUse good quality USB 3.0 drives.
Table of contents
Other TV One Computer Hardware manuals

TV One
TV One C2-3300 Series User manual

TV One
TV One CORIOview MWP-4Hi-1Y User manual

TV One
TV One CORIOview User manual

TV One
TV One C2-3300 Series User manual

TV One
TV One CORIOview User manual

TV One
TV One C2-160 User manual

TV One
TV One C2-1000 Series User manual

TV One
TV One C2-7000 Series User manual
TV One
TV One C2-6204 User manual

TV One
TV One C2-7300 User manual