7
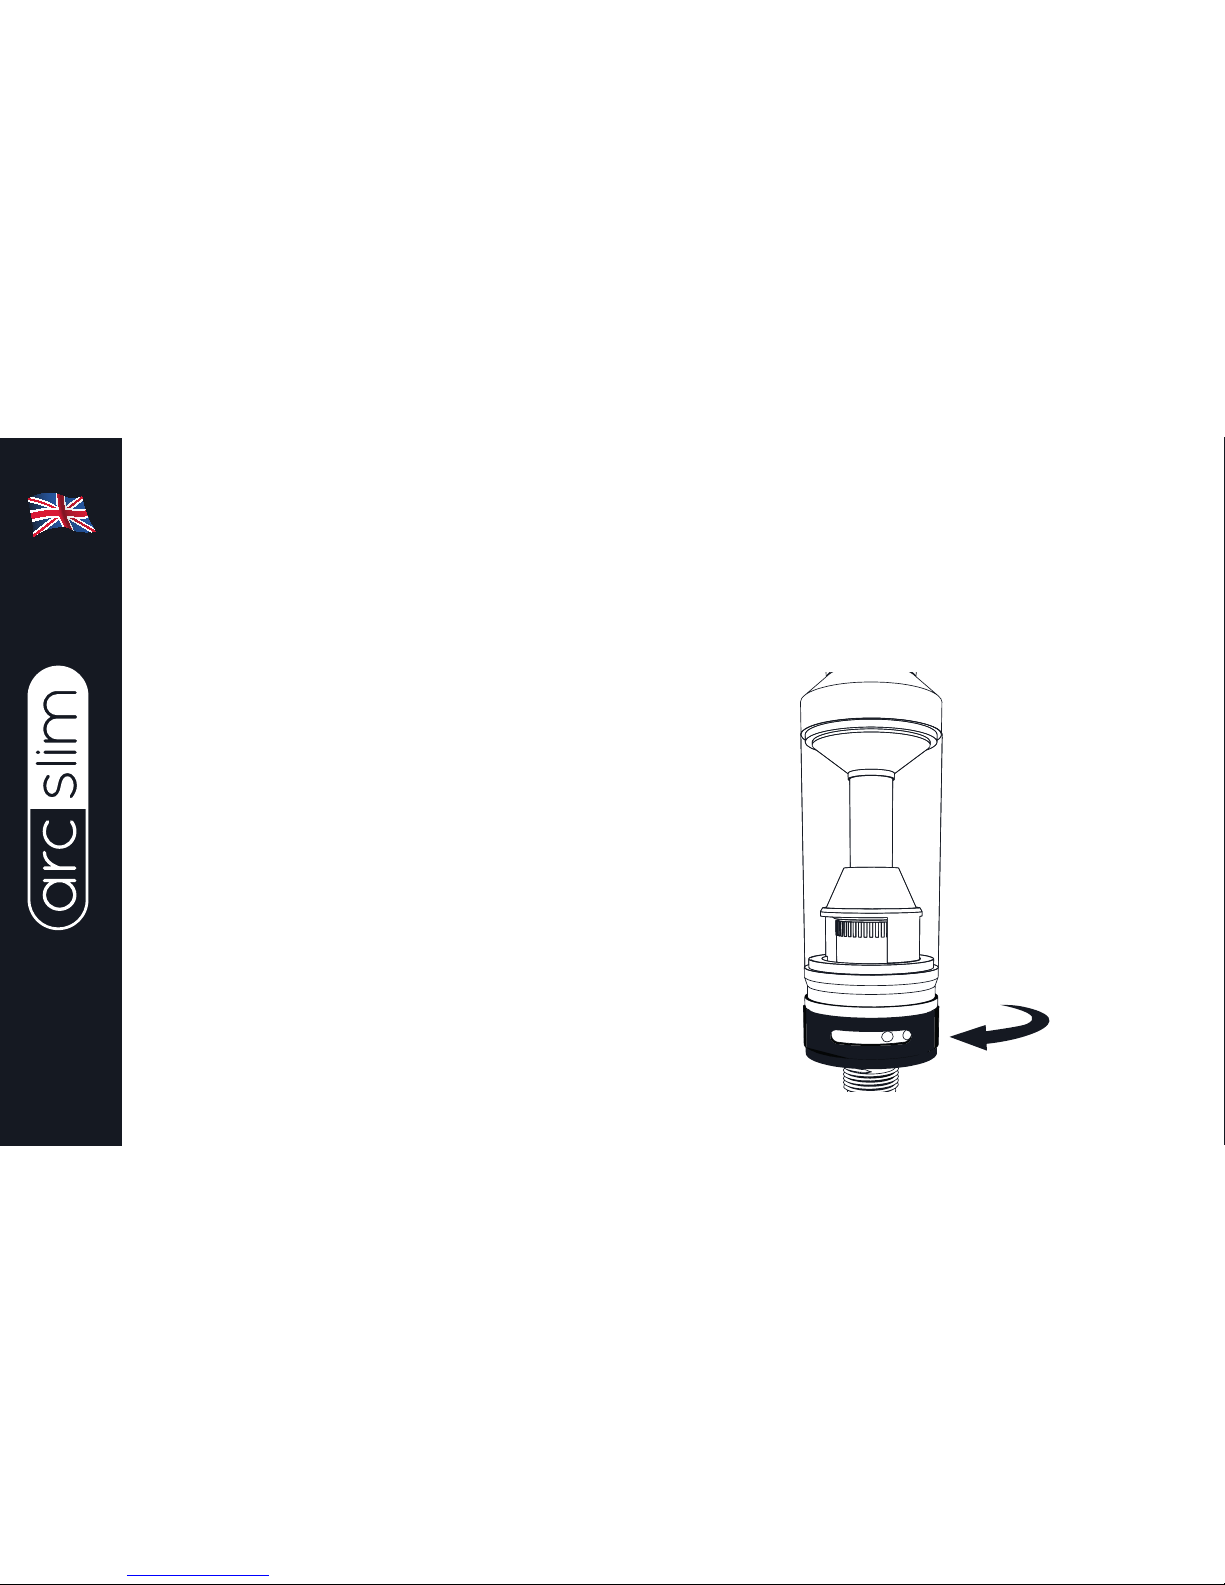
Note: After priming a new atomizer
head and filling the tank, it is
recommended to wait 5-10 minutes
before vaping to ensure the atomizer
head is fully saturated.
Atomizer Head Lifespan:
Atomizer heads do not last forever
and need to be periodically
replaced. Time in use before a
replacement is required is generally
from a few days to several weeks,
depending on the power setting
used, vaping style, and flavour and
type of E-liquid. A slight burnt taste,
general loss of vapour production, or
a reduction in flavour intensity can all
be indicators that the atomizer head
requires replacement.
Powering on and off:
To switch the arc Slim on, quickly
press the power button 5 times; the
LED battery life indicator will flash
5 times indicating the arc Slim is
powered on. To turn the arc Slim
off, quickly press the power button
5 times.
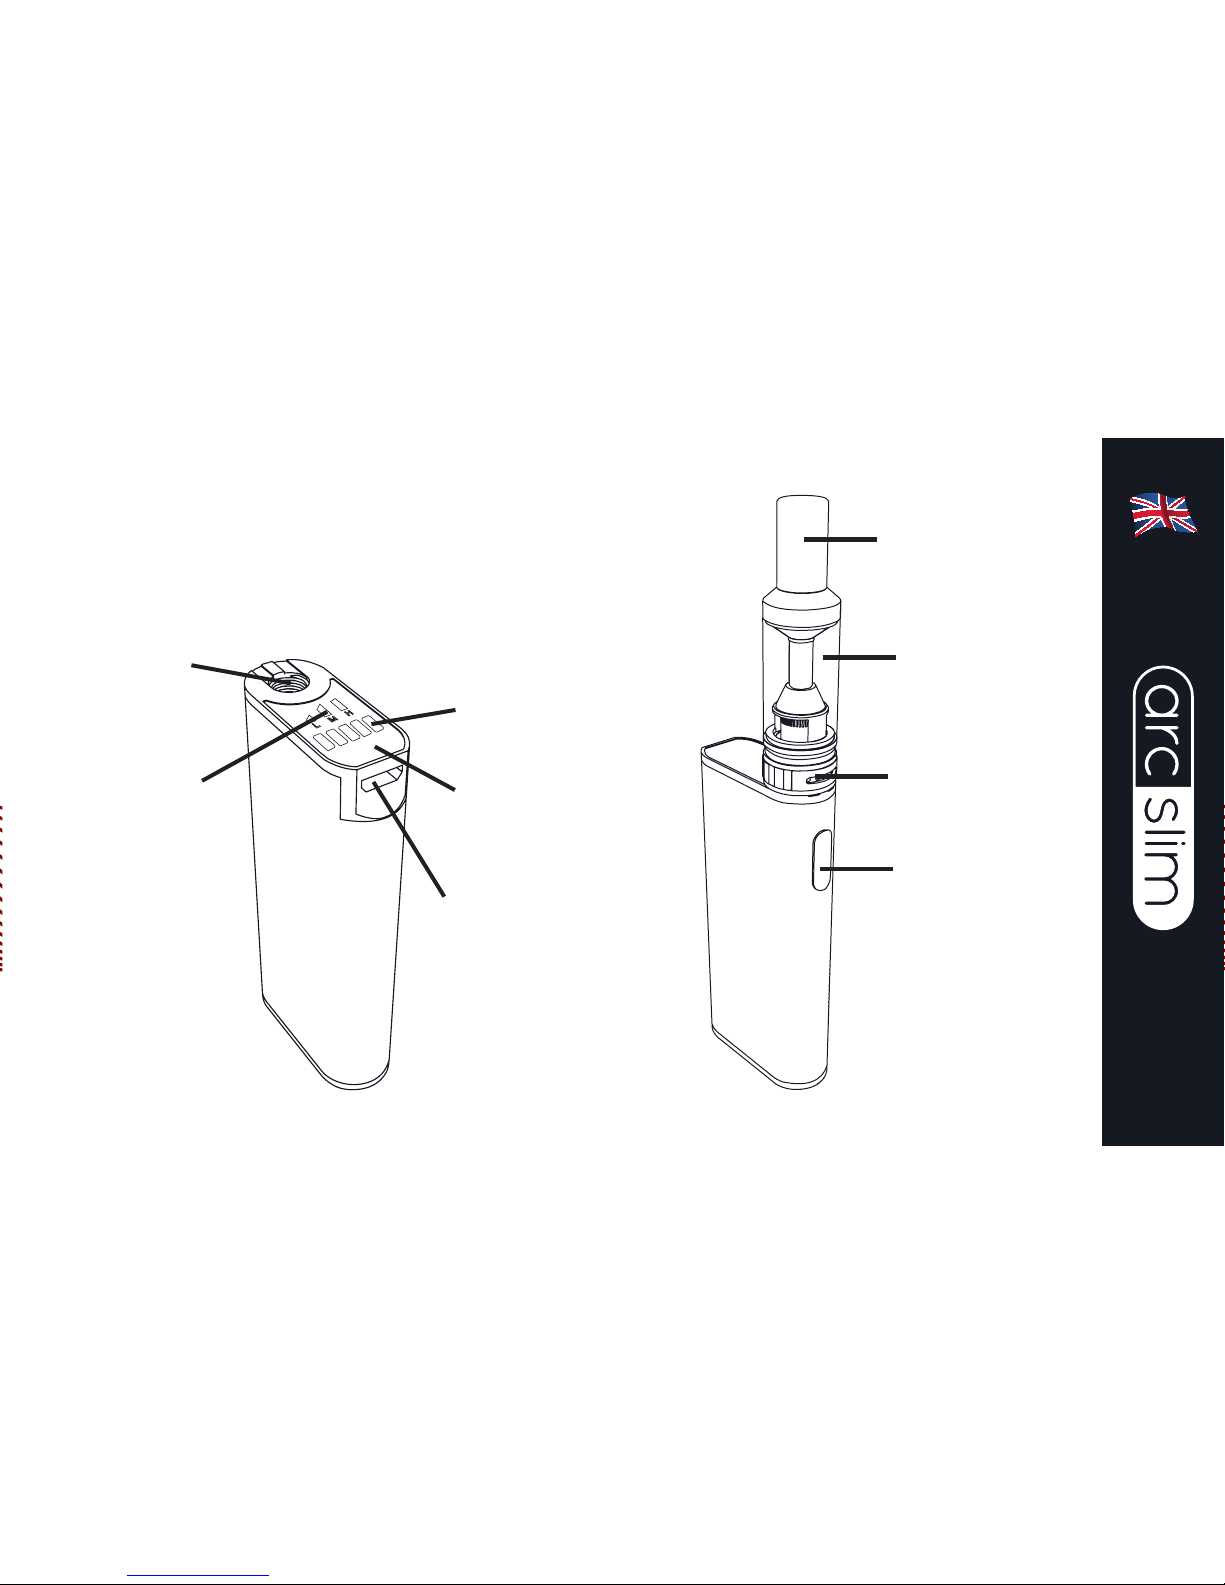
Using Your arc Slim Kit