manuals.online logo
Brands
  1. Home
  2. •
  3. Brands
  4. •
  5. UBERHAUS DESIGN
  6. •
  7. Plumbing Product
  8. •
  9. UBERHAUS DESIGN 80475008 User manual

UBERHAUS DESIGN 80475008 User manual

1
1
2
2
Avant de commencer
Before you begin
Liste de pieces
Fermez la soupape
.
.
.
.
Cover tiles on the wall and make sure the distance between the pipe center
to the finished wall is between 35-50mm. Attention: leave enough space
on both sides of the thermostatic valve to make sure the caps on both sides
can be removed for future maintenance.
Poser les carreaux de céramique sur le mur. Le centre du tuyau devrait être
à 35-55mm de la surface du mur fini. Attention: laisser un esapce suffisant
des deux côtés de la soupape thermostatique afin de pouvoir retirer les
capouchons pour un entretien ultérieur.
Boucher la sortie et ouvrir l’eau. Vérifier la présence de fuites en vérifiant
la pression de l'eau durant deux heures.
Connect inlet and outlet pipes. Attention: before this step, clean pipes to
get rid of mud, sand or other debris that could block the pipes. The
thermostatic cartridge where COLD and HOT are printed is for water inlet
with hot water on the left and cold water on the right. The rest is for outlets.
Any other connections may cause shower malfunction or accidents.
Put connectors on the valve outlets. Wrap Teflon tape around the threads.
Use self-tapping screws to fix the valve body onto the wall, 900-1000mm
off the floor.
3Plug water outlets and turn on water supply. Make sure there is no leakage
occurrence by checking pressure for two hours.
Connecter les tuyaux d’entrée et de sortie d’eau. Attention : ouvrir d’abord
l’eau pour évacuer de la boue et d’autres débris à l’intérieur des tuyaux.
Le corps de valve thermostatique dont l’extrémité imprimée de marques
COLD(FROID) et HOT(CHAUD) représente l'entrée d’entrée d’eau, avec
l'eau chaude à gauche et l'eau froide à droite. Le reste des extrémités
est pour la sortie d’eau. Bien installer ces raccords pour éviter un mauvais
fonctionnement de la douche ou un risque d'accident.
Installer les raccords sur les sorties d'eau. Enrouler les connecteurs avec
du ruban Téflon. Utiliser des vis autotaraudeuses pour fixer le corps de
valve au mur, à une hauteur de 900-1000 mm du sol.
3
Description
Collet de bec
Joint torique
Adaptateur
Filtre
Cartoucher
Escutcheon
Anneau décoratif
Flexible hose
Adaptateur
No
80475008
Inverseur
Cheville d'ancrage
Écrou
Shower head Pomme de douche
Bras
Collet d,arrêt
Diverter
3
3
4
4
.
After bathroom renovations are finished, take off the protection
sheath from valve body, and put on the escutcheon and handle.
Put on protection sheath for the handle and tighten with pliers.
Screw escutcheon onto the shower arm. Wrap threads of the
shower arm with Teflon tape and connect to the pipe. Connect the
shower head to the shower arm and tighten securely.
Une fois les rénovations de la salle de bain terminées, retirer le
manchon de protection du corps de la soupape. Puis, installer
l'anneau décoratif et la poignée. Enfin, installer le manchon de
protection pour la poignée et serrer à l'aide de pinces.
5
5
2
Wrap Teflon tape around the spout adaptor and connect it to the
pipe (Attention: screw hole is kept downwards). Position the
escutcheon and install the spout. Adjust the spout and screw up
M6 setscrews.
Visser d’abord l’anneau décoratif sur le bras de douche. Enrouler
du téflon sur la partie filetée et connecter les tuyaux, puis visser la
pomme de douche au bras de douche. Bien serrer en place.
2
Enrouler du ruban téflon sur l'adaptateur de bec et connecter les
tuyaux (Attention : le trou de vis vers le bas), installer l’anneau
décoratif et connecter le bec puis ajuster la circulation de l’eau,
enfin serrer avec des vis M6.
.
6
6
Drill a Ø8 hole 700mm directly over the outlet connector and insert
anchors. Fix the mounting piece onto the wall with self-tapping screws.
2Put escutcheons onto the hose joint and the connecting rod separately.
Wrap threads of the hose joint with Teflon tape and screw it into the
outlet connector.
3Insert the lower end of sliding rail into the hole of hose joint. Slide the
connecting rod into the mounting piece and tighten with M5 screws.
Place the escutcheon to the wall.
Percer un trou de Ø8 (700 mm) directement sur le raccord de sortie
d'eau, puis insérer les chevilles d'ancrage. Fixer le support de montage
au mur à l'aide de vis autofileteuses.
2Placer les anneaux décoratifs sur le raccord de tuyau et la tige de
levage. Enrouler du ruban Téflon sur les filets, puis visser dans les
raccords de sortie d'eau.
3Insérer la partie inférieure de la tige élévatrice dans le trou de
l’adapteur du tuyau flexible et connecter la tige de connexion sur la
pièce de montage, puis serrer avec une M5, enfin mettre l’anneau
décoratif contre le mur.
Vérifier l’étanchéité des raccords en ouvrant
lentement l’alimentation d’eau. En cas de fuite,
Verify that there are no leaks by slowly opening the
hot and cold water. In case of a leak, shut off the
water supply and tighten connectors 1⁄4 turn
using the appropriate tool. Repeat if necessary.
Turn faucet on and leave both hot and cold
water running for at least one minute to evacuate
all air trapped in the pipes. Turn off water.
You can now turn on water supply.
couper l’alimentation puis serrer les raccords d’un
quart de tour avec l’outil approprié. Répéter au
besoin.
Ouvrir l’eau chaude et l’eau froide pendant au
moins une minute afin d’évacuer l’air emprisonné
dans la tuyauterie. Couper l’alimentation d’eau de
nouveau.
Rétablir I’alimentation d’eau.
Testing connections
Your UBERHAUS Design faucet is now installed and ready to use!
Vérification des raccordements
Votre robinet UBERHAUS Design est maintenant installé et prêt à être utilisé!
80475008
80475008 MODEL
BATHTUB SHOWER FAUCET / THERMOSTATIC CARTRIDGE
ROBINET DE BAIN ET DOUCHE / CARTOUCHE THERMOSTATIQUE
MOD LEÈ 80475008
Entretien
  If the water flow is less than normal and temperature control is imprecise after a period of usage, it is often
due to hard water which blocks the filter nets on both sides of the valve as well as the filter net of thermostatic
cartridge. Cleaning Method: first, turn off the main valve. Then as shown in diagram, put the rubber sleeve on
the handle, remove the handle with pliers, take out the escutcheon, unscrew the end caps with a coin, take
out the small filter net and clean it with brush and vinegar. After completion, rinse it and reassemble all the
parts back.
If the water flow is still small and temperature control still imprecise, then clean the filter net of thermostatic
cartridge. The correct method as specified in diagram: Unscrew the setscrew and remove handle body,
setscrew, handle, stop collar and packing nut by turning, then remove thermostatic cartridge. Clean the filter
net as mentioned above. Then reinstall all the parts back. Attention: keep the four parts at one line: slot on the
thermostatic cartridge, slot mark on the packing nut, stop collar and the mark of 38℃. (The slot mark on the
packing nut is kept upwards.)
Screwdriver
Tournevis
Wrench
Clé
Wrench
Clé
Wrench
Clé Allen
Rubber cover
Protection en caoutchouc
Pliers
pinces
Pliers
pinces
GARANTIE LIMITÉE À VIE
LIMITED LIFETIME WARRANTY
THANK YOU FOR PURCHASING THIS UBERHAUS DESIGN FAUCET. THESE PRODUCTS HAVE BEEN MADE
TO DEMANDING, HIGH-QUALITY STANDARDS AND ARE LIFETIME GUARANTEED FOR DOMESTIC USE
AGAINST MANUFACTURING FAULTS. THIS WARRANTY DOES NOT AFFECT YOUR STATUTORY RIGHTS.
IF THIS FAUCET SHOULD EVER DEVELOP A LEAK OR DRIP DURING THE WARRANTY PERIOD, WE WILL
FREE OF CHARGE PROVIDE THE CARTRIDGES NECESSARY TO PUT THE FAUCET BACK IN GOOD
WORKING CONDITION UNDER NORMAL INSTALLATION, USE AND SERVICE. REPLACEMENT PARTS MAY
BE OBTAINED BY CALLING MECANAIR CUSTOMER SERVICE DIRECTLY AT 1-866-206-0888 OR VISIT
WWW.MECANAIR.NET. PROOF OF PURCHASE (ORIGINAL SALES RECEIPT) FROM THE ORIGINAL
CONSUMER PURCHASER MUST ACCOMPANY ALL WARRANTY CLAIMS.
NORMAL WEAR AND TEAR, INCLUDING ACCESSORY WEAR, IS NOT COVERED UNDER THIS WARRANTY.
THE FAUCET IS GUARANTEED IF USED FOR NORMAL TRADE PURPOSES, AND IS VALID FOR THE
ORIGINAL BUYER ONLY. ANY WARRANTY IS DEEMED INVALID IF THE FAUCET HAS BEEN USED
IMPROPERLY, OR SUBJECT TO NEGLECT. RONA IS NOT RESPONSIBLE FOR ANY COSTS RELATED TO
LABOUR, INJURIES OR ANY OTHER LOSS INCURRED DURING THE PRODUCT INSTALLATION, REPAIR
OR REPLACEMENT, INCLUDING ANY INDIRECT OR CONSEQUENTIAL DAMAGES.
DUE TO CONTINUOUS PRODUCT IMPROVEMENT, WE RESERVE THE RIGHT
TO CHANGE THE PRODUCT SPECIFICATIONS WITHOUT PRIOR NOTICE.
MERCI D’AVOIR ACHETÉ CE ROBINET UBERHAUS DESIGN. CE PRODUIT A ÉTÉ CONÇU POUR RÉPONDRE À
DES NORMES DE HAUTE QUALITÉ TRÈS STRICTES ET EST GARANTI À VIE POUR USAGE DOMESTIQUE
CONTRE TOUT DÉFAUT DE FABRICATION SUIVANT LA DATE D’ACHAT. CETTE GARANTIE N’AFFECTE
PAS VOS DROITS LÉGAUX.
DANS LE CAS OÙ LE ROBINET AURAIT DES FUITES OU DÉGOUTTEMENTS DURANT
LA PÉRIODE DE GARANTIE, NOUS VOUS ENVERRONS LES CARTOUCHES SANS FRAIS AFIN DE LE
REMETTRE EN BONNE CONDITION EN AUTANT QUE LE PRODUIT AIT ÉTÉ INSTALLÉ ET UTILISÉ SELON
DES CONDITIONS NORMALES. LES PIÈCES DE REMPLACEMENT PEUVENT ÊTRE OBTENUES EN
COMMUNIQUANT DIRECTEMENT AVEC LE SERVICE À LA CLIENTÈLE DE MECANAIR AU 1-866-206-0888
OU EN VISITANT LE WWW.MECANAIR.NET. UNE PREUVE D’ACHAT (REÇU ORIGINAL D’ACHAT) DU
CONSOMMATEUR QUI A FAIT L’ACHAT DU PRODUIT DOIT ACCOMPAGNER TOUTE RÉCLAMATION DE
GARANTIE.
L’USURE NORMALE N’EST PAS COUVERTE PAR CETTE GARANTIE. CE ROBINET EST GARANTI
SI UTILISÉ DE FAÇON NORMALE ET EST VALIDE POUR LE PREMIER ACHETEUR SEULEMENT. TOUTE
GARANTIE EST INVALIDE SI LE ROBINET A ÉTÉ UTILISÉ DE FAÇON NON RECOMMANDÉE, OU A FAIT
L’OBJET DE NÉGLIGENCE. RONA N’EST PAS RESPONSABLE DES FRAIS DE MAIN-D'OEUVRE, DES
BLESSURES OU TOUTE AUTRE PERTE OU DOMMAGES SUBIS PENDANT L’INSTALLATION, LES
RÉPARATIONS OU LE REMPLACEMENT, INCLUANT TOUT DOMMAGE CONSÉCUTIF OU INDIRECT.
DÛ À L’AMÉLIORATION CONTINUE DE NOS PRODUITS, NOUS NOUS RÉSERVONS LE DROIT DE
MODIFIER LES CARACTÉRISTIQUES DE CE PRODUIT SANS AVERTISSEMENT.
Maintenance
Attention to the relevant
position of slot, slot mark
and stop collar.
Attention aux positions
respectives de la fente
d'alignement, de sa
marque ainsi que du
collet d'arrêt.
Filtre
Si le débit d'eau est inférieur à la normale et que le contrôle de température manque de précision après une
certaine période d'utilisation, il est possible que votre eau soit dure et que les minéraux bloquent les filtres
dans les valves et la soupape thermostatique.
Pour nettoyer, fermez tout d'abord l'arrivée principale d'eau. Puis, tel qu'indiqué dans l'illustration ci-dessus,
faites tourner les deux poignées dans le sens antihoraire afin de garder les leviers à l'horizontale; puis retirez
l'anneau décoratif en l'inclinant. Dévissez les embouts à l'aide d'un sou, retirez les filtres et nettoyez-les à
l'aide d'une petite brosse et de vinaigre. Réassemblez les pièces en ordre inverse.
Si le débit est encore faible et la température encore imprécise, nettoyez le filtre de la cartouche thermosta-
tique. Tel qu'illustré ci-dessus, retirez le bouchon à l'aide d'un objet pointu. Retirez la poignée, le collet d'arrêt
et le contre-écrou, puis la cartouche thermostatique. Nettoyez le filtre selon la méthode indiquée ci-dessus.
Puis réinstallez toutes les pièces en ordre inverse. Attention: gardez ces pièces alignées: la fente de la
cartouche thermostatique, la fente d'alignement de l'écrou, le collet d'arrêt et l'indicateur à 38ºC. (la fente du
contre-écrou devrait être placée à la verticale.)

Other UBERHAUS DESIGN Plumbing Product manuals

UBERHAUS DESIGN 70115002 User manual

UBERHAUS DESIGN

UBERHAUS DESIGN 70115002 User manual

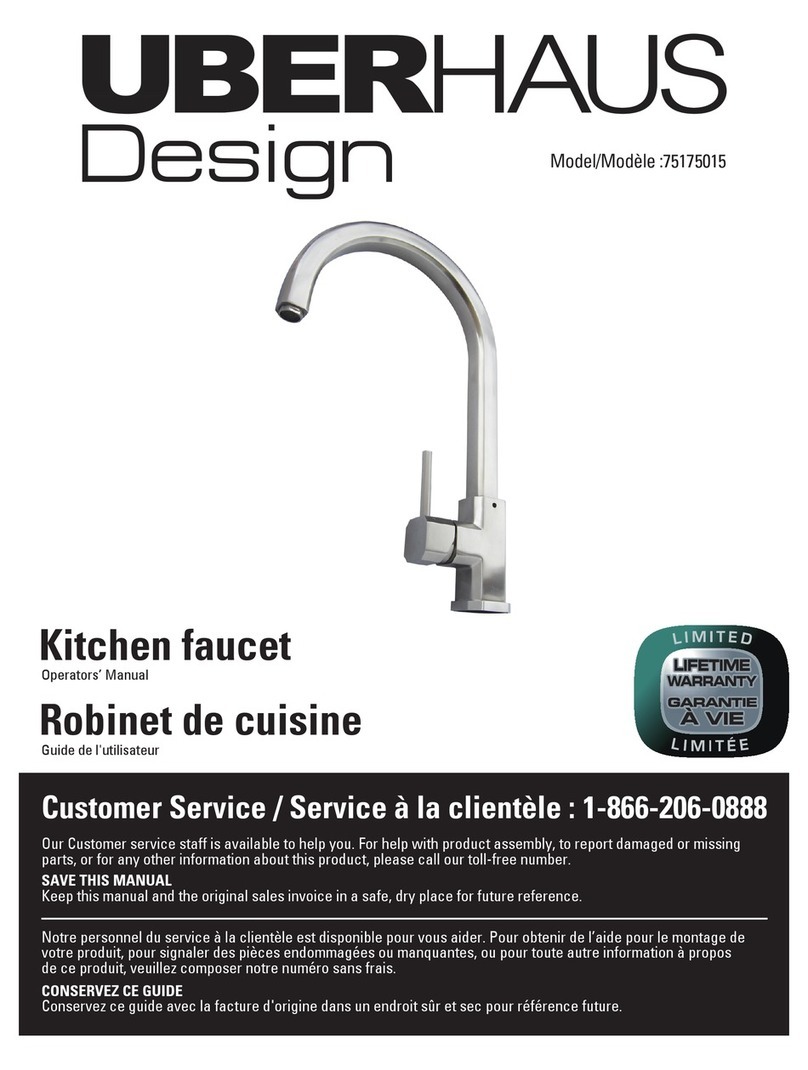
UBERHAUS DESIGN 75175015 User manual

UBERHAUS DESIGN

UBERHAUS DESIGN 75175015 User manual

UBERHAUS DESIGN 70115075 User manual

UBERHAUS DESIGN

UBERHAUS DESIGN 70115075 User manual

UBERHAUS DESIGN 75175017 User manual

UBERHAUS DESIGN

UBERHAUS DESIGN 75175017 User manual

UBERHAUS DESIGN 80475002 User manual

UBERHAUS DESIGN

UBERHAUS DESIGN 80475002 User manual

UBERHAUS DESIGN 70115004 User manual

UBERHAUS DESIGN

UBERHAUS DESIGN 70115004 User manual

Popular Plumbing Product manuals by other brands

Spectrum Pfister Pfirst Modern R89-XPFM Quick installation guide

Spectrum

Spectrum Pfister Pfirst Modern R89-XPFM Quick installation guide

Symmons Allura SLW-4712 Installation and service instructions

Symmons

Symmons Allura SLW-4712 Installation and service instructions

Hyco SF1/3 instruction manual

Hyco

Hyco SF1/3 instruction manual

Bristan CART 06734B Service instruction

Bristan

Bristan CART 06734B Service instruction

Pfister Port Haven GT31-TD Quick installation guide

Pfister

Pfister Port Haven GT31-TD Quick installation guide

Hans Grohe Focus M41 160 1jet 31806 Series Instructions for use/assembly instructions

Hans Grohe

Hans Grohe Focus M41 160 1jet 31806 Series Instructions for use/assembly instructions

Franke ANIMA ANMX450 Installation and operating instructions

Franke

Franke ANIMA ANMX450 Installation and operating instructions

Bristan Opac Series Installation instructions and user guide

Bristan

Bristan Opac Series Installation instructions and user guide

Franke ARIA 115.0158.975 SilkSteel PVD manual

Franke

Franke ARIA 115.0158.975 SilkSteel PVD manual

Sanela SLU 32N Mounting instructions

Sanela

Sanela SLU 32N Mounting instructions

Kraus Natura KSR-9MW installation manual

Kraus

Kraus Natura KSR-9MW installation manual

American Standard CHAMPION 2002 Installation and care guide

American Standard

American Standard CHAMPION 2002 Installation and care guide

Grohe Allure E 36 098 manual

Grohe

Grohe Allure E 36 098 manual

Moen Show House Solace ExactTemp TS3710BN Replacement parts list

Moen

Moen Show House Solace ExactTemp TS3710BN Replacement parts list

SUMERAIN S2139 Series installation guide

SUMERAIN

SUMERAIN S2139 Series installation guide

Moen Single-Handle Shower Trim Only T2605BN Specifications

Moen

Moen Single-Handle Shower Trim Only T2605BN Specifications

Kraus KPF-1680CH manual

Kraus

Kraus KPF-1680CH manual

Pfister 015-2WD Quick installation guide

Pfister

Pfister 015-2WD Quick installation guide

manuals.online logo
manuals.online logoBrands
  • About & Mission
  • Contact us
  • Privacy Policy
  • Terms and Conditions

Copyright 2025 Manuals.Online. All Rights Reserved.