manuals.online logo
Brands
  1. Home
  2. •
  3. Brands
  4. •
  5. Ultimate Healthcare
  6. •
  7. Medical Equipment
  8. •
  9. Ultimate Healthcare Heritage II Digital User manual

Ultimate Healthcare Heritage II Digital User manual

Other Ultimate Healthcare Medical Equipment manuals

Ultimate Healthcare UPRA3678D-2 User manual

Ultimate Healthcare

Ultimate Healthcare UPRA3678D-2 User manual

Ultimate Healthcare Cura II User manual

Ultimate Healthcare

Ultimate Healthcare Cura II User manual

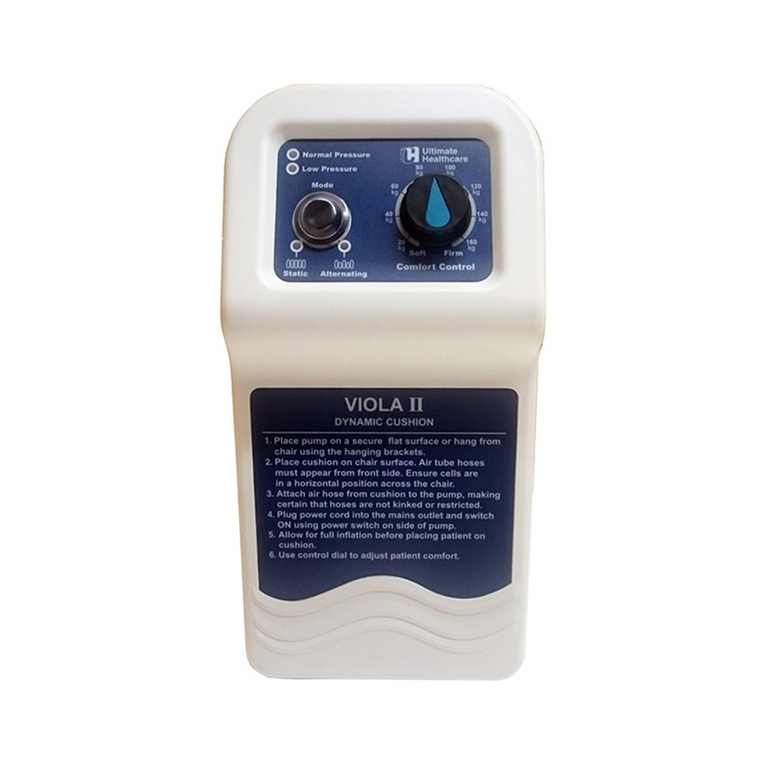
Ultimate Healthcare Viola II UPRA1717-2 User manual

Ultimate Healthcare

Ultimate Healthcare Viola II UPRA1717-2 User manual

Ultimate Healthcare UBEE0001-2 User manual

Ultimate Healthcare

Ultimate Healthcare UBEE0001-2 User manual

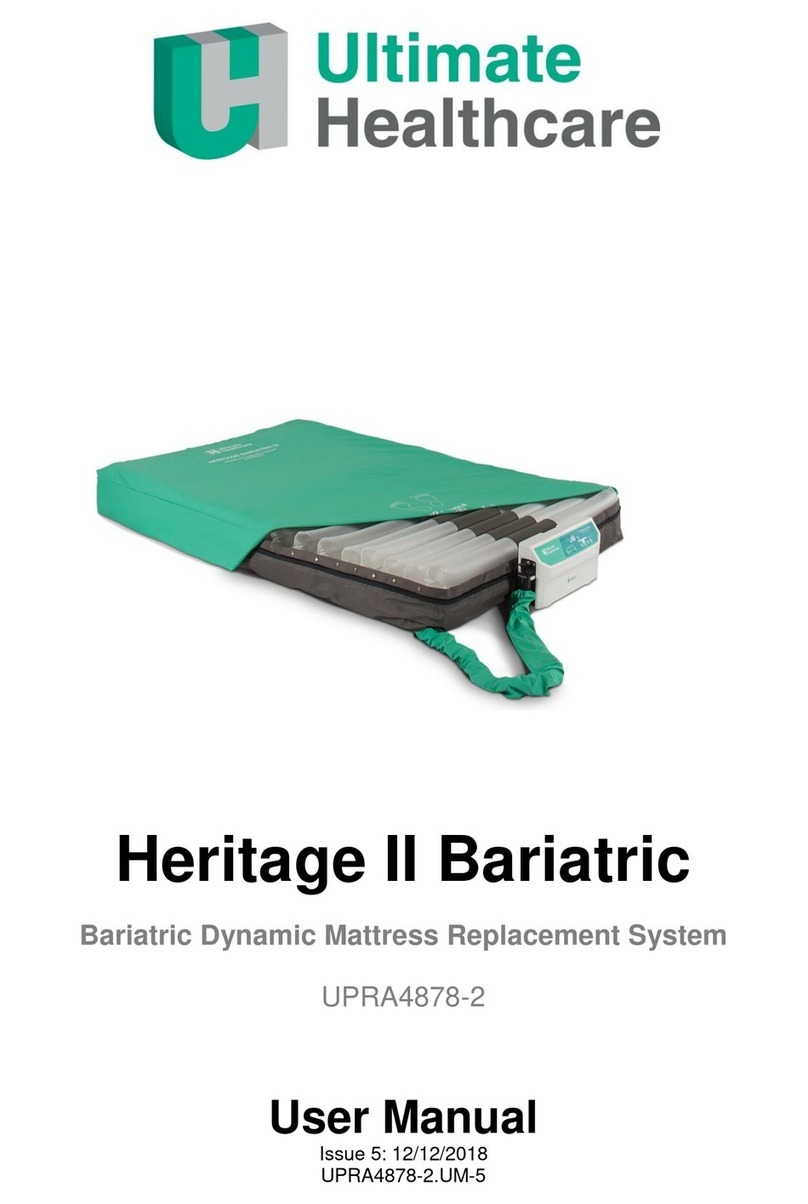
Ultimate Healthcare Heritage II Bariatric User manual

Ultimate Healthcare

Ultimate Healthcare Heritage II Bariatric User manual

Ultimate Healthcare Soprano Bariatric User manual

Ultimate Healthcare

Ultimate Healthcare Soprano Bariatric User manual

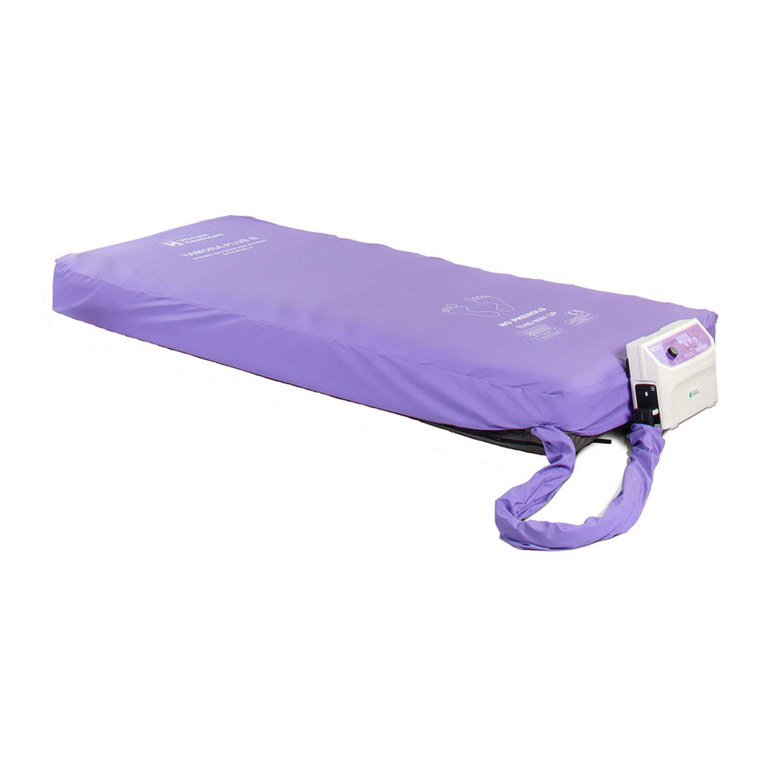
Ultimate Healthcare Tamora Plus II User manual

Ultimate Healthcare

Ultimate Healthcare Tamora Plus II User manual

Ultimate Healthcare UPRA367803D-2 User manual

Ultimate Healthcare

Ultimate Healthcare UPRA367803D-2 User manual

Ultimate Healthcare Tamora Plus II User manual

Ultimate Healthcare

Ultimate Healthcare Tamora Plus II User manual

Ultimate Healthcare UPRA3678DT-2 User manual

Ultimate Healthcare

Ultimate Healthcare UPRA3678DT-2 User manual

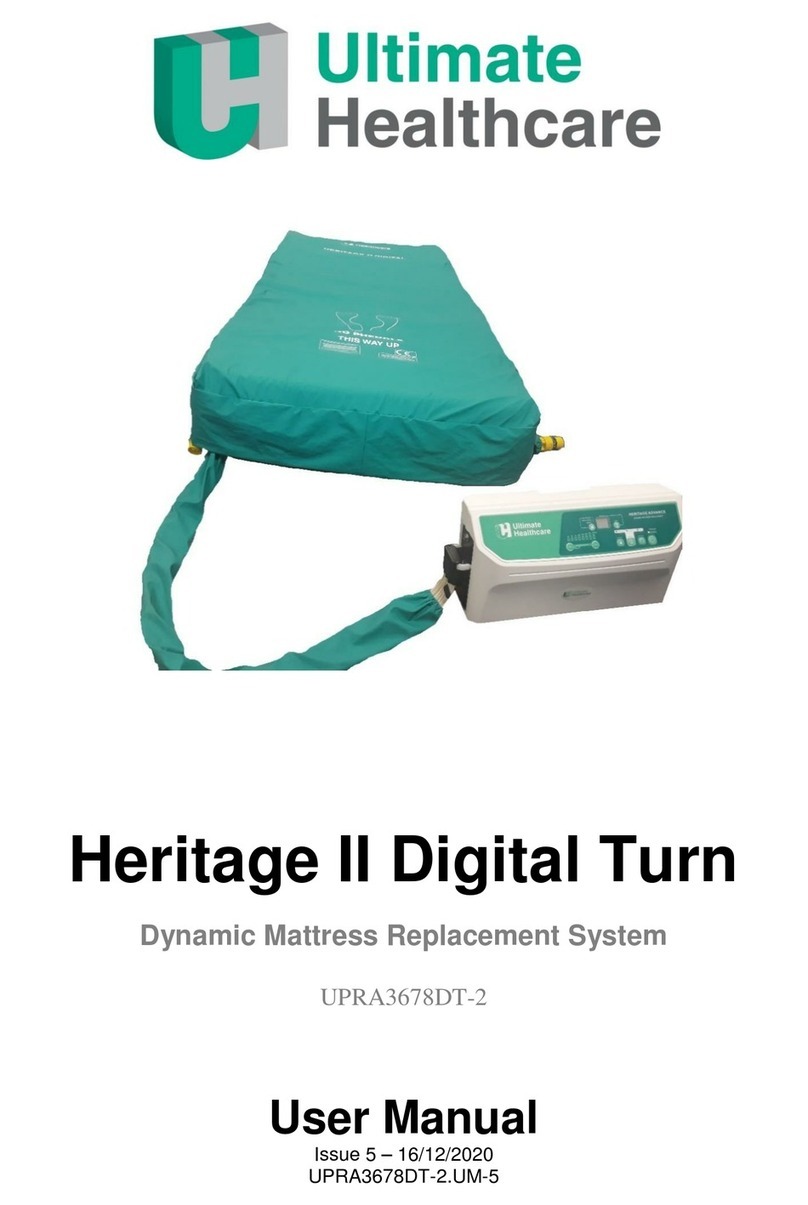
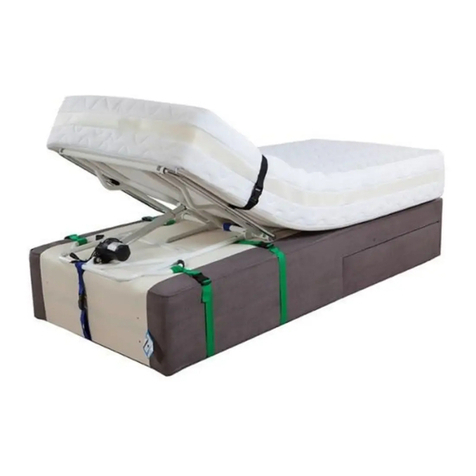
Ultimate Healthcare Heritage II Digital Turn User manual

Ultimate Healthcare

Ultimate Healthcare Heritage II Digital Turn User manual

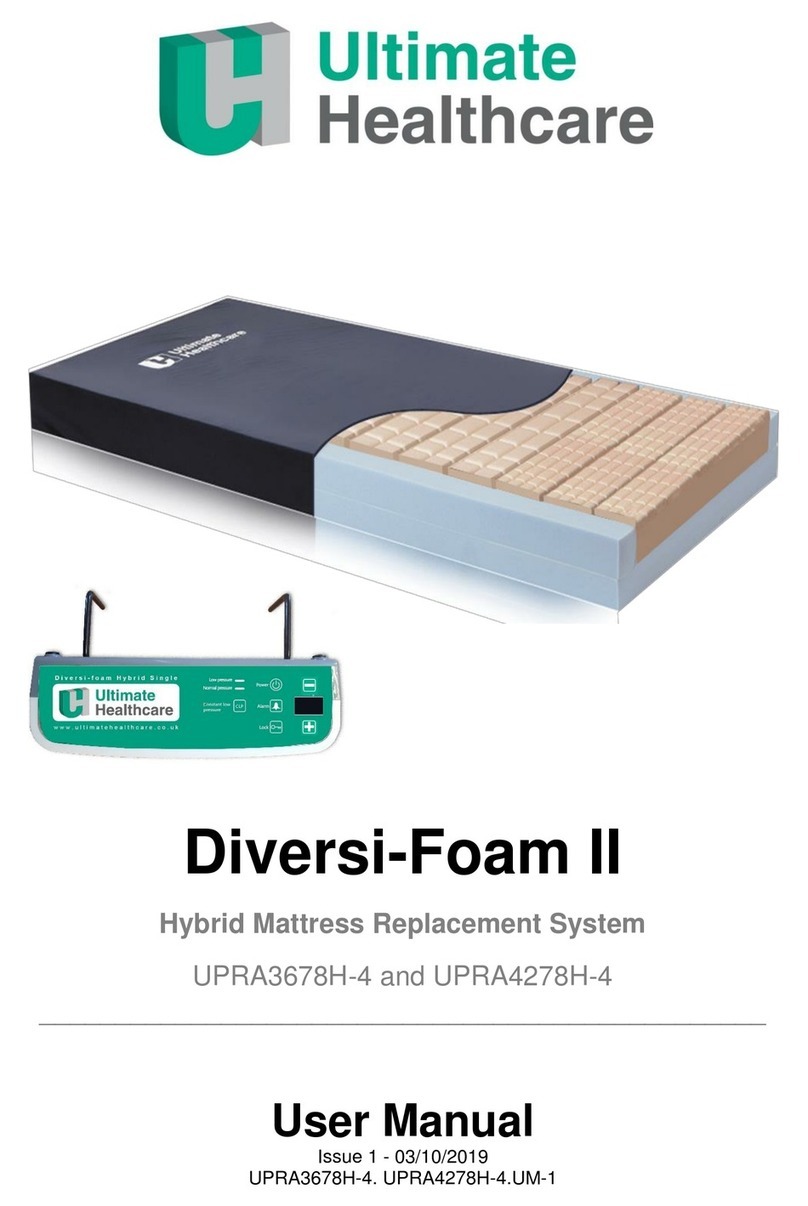
Ultimate Healthcare Diversi-Foam II User manual

Ultimate Healthcare

Ultimate Healthcare Diversi-Foam II User manual

Popular Medical Equipment manuals by other brands

Itamar Medical WatchPAT Operation manual

Itamar Medical

Itamar Medical WatchPAT Operation manual

PROTEOR 1P650 KNEE Assembling and adjustment instructions

PROTEOR

PROTEOR 1P650 KNEE Assembling and adjustment instructions

Liberate Medical VentFree user manual

Liberate Medical

Liberate Medical VentFree user manual

Dicarre DA20 user guide

Dicarre

Dicarre DA20 user guide

Stryker Medical M Series Operation manual

Stryker Medical

Stryker Medical M Series Operation manual

Invacare ScanBed 750 user manual

Invacare

Invacare ScanBed 750 user manual

Getinge Arjohuntleigh Nimbus 3 Professional Instructions for use

Getinge

Getinge Arjohuntleigh Nimbus 3 Professional Instructions for use

Mettler Electronics Sonicator 730 Maintenance manual

Mettler Electronics

Mettler Electronics Sonicator 730 Maintenance manual

Pressalit Care R1100 Mounting instruction

Pressalit Care

Pressalit Care R1100 Mounting instruction

Denas MS DENAS-T operating manual

Denas MS

Denas MS DENAS-T operating manual

bort medical ActiveColor quick guide

bort medical

bort medical ActiveColor quick guide

AccuVein AV400 user manual

AccuVein

AccuVein AV400 user manual

agiliti NP Trio user manual

agiliti

agiliti NP Trio user manual

Rocket Medical Rocket Digital Oocyte Aspiration Pump Service manual

Rocket Medical

Rocket Medical Rocket Digital Oocyte Aspiration Pump Service manual

Monteris Medical Neuroblate Instructions for use

Monteris Medical

Monteris Medical Neuroblate Instructions for use

Otto Block 8E33 7 manual

Otto Block

Otto Block 8E33 7 manual

ADVANCED HOME CARE Helios Guide

ADVANCED HOME CARE

ADVANCED HOME CARE Helios Guide

NeuLog NUL-208 Guide

NeuLog

NeuLog NUL-208 Guide

manuals.online logo
manuals.online logoBrands
  • About & Mission
  • Contact us
  • Privacy Policy
  • Terms and Conditions

Copyright 2025 Manuals.Online. All Rights Reserved.

Heritage II Digital Turn
Quick Reference Guide: Please refer to the product User Manual for full instructions for use.
Alternating Mode
Control Panel Lock Out
To unlock panel:
•Press & hold for 3 seconds to unlock control panel.
To lock panel:
•To lock out the control panel press the Lock Out
button and all functions will be locked.
•If the control panel is not used for a period of 30
seconds it will automatically lock out and inhibit
the use of the functions.
•Alternating mode is the default mode for the
V\VWHP:LWKLQWKLVPRGHWKHPDWWUHVVZLOOLQÀDWH
DQGGHÀDWHLQDQDOWHUQDWLQJLQFHOOF\FOH
•The alternating cycle will continue at the selected
cycle time until another mode is selected.
Static Mode
•Pressing the Mode button until the Static indicator
illuminates puts the system into Static mode.
•The system will automatically return to
Alternating mode after 20 minutes.
Alternating Cycle Time Selection
•&KRLFHRIPLQXWHV
•To select press Cycle button until required cycle
time is displayed in LCD screen.
Auto Firm Mode
•Pressing the Auto FirmEXWWRQwill inflate cells
to the Max Weight Banding in order to create a
firm surface
•The system will automatically return to
Last Mode Of Operation after 20 minutes.
Comfort Control
The Soft and Firm buttons allow adjustment of
SUHVVXUHVZLWKLQDVDIHSUHVHWUDQJH
•When pressing the Firm button, the output pressure
will increase to provide a higher pressure output
and thus increased support.
•When pressing the Soft button, the output
pressure will be decreased to provide a lower
pressure output and thus increased comfort.
&RQVWDQW/RZ3UHVVXUH&/3 Mode
•Pressing the Mode button until the CLP indicator
illuminates puts the system into Constant Low
Pressure mode.
•:LWKLQWKLVPRGHWKHFHOOVDUHQRWDOWHUQDWLQJDQG
WKHLQWHUQDOFHOOSUHVVXUHZLWKLQWKHPDWWUHVVLVVHW
DWPPKJWRSURYLGHDFRPIRUWDEOHSUHVVXUH
UHGXFLQJVXUIDFH
•
•
Simultaneously pressing the Soft and Firm buttons on the
control panel will manually activate Auto-Detection.
2QFHDFWLYDWHGWKHLQGLFDWRUOLJKWZLOOIODVKDQGWKHV\VWHP
will start detecting the patients weightGLVWULEXWLRQ to set
internal pressuresappropriately. The system will
continuously check this every 2 hours.
Auto-Detection -
detecting patient weight (distribution)
30 130 255
50 75 100 165 205 kg CLP
Alarms Mute
The Alarm Mute button temporarily resets the
audible Low Pressure/Power Failure/Service
alarms. Should the situation not be resolved and
the fault condition continues the alarm will resume.
Please refer to the manual for other alarms
Mode
Function Mode button
•Pressing the Mode button allows you to cycle
between the different modes available such as
AlternatingStaticDQGConstant Low Pressure
A Full Risk Assessment should be completed before using this System
-Please refer to User Manual for guidance
www.ultimatehealthcare.co.uk | Tel: 0333 321 8996
In the event of a patient suffering a cardiac
arrest and CPR needing to be administered:
for up to 12 to 24 hours.
CPR Valve -
Transport Mode -
•Disconnect air pipe connector and
immediately place the cover over it.
•Restore the mattress by reconnecting the
supply tubes to the power unit.
To activate the CPR: Pull and rotate the dial of
the CPR valve to ‘click’ into the OPEN position.
At the same time, disconnect the air pipe connector
from the Pump to speed up the air release.
left hand side of the mattress
To reset CPR: Ensure the dial of the CPR
attachment is rotated until it ‘clicks’ into the
CLOSED position.

Pull the valve and twist
Valve when mattress is flatValve showing the LEFT turn symbol
Mattress Setup
Secure the mattress to the moving parts of the mattress platform
using the securing straps, and when the system is fully inflated it
is ready for the patient to be positioned onto the mattress.
Lay the mattress on the bed patient surface ensuring that the air
pipe connector is situated on the bottom left hand side of the bed
foot end (as viewed from the foot of the bed).
Security Straps
There are security straps fitted to the base cover of the mattress
which should be fastened loosely to convenient points on the
bedframe patient surface.
Ensure when fixing the mattress to the bed the security straps
are only fitted to the moving parts of the mattress platform.
Image showing 3 of 6 straps. All 6 straps should be fastened
Issue 5 07/2021
UPRA3678DT-2.QRG-5
A Full Risk Assessment should be completed before using this System
- Please refer to User Manual for guidance
www.ultimatehealthcare.co.uk | Tel: 0333 321 8996
Cable Management System Cable management fixings are
located on each side of the mattress underneath the flap of the
cover. The mains power cable should be secured through the
cable management fixing as follows:
•Locate each cable management fixing.
•If necessary, open the press studs.
•Run the mains power cable along the side of the mattress
securing each fixing loop around the cable using the press studs.
Ensure power cable the air output pipe are routed in such a manner
so that they cannot be twisted, trapped, crushed or stressed.
Connecting the Mattress to the Pump
Remove the cover of the air pipe connector and connect the
air pipe connector to the Pump. When turning the power on,
the pump goes directly into auto firm to inflate the mattress.
When fully inflated it reverts to the initial setting of 10 minutes.
At this point the comfort control can be set to the desired weight
or activate the auto detection.
Setting up the pump
Whilst holding the pump, unfold the
hanging hooks on the rear of the Pump
and hang it from the bed’s footboard.
Activation of Timed Turning Function
The Turning Function
Activation of Manual Turn Assist Function
1) Select CLP mode on pump panel
2) Select the chosen turn valve to turn position
3) The mattress will inflate and remain in turn position until
deactivated
4) To deactivate return valve to flat position
5) Repeat process for opposite turn if required
____________________________________________________________________________________________________________
1) Select Alternating mode on Pump panel
2) Select Turn time / Cycle time
3) Select the chosen turn valve and open to the turn
position
4) Repeat the process for opposite side if bilateral
turning is required