Status Indicators
• During standby operation the red LED will ash once every 50 seconds.
• When the battery fails or a low battery is detected, the alarm will chirp once
every 50 seconds in conjunction with the red LED ashing.
• When a fault is detected the alarm will chirp once every 50 seconds.
• If the alarm has been silenced the red LED will ash once every 16 seconds
for approximately 10 minutes.
6
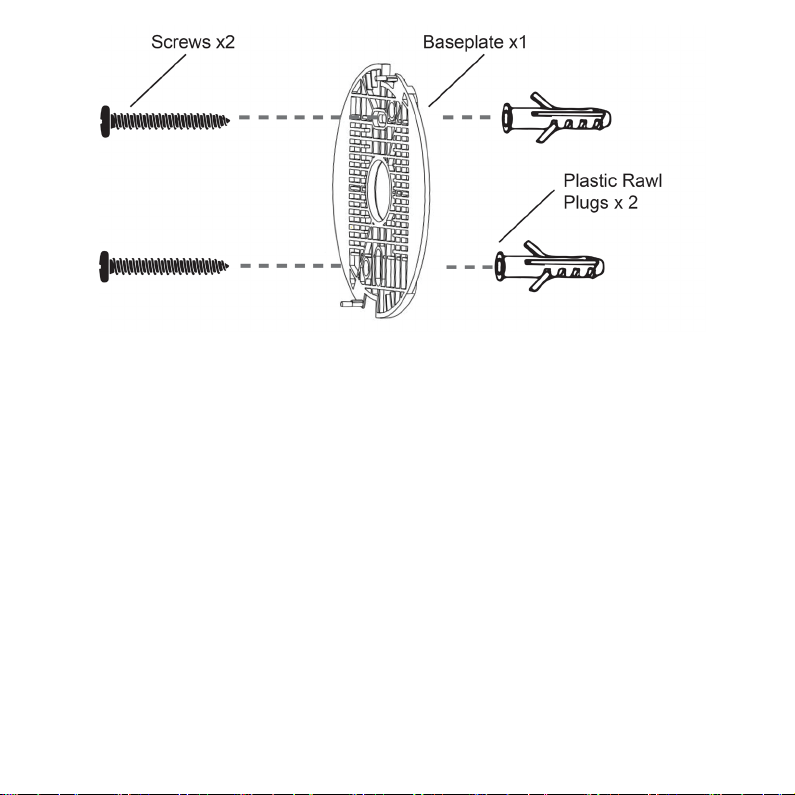
Installation
Location
Smoke alarms are recommended for all rooms which are not regularly exposed to
steam, fumes, dust or other contaminants.
Do Not Install in the Following Places:
• On walls, shelves, or cupboards
• Where the alarm is likely to be exposed to liquids
• At the very apex of pitched ceilings
• In the corner of the ceiling
• Within 30cm of a wall, light tting, or other obstruction
• In bathrooms and other rooms that will be exposed to steam
• Near appliances or areas where combustion occurs regularly
• In areas regularly exposed to excess dirt, dust, gases, vapours, or humidity
• Where the ambient temperature regularly exceeds 0°C to 40°C