Uneek 4x4 JK-RB-ASM11 User manual


All our products are designed and manufactured right here in Australia, allowing us to have
better lead times and better quality control than companies manufacturing overseas. By
supporting us you’re supporting to grow the Australian economy and our brand.
We do not design our bars to look the same across the vehicle range. We fully develop our
own product to individually suit each vehicle. We take time in designing from scratch and
then test all our bars to comply with all relevant ADRs and Australian Standards.
Having a steel bar doesn’t mean you have to add more weight than is required to the front
of your vehicle. Our engineering practises ensure we have the right protection, designed the
right way to ensure protection is at its maximum and weights at its minimum.
We take our products out and test them right here in the heart of our country in our
Australian conditions so we know our products can withstand anything you throw at them.
Our bars are designed to give you the best advantage while off road, with increased
approach angles means you can tackle those tough and steep angles better than you could
with the original setup or other alternatives.
Uneek 4x4 back itself as Australias leading steel bull bar manufacturer. This is why we
provide you with the best steel bar warranty in Australia - 5 years.

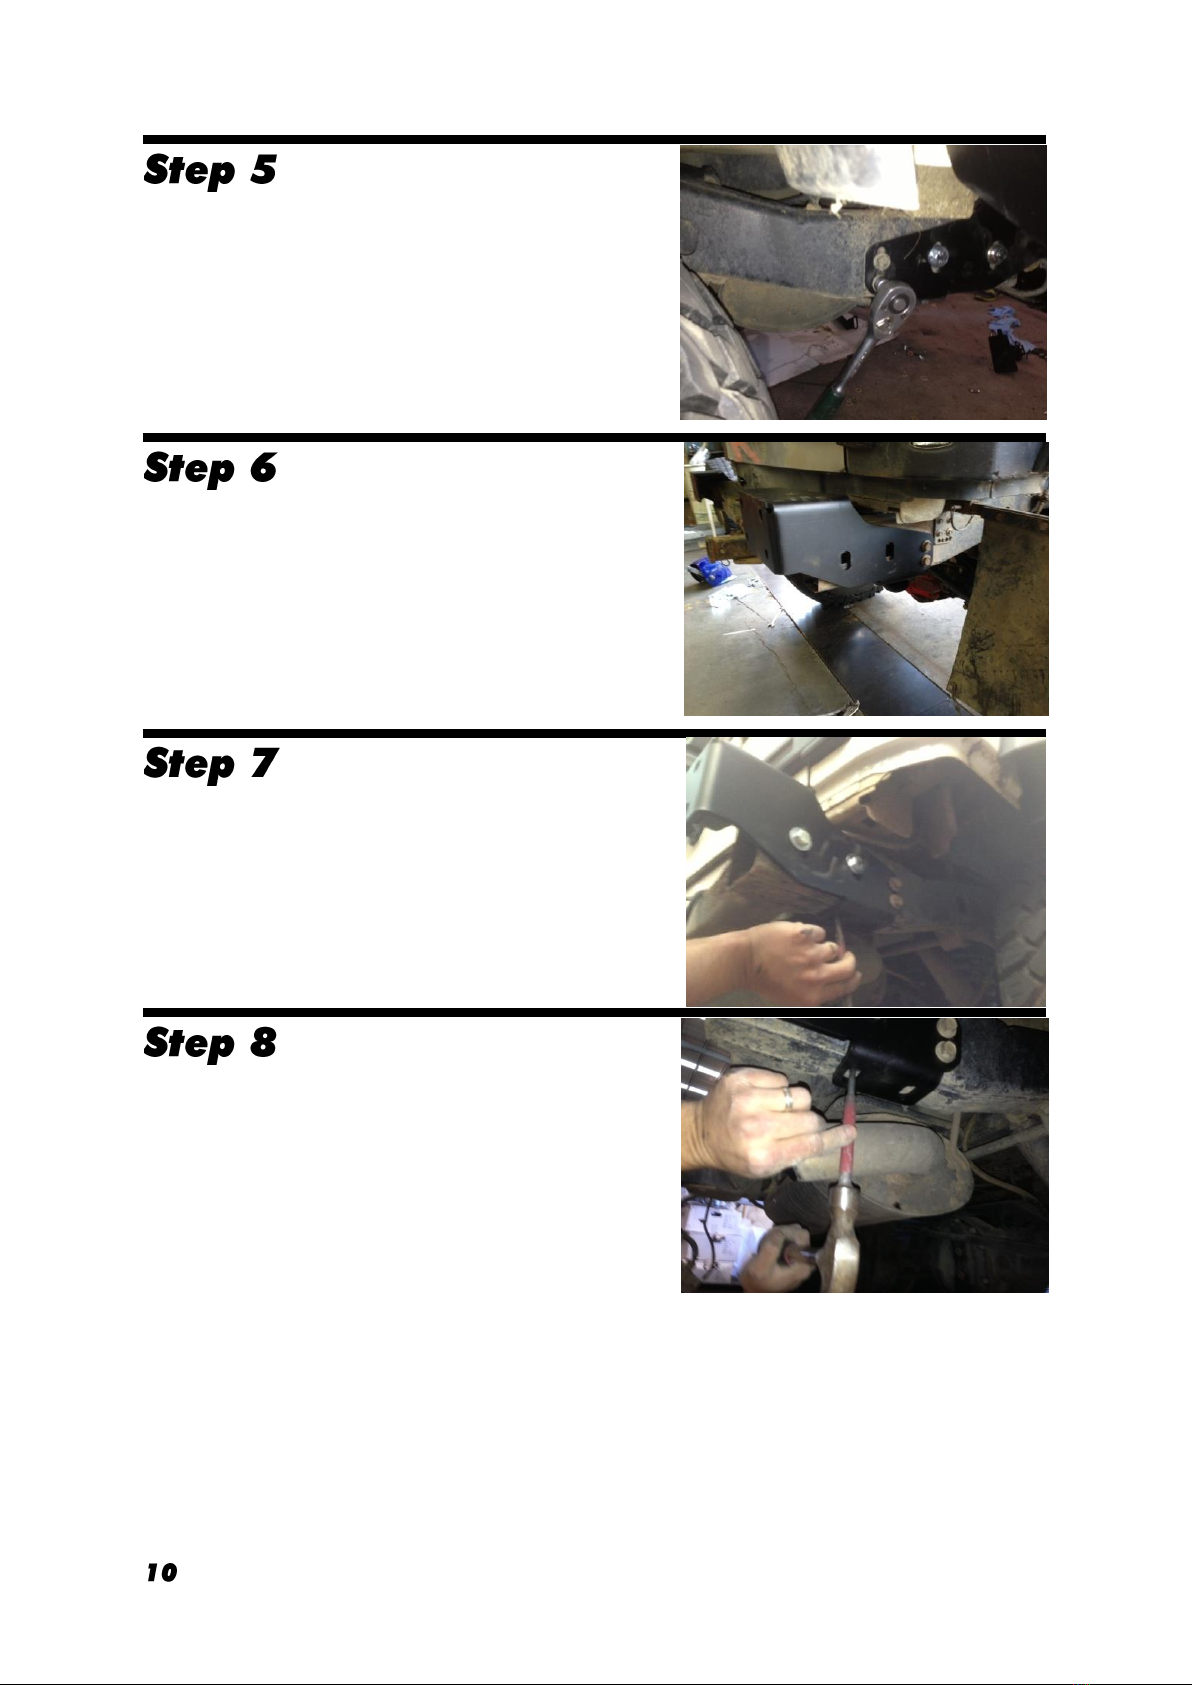
PLEASE READ BEFORE INSTALLATION.
•This product must be installed exactly as per these instructions using only hardware supplied
•In the event of damage to any bumper bar component, contact Uneek 4x4 Pty Ltd or an authorized
stockist for options.
•Do not use this product for any vehicle make or model, other than specified on these instructions.
•The instillation of this product is recommended by trained personnel.
•These instructions are correct as at the publication date. Uneek 4x4 Pty Ltd cannot be held
responsible for the impact of any changes subsequently made by the vehicle manufacturer.
•During installation, it is the duty of the installer to check correct operation/ clearances of all
components
•Supplied tow points are designated as tow points only. Use these in a recovery at your own risk.
•Installation time is estimated at 2.5 hours for the rear bumper including removing factory bumper,
1 hour for the rear winch mount, 1 hour for the tyre carrier and 20 min per Jerry can mount
•The optional rear winch mount only works with the Uneek 4x4 rear bumpers. If you want to run a
spare tyre you need to run either Uneek 4x4’s tyre carrier or another that lifts the spare up above
the winch.
•This winch mount still works with the factory tow hitch
•Not all winches fit this cradle. Winches with long motors will not fit. Only use low mount winches
in this cradle. Overall length of the winch must not exceed 630mm
•This product must be installed exactly as per these instructions using only hardware supplied
•The optional tyre carrier is a heavy duty item that is designed to take the weight of up to a 37” tyre
and two full jerry cans. It opens with the rear door for factory like operation. Jerry can mounts or
optional and not included as standard.
•Optional Jerry can mounts are designed to work in conjunction with the Uneek 4x4 JK wrangler tyre
carrier. They may also work with other manufacturers products.
•Always secure your jerry can with a ratchet strap to the mount and not a flexible bungy cord
FASTENER TORQUE SETTINGS:
M6 –9Nm (4lb ft)
M8 –22Nm (16lb ft)
M10 –44Nm (32lb ft)
M12 –77Nm (57lb ft)
TOOLS REQUIRED:
Hand spanners and socket set, Allan keys (hex), power drill bit, centre punch.

Rear Bumper
Default step unless otherwise selected

Optional step with LED lights
Optional rear winch mount
Optional tow hooks
2x JG-TH-ASM0

Optional number plate relocation
Optional jerry can mount

Optional tyre carrier

Remove original plastic bumper and all hardware
behind as per your factory service manual. 2 bolts
each side, and 2 in the middle. Unplug your fog lights
loom. Also remove factory tow hook.
Fit stainless-steel step from behind the bumper with
M10 button head cap screws and nyloc nuts. 4 off
for step with light mounts, 2 off with step with no
lights. If fitting a rear winch, follow rear winch
instructions now to fit winch cradle.
If no tyre carrier is to be mounted fit blanking plate
for tyre carrier hole with M10 button head cap
screws and nyloc nuts.
Fitting chassis nut plate into the chassis on the left-
hand side of the jeep you will be able to fit the LH
chassis mount with M12 x 50 bolts. Use heavy duty
M12 washers, spring washer and M12 mud guard
washer for side bolts.

Reuse factory bolts at the front to hold bracket in
place. This factory bolts will be removed later.
Repeat steps 4 and 5 above for the right-hand side.
Measure the bottom holes on the left-hand side and
mark the same position for the right-hand side.
Centre punch the holes you marked and drill a 13mm
hole.

With the help of a friend lift the bumper on to the
chassis mounts and feed the M12 Button head cap
screws through the tow hooks and torque up.
Remove the factory bolts on the front of each
chassis mount.
Fit side support brackets as shown. Reuse factory
bolts.
Attached M10 bolt with washers either side and
nyloc nut to the bumper.
Repeat for other side.

Using M6 hardware fit Mudflaps to bracket.
If you have a lot of offset on your wheels you can
skip a hole and mount the mud flaps further out to
cover your tyres.
Repeat for other side.
To fit your number plate relocation, remove spare
tyre and knock out centre cap if fitted. Place backing
plate of number plate relocation on factory tyre
carrier. Fit tyre on to tyre carrier and torque up
wheel nuts.
Fit outer plate of number plate relocation with
supplied nut plate and M8 bolt and washer. Run the
original number plate wires or new ones from the
tail lamp up to the new wires of the relocation
bracket. Use a quick connect fitting found at any
auto parts shop so you can easily remove the spare
tyre later without messing with electrical tools. Don’t
forget to refit your number plate now.
Remove tow hooks and bolts that mount bumper to
chassis mounts. Remove tyre carrier. Remove
stainless steel step.

You need rotate the gearbox on your winch so your
clutch lever is facing back. This allows the tyre
carrier to miss the winch.
Fit winch fairlead and winch to cradle.
Most low mount winches with shorter motors will fit
this cradle.
Fit new winch support brackets under tow hooks and
torque up.

Place winch cradle with winch in-between new winch
support brackets. Using M12 bolts with washers both
sides and nyloc nuts hold winch cradle in place. You
want to push winch cradle down as far as it will go.
Then torque up bolts.
You can see the winch clutch lever here turned to be
out of the way.
Wire up winch.
Fit tyre carrier as per Tyre carrier instructions. Make
sure your tyre is up high enough to clear the winch.
Remove factory tyre carrier from rear door.
Retain bolts.

After installing your Uneek 4x4 rear bumper feed the
stub axle assembly up through from underneath.
Make sure the 2 M12 bolts in the side of the chassis
are removed first. Using M10 button head cap screws
fix stub axle assembly on to bumper as shown.
Refit the 2 M12 bolts spring washers and large flat
washers through stub axle bracket as shown to the
right. Torque bolts.
Place seal on stub axle as shown. Grease larger roller
bearing and place over stub axle as shown.
Lift up tyre carrier and fit on to stub axle. Grease
smaller bearing and place with taper facing down on
stub axle. Then place washer over bearing and
tighten the whole lot with supplied castle nut. Check
operation of swing out. It’s best to have a slightly
firm preload on the tyre carrier bearings to allow the
tyre carrier to stay open with your door if you do not
have a strut to hold it open. Once you’re happy with the
swing out operation fit cotter pin through hole in castle
nut. Gently press bearing cap over hub with a rubber
mallet. If your tyre carrier appears to not sit level you
can loosen up stub axle bolts and place washers
between bumper and stub axle mount to tilt stub axle
till its square to the bumper. This is not necessary in
most cases.

With the tyre carrier moved out of the way, bolt on
the door support bracket with M8 bolts spring washer
and flat washers as shown. Use factory hardware to
plug out the rest of the holes.
2012 and newer jeeps will need the plastic door vent
trimmed to suit this bracket.
Loosely fit soft stop with M8 bolts, washers either
side and nyloc nuts. This will be adjusted up or down
after tie rod is installed on tyre carrier.
Next is to fit the tyre mount. Bolt the bracket tyre
mount assembly in place and torque m10x30 bolts
with spring washer and flat washers either side. Fit
the tyre insert and loosely secure with 2 M12x 30
bolts and spring washer and flat washer. Which holes
you pick dictate the how high your spare will sit. This
depends on your tyre size and what rear step you are
running with your bumper. Typically, if you have the
rear winch attached and have 35”-37” tyres you will
need to use the top setting or second down. If you have
the high clearance step (no LED lights) with 33” tyres
you can use the lowest setting. Otherwise use the
second from the top.

You next need to put the tyre on the carrier and push
the tyre back as far as it can go. The idea for the
bottom of the tyre to rest against the tyre carrier
itself. Mark this position on the top of the tyre
mount as shown with the arrow to the right. Then
move your mark 5mm further back towards the car
to ensure the tyre is forced hard on to the tyre
carrier when installed. Drill out these holes with
10mm drill and fit M8x25 bolts with spring washer’s
flat washers and flange nuts. Torque all bolts.
To fit the tie bar you must first pre assemble the tie
bar. Screw in rod end and jam nuts to corresponding
side of turn block. One side is RH thread, one side is
LH thread. This allows you to adjust the tyre carrier
in or out without having to remove it. Simply loosen
off the jam nuts and turn the turn block with a 19mm
spanner.
Fit tie bar to rear door support bracket as shown with
the door open (this leaves more room) fit tie bar to
tyre carrier. Leave tie bar adjusted out as far as it will
go. Now close your door. You should see a gap
between the tyre carrier and the soft stop. Adjust the
length of the tie rod until the tyre carrier sits firm on
the soft stop with the door is closed. Once you’re happy
with its position torque up each jam nut on to the turn
block. As the soft stop wears you will periodically need
to adjust the tie rod to suit.

Fit Tyre mount with 2 M12 bolts washers either side
or nyloc nuts. This tyre mount is adjustable in and
out depending on your wheel offset. It is
recommended to try use the setting pushing the tyre
closest to the vehicle first.
The aim is to have the tyre as close to tyre carrier as
possible. It is best if the tyre rests against the tyre
carrier to prevent wobbling of the tyre.
Don’t forget to refit your number plate relocation
bracket and fit tyre.
Make sure you torque up nuts on soft stop and
adjust tyre height or tyre-stick out as needed.
You’re done, enjoy.
Fit RH jerry can mount to RH side of tyre carrier, or
vice versa for LH using M10 Hardware. Then secure
Jerry can holder to mount with M8 hardware.
Depending on your tyre size you can choose to mount
the jerry can closer or further out from the centre of the
tyre carrier.
Remember only to use ratchet straps to secure your
jerry can to the mount.


20 Gateway Drive, Carrum Downs, VIC, 3201
1800 806 952
www.uneek4x4.com.au
Revised: 28/08/2019
Table of contents
Other Uneek 4x4 Automobile Accessories manuals