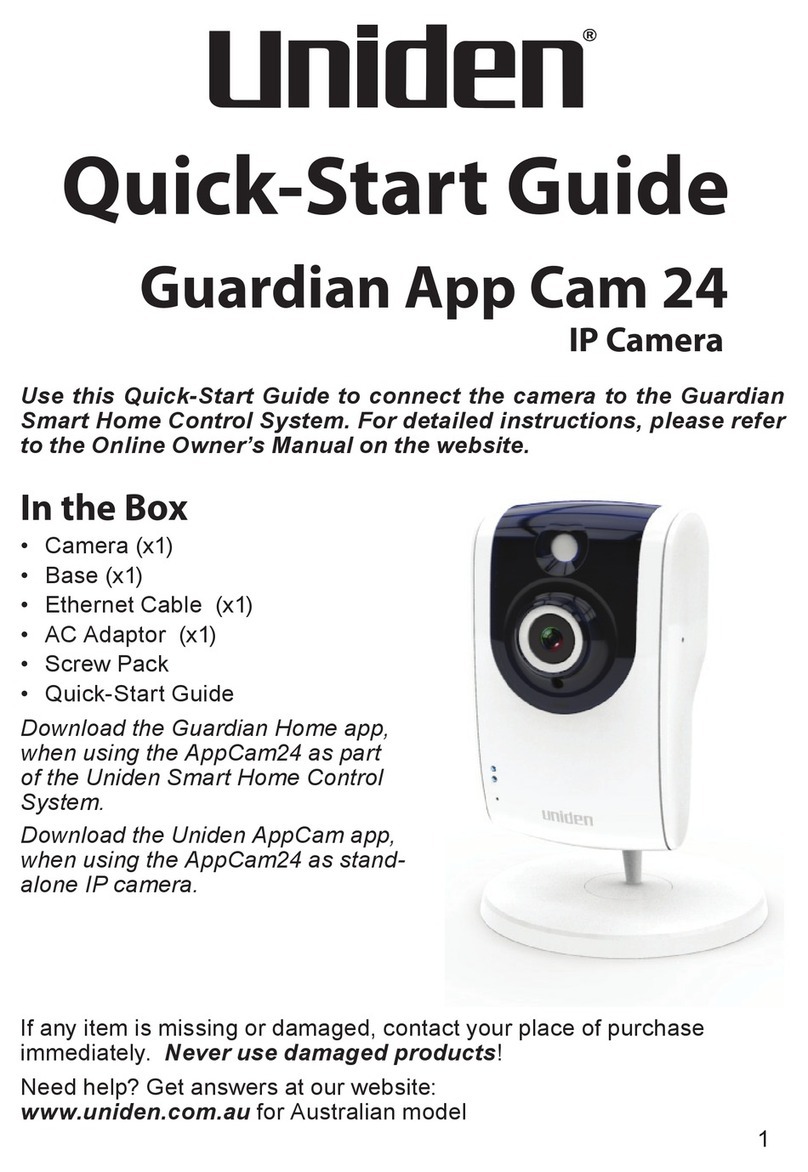
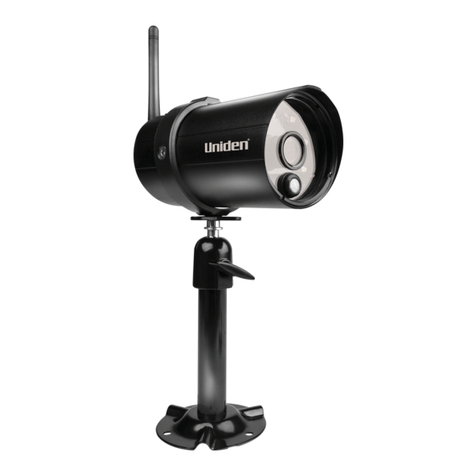
Uniden App Cam XLight User manual

1
Quick-Start Guide
App Cam XLight/X55/X56
Wireless IP Camera
Use this Quick-Start Guide to connect the camera to the network
and for basic installation and setup procedure. For more detailed
instructions refer to the online Owner’s Manual on the Uniden
website www.uniden.com.au. This quick start guide is for reference
only. Slight difference may be found in user interface.
In the Box
Model App Cam XLight App Cam X55 App Cam X56
QSG 111
Power Adapter 111
Power Cable - - 1
Mounting Screw
Kit
111
Installation
Position Map
111
Mounting plate - - 1
Pry Bar 1 - -
If any item is missing or damaged, contact your place of purchase
immediately. Never use damaged products!
Need help? Get answers at our website:
www.uniden.com.au for Australian model

2
1. Do not drop, puncture or disassemble the camera.
2. DO NOT expose the camera to excessive water or moisture.
3. Never tug on the power cable to unplug from the power outlet. Always
grasp the AC adapter when unplugging.
4. Do not expose the camera to high temperature or leave it in direct
sunlight. Doing so may damage the camera or cause camera
temporary malfunction.
5. For your own safety, avoid using the camera or power off the camera
when there is a storm or lightning.
6. Remove the power adaptor during long periods between usages.
7. Use only the accessories and power adaptors supplied.
Important Safety Instructions
Quick Connect for the Camera
1. Power the power to the camera with the supplied power adapter.
Give 2 minutes for the camera to boot up properly. Please make
sure that the camera green LED indicator is flashing green on the
camera LED indicator
2. Activate/press the WPS button on your router and also quickly press
the WPS button on the camera
or
You can also connect the camera (except XLight) to a router with an
Ethernet cable (not supplied).
3. When the camera successfully connected to the internet, the
camera LED indicator will stay solid green.
4. If you face any difficulty connecting the camera to the WiFi, please
reset the camera by press and hold the reset button for 10 seconds
and try again.
3
Getting to know your App Cam XLight
Note:
The top cap can be opened with the pry bar included in the kit.
Press the Reset/WPS button to enable WPS.
Press and hold the Reset/WPS button for 10 seconds to reset the camera.
Step 1: Mark and drill holes on the
installation surface (wall or ceiling).
Step 2: Insert the expansion bolt into
the hole.
Step 3: Open the bracket and pull the
power cable through the cable tray on the
bottom of the bracket.
Step 4: Align the screw holes on the
bracket to those on the mounting surface,
then fasten the installation screws.
Step 5: Secure the other half of the
bracket to the camera, then adjust the
power cable and secure the bracket.
App Cam XLight Installation

4
App Cam X55 Installation
Step 1: Mark and drill holes on the
installation surface (wall or ceiling).
Step 2: Insert the expansion bolt into the
hole.
Step 3: Fasten the installation screws to
secure the device on the wall or ceiling.
Step 4: Please use a screwdriver to
loosen the adjusting screw and adjust the
camera to desired viewing direction and
tighten back the screw.
Getting to know your App Cam X55
Note:
Press the Reset/WPS button to enable WPS.
Press and hold the Reset/WPS button for 10 seconds to reset the camera.

5
Getting to know your App Cam X56
MountingSurface
ExpansionBolt
PositioningMap
MountingPlate
Self-tappingScrew
Camera
PowerPort
MicroSDCardSlot
Reset/WPSButton
EthernetPort
Built-inSpeaker
App Cam X56 Installation
Step 1: Mark and drill holes on the
surface.
Step 2: Insert the expansion bolt into
the hole.
Step 3: Fasten the screws to secure the
mounting plate on the surface.
Step 4: Adjust the camera base till it sits
into the installation board.
Step 5: Turn the camera base clockwise
till it locks onto the installation board.
Note:
Press the Reset/WPS button to enable WPS.
Press and hold the Reset/WPS button for 10 seconds to reset the camera.

6
Light Indicators
For App Cam X55
Indicate light status Device status
Solid red light Booting.
Green light ashing slowly Booting completed/
Waiting network conguration.
Green light ashing quickly Wi-Fi smart conguration in progress, including
WPS.
Solid green light Network connection succeeded, operating
normally.
Red and green lights
ashing alternately
Firmware updating.
Red light ashing slowly Network connection failure or disconnection
aer network connection.
Red light ashing quickly Device malfunction/Fail to boot up/SD card
malfunction.
For App Cam XLight/X56
LED Indicator status Device status
O Powered o/LED switched o.
Solid red light Booting/Device malfunction/Fail to boot up.
Green light ashing Booting completed/
Waiting network conguration.
Solid green light Network connection succeeded, operating
normally.
Red light ashing Network connection failure or disconnection
aer network connection.
Red and green lights
ashing alternately
Firmware updating.

7
Set Up the Camera
1. Download and install the Guardian 365 Pro app from
the Apple App Store or Google Play.
2. Connect the camera supplied power adapter.
Connect the power adapter to power outlet and
switch it on to supply power.
3. Open the app. The Login screen appears. Login if
you already have an account for the app or sign up
a new account and follow the instruction in the app
to login.
4. The DASHBOARD screen displays.
DASHBOARD
Enter Username
LOGON
Enter Password
Forgot Passowrd?Sign up
Other login methods
PRO
DASHBOARD ALERT LIST SETTINGSMEDIA
DASHBOARD
Enter Username
LOGON
Enter Password
Forgot Passowrd?Sign up
Other login methods
PRO
DASHBOARD ALERT LIST SETTINGSMEDIA
Before You Start:
• Your router must support WPA2 security and it must be turned on.
• You must have an available WiFi-enabled mobile device (Android or
iOS smartphone/tablet).
• The camera and your mobile device must connect to the same
network router for setup.
• Please note that an upload speed of 0.5 Mbps is required for each
channel remote video streaming.

8
5. Tap the ‘+’ icon at the top right corner to add the camera to the app.
The Add Device screen displays.
6. Scan the Device ID QR code or enter the serial number of the camera
manually.
7. If you already use the WPS button or an ethernet cable to connect the
camera to the router, skip this step.
Enter the Wi-Fi password and follow the steps to continue. If network
connection failed, tap Please try again or tap Restart to re-enter WiFi
password.
8. You will need to set a new and secure password, name and time
setting for the camera.
9. If you wish to add another camera, start from step 5.
GXVR 55880
HOME
DASHBOARD
PRO
DASHBOARD ALERT LIST SETTINGSMEDIA
ONLINE
GXVR 558800

9
You can now view video from your cameras on your smartphone.
GXVR 55880
HOME
DASHBOARD
PRO
DASHBOARD ALERT LIST SETTINGSMEDIA
ONLINE
GXVR 558800 Edit System Settings
Share Device to another user
Enter Full Screen Mode
Enable/Disable Volume
Change stream mode
Pause/Play Video Stream
Change split screen layout
Return
View Recorded Video Timel
Record to your smartphone
local storage
Tap to talk.
Take a snapshot and save to your
smartphone local storage
Please note that the app user interface and features might differ in terms of icons
layout and functionality on different platforms and cameras.
*

10
Reset the Camera
To reset the App Cam XLight/X55/X56, press and hold the WPS/Reset
button for 10 seconds until the light indicator is off, then only release the
‘Reset’ button. Refer to page 6 for light indication meaning.
Troubleshooting
If... Try This...
The app cannot find
the camera
Make sure your network supports DHCP
protocol.
Make sure that the DHCP option is turned on.
Make sure the camera and your mobile device
connect to the same WiFi router.
Make sure the WiFi router is enabled.
Make sure the camera is properly powered on.
Make sure the WiFi router has enabled SSID
broadcasting.
The camera does
not find the router to
connect to
Make sure you selected the correct router in
your device WiFi setting.
Make sure you entered the correct password
for the router you selected.
As the App is constantly under development to enrich user experience, the
icons/screens shown in this QSG may vary slightly from the actual app.

ONEYEAR LIMITED WARRANTY
Terms of Warranty: Uniden Aust warrants to the original retail purchaser
only that the App Cam XLight/X55/X56 (“the Product”), will be free
from defects in materials and craftsmanship for the duration of the
warranty period, subject to the limitations and exclusions set out below.
Warranty Period: This warranty to the original retail purchaser is only
valid in the original country of purchase for a Product first purchased
either in Australia or New Zealand and will expire one (1) year from the
date of the original retail sale. If a warranty claim is made, this warranty
will not apply if the Product is found by Uniden to be:
A. Damaged or not maintained in a reasonable manner or as recommended
in the relevant Uniden Owner’s Manual;
B. Modified, altered or used as part of any conversion kits, subassemblies
or any configurations not sold by Uniden Aust;
C. Improperly installed contrary to instructions contained in the relevant
Owner’s Manual
D. Repaired by someone other than an authorized Uniden Repair Agent in
relation to a defect or malfunction covered by this warranty; or
E. Used in conjunction with any equipment, parts or a system
notmanufactured by Uniden.
Parts Covered: This warranty covers the Product and included
accessories.
User-generated Data: This warranty does not cover any claimed loss of
or damage to user-generated data (including but without limitation phone
numbers, addresses and images)that may be stored on your Product.
Satisfactory evidence of the original purchase is required for warranty
service. Please refer to our Uniden website for any details or warranty
durations offered in addition to those contained below.
The warrantor is Uniden Australia Pty Limited ABN 58 001 865 498
(“Uniden Aust”).
App Cam XLight/X55/X56
Important:
Warrantor:

Statement of Remedy: If the Product is found not to conform to this
warranty as stated above, the Warrantor, at its discretion, will either
repair the defect or replace the Product without any charge for parts or
service. This warranty does not include any reimbursement or payment
of any consequential damages claimed to arise from a Product’s failure to
comply with the warranty. Our goods come with guarantees that cannot
be excluded under the Australian Consumer Law. You are entitled to a
replacement or refund for a major failure and for compensation for any other
reasonably foreseeable loss or damage. You are also entitled to have the
goods repaired or replaced if the goods fail to be of acceptable quality and
the failure does not amount to a major failure. This warranty is in addition
to and sits alongside your rights under either the COMPETITION AND
CONSUMER ACT 2010 (Australia) or the CONSUMER GUARANTEES
ACT (New Zealand) as the case may be, none of which can be excluded.
Procedure for Obtaining Warranty Service: Depending on the
country in which the Product was first purchased, if you believe that
your Product does not conform with this warranty, you should deliver
the Product, together with satisfactory evidence of your original
purchase (such as a legible copy of the sales docket) to Uniden at
the address shown below. You should contact Uniden regarding any
compensation that may be payable for your expenses incurred in making
a warranty claim. Prior to delivery, we recommend that you make a
backup copy of any phone numbers, images or other data stored on
your Product, in case it is lost or damaged during warranty service.
UNIDEN AUSTRALIA PTY LTD
Phone number: 1300 366 895
Email: custser[email protected]

Guardian 365 Pro App Guide
OWNER’S MANUAL
For more exciting new products please visit our website:
Australia: www.uniden.com.au

Privacy Protection Notice
As the device user or data controller, you might collect personal data of others' such as face,
fingerprints, car plate number, Email address, phone number, GPS and so on. You need to be
in compliance with the local privacy protection laws and regulations to protect the legitimate
rights and interests of other people by implementing measures include but not limited to:
providing clear and visible identification to inform data subject the existence of surveillance
area, providing data subject with proper access to their personal data and providing related
contact.
About this Manual
l The Manual is a general document for introducing the Guardian 365 Pro App (installed in
iOS smartphone and Android smartphone). There might be some descriptions not apply to
the device you added to Guardian 365 Pro account, or the interfaces might be different, or
the operations might be different, or the appearances might be different, and in these
cases the actual product and process shall govern.
l All the designs and software are subject to change without prior written notice.
l All trademarks and registered trademarks mentioned herein are the properties of their
respective owners.
l Any loss caused by not complying with the operations described in the Manual should be
borne by the user.
l Please visit our website or contact customer service for more information.

1
1 Basic Operations
The Manual introduces the operations of Guardian 365 Pro App, and some functions might
associate with the operations on the device.
Logging in Guardian 365 Pro
Open the Guardian 365 Pro App on your smartphone.
The Login interface is displayed.

2
For the first time using Guardian 365 Pro App App, tap Sign up.
The Sign up interface is displayed.
In the country/region list, select country or region where you are located, and then tap
Next.
The account setting interface is displayed.

3
Enter the email address for the account name and set the password, read Uniden
Privacy Policy and tap I have read and agreed, and then tap Verification code.
The verification code entering interface is displayed.
Get the verification code from your email box, enter the verification code, and then tap
OK.
The Login interface is displayed and the system automatically logins Guardian 365 Pro
App. You can start adding the device to your Guardian 365 Pro.

4
Adding a Device
You can ad d App Cam X series cameras and GXVR55 series to the Guardian 365 Pro App.
1.2.1 Adding an IP Camera
You can ad d App Cam X cameras to Guardian 365 Pro App through Wi-Fi connection or wired
connection (if applicable).
On the Dashboard interface, tap on the top of the screen.
The Scan QR Code interface is displayed.
Add the device through either of the following ways.
l Scan the QR code on the device, the device image with SN appears on the
screen. Tap Next.
l Ta p Manually enter SN, enter the serial number of the device, and then tap Next.
The device network setting interface is displayed.
Configure the device network setting (for App Cam X series only).
l Set the device with Wi-Fi.
Ensure your smartphone and the device connected to the same router or access point.
1) Ta p Yes, go to Wi-Fi settings.

5
2) Ta p Next till the password entering interface is displayed.
3) Enter the Wi-Fi password and then tap Next.
The network configuring interface is displayed. After the connection succeeded,
the password setting interface is displayed.

6
4) The system starts adding device to your Guardian 365 Pro account. After the
device is added, the connected status interface is displayed.
5) Configure the time zone, DST, and default settings according to your requirement,
and then tap Next.
The live view interface is displayed.
The settings of time zone and DST will affect some functions uses of Guardian
365 Pro App. Please configure correctly.
This manual suits for next models
2
Table of contents
Other Uniden IP Camera manuals

Uniden
Uniden APPCAM 24HD User manual

Uniden
Uniden Guardian App Cam 24 User manual

Uniden
Uniden G24 Series User manual

Uniden
Uniden AppCam Solo User manual

Uniden
Uniden Guardian App Cam 25 User manual

Uniden
Uniden AppCam 21 User manual

Uniden
Uniden Guardian App Cam 26 User manual

Uniden
Uniden Guardian App Cam 26 User manual