Universal Remote PCL-300 User manual

Instruction Manual
PCL-300 PC Upgrade Link
(MX-650 and MX-350 Archiving)
COMPLETE
™
Universal Remote Control®
CONTROL
COMPLETE

PCL-300 PC Upgrade Link Instruction Manual © 2005 Universal Remote
Control, Inc.
The information in this manual is copyright protected. No part of this manual may
be copied or reproduced in any form without prior written consent from Universal
Remote Control, Inc.
UNIVERSAL REMOTE CONTROL, INC. SHALL NOT BE LIABLE FOR OPERATIONAL,
TECHNICAL OR EDITORIAL ERRORS/OMISSIONS MADE IN THIS MANUAL.
The information in this manual may be subject to change without prior notice.
Complete Control is a registered trademark of Universal Remote Control, Inc.
Entertainment Made Simple is a trademark of Universal Remote Control, Inc.
All other brand or product names are trademarks or registered trademarks of their
respective companies or organizations.
500 Mamaroneck Avenue, Harrison, NY 10528
Phone: (914) 835-4484 Fax: (914) 835-4532
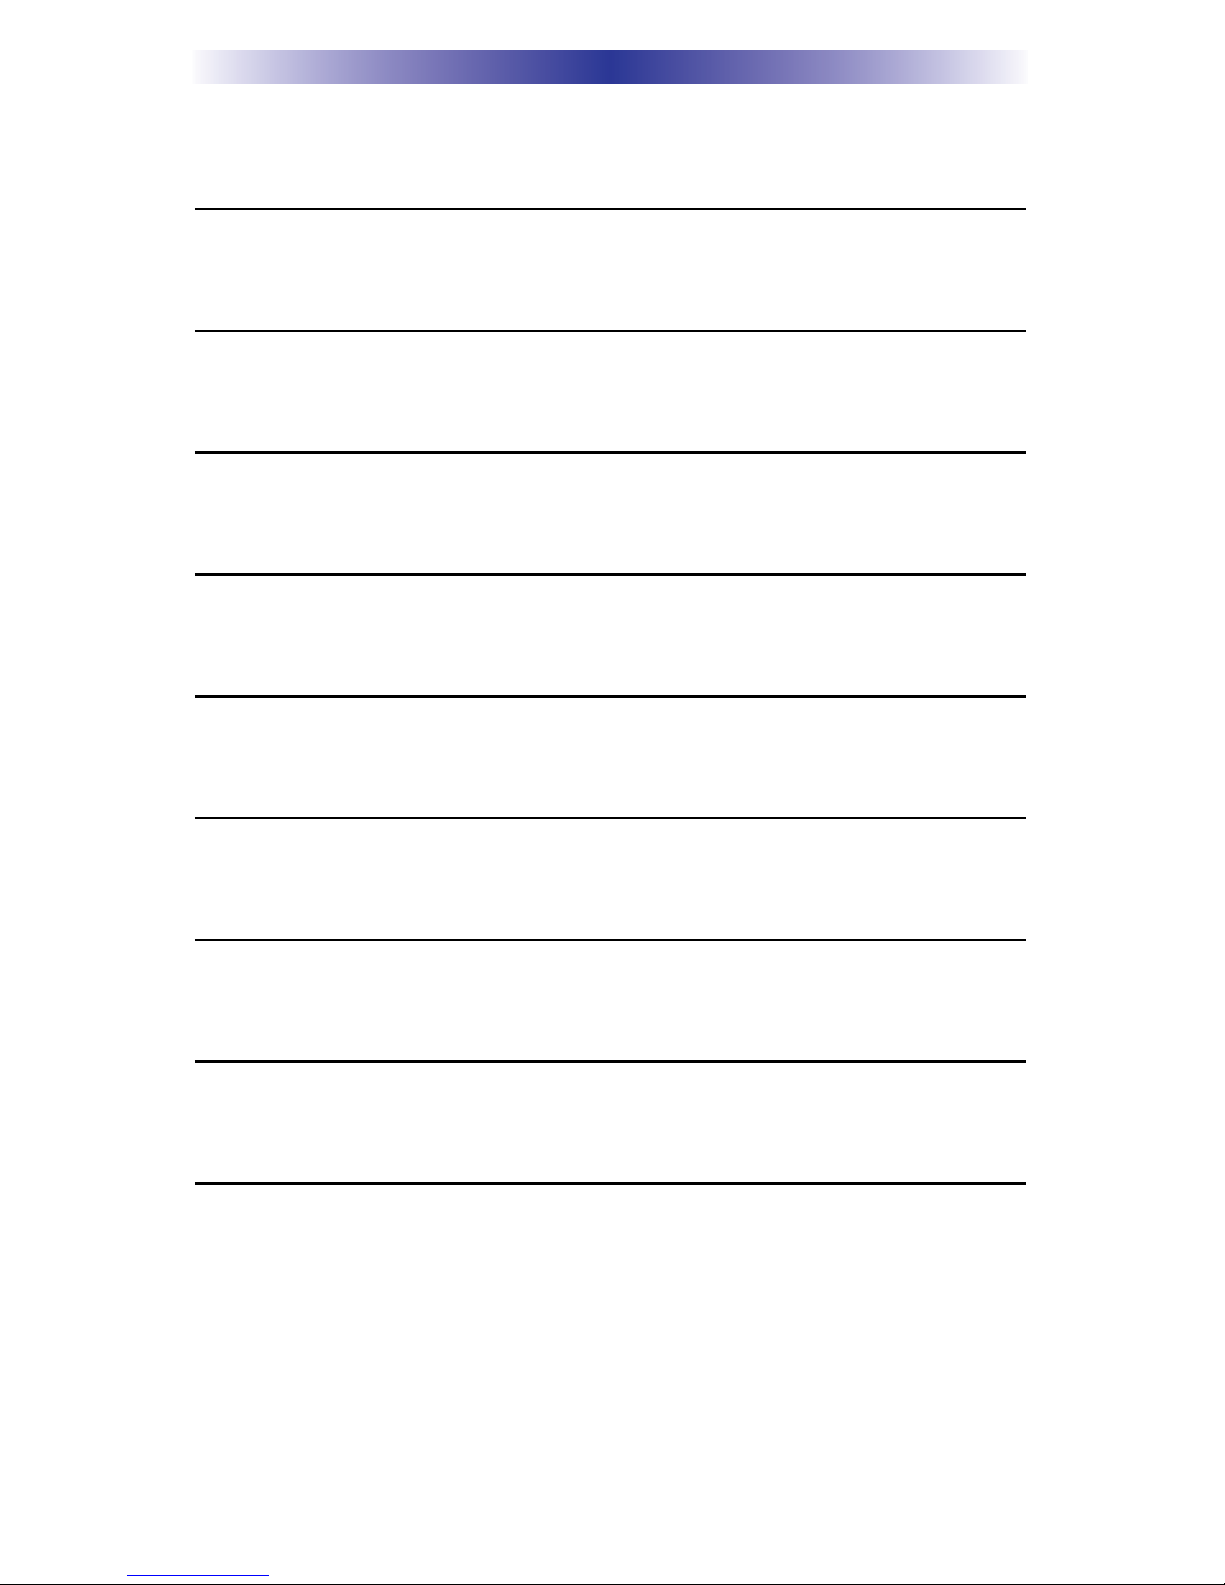
TABLE OFCONTENTS
Introduction 1
Installing the Software 2
Connecting to either the MX-350 or the MX-650 6
Uploading a Configuration from the Remote to the PC 7
Downloading a Configuration from the PC to the Remote 8
Utilizing the Blank Files in the Samples Folder 10
Utilizing Live Update 11
Warranty 12
Specifications 12
Page 1
PCL-300 PC UPGRADE LINK
Introduction
Thank you for purchasing the Complete Control PCL-300 PC Upgrade
Link. The PCL-300 does not enable you to make any changes to an MX-
650 or MX-350 configuration via the PC. All programming is done on the
remote control. Nor does the PCL-300 allow you to convert an MX-650
configuration to an MX-350 configuration or vice versa.
The PCL-300 is designed to enable the professional installer to archive
configurations programmed on either the MX-650 or the MX-350 remote
controls so that the configurations can be reused in the future without
repeating the programming process. Downloading a previously pro-
grammed configuration often provides a better starting point for program-
ming and speeds customization even if the new system is slightly different
from an archived file. The PCL-300 software includes a completely blank
configuration for each of the remotes. These blank configurations have all
labeling and codes deleted from all devices and buttons, enabling you to
program small systems without extensive deleting of labels or commands.
The PCL-300 also enables you to update the IR Database in the remote
control and to update the operating system of the remote control itself
whenever an improvement is available. By connecting to the internet,
then using the Live Update feature, you can update the control itself.
Page 2
PCL-300 PC UPGRADE LINK
Installing the Software
The software can be installed from the CD included with the PCL-300 or
downloaded from our website www.universalremote.com.
WARNING! Do not connect the PCL-300 to your PC until installation is
finished as described below:
Install from CD
1. Insert the CD in the PC’s CD drive.
2. Run the Setup.exe file on the CD if needed (it should start automatical-
ly on most PC’s).
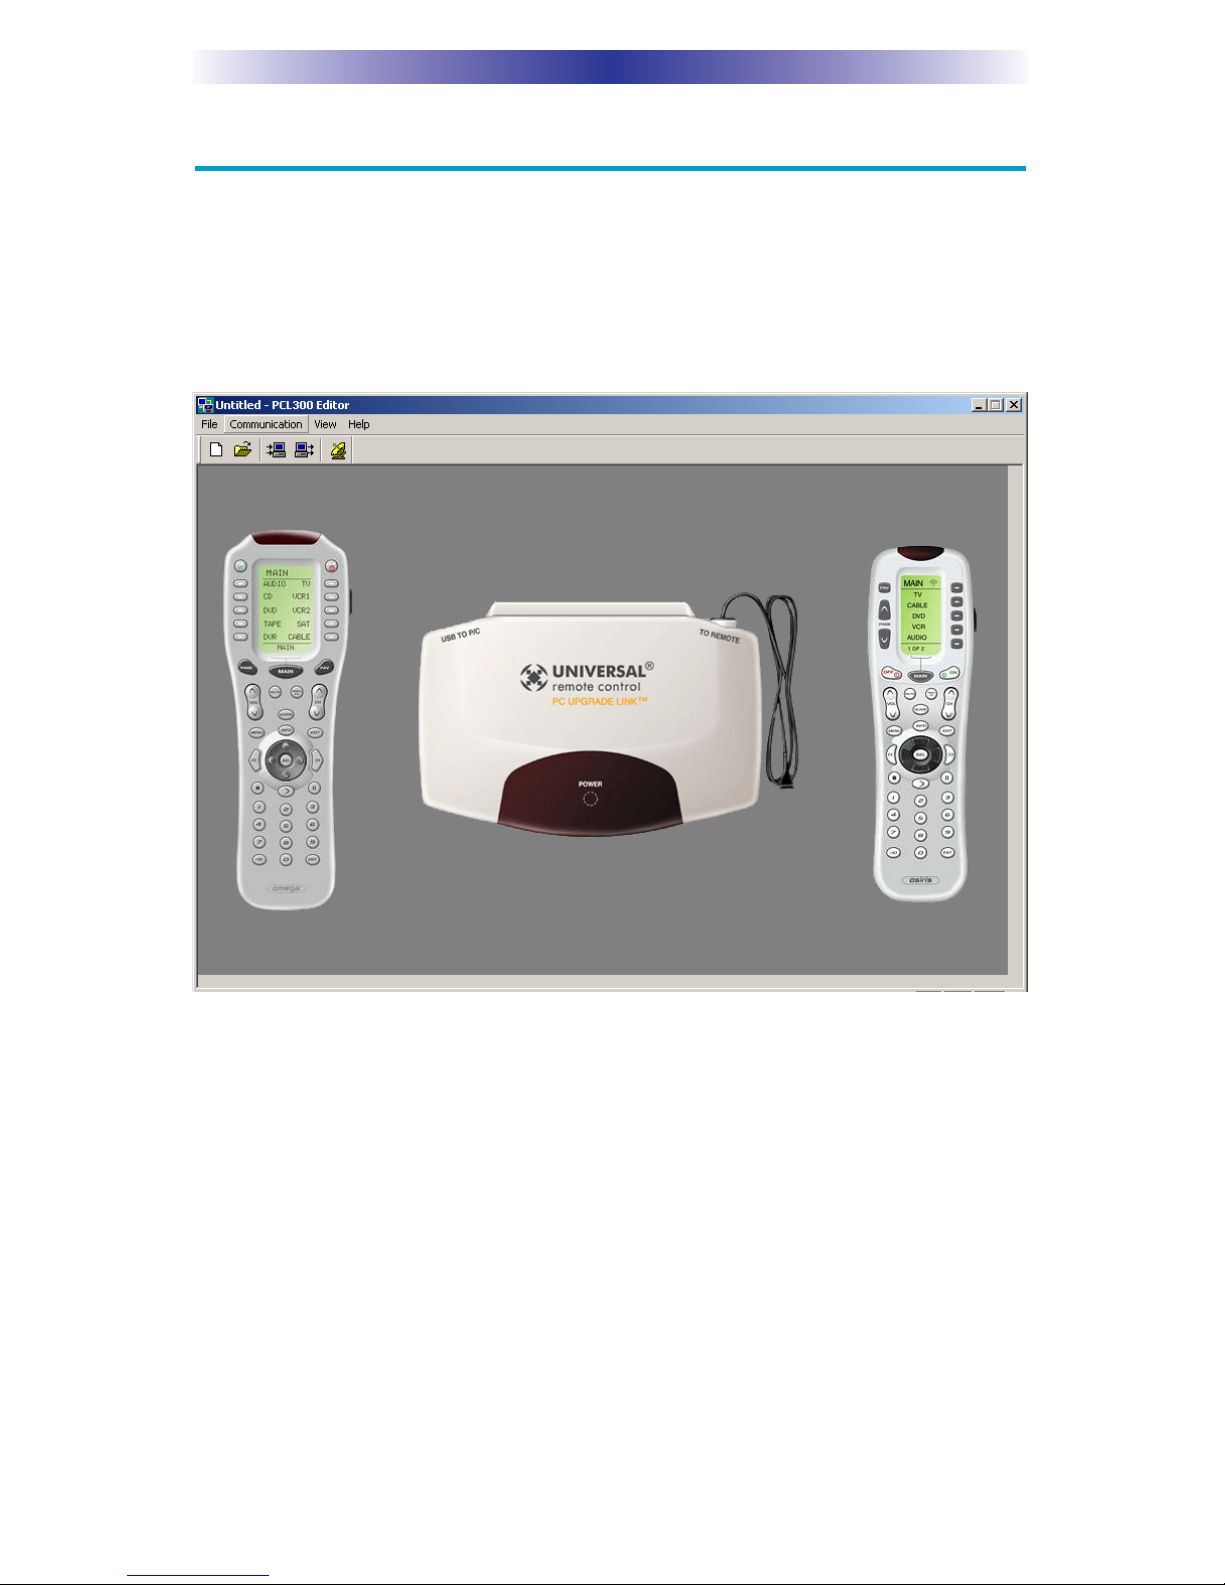
3. When the install
window appears,
click on Next.
4. When the destina-
tion folder window
appears click on
Next.
Page 3
PCL-300 PC UPGRADE LINK
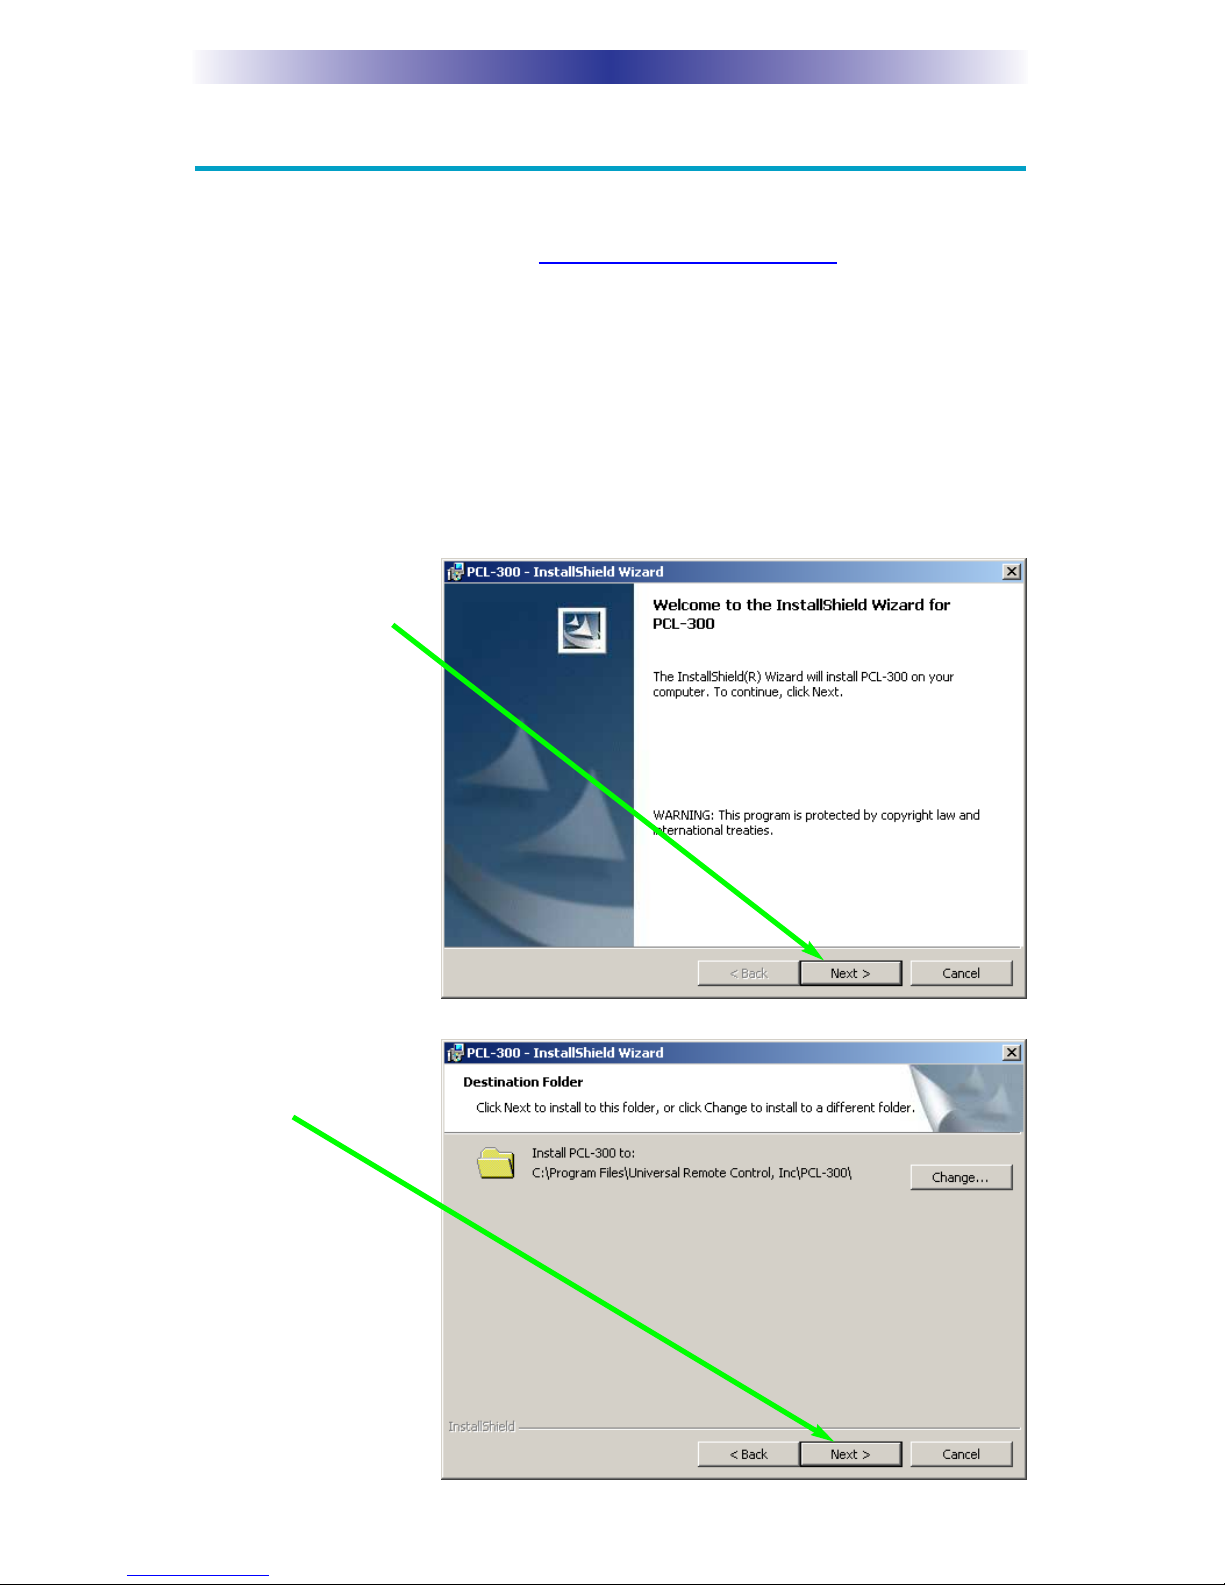
5. Allow the installer
to install all files.
6. Click Finish to exit
the Setup window.
7. Start the PCL-300
software and con-
nect the PCL-300
to an empty USB
port. Windows will
open the Found
New Hardware
Wizard window.
Select Yes, this
time only and
click on Next.

Page 4
PCL-300 PC UPGRADE LINK
8. Select “Install the
Software
Automatically” and
click on Next.
9. Allow the wizard
to search for the
USB driver.
10. Click on Finish to
exit the wizard.
Page 5
PCL-300 PC UPGRADE LINK
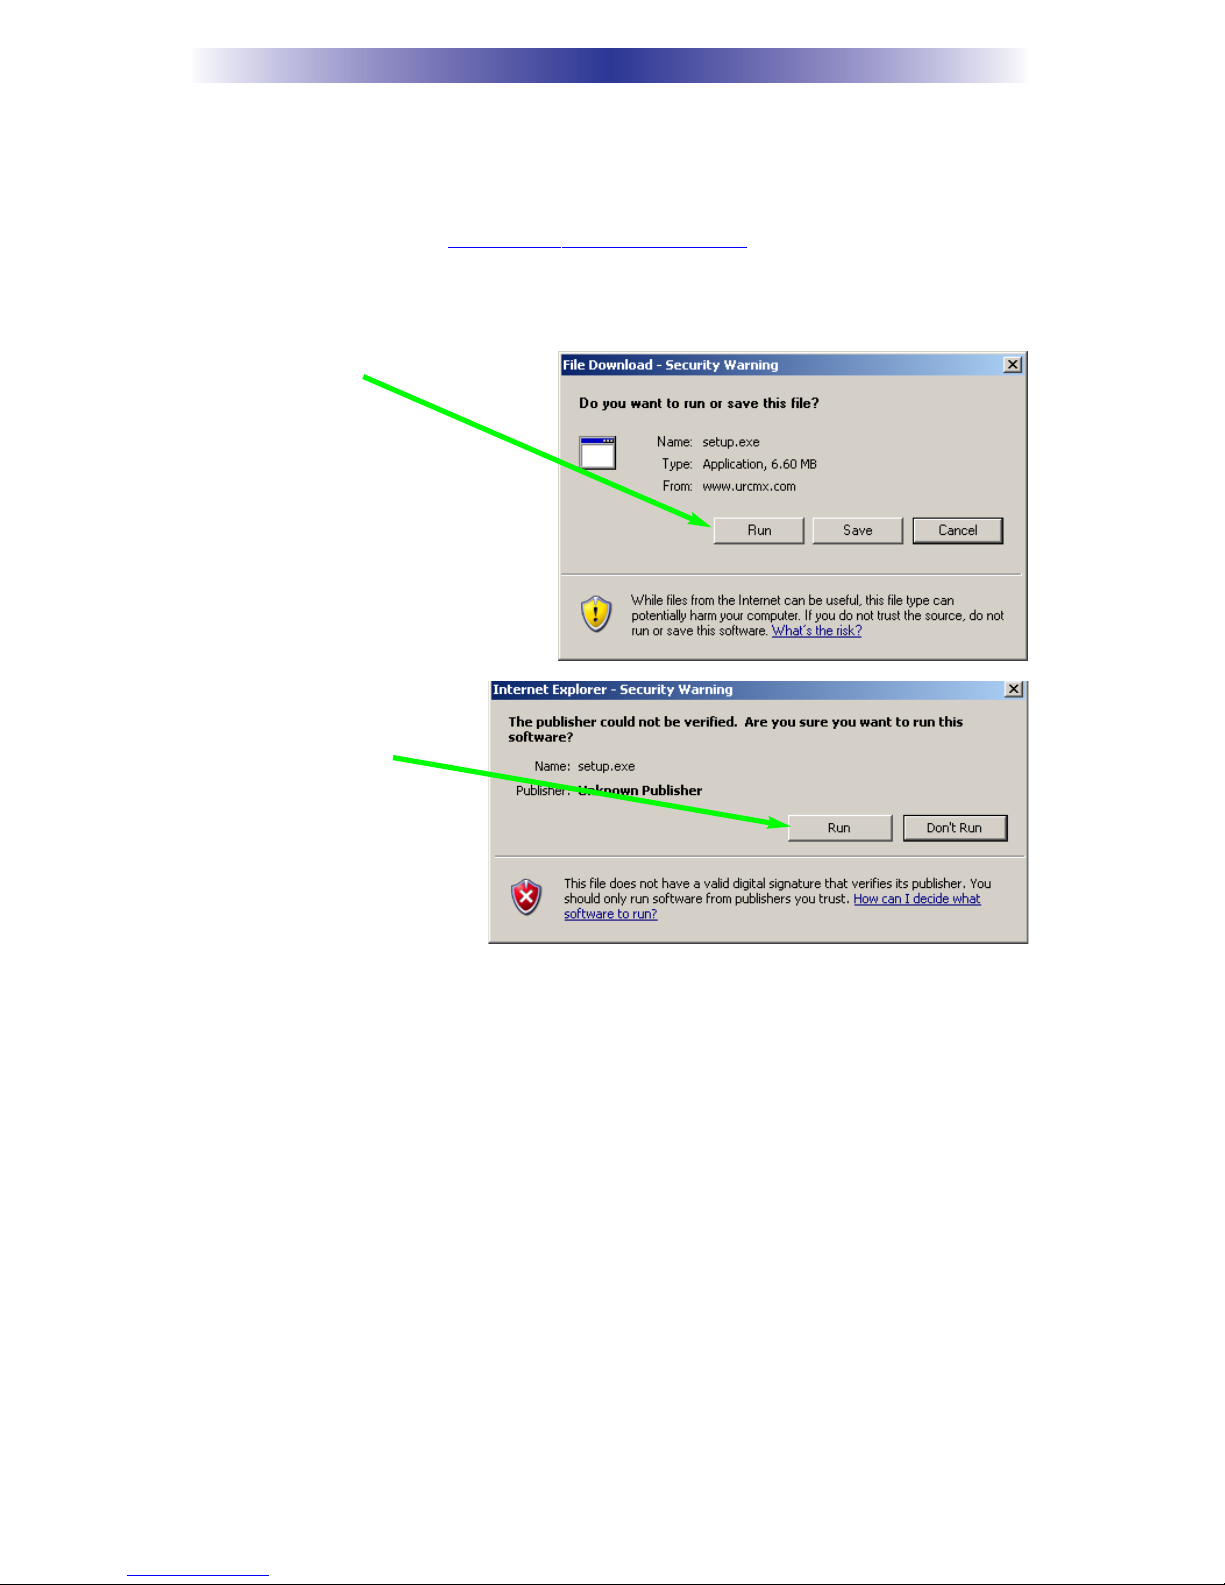
Installing from a Download
1. Open your internet browser and navigate to the Complete Control
Downloads page at www.universalremote.com.
2. Select the PCL-300 software to download.
3. Click on Run to install the
software.
4. When the Security
Warning appears,
click on Run.
5. Follow steps 3 to 10 on pages 2 to 4.
Page 6
PCL-300 PC UPGRADE LINK
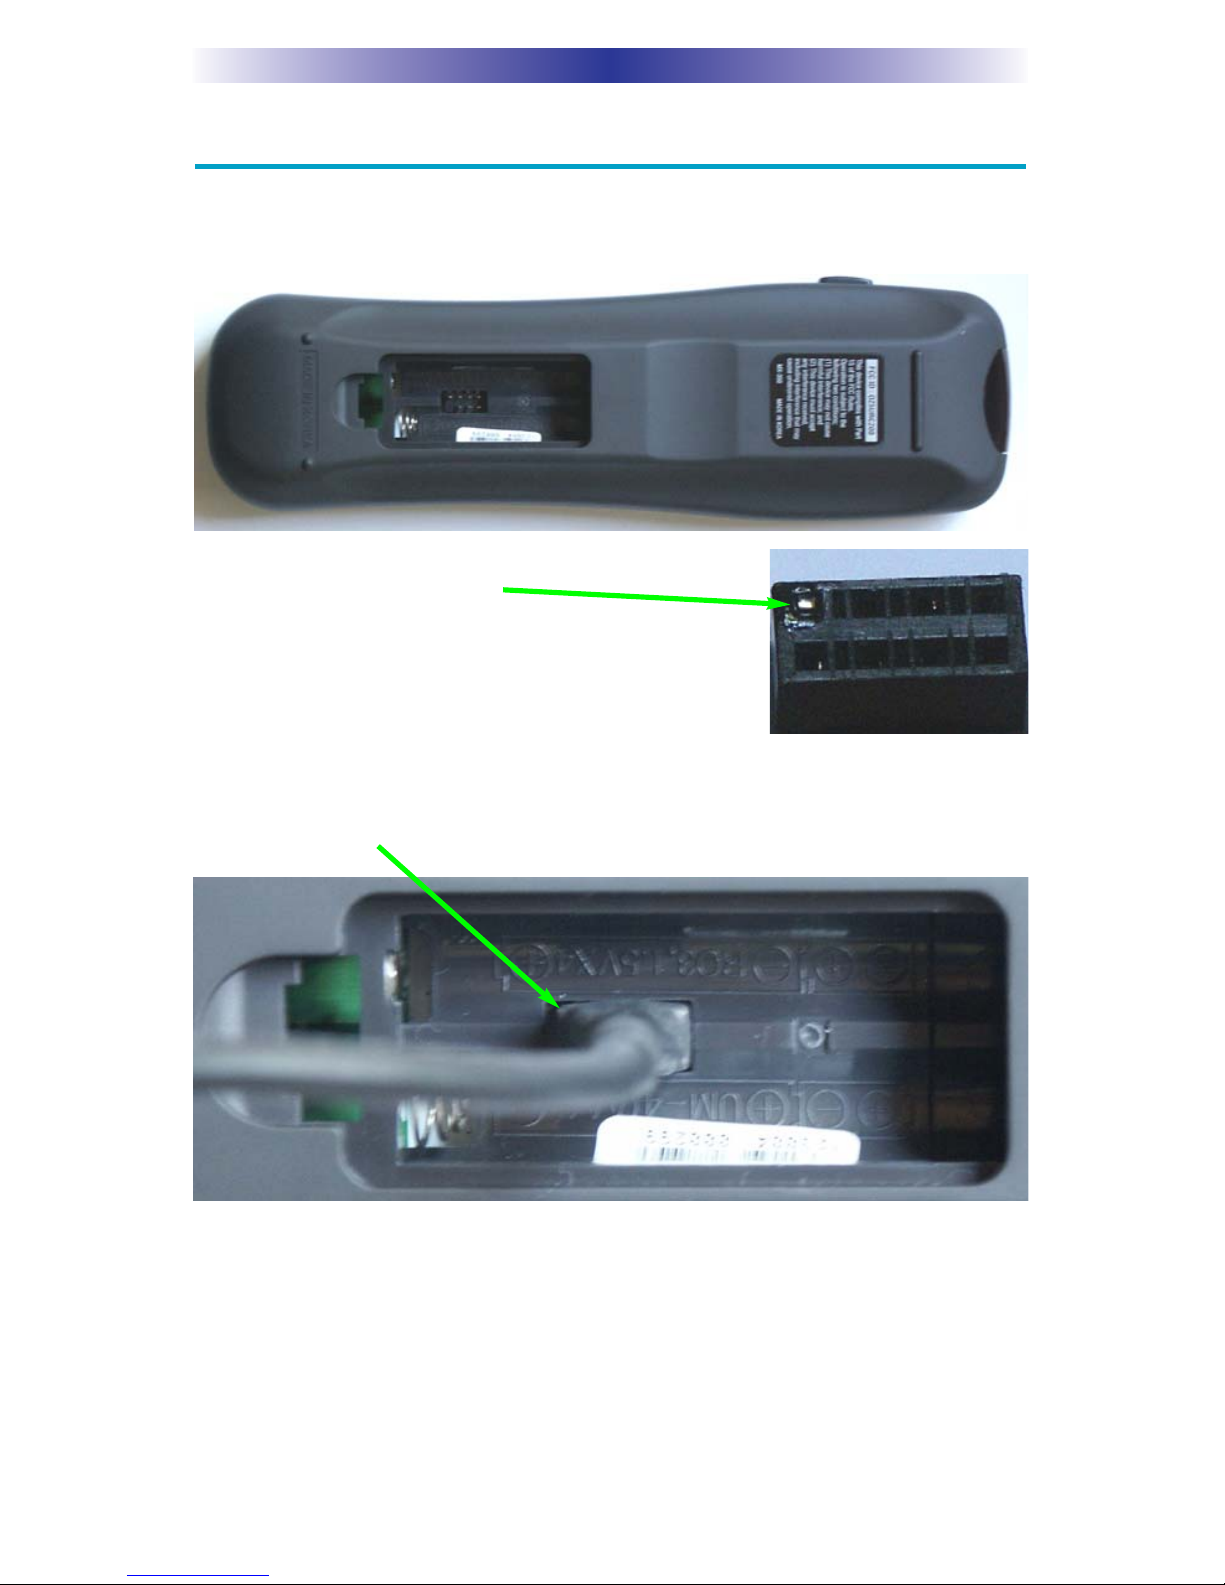
Connecting to either the MX-350 or the MX-650
1. Open the battery compartment of the remote and remove at least two
batteries to reveal the multi pin connector for the PCL-300.
2. Note that one pin on the connector attached to
the PCL-300 is filled in.
Orient the connector of the PCL-300 so that the
filled in pin will match the pin pattern of the
socket inside the remote control.
3. Carefully fit the plug from the PCL-300 into the socket on the remote
control.

Page 7
PCL-300 PC UPGRADE LINK
Uploading a Configuration from the Remote to the PC
1. Click on the Upload icon on the toolbar or select Upload from the
communications window. The Upload window will appear. The mes-
sage window should display “(Auto) Success connection with PC.”
2. The software now identifies whether it is connected to an MX-350 or
an MX-650. Once it has identified the model, the Environment message
will correctly identify the connected remote. Click on the Upload but-
ton to begin the upload process.
3. The window displays the progress as the file is uploaded.
Table of contents


