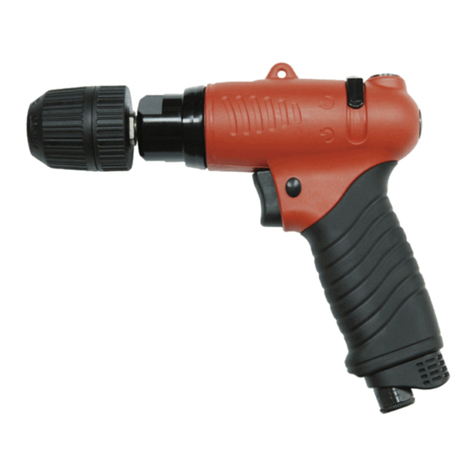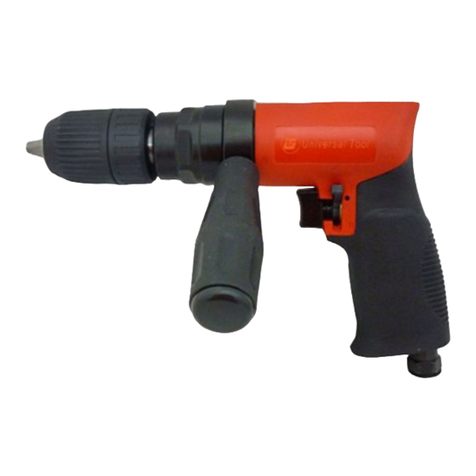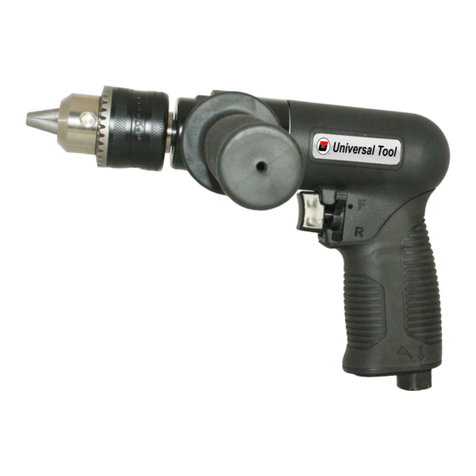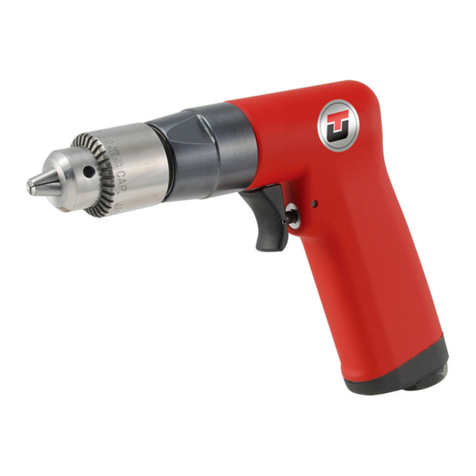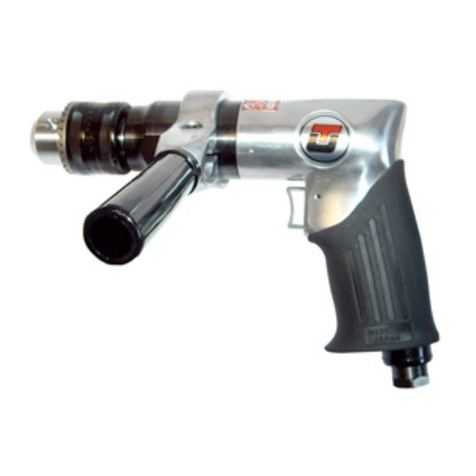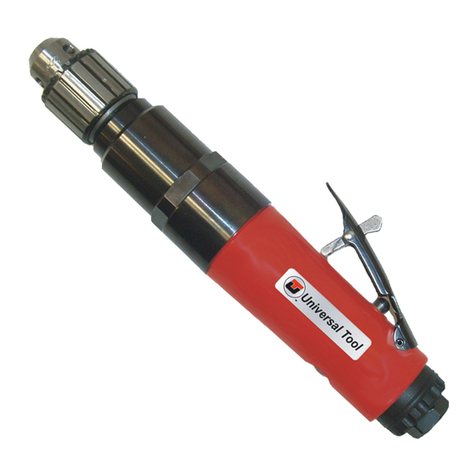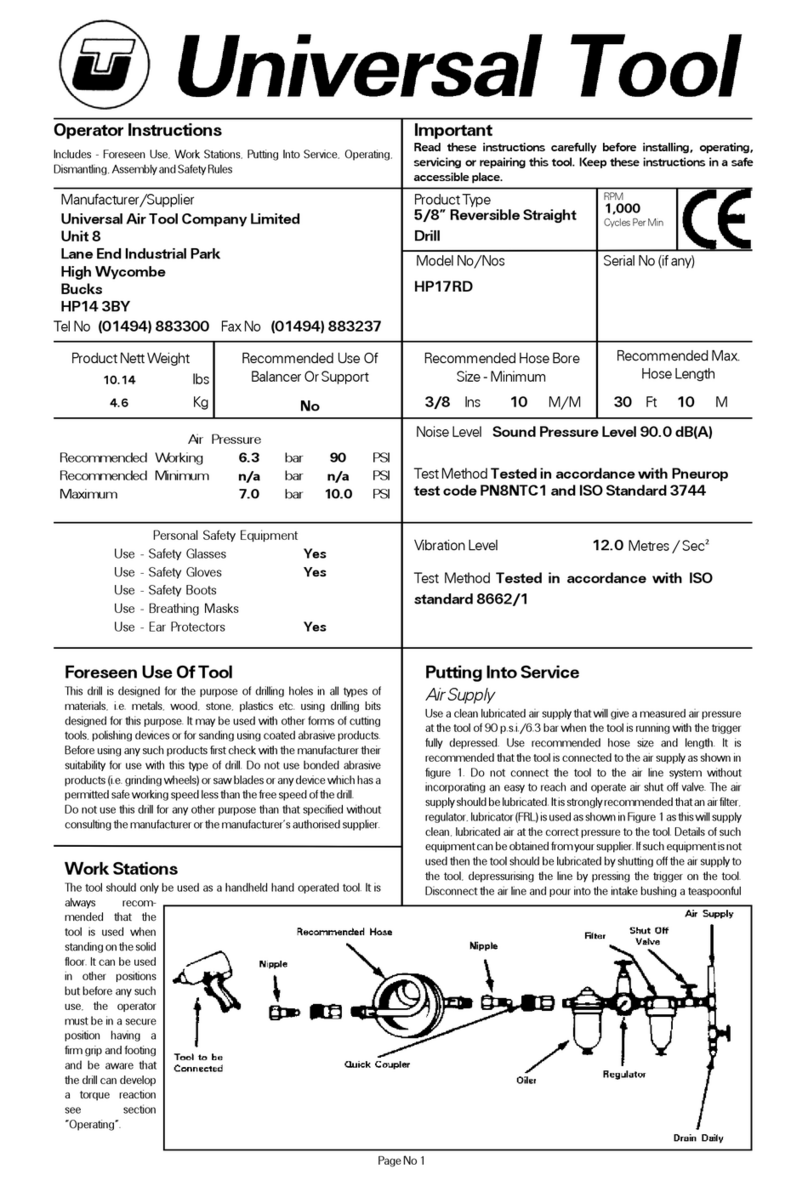
Operating
Select suitable drill bit, insert the shank into the drill chuck as far as
possible and tighten chuck with key supplied making sure that the
shank of the device is securely clamped centrally between the three
chuck jaws. Remove chuck key.
When drilling holes of all sizes it is advised to use a pointed punch to
mark the centre at which the hole is to be drilled as this will provide
a starting point for the drill tip. This procedure will prevent the drill bit
fromskidding,ensurethattheholeisdrilledwhereintendedandhelp
to prevent drill breakage when using small drills. When drilling,
particularly with small diameter drills, always try to ensure that load
applied to the drill is such that the drill bit is always at right angles to
the hole being drilled. Do not force the drill but allow it to cut.
Whendrillingalwaysadoptafirmposturetobeabletocounteractany
sudden movement of the drill due to torque reaction. Such torque
reaction can occur when the drill stalls due to a too heavy load being
applied or the material being too hard or tough. The torque reaction
can occur when the drill breaks through the material being drilled,
particularly on sheet metal. Always use eye protection and hand
protectionisadvised,particularlywhendrillingholesinmetalswhere
thematerialbeing removed from the holeisinthe form of long sharp
strips.Donot tie the drill chuck keytothedrillas the attaching device
i.e. string or chain could become entangled with the rotating chuck
and bit etc.
Ifusinganabrasivedevice,drillingstoneorperforminganyoperation
where dust is created, it is recommended to use a breathing mask.
Always ensure that the material to be drilled is firmly fixed to prevent
its movement.
It is also recommended that when drilling holes of large diameter to
first pre drill a hole of smaller diameter as this will reduce effort
required to drill the hole and minimise torque reaction.
Dismantling & Assembly Instructions
Disconnect drill from air supply.
The drill chuck (25) may be removed by placing the chuck adjusting
key securely in the chuck and giving the key a sharp tap with a
hammer in the direction to loosen a right hand threaded joint. If this
fails to remove the chuck remove it after the gearbox assembly has
beenremoved from thedrillhandle.(See later).Placemotorhousing
(1) in a vice fitted with soft jaws with the handle section pointing
upwards, unscrew bushing (26), remove screw (4) and exhaust
deflector (3). Unscrew locknut (24) to remove gearbox and pull out
motor assembly.
If the drill chuck has not been removed as it is too tightly fitted, it can
be removed as follows. Pull off ring gear (20) from gearbox and pull
off 3 off idler gears (21). Use a suitable square section bar inserted
between the pins in idler gear plate (22), pushed up against the face
toensurethatcontactismadeatthebottomofthepinsandunscrew
thechuck using thechuckkey.Do notusearoundbar orlocateatthe
outeredgeofthepins as this may distort the 3 pins.Alengthof8mm
(0.312)squarebarisidealforthispurpose.Continuetodismantlethe
gearbox by supporting ball bearings (23) on the gear side in a piece
of tube of suitable bore to just clear the largest diameter of idler gear
plate(22) and press outidler gear plate frombearings 2 off- (23).It is
recommendedthatthepinsintheidlerplate(22)arenotremovedfor
replacement and the complete idler gear plate (22) is replaced. For
information the nominal diameter of the three pins in the idler plate
(22) is 0.1574 ins (4 mm). Replacement is required if the pins are
badly damaged or worn below 0.155 (3.937 mm) diameter.
To dismantle motor assembly grip the front end plate (19) tightly by
hand and tap the gear end of the rotor with a non metallic or soft
metal (lead or aluminium) hammer through the front end plate (19)
and bearing (13). Remove 4 off rotor blades (17) and cylinder (18).
Hook out plastic shield from rear end plate (14). Support rear end
plate (14) in a piece of tube with a bore size as close as possible to
the largest diameter of the rotor (14) and tap the non splined end of
the rotor to remove it from the rear end plate and bearing assembly.
Tap out bearing (13) from rear end plate (14) and bearing (13) from
front end plate (19).
Tapouttriggerretainingpin(2)andpullouttriggerassembly.Remove
trigger (10) from valve stem (6). Remove valve stem (6) from valve
bushing (9) and remove O-Rings (5). Remove 2 off O-Rings (7) and
O-ring (8) from valve bushing (9).
Reassembly
Clean all component parts and examine for wear before
reassembling.Useonly manufacturers ordistributorsuppliedspare
parts. Check in particular for wear and cuts on O-Rings and wear on
rotor blades. Lightly coat all parts with a suitable pneumatic tool
lubricatingoil.Packallbearingsandgearboxwithageneralpurpose
lithium or molybdenum based general purpose grease.
Assemble in reverse order - see notes below.
Motor Assembly
If fitting a new rotor very lightly deburr the edges of the rotor slots.
Makesurerotor blade slotsareclean.Makesurethat the faces ofthe
frontand rear endplates (19) and(14) that abut cylinder (18) are free
from burrs and surface marking. If necessary lap faces on a flat, very
fine grade of abrasive paper.
Pressbearing(13)intoendplates(14)and(19).Supportbearing(13)
in rear end plate on the inner race and tap rotor on the gear end with
asoftmetalornonmetallichammeruntiltherotorlocatesagainstthe
face of the rear end plate. Support the inner face of the rear end plate
in a piece of tube with a bore diameter as close as possible to the
largest diameter of the rotor and tap the non splined end until a
clearanceof0.040mm(0.0015")to0.065mm(0.0025")isobtained
between the inner face of the rear end plate and the rotor. This
clearance to be checked when pulling the rotor by hand away from
the rear end plate and bearing assembly.
Spin rotor to ensure that it will spin freely in the rear end plate and
bearingassembly.Fitrotorbladesandcylinderensuringthatthepinin
one end of the rotor cylinder locates in the round hole in the rear end
plate. Push on front end plate and check that rotor still rotates freely.
Reassemble tool in reverse order.
oil preferably incorporating a rust inhibitor. Reconnect tool to air
supply and run tool slowly for a few seconds to allow air to circulate
theoil.Iftoolisusedfrequentlylubricateondailybasisandiftoolstarts
to slow or lose power.
It is recommended that the air pressure at the tool whilst the tool is
running is 90 p.s.i./6.3 bar. The tool can run at lower and higher
pressureswiththemaximumpermittedworkingairpressureof100
p.s.i./7.0 bar.
Page No 2
Safety Rules When Using A Drill
1)Readalltheinstructionsbeforeusingthistool.Alloperatorsmustbe
fully trained in its use and aware of these safety rules. All service and
repair must be carried out by trained personnel.
2) Always select a suitable cutting, abrasive device suitable for use
with this drill.
3) Always shut off the air supply to the drill and depress the trigger to
exhaustairfromthefeedhosebeforefitting,adjustingorremovingthe
device. Remove drill chuck.
4) Always adopt a firm footing and/or position and be aware of
torque reaction developed by the drill.
5) Use only correct spare parts.
6)Checkhose and fittings regularly for wear. Donotcarrythetool by
its hose and ensure that the hand is remote from the on/off valve
(trigger) when carrying the tool with air supply connected.
7) Do not exceed maximum recommended air pressure. Avoid low
airpressuresasthiswillallowthedrilltostallmoreeasilyanddevelop
torque reaction.
8) Use safety equipment as recommended.
9) The tool is not electrically insulated. Do not use where there is a
possibilityofcomingintocontactwithliveelectricity,gaspipes,water
pipes, etc. Check the area of operation before performing the
operation.
10) Take care against entanglement of moving parts of the tool with

