© UPLIFT Desk • 800-349-3839 • 512-614-3152 • info@upliftdesk.com • upliftdesk.com 5
Step 8
With a friend’s help, carefully ip the assembly over.
Be mindful that the Rails are still loose at this time, and
may slide a bit through the Rail extensions.
Once the assembly is ipped over and laid at, center
your Rails so the Center indicator mark is at the half-
way point between the ends of the Rail extensions.
If you are assembling a wall with 52’’ long Acoustic
panels, check to make sure the Rails are not protrud-
ing through either of the Posts.
Once in place, insert two M6x8 Set screws into each
Rail extension. Once they are in place, you can tighten
the screws from Step 2. Be careful to not over tighten
any of the screws.
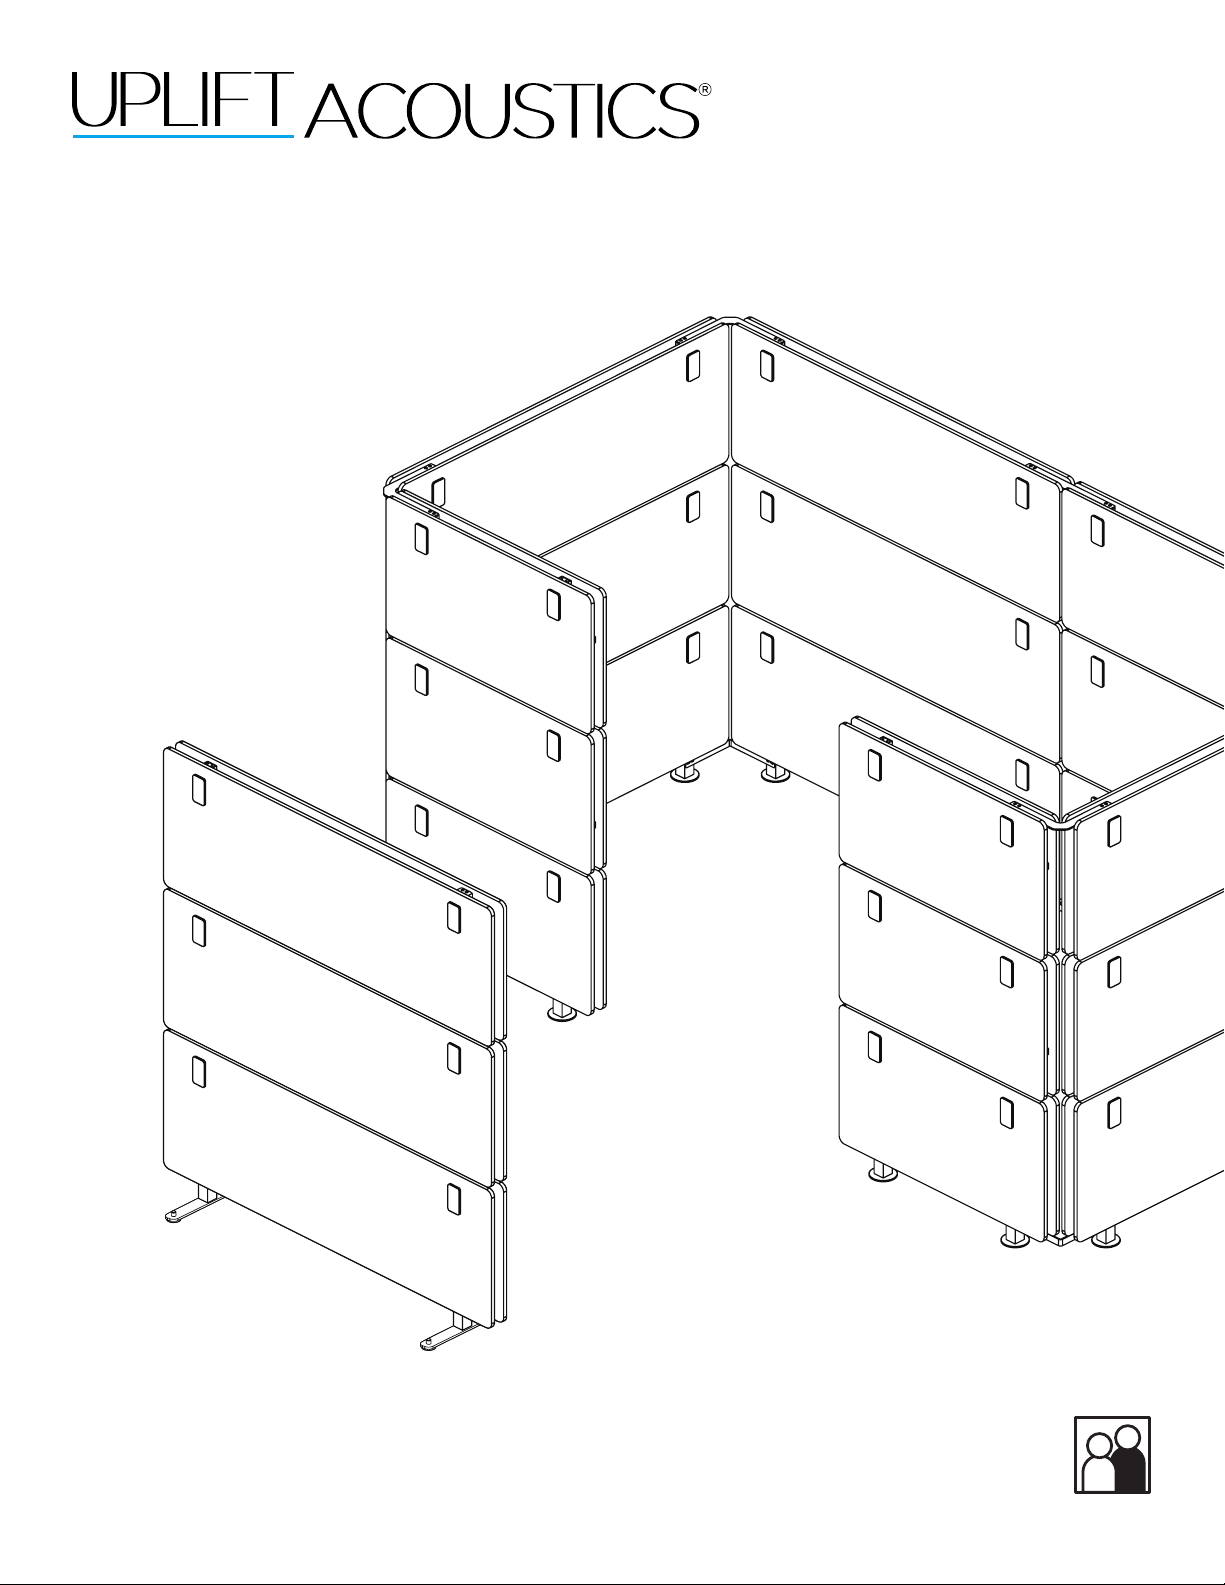
Step 7 (optional)
The Acoustic panels will generally hang at, but ap-
plying the Adhesive strips will help hold them against
the Posts.
Peel the backing off of both sides of an Adhesive strip
and place it between the Post and the Acoustic pan-
el, near the bottom of the panel. Press rmly on the
Acoustic panel above where the Adhesive strip was
placed for 10-20 seconds.
Repeat on each side of each Acoustic panel.
Step 9 (optional)
If you are assembling a wall using Acoustic Panels 52’’
wide or larger, you can insert the Post caps to cover
the square holes in the side of the Posts.
Step 10
After all the frame screws have been tightened, re-
peat Steps 4, 5, and 6 with the three Acoustic panels
on the opposite of the frame.
You’ve completed one wall assembly!
top
top
top