Installation Guide
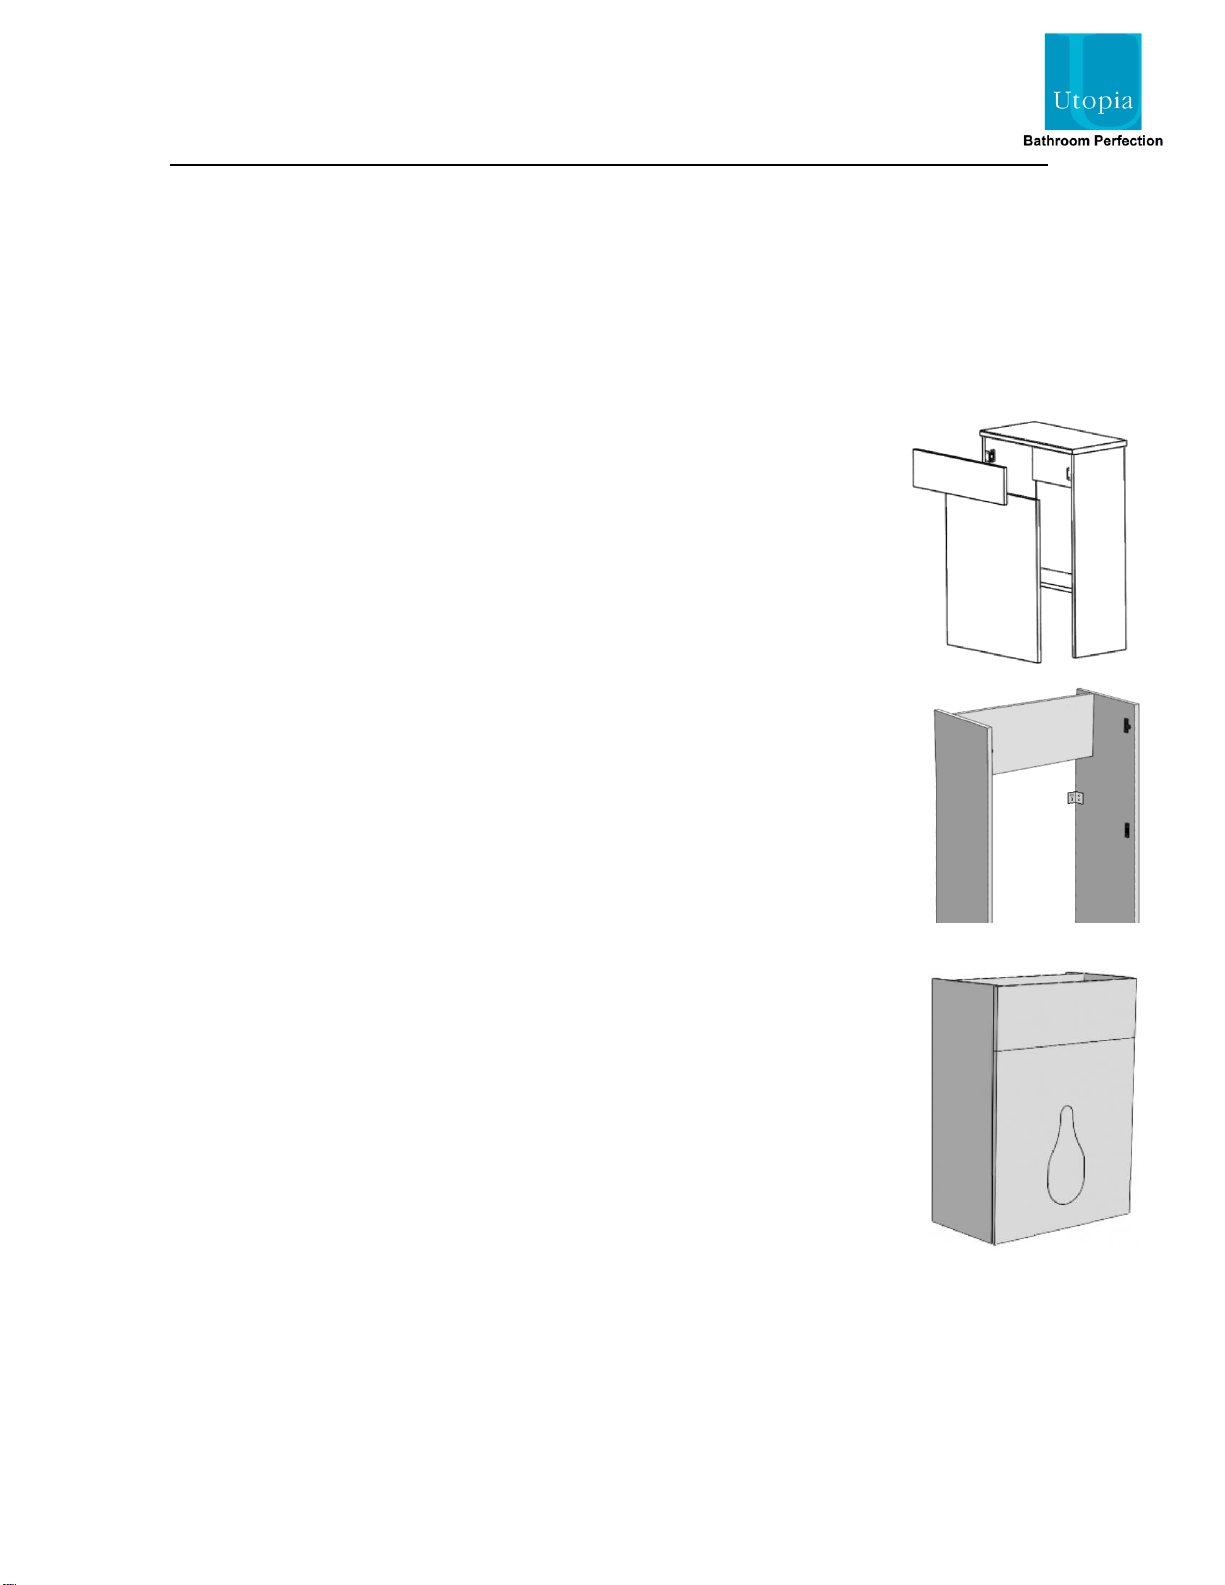
You Bath Side Panel
Please leave these instructions with the end user.
Important Information
•Read the instructions carefully.
•Check the product for any signs of damage and remove any protective film.
•It is recommended that a technically competent installer undertakes installation.
•It is the installer’s responsibility to carry out a thorough assessment of the wall type and use
appropriate fixings.
•Care should be taken when drilling walls to avoid any hidden wires or pipes.
Installation
Set the height of the bath to suit the height of the bath panel according to the
instructions supplied with the bath. Ensure that when the brackets and bath panel
are fitted, the panel sits 4mm proud of the bath rim.
If you are installing this side panel in conjunction with an
end panel, fit the end panel first according to the
instructions supplied with it.
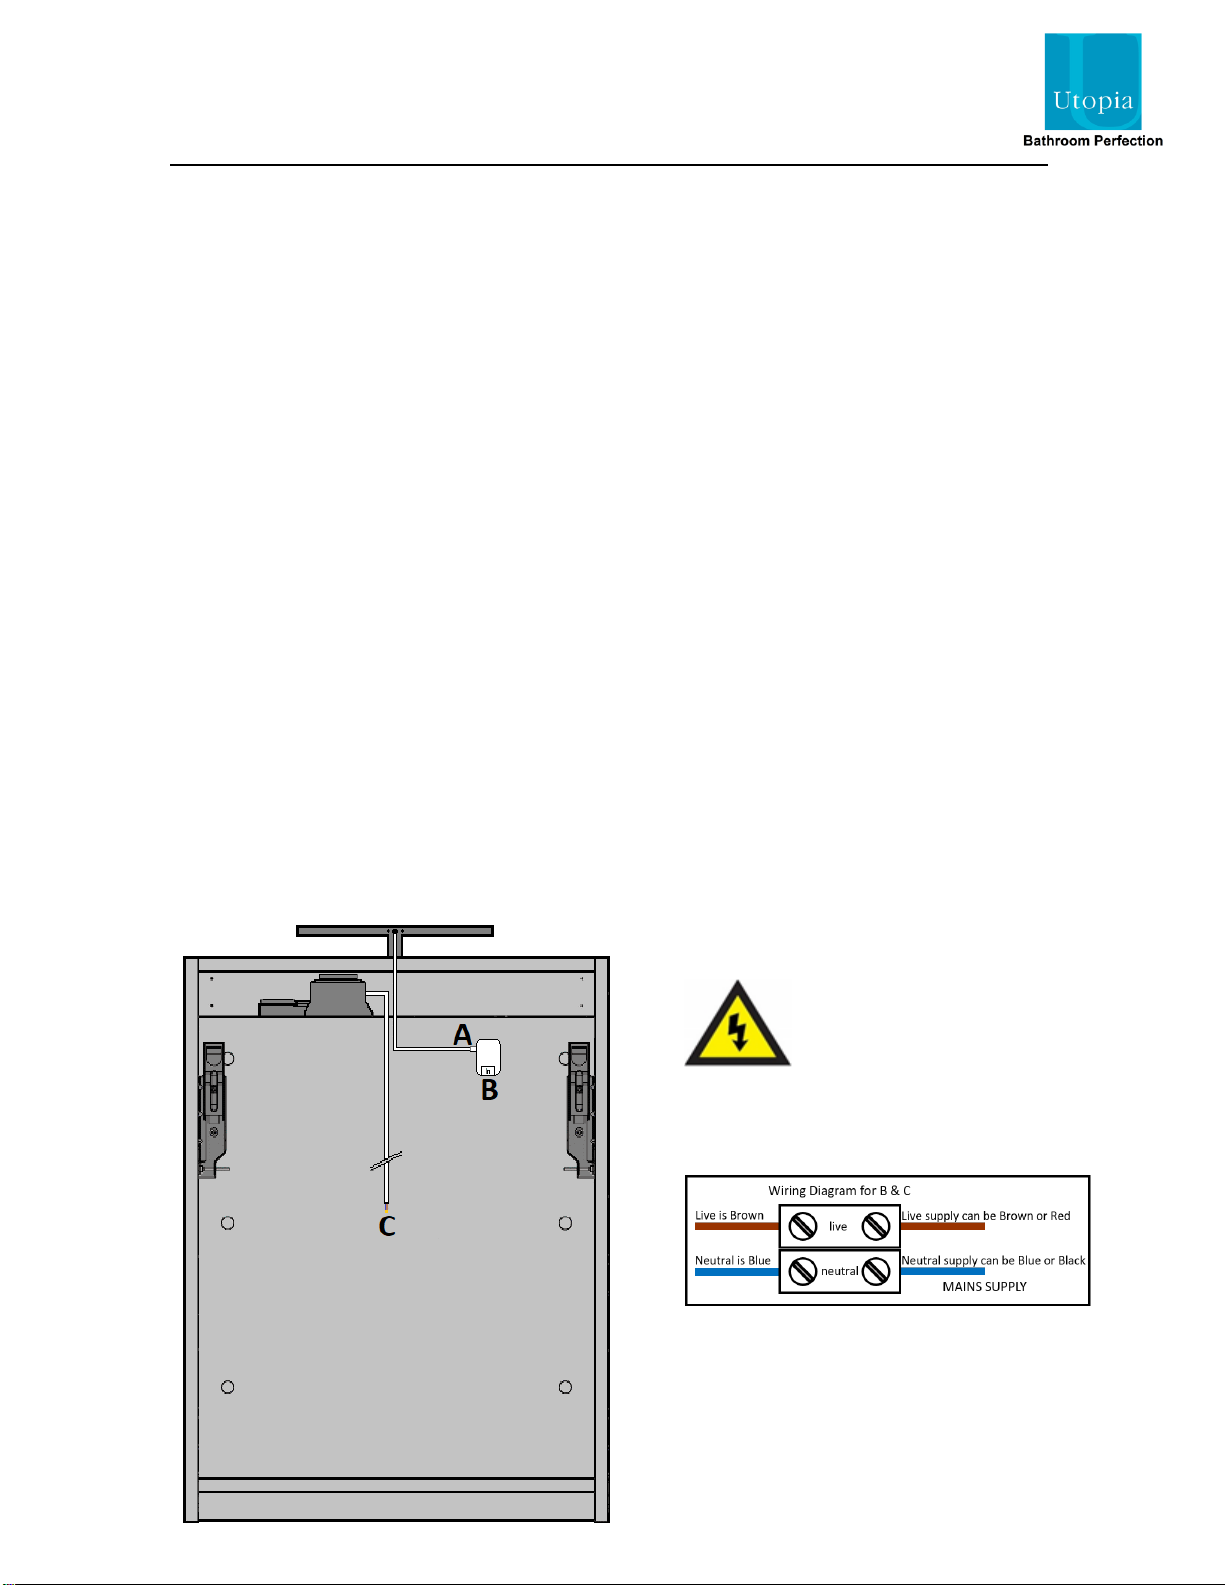
Screw three black Keku clips to the underside of the
wooden batten underneath the bath rim using the screws
provided. The three clips should be equally spaced along
the length of the bath. Use the diagram as a guide to how
the Keku clips are fitted.
The matching Keku clips should be screwed to the rear of
the bath panel using the screws supplied. Measure carefully
to ensure that the clips on the rear of the bath panel will
engage with the clips screwed to the bath.
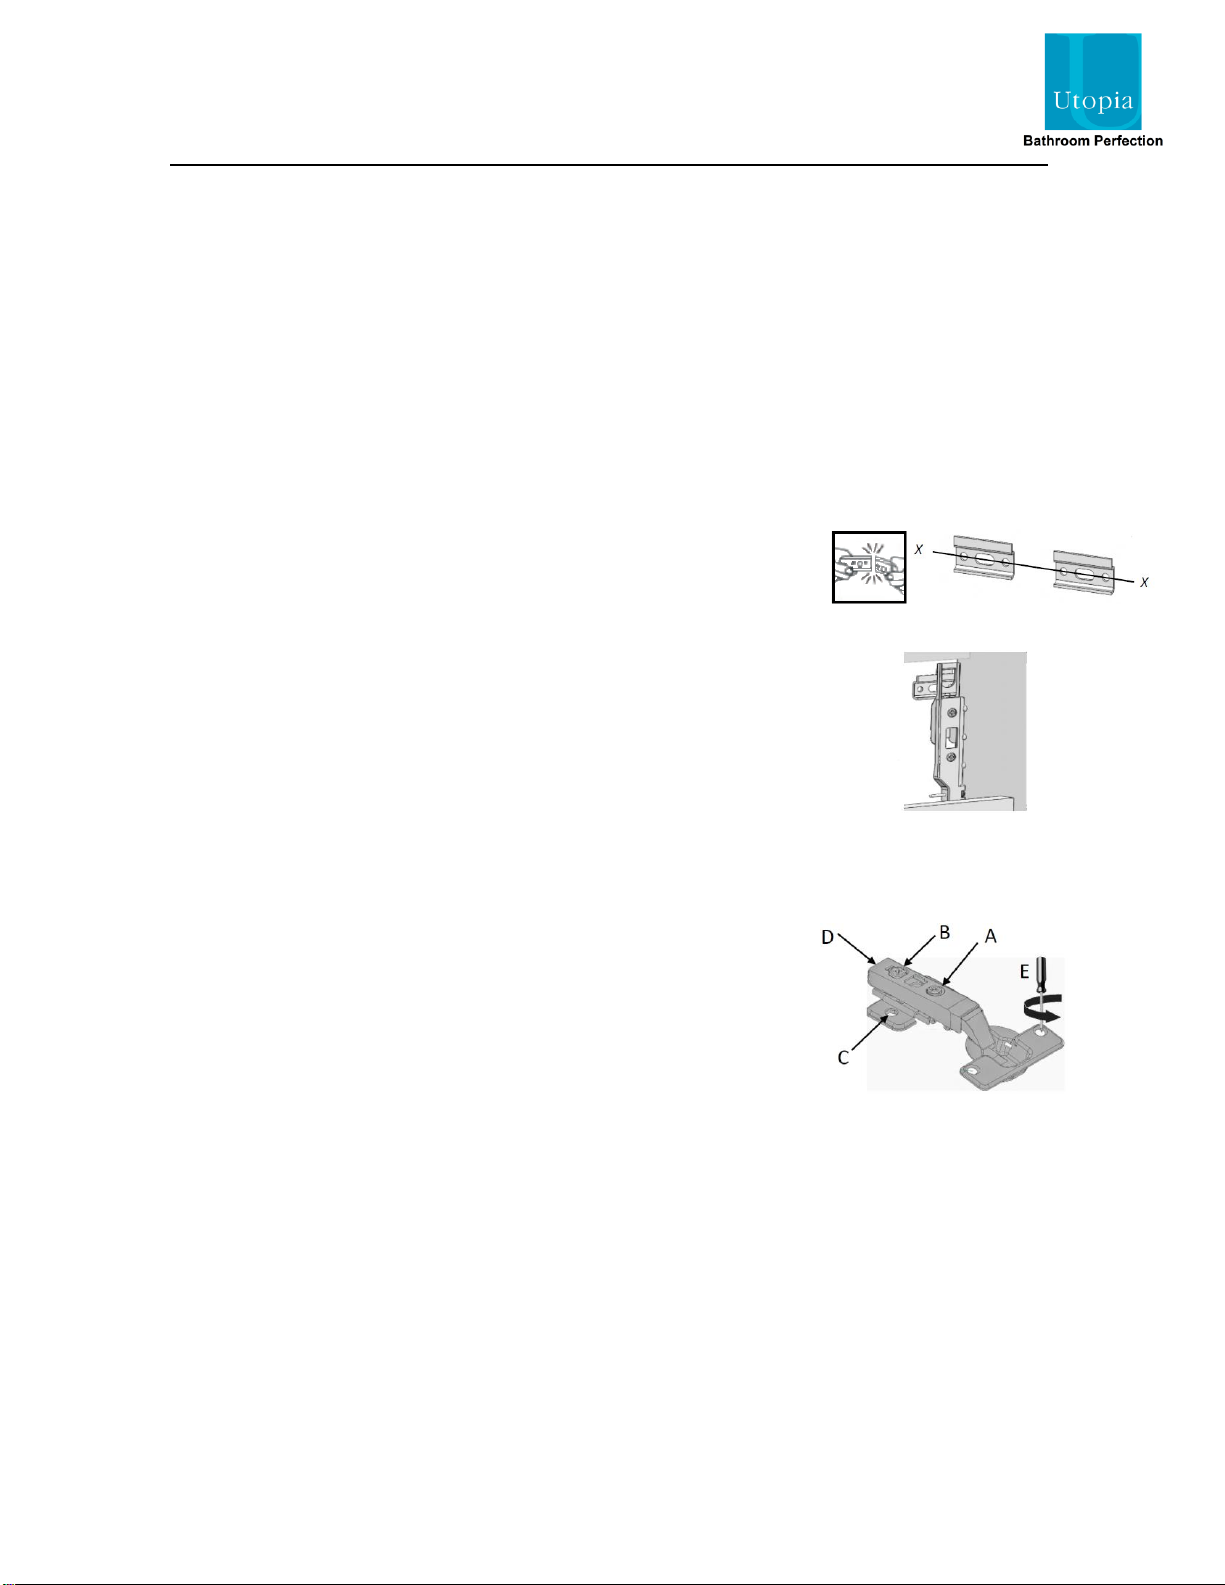
If the bath panel is being fitted between two walls, the two “L” brackets should
be secured to the walls to prevent the panel from being pushed inwards. Ensure
suitable fixings are used.
If the bath panel is being used in conjunction with an end panel, secure one “L”
bracket to the wall to prevent the panel from being pushed inwards. On the
opposite side to the wall, secure the bath panel in place using a Keku clip. This Keku
clip is supplied with the end panel, along with instruction on how it is fitted.
Once fully installed, seal around the bath panel on all joints using a good quality, sanitary-grade
silicone sealant.
Care & Maintenance
Furniture should be regularly dusted with a soft cotton or micro-fibre cloth. For more thorough
cleaning, occasionally wipe your furniture with a soft cloth dampened with a mild detergent
solution. Surfaces should be thoroughly dried with a lint free cloth to prevent watermarks. Under
no circumstances should solvent cleaning agents, bleach or abrasive cleaning agents or cloths be
used. Glass or mirrored panels should be cleaned using a non-solvent based glass cleaner and a
soft cloth. Spills should be removed immediately using a clean cloth. All bathroom furniture will
deteriorate through prolonged periods of exposure to high levels of condensation so bathrooms
must be adequately ventilated using suitable extraction. Failure to ensure adequate ventilation
may invalidate your guarantee.