9. In case the lever has been removed from the inlet tube, reassemble as follows:
•First of all verify the symmetry of the lever when placed on a flat surface. The
four legs should touch the flat surface without any distortion. In case of doubt,
replace the lever.
•Identify the injection hole on the inlet tube. When the injection mark is facing the
technician, the lever should be positioned above the inlet tube.
•First enter one lever tab in the square hole of the (anti friction) sleeve then, with
the minimum possible distortion, glide the other lever tab over the sleeve into
the other square hole. Check again that there is no distortion of the lever.
10. Insert the flow switch on the inlet tube. The triangular tip should be facing the adjust-
ment knob side.
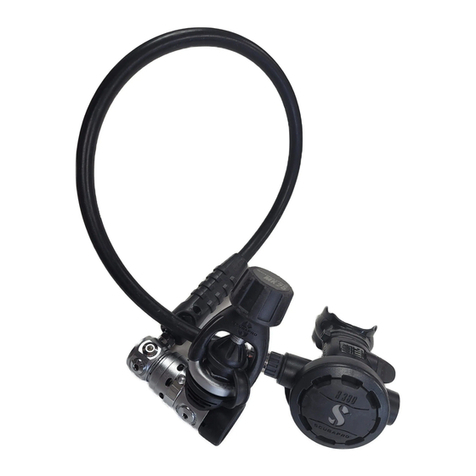
11. The G260 offers the possibility of reversing the hose side. The standard configuration
is the hose that comes over the RIGHT shoulder."
"
If the LEFT shoulder configuration is required, 2 actions must be taken:
a. Rotate the flow switch to open the injection hole facing the technician when the
treaded side of the inlet tube is on the left.
b. Place the adapter on the left side of the case.
For the standard – RIGHT shoulder - configuration:
c. Rotate the flow switch to open the injection hole facing the technician when the
treaded side of the inlet tube is on the right.
d. Place the adapter on the right side of the case.
12. Place the 2 o-rings on the poppet. Place the seat on a flat and clean surface."
Hold the poppet vertically to insert the seat into it. Push firmly into place. Lubricate
the 2 o-rings, taking care to place some grease in between the o-rings.
13. Place the spring and the balance chamber on the poppet.
14. Hold the inlet tube with the lever facing the sky."
"
Hold the poppet, spring and balance chamber and position the poppet assembly so
that the 2 tabs face the ground."
"
Glide the poppet assembly inside the inlet tube, making sure the poppet does not ro-
tate."
"
The poppet should engage in the lever tabs."
"
Verify by pushing on the balance chamber with the polymer stick and by depressing
simultaneously the lever.
