manuals.online logo
Brands
  1. Home
  2. •
  3. Brands
  4. •
  5. VADO
  6. •
  7. Plumbing Product
  8. •
  9. VADO OMIKA SFSRK User manual

VADO OMIKA SFSRK User manual

Guarantee
All VADO products come with a 2 year guarantee as standard. Within this guarantee
period VADO will provide replacement parts and any labour [SEE NOTE 1] needed to
complete the product repair.
This standard guarantee may be extended by registering your product to give up to a 12
year guarantee period. Once registered:
VADO chromed brassware and stainless steel products have a 12 year guarantee
(2 years parts and labour plus 10 years parts only).
VADO digital and i-tech products have a 6 year guarantee (2 year parts and labour plus 4
years parts only).
All other VADO products have a 3 year guarantee (2 years parts and labour plus 1 year
parts only) [SEE NOTE 2].
VADO electric showers have a 2 years parts and labour guarantee.
Guarantee conditions
Our products are guaranteed against manufacturing defects from the date of purchase
until the expiry of the relevant guarantee period shown above.
The guarantee is only valid if:
• The product has been installed, used and maintained in accordance with VADO’s
instructions and subjected to normal use only.
• The defect is not due to use of an unsuitable or inadequate water or power supply.
• The defect is not due to accident, misuse, neglect or incorrect/inappropriate repair
(other than by VADO or VADO authorised agents) or damage caused by foreign objects or
substances.
• The extended guarantee is only available if you have completed the Guarantee Registration
Process. This can be done via the VADO website or via phone to our aftersales team.
Registration must be completed within 6 months from date of purchase.
Under the extended guarantee period VADO will, at its option, offer to supply any
replacement product (or component part) assessed to be defective [SEE NOTE 3].
The guarantee (whether standard or extended) is non-transferable to any subsequent owner.
All claims under the guarantee should be notified in the first instance to our Aftersales
department, contact details below, this must be done no later than the last day of the
relevant guarantee period. All claims must be accompanied by proof of purchase (sales
receipt or delivery note) from an official VADO dealer.
The guarantee does not extend to any consequential loss or damage.
After repair or replacement, the relevant guarantee period will be calculated from the
original date of purchase.
VADO operates a policy of continuous product development and therefore reserves the right
to change the product, packaging and documentation specifications without notice.
NOTES:
[1] Labour via our engineer network is only available in the UK. Attendance by a VADO
engineer or sub-contract engineer will be under our standard terms and conditions.
[2] VADO spare parts and shower hoses are under a parts only guarantee.
[3] VADO reserves the right to charge in advance for a product (or replacement part)
pending collection and investigation (at VADO expense) to confirm a defect is due to a
manufacturing issue. If a defect is found the charge will be refunded or cancelled.
This guarantee is in addition to and does not affect your statutory rights as a consumer.
Tel: 01934 745163
Email: aftersal[email protected]
Slide Rail Kit
SFSRK
OMIKA
Keep for future reference
Installation Guide
Please read these instructions carefully before starting
installation and keep for future reference.
Remove all packaging and check the product for missing parts
or damage before starting installation.
Warning! Please check for any hidden cables and pipes before
drilling holes in the wall.
Note: The fixings supplied are for solid walls only. If you are
fitting the accessory to a partition or wall of particularly soft
substrate you will need specialist fixings.
27
Important - please read
Cleaning instructions:
The electroplating on this product is finished to the
highest standard. Due care needs to be taken to ensure
the appearance is retained.
We recommend cleaning all products with a soft damp
cloth ONLY and advise strongly against the use of all
aggressive/corrosive cleaning products i.e. powders
and liquids. If these instructions are not followed, this
may invalidate your guarantee in the event of a problem
occurring.
Thank you for choosing VADO
Our products can be found in some of the most prestigious
hotel, commercial and residential developments across the
world, therefore you can expect exceptional product quality and
outstanding customer service.
This product has passed through stringent quality assurance
processes coupled with demanding lifecycle mechanical testing
to ensure it reaches the exacting standards that allow us to
offer our premium 12 year guarantee.
We work to ensure our product designs are harmonious with
all sanitaryware, so when you choose VADO, your choice of
coordinating items is unlimited.
With VADO, you can really let your inspiration flow.
For any technical or operational queries please contact our
experienced aftersales team on 01934 745163.
Welcome
VADO, Wedmore Road, Cheddar, Somerset, England BS27 3EB
tel 01934 744466. fax 01934 744345
aftersales@vado.com
www.vado.com
Hose connection
Handset
Place one of the rubber
washer into the cone end of
the hose and screw to the
handset.
Outlet
Place the second rubber
washer into the nut end of
the hose and attach it to the
mixer outlet.
Handset
Cone end
of hose
Rubber
washer
a
b
c
c
Dimensions
63
Installation
Place the mounting block in the
centre of the marked bracket
position. Mark the centre of
the hole. Repeat for the other
block (a).
Using a suitable 6mm masonry
drill bit for the wall plug, drill
the wall at the centre of the 2
marked positions.
Fix the blocks in position using
the supplied wall plugs and
screws make sure that the
notch is at the top on the top
bracket and opposite position
at the bottom (b).
Refit the riser assembly by
placing the brackets onto the
mounting blocks and secure by
tightening the grub screw with
the supplied hex key (c).
30mm
221mm
79mm
130mm
30mm
25mm
15mm
600mm
Top block
Top block Notch
Top bracket
Bottom block
Bottom
block
Bottom
bracket
Hex key
Hex key
Mounting block
Top Bottom
45
Installation
Before you start the installation
you will need to remove the
mount blocks from both
brackets. Using the supplied
hex key release the grub screw
on the bracket and remove
the mounting block. Note the
position of the notch.
Should you choose to adjust
the height of the mounting
brackets you can release the
screw within the bracket,
adjust the bracket by sliding
up/down to desired position
then retighten the screw.
Position the rail on the wall,
bearing in mind the different
heights of people likely to use
the shower.
Make sure the riser rail is
vertical using a level. Mark the
wall to indicate the position of
both brackets.
Remove the riser rail.
Quick guide
1
2
3
4
5
6
A
B
A
B
A
B
A
B
6mm
1
3
2
x 2
x 2
Notch
Block
Screw
Hex key
Bracket
Handset
holder
Slider
adjustment
Top
bracket
Bottom
bracket

This manual suits for next models

1

Other VADO Plumbing Product manuals

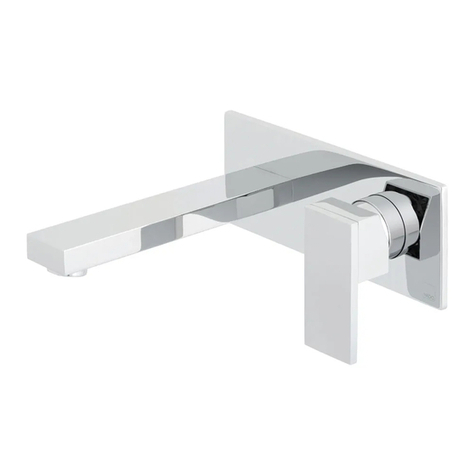
VADO WG-179M-CP User manual

VADO

VADO WG-179M-CP User manual

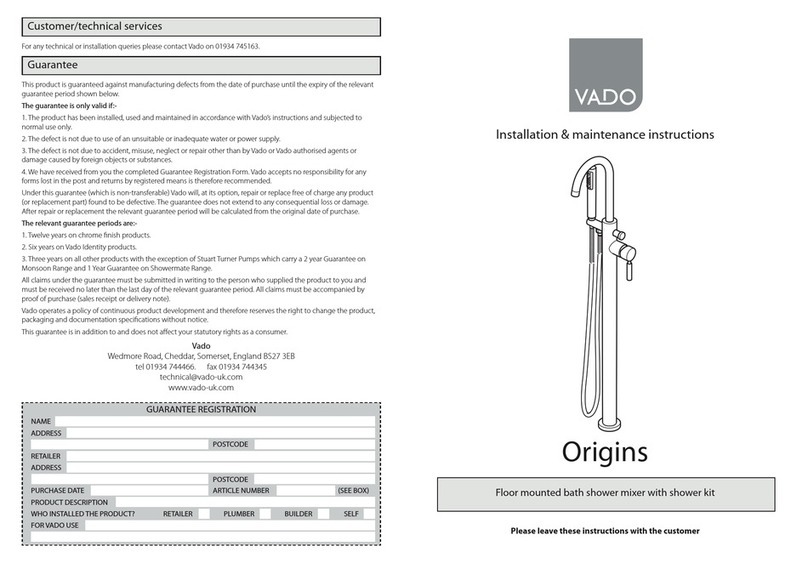
VADO AXCES MATRIX AX-MAT-145A-CP Instruction Manual

VADO

VADO AXCES MATRIX AX-MAT-145A-CP Instruction Manual

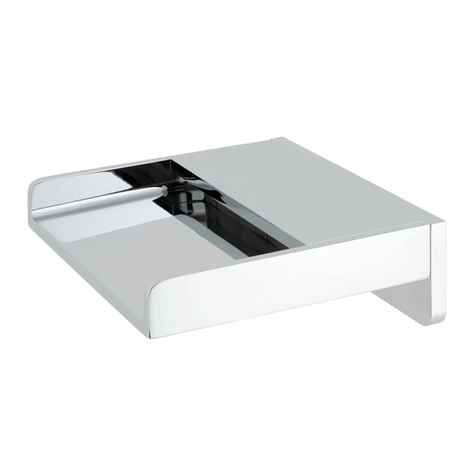
VADO LIFE LIF-200-CP User manual

VADO

VADO LIFE LIF-200-CP User manual

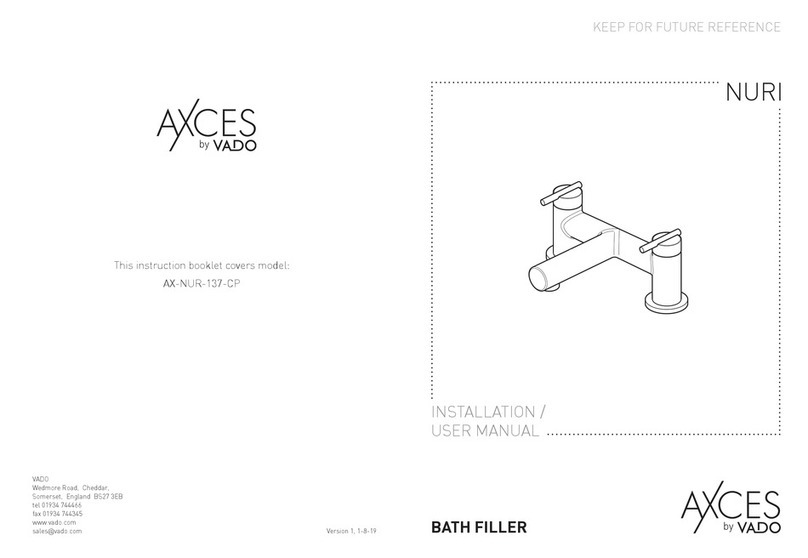
VADO Axces IRLO AX-IRO-130+K-CP Instruction Manual

VADO

VADO Axces IRLO AX-IRO-130+K-CP Instruction Manual

VADO Omika User manual

VADO

VADO Omika User manual

VADO ALTITUDE TAB-148/2WO-ALT-CP User manual

VADO

VADO ALTITUDE TAB-148/2WO-ALT-CP User manual

VADO INDIVIDUAL ELEMENTS User manual

VADO

VADO INDIVIDUAL ELEMENTS User manual

VADO PHASE PHA-200FW/CC-CP User manual

VADO

VADO PHASE PHA-200FW/CC-CP User manual

VADO wg-rrk/div-148 Installation and operating instructions

VADO

VADO wg-rrk/div-148 Installation and operating instructions

VADO Zoo Installation and operating instructions

VADO

VADO Zoo Installation and operating instructions

VADO AXCES AX-AVA-145A-CP Instruction Manual

VADO

VADO AXCES AX-AVA-145A-CP Instruction Manual

VADO EDIT User manual

VADO

VADO EDIT User manual

VADO AXCES BOKX AX-BOK-149T-RRK-CP Instruction Manual

VADO

VADO AXCES BOKX AX-BOK-149T-RRK-CP Instruction Manual

VADO Axces SIRKEL AX-SIR-123T-CP Instruction Manual

VADO

VADO Axces SIRKEL AX-SIR-123T-CP Instruction Manual

VADO INDIVIDUAL OMIKA NOIR User manual

VADO

VADO INDIVIDUAL OMIKA NOIR User manual

VADO INDIVIDUAL OMIKA NOIR User manual

VADO

VADO INDIVIDUAL OMIKA NOIR User manual

VADO Life Installation and operating instructions

VADO

VADO Life Installation and operating instructions

VADO AXCES ASTRA AST-156/CD-C/P Instruction Manual

VADO

VADO AXCES ASTRA AST-156/CD-C/P Instruction Manual

VADO AXCES ASTRA Series Instruction Manual

VADO

VADO AXCES ASTRA Series Instruction Manual

VADO ARRONDI TAB-128/3WO-B-ARR-CP User manual

VADO

VADO ARRONDI TAB-128/3WO-B-ARR-CP User manual

VADO life Installation and operating instructions

VADO

VADO life Installation and operating instructions

VADO ZOO ZOO-100FW/CC-CP User manual

VADO

VADO ZOO ZOO-100FW/CC-CP User manual

VADO KNURLED ACCENTS ORI-200/SB-CPK User manual

VADO

VADO KNURLED ACCENTS ORI-200/SB-CPK User manual

VADO Te Installation and operating instructions

VADO

VADO Te Installation and operating instructions

Popular Plumbing Product manuals by other brands

Spectrum Pfister Pfirst Modern R89-XPFM Quick installation guide

Spectrum

Spectrum Pfister Pfirst Modern R89-XPFM Quick installation guide

Graff Terra G-6765 installation instructions

Graff

Graff Terra G-6765 installation instructions

Gerber C0-44-454 Installation

Gerber

Gerber C0-44-454 Installation

sanindusa LINE 42 Assembly instructions

sanindusa

sanindusa LINE 42 Assembly instructions

Kohler K-6941 Homeowner's guide

Kohler

Kohler K-6941 Homeowner's guide

Elkay ESRWC8 1H Series Installation, care & use manual

Elkay

Elkay ESRWC8 1H Series Installation, care & use manual

Omnires Y1236ROGR Installation and Maintenance

Omnires

Omnires Y1236ROGR Installation and Maintenance

Bristan R2 SHXRR C Installation instructions and user guide

Bristan

Bristan R2 SHXRR C Installation instructions and user guide

Viega Grundfix Plus Instructions for use

Viega

Viega Grundfix Plus Instructions for use

Viega 8330.2 Instructions for use

Viega

Viega 8330.2 Instructions for use

Sanela 8591385930737 Instructions for use

Sanela

Sanela 8591385930737 Instructions for use

Flomasta 01029482 manual

Flomasta

Flomasta 01029482 manual

effegibi Omniasteam Touch manual

effegibi

effegibi Omniasteam Touch manual

miseno MNOSH715-CP quick start guide

miseno

miseno MNOSH715-CP quick start guide

Moen 1224 installation instructions

Moen

Moen 1224 installation instructions

Moen S3102 installation guide

Moen

Moen S3102 installation guide

Hansa HANSAMURANO-E Mounting and operating instructions

Hansa

Hansa HANSAMURANO-E Mounting and operating instructions

Hans Grohe E 15708 1 Series Installation/User Instructions/Warranty

Hans Grohe

Hans Grohe E 15708 1 Series Installation/User Instructions/Warranty

manuals.online logo
manuals.online logoBrands
  • About & Mission
  • Contact us
  • Privacy Policy
  • Terms and Conditions

Copyright 2025 Manuals.Online. All Rights Reserved.