manuals.online logo
Brands
  1. Home
  2. •
  3. Brands
  4. •
  5. Valcom
  6. •
  7. Horn
  8. •
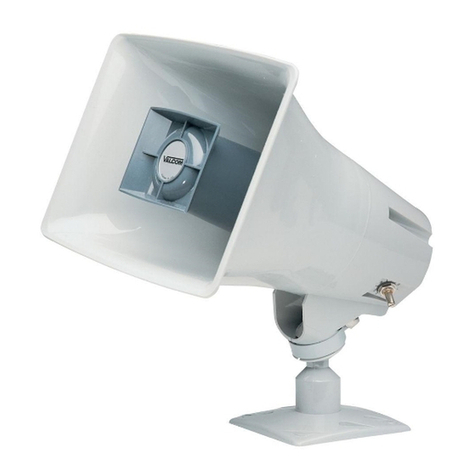
  9. Valcom V-9925A User manual

Valcom V-9925A User manual

Other Valcom Horn manuals

Valcom V-1030C User manual

Valcom

Valcom V-1030C User manual

Valcom InformaCast VIP-148L-IC User manual

Valcom

Valcom InformaCast VIP-148L-IC User manual

Valcom VIP-480AL-SA User manual

Valcom

Valcom VIP-480AL-SA User manual

Valcom V-1090 Flexhorn User manual

Valcom

Valcom V-1090 Flexhorn User manual

Valcom V-1039A User manual

Valcom

Valcom V-1039A User manual

Valcom PagePac V-5331200 User manual

Valcom

Valcom PagePac V-5331200 User manual

Valcom VIP-480AL-IC User manual

Valcom

Valcom VIP-480AL-IC User manual

Valcom V-1048C User manual

Valcom

Valcom V-1048C User manual

Valcom VIP-130AL-SA User manual

Valcom

Valcom VIP-130AL-SA User manual

Valcom VIP-9831AL User manual

Valcom

Valcom VIP-9831AL User manual

Valcom V-1050C User manual

Valcom

Valcom V-1050C User manual

Valcom V-1036C User manual

Valcom

Valcom V-1036C User manual

Valcom InformaCast VIP-142-IC User manual

Valcom

Valcom InformaCast VIP-142-IC User manual

Valcom Flexhorn VIP-490AL-IC User manual

Valcom

Valcom Flexhorn VIP-490AL-IC User manual

Valcom VIP-148AL User manual

Valcom

Valcom VIP-148AL User manual

Valcom V-1069A User manual

Valcom

Valcom V-1069A User manual

Valcom V-9947A User manual

Valcom

Valcom V-9947A User manual

Valcom PagePac V-5331215A User manual

Valcom

Valcom PagePac V-5331215A User manual

Valcom V-1030M User manual

Valcom

Valcom V-1030M User manual

Valcom VIP-9831 User manual

Valcom

Valcom VIP-9831 User manual

Valcom PagePac V-5331001 User manual

Valcom

Valcom PagePac V-5331001 User manual

Valcom FlexHorn VIP-483-IC User manual

Valcom

Valcom FlexHorn VIP-483-IC User manual

Valcom V-1090- BG User manual

Valcom

Valcom V-1090- BG User manual

Valcom V-1080 Flexhorn User manual

Valcom

Valcom V-1080 Flexhorn User manual

Popular Horn manuals by other brands

Klenn Air Horns JL-JK-OBA installation manual

Klenn Air Horns

Klenn Air Horns JL-JK-OBA installation manual

Vixen Horns VXO8350 installation guide

Vixen Horns

Vixen Horns VXO8350 installation guide

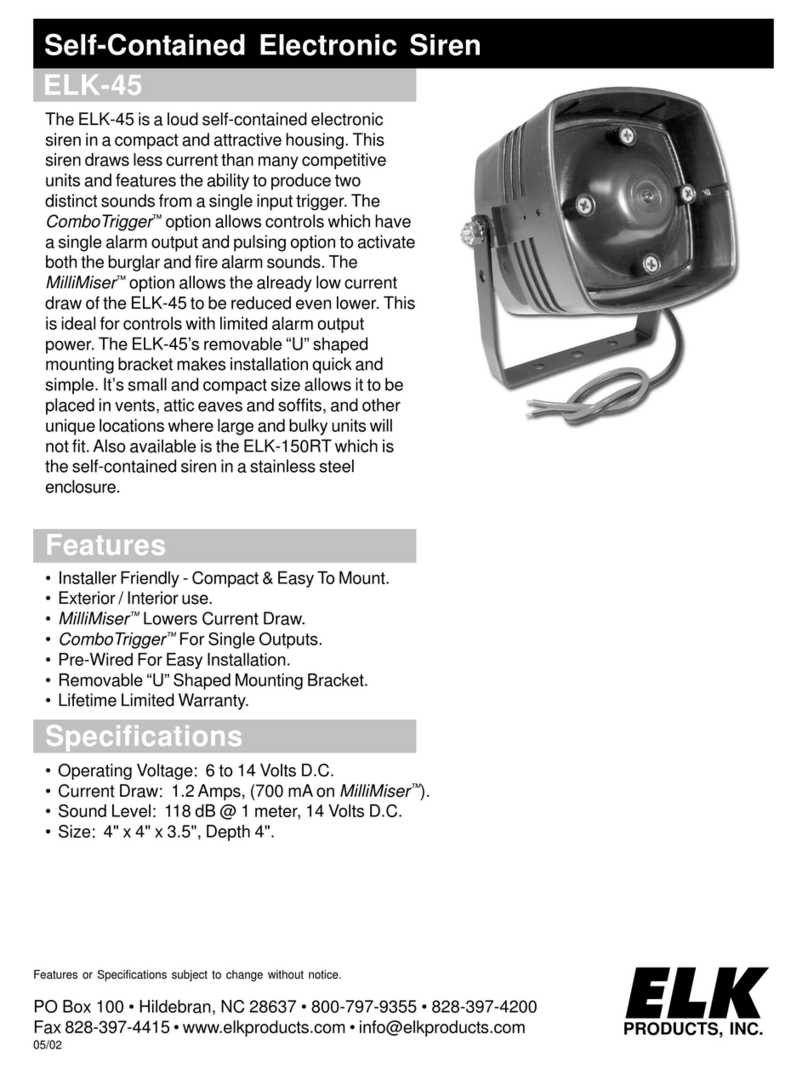
Elk Products 45 user manual

Elk Products

Elk Products 45 user manual

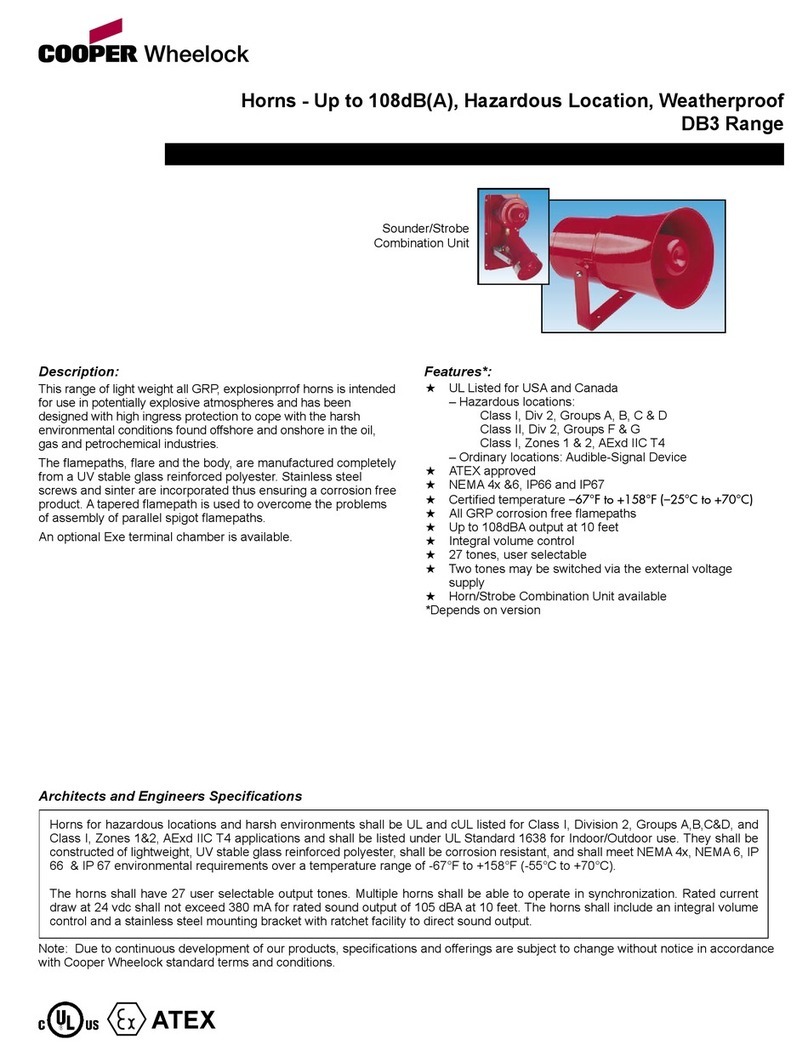
Cooper Wheelock DB3 Series specification

Cooper Wheelock

Cooper Wheelock DB3 Series specification

Altec Lansing 811B HF HORN manual

Altec Lansing

Altec Lansing 811B HF HORN manual

RF Elements UltraHorn CC Series quick start guide

RF Elements

RF Elements UltraHorn CC Series quick start guide

Edwards Signaling 869DSTR-G1 Series Installation sheet

Edwards Signaling

Edwards Signaling 869DSTR-G1 Series Installation sheet

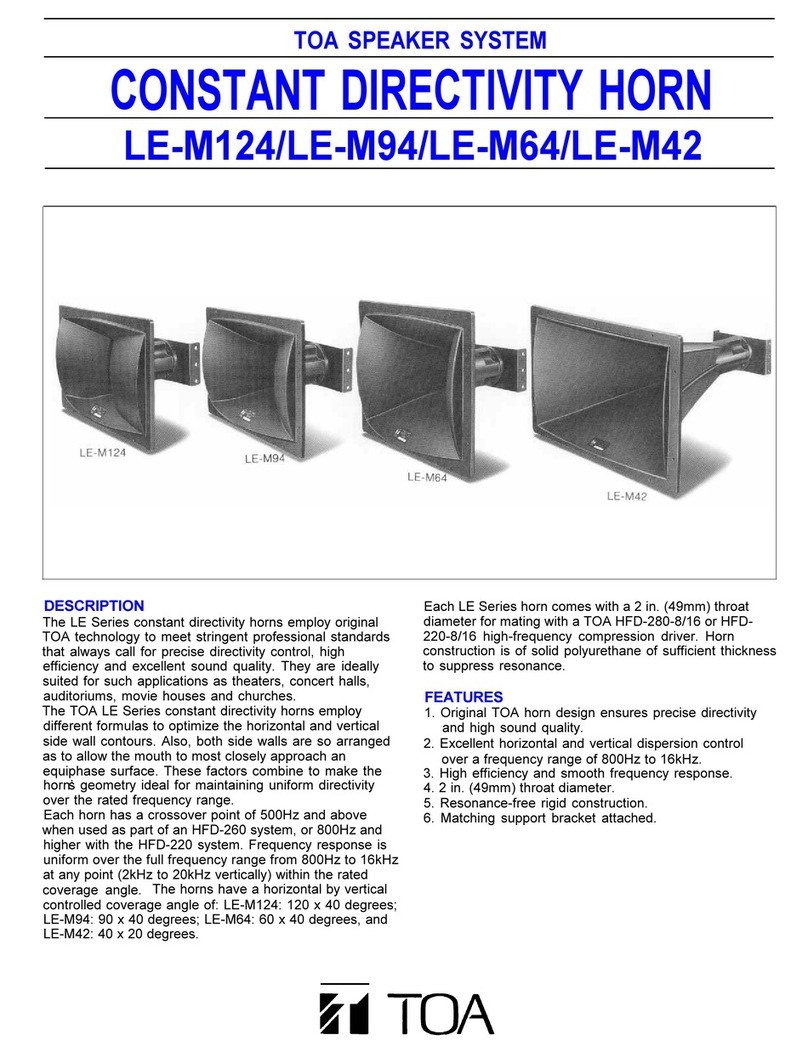
Toa LE-M124 Specifications

Toa

Toa LE-M124 Specifications

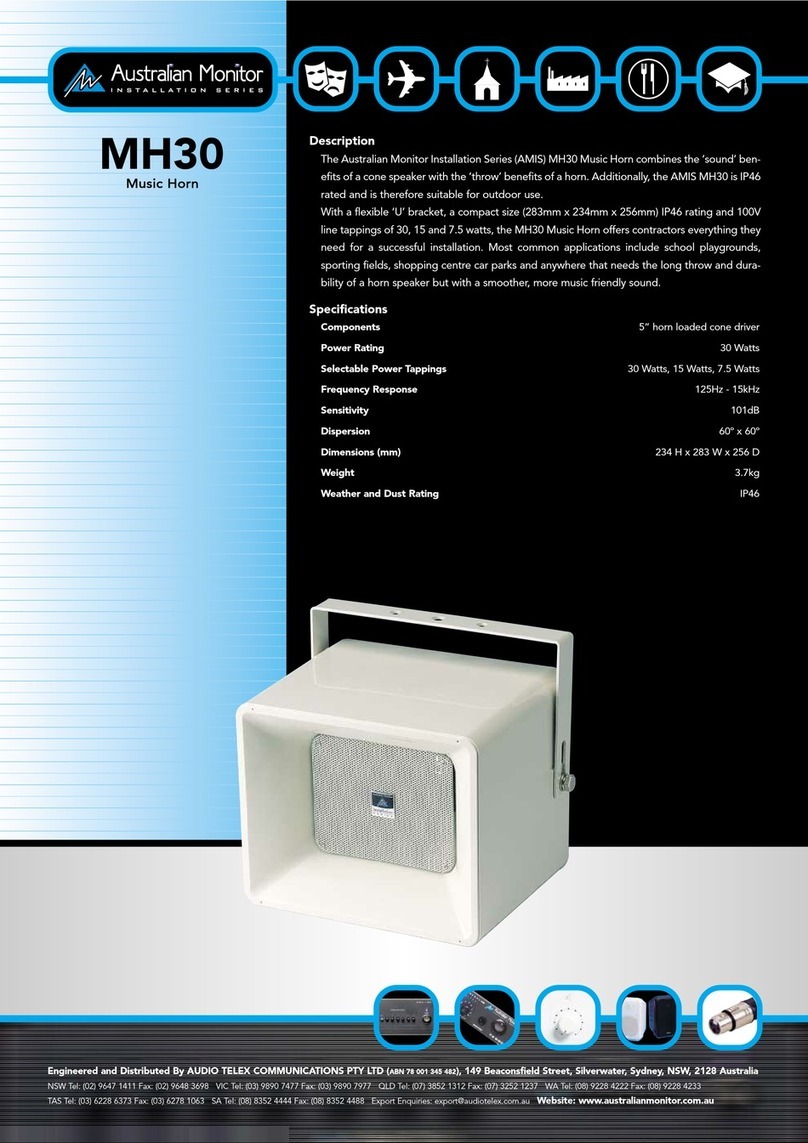
AUSTRALIAN MONITOR MH30 brochure

AUSTRALIAN MONITOR

AUSTRALIAN MONITOR MH30 brochure

Vixen Horns VXO8805/3311C installation guide

Vixen Horns

Vixen Horns VXO8805/3311C installation guide

Federal Signal Corporation 350 Installation and maintenance instructions

Federal Signal Corporation

Federal Signal Corporation 350 Installation and maintenance instructions

Electro-Voice MH4020AC Specifications

Electro-Voice

Electro-Voice MH4020AC Specifications

Dynacord 18" Full-W Vented Bass Horn alpha B6 Specifications

Dynacord

Dynacord 18" Full-W Vented Bass Horn alpha B6 Specifications

Kleinn RAMHDOBA-6450 installation instructions

Kleinn

Kleinn RAMHDOBA-6450 installation instructions

Vixen Horns VXO8715/4124B installation guide

Vixen Horns

Vixen Horns VXO8715/4124B installation guide

Wheelock HS-24 installation instructions

Wheelock

Wheelock HS-24 installation instructions

Altec Lansing MR945A HF HORN manual

Altec Lansing

Altec Lansing MR945A HF HORN manual

Vixen Horns VXO8530/3311B installation guide

Vixen Horns

Vixen Horns VXO8530/3311B installation guide

manuals.online logo
manuals.online logoBrands
  • About & Mission
  • Contact us
  • Privacy Policy
  • Terms and Conditions

Copyright 2025 Manuals.Online. All Rights Reserved.

VSP-V-9925A
Issue 7
1947925A
V-9925A
LOUD WARBLE RINGER WITH VOLUME CONTROL
5 WATT -24VDC
INTRODUCTION
These instructions contain the specifications and
guidelines necessary to install, operate and maintain
the V-9925A, 5-Watt Loud Warble Ringer with
Volume Control.
SPECIFICATIONS
The V-9925A Loud Warble Ringer is a self-contained
5-Watt electronic ringer which can be used for either
interior or exterior signaling applications. The unit is
designed to allow a loud warble to be broadcast as
long as input signal is present. The input signal
should be interrupted or controlled by the ringing
interval.
Application
•Loud speaker tone signaling for key systems,
intercoms, PABXs
•Outside signaling for incoming calls into a key
system
•Signaling in a noisy environment
Features
•5 Watt amplifier
•Volume control
•High efficiency horn
•Tone generation circuitry
Coverage
Refer to the following table for speaker coverage.
The first number given is the side to side distance for
mounting the speakers. It is also the distance in front
of the speaker that you can expect to hear a good
quality signal. The second number is the area being
covered in square feet.
Location Distance Area
Quiet 220 ft. 48,400 sq. ft.
Moderate 160 ft. 25,600 sq. ft.
Noisy 80 ft. 6,400 sq. ft.
Very Noisy 40 ft. 1,600 sq. ft.
Environmental
•Temperature: -20 to +55°C
•Humidity: 0 to 95% (non-precipitating)
Dimensions/Weight
•6.50"H x 8.20"W x 10.40"D,
plus mounting base
(16.51cm H x 20.83cm W x 26.42cm D)
•3.6 lbs. (1.63kg)
Signal/Power Requirements
•Power Supply: -24VDC, 500mA ("B" Battery)
(10 Valcom power units)
•Signal Source: 105VAC or 20VAC
2
Wiring Requirements
Due to the small amount of signal and power
required, wiring may be accomplished through station
or other suitable wire. When using "D" type station
wire, limit the wire run to 500 feet. Two Loud
Warble Ringers may be connected to the same
cabling if the total run length is less than 250 feet.
When a remote power unit is used, signal input leads
should be limited to 5000 feet and a maximum of 6
ringers.
INSTALLATION
Connections
Connect station or other suitable wire to the leads as
follows: White -24VDC
Black Ground
Brown Sig. Common
Red 105VAC input
Green 20VAC input
NOTE: Use either the 105VAC or 20VAC input,
not both.
When used in conjunction with a buzzer, connect the
buzzer leads to the brown and green leads. When
used with a ringer, connect the ringer leads to the
brown and red leads.
Attaching Speaker to Base
NOTE: For ease of installation, the base can be
attached to the speaker before or after the base is
attached.
•Loosen position adjustment knob.
•Insert the ball of the base into the socket of the
speaker.
•Tighten the position adjustment knob.
Mounting
The V-9925A should be mounted 16 to 40 feet above
the floor to allow for best sound distribution. The
unit can be mounted to a wall, a beam or an electrical
box.
•Mount the base to a wall using the two holes
provided. Knockout holes are provided for
punchout should additional holes be desired.
•A "C" clamp is provided with the ringer to allow
mounting to a beam. Place the bolt through the
hole in the bottom of the base to secure the "C"
clamp to the beam (see Figure 1).
•Connection to an electrical backbox is
accomplished by channeling wire through the
ball of the base and making appropriate
connections (see Figure 2). The base has holes
punched for a double-gang square box, but by
punching out additional knockout holes, the base
can be mounted to a single-gang or octagon box.
The V-9925A may be rotated or moved up and down
to obtain the desired position by loosening the knob
at the bottom of the unit approximately 1 turn (see
Figures 1 and 2). Make required adjustment and
re-tighten knob.
TECHNICAL ASSISTANCE
When trouble is reported, verify -24VDC power is
being applied to the unit and that the white wire has
-24VDC battery and the black wire is at ground
potential. Using a VOM, verify that 105VAC or
20VAC is being applied to the signal leads. Check
the volume adjustment on the control unit to make
certain it is set at the proper level.
Assistance in troubleshooting is available from the
factory. When calling, you should have a VOM and a
telephone test set available and be calling from the
job site. Call (540) 563-2000 for Technical Support
or call (540) 767-1555 for Valcom 24-hour Faxback
System or visit our website at
http://www.valcom.com.
Valcom equipment is not field repairable. Valcom,
Inc. maintains service facilities in Roanoke, VA.
Should repairs be necessary, attach a tag to the unit
clearly stating company name, address, phone
number, contact person and the nature of the problem.
Send the unit to:
Repair and Return Dept.
Valcom, Inc.
5614 Hollins Road
Roanoke, VA 24019-5056
3
I-Beam
"C" Clamp
Speaker Base
Position
Adjustment
Knob
Figure 1 - Mounting to a Beam with a "C" Clamp
Electrical
Backbox
Position
Adjustment
Knob
Wire
Speaker
Base
Figure 2 - Mounting to an Electrical Backbox
VALCOM LIMITED WARRANTY
Valcom, Inc. warrants its products to be free from defects in materials and workmanship under conditions of normal use and
service for a period of one year from the date of shipment. The obligation under this warranty shall be limited to the replacement,
repair or refund of any such defective device within the warranty period, provided that:
1. inspection by Valcom, Inc. indicates the validity of the claim;
2. the defect is not the result of damage, misuse or negligence after the original shipment;
3. the product has not been altered in any way or repaired by others and that factory sealed units are unopened (a service
charge plus parts and labor will be applied to units defaced or physically damaged);
4. freight charges for the return of products to Valcom are prepaid;
5. all units ‘out of warranty’ are subject to a service charge. The service charge will cover minor repairs (major repairs will
be subject to additional charges for parts and labor).
This warranty is in lieu of and excludes all other warranties, expressed or implied, and in no event shall Valcom, Inc. be
liable for any anticipated profits, consequential damages, loss of time or other losses incurred by the buyer in connection
with the purchase, operation or use of the product.
This warranty specifically excludes damage incurred in shipment. In the event a product is received in damaged condition, the
carrier should be notified immediately. Claims for such damage should be filed with the carrier involved in accordance with the
F.O.B. point.
Headquarters: In Canada
Valcom, Inc. CMX Corporation
5614 Hollins Road 35 Van Kirk Drive #11 and 12
Roanoke, VA 24019-5056 Brampton, Ontario L7A 1A5
Phone: (540) 563-2000 Phone: (905) 456-1072
FAX: (540) 362-9800 FAX: (905) 456-2269