manuals.online logo
Brands
  1. Home
  2. •
  3. Brands
  4. •
  5. Valcom
  6. •
  7. Horn
  8. •
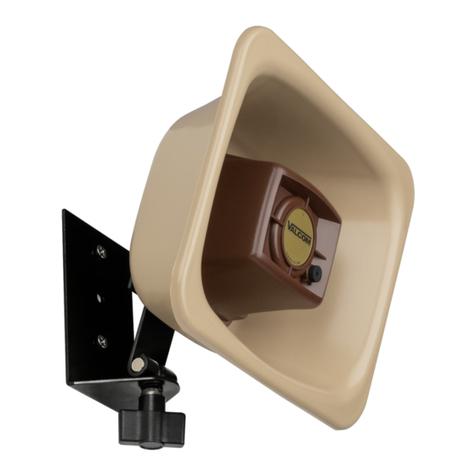
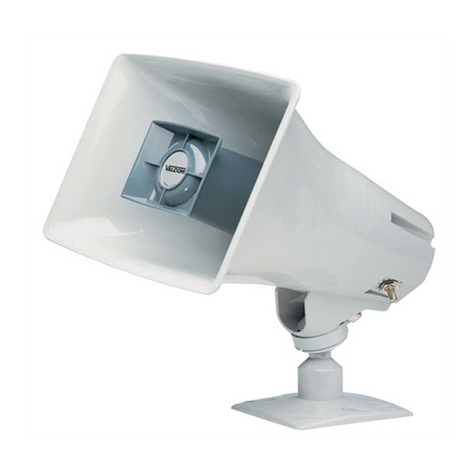
  9. Valcom V-9945A User manual

Valcom V-9945A User manual

Other Valcom Horn manuals
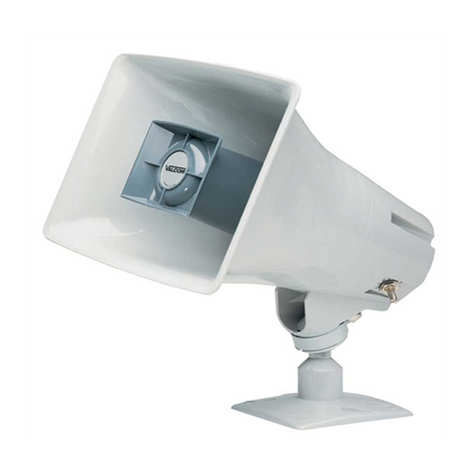
Valcom V-9947A User manual

Valcom

Valcom V-9947A User manual

Valcom V-1048C User manual

Valcom

Valcom V-1048C User manual

Valcom VIP-480AL-SA User manual

Valcom

Valcom VIP-480AL-SA User manual

Valcom V-1080 Flexhorn User manual

Valcom

Valcom V-1080 Flexhorn User manual
Valcom FLEXHORN V-1090 User manual

Valcom

Valcom FLEXHORN V-1090 User manual

Valcom V-1090 Flexhorn User manual

Valcom

Valcom V-1090 Flexhorn User manual

Valcom VIP-148AL User manual

Valcom

Valcom VIP-148AL User manual

Valcom V-1090 Flexhorn User manual

Valcom

Valcom V-1090 Flexhorn User manual

Valcom V-1039A User manual

Valcom

Valcom V-1039A User manual

Valcom VIP-148AL-SA Syn-Apps User manual

Valcom

Valcom VIP-148AL-SA Syn-Apps User manual

Valcom V-9925A User manual

Valcom

Valcom V-9925A User manual

Valcom IP Solutions VIP-9880 User manual

Valcom

Valcom IP Solutions VIP-9880 User manual

Valcom PagePac V-5331200 User manual

Valcom

Valcom PagePac V-5331200 User manual

Valcom Flexhorn VIP-490AL-IC User manual

Valcom

Valcom Flexhorn VIP-490AL-IC User manual

Valcom V-1030M User manual

Valcom

Valcom V-1030M User manual
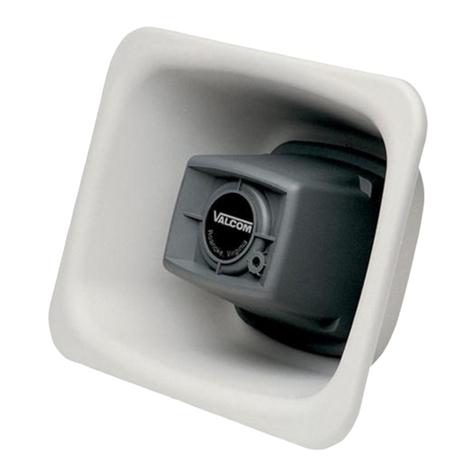
Valcom V-1048M User manual

Valcom

Valcom V-1048M User manual
Valcom V-1080 Flexhorn User manual

Valcom

Valcom V-1080 Flexhorn User manual

Valcom V-1069 User manual

Valcom

Valcom V-1069 User manual

Valcom VIP-148AL-IC User manual

Valcom

Valcom VIP-148AL-IC User manual

Valcom V-1038 User manual

Valcom

Valcom V-1038 User manual

Valcom VIP-130L User manual

Valcom

Valcom VIP-130L User manual

Valcom VIP-490AL User manual

Valcom

Valcom VIP-490AL User manual
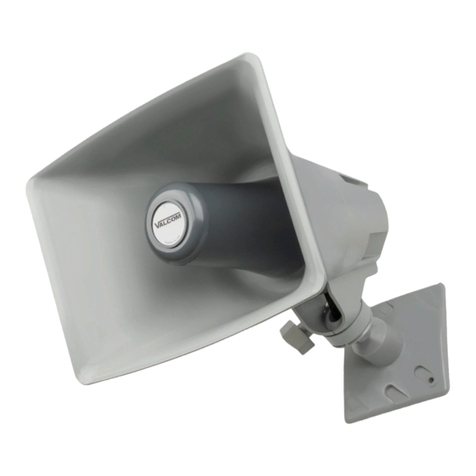
Valcom InformaCast VIP-142-IC User manual

Valcom

Valcom InformaCast VIP-142-IC User manual

Valcom VIP-480AL-IC User manual

Valcom

Valcom VIP-480AL-IC User manual

Popular Horn manuals by other brands

Klenn Air Horns JL-JK-OBA installation manual

Klenn Air Horns

Klenn Air Horns JL-JK-OBA installation manual

Vixen Horns VXO8350 installation guide

Vixen Horns

Vixen Horns VXO8350 installation guide

Elk Products 45 user manual

Elk Products

Elk Products 45 user manual
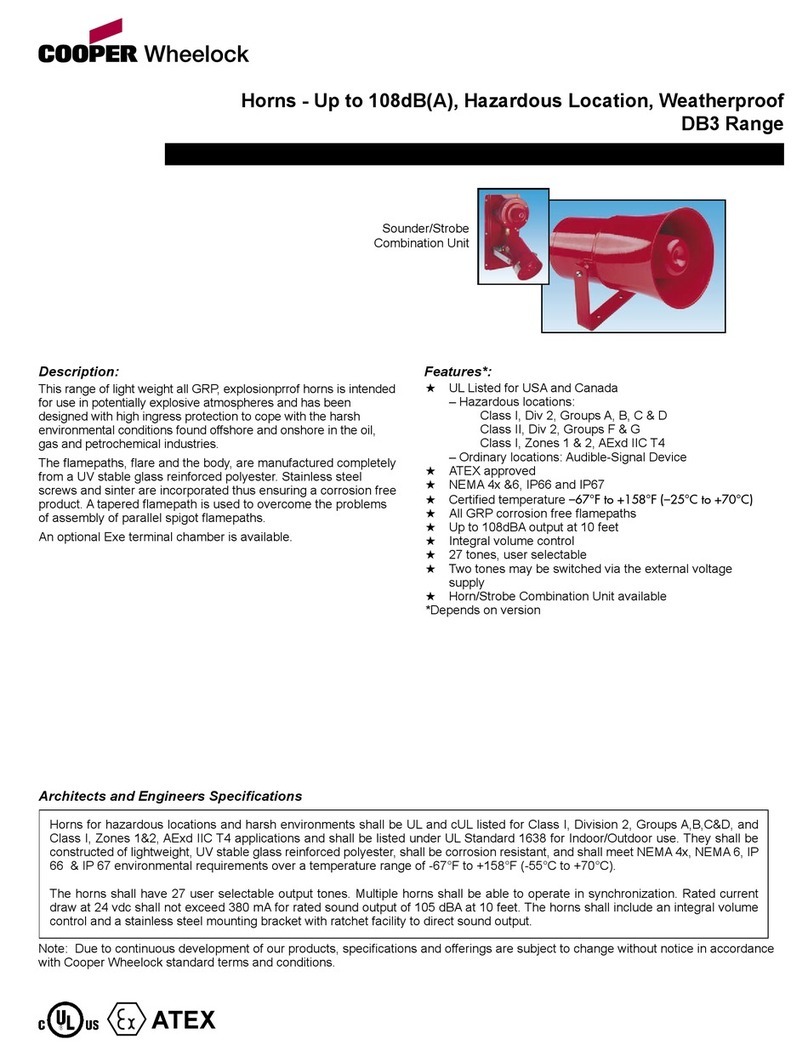
Cooper Wheelock DB3 Series specification
Cooper Wheelock

Cooper Wheelock DB3 Series specification

Altec Lansing 811B HF HORN manual

Altec Lansing

Altec Lansing 811B HF HORN manual

RF Elements UltraHorn CC Series quick start guide

RF Elements

RF Elements UltraHorn CC Series quick start guide

Edwards Signaling 869DSTR-G1 Series Installation sheet
Edwards Signaling

Edwards Signaling 869DSTR-G1 Series Installation sheet

Toa LE-M124 Specifications

Toa

Toa LE-M124 Specifications

AUSTRALIAN MONITOR MH30 brochure

AUSTRALIAN MONITOR

AUSTRALIAN MONITOR MH30 brochure

Vixen Horns VXO8805/3311C installation guide

Vixen Horns

Vixen Horns VXO8805/3311C installation guide

Federal Signal Corporation 350 Installation and maintenance instructions

Federal Signal Corporation

Federal Signal Corporation 350 Installation and maintenance instructions

Electro-Voice MH4020AC Specifications

Electro-Voice

Electro-Voice MH4020AC Specifications

Dynacord 18" Full-W Vented Bass Horn alpha B6 Specifications

Dynacord

Dynacord 18" Full-W Vented Bass Horn alpha B6 Specifications

Kleinn RAMHDOBA-6450 installation instructions

Kleinn

Kleinn RAMHDOBA-6450 installation instructions

Vixen Horns VXO8715/4124B installation guide

Vixen Horns

Vixen Horns VXO8715/4124B installation guide

Wheelock HS-24 installation instructions

Wheelock

Wheelock HS-24 installation instructions

Altec Lansing MR945A HF HORN manual

Altec Lansing

Altec Lansing MR945A HF HORN manual

Vixen Horns VXO8530/3311B installation guide

Vixen Horns

Vixen Horns VXO8530/3311B installation guide

manuals.online logo
manuals.online logoBrands
  • About & Mission
  • Contact us
  • Privacy Policy
  • Terms and Conditions

Copyright 2025 Manuals.Online. All Rights Reserved.

VSP-V-9945A
Issue 7
1947747
V-9945A
SINGLE TONE/INTERRUPTED
WARBLE TONE LOUD HORN
INTRODUCTION
The V-9945A is a horn with built-in tone generator
and amplifier used for loud signaling applications.
These instructions provide identification, connection,
installation, operation and maintenance information
for the V-9945A, Single Tone/Interrupted Warble
Tone Horn Ringer.
SPECIFICATIONS
Purpose
The V-9945A provides amplified electronic tones for
signaling in large or noisy areas or outside.
Applications
•Night ringing
•C. O. audible ringing
•Time clocks
•Special purpose signaling
Features
•Self-contained tone generator, amplifier, volume
control and horn speaker
•Single tone or warble tone outputs
•Power supply included
•Activated by dry contact closure
•Single tone will override warble tone
•Warble tone interrupted 1 second on, 5 seconds
off
•Single tone continuous for duration of closure
•Weatherproof
•Units may be multipled for simultaneous access
Capacity
The V-9945A has provisions for two inputs, either or
both of which can be used inan application. If both
inputs are activated simultaneously, the single tone
will override the warble tone.
The V-9945A is a stand alone ringer horn activated by
a relay. If more than one ringer horn is required,
contact Valcom Technical Support at (540) 563-2000
for design assistance.
Dimensions/Weight
•6.50"H x 8.20"W x 10.40"D, plus mounting
bracket
(16.51cm H x 20.83cm W x 26.42cm D)
•4.3 lbs. (1.95 kg)
Power Requirements
-21.5 to -26.0VDC "B" battery, 250mA nominal.
Environment
•Temperature: -20 to +55 degrees C
•Humidity: 0 to 95% non-precipitating
DESIGN
Access Requirements
The V-9945A requires a dry contact closure for
activation of each tone (If both tones will be used,
two closures are required). The closures may be in
the form of nightringing relay contacts, time clock
contacts, a standard normally open switch or
equivalent.
2
Equipment Requirements
A system using the V-9945A will consist of the
following:
•Access equipment (See Design Section)
•-24VDC power supply (Included with horn)
INSTALLATION
General
These instructions cover only the installation
procedure for the Valcom V-9945A. Please consult
practices for other equipment if any other equipment
is being used.
TELEPHONE SYSTEM
NIGHT RING
CONTACT
CLOSURE
RED
GREEN
BROWN
WHITE
BLACK
V-9945A
-24VDC
POWER SUPPLY
TIME CLOCK
CONTACT
CLOSURE
FIGURE 1 - TYPICAL INSTALLATION
Precautions
All precautions have been taken at the factory to
insure that the equipment functions properly. To
insure proper operation and to prevent equipment
damage, please observe the following:
•Unplug the power supply before making any
connections to the unit.
•Do not apply power to the unit until all
connections have been double-checked.
Attaching Speaker to Base
NOTE: For ease of installation, the base can be
attached to the speaker before or after the base is
mounted.
•Loosen position adjustment knob.
•Insert the ball of the base into the socket of
the speaker.
•Tighten the position adjustment knob.
Mounting
The V-9945A should be mounted 12 feet to 25 feet
high in the area requiring signaling. The unit can be
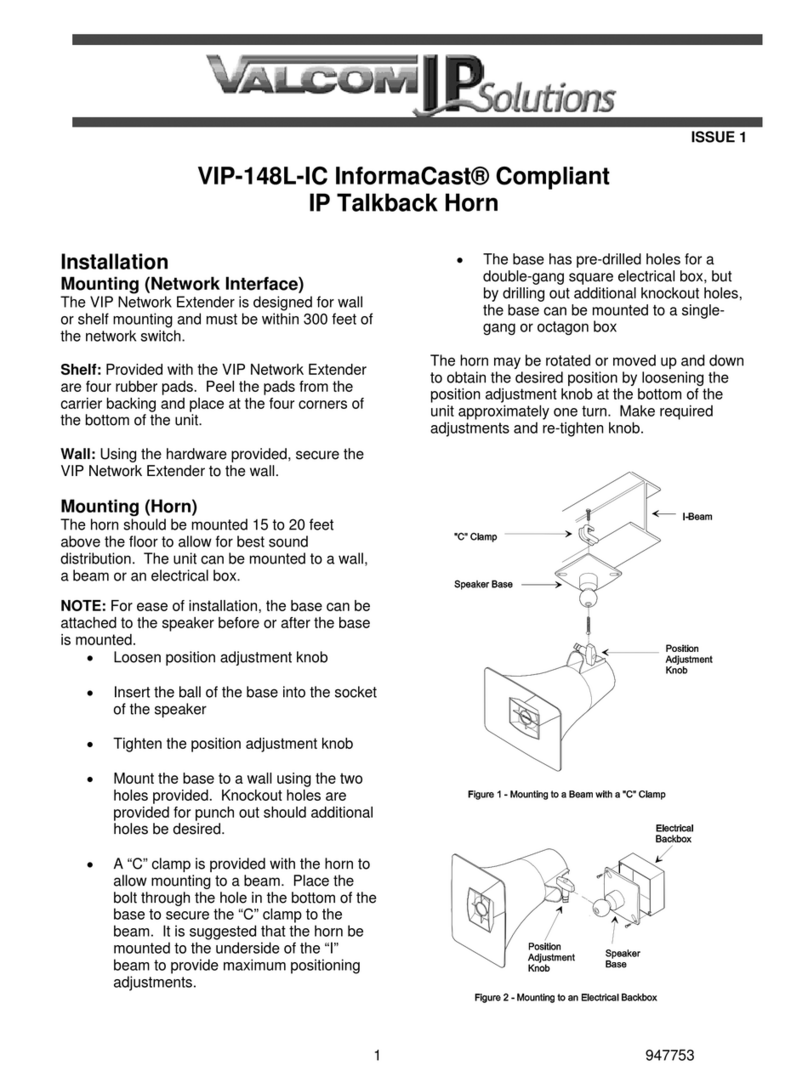
mounted to a wall, a beam or an electrical box.
•Mount the base to a wall using the two holes
provided. Knockout holes are provided for
punch out should additional holes be
desired.
•A "C" clamp is provided with the ringer to
allow mounting to a beam. Place the bolt
through the hole in the bottom of the base to
secure the "C" clamp to the beam. (See
Figure 2).
•Connection to an electrical backbox is
accomplished by channeling wire through
the ball of the base (See Figure 3) and
making appropriate connections. The base
has holes punched for a double-gang square
box, but by punchingout additional
knockout holes, the base can be mounted to
a single-gang or octagon box.
The V-9945A may be rotated or moved up and down
to obtain the desired position by loosening the knob
(See Figures 2 and 3) at the bottom of the unit
approximately 1 turn. Make required adjustment and
re-tighten knob.
Lead Designations
Black Ground (+)
White -24VDC
Red Warble tone access
Green Common
Brown Single tone access
Connections
Connections should be accomplished using twisted
pair telephone wire. The power supply should be
located within 500 feet of the horn.
•Connect negative (-)(-24VDC) lead of the
power supply to the white lead; connect
positive (+)(Gnd) lead of the power supply to
the black lead.
•For warble tone access, connect contact
closure between red and green.
•For single tone access, connect contact
closure between brown and green.
Connections for both single tone and warble tones
may be made to the same speaker.
3
OPERATION
General
The V-9945A is a horn speaker containing circuitry to
generate single and dual electronic tones, as well as a
5 Watt amplifier and volume control. It also contains
a timer to interrupt the warble tone signal (1 second
on, 5 seconds off). When the red and green leads are
connected together (Through a contact closure), the
warble tone and interrupter circuits are activated.
When the brown and green leads are connected, the
circuitry for the single tone is activated. If both
closures are applied, the single tone will be sent.
TECHNICAL ASSISTANCE
When trouble is reported, verify that power is being
supplied to the unit and there are no broken
connections. Check voltages for proper polarity on
the crossconnect block.
A lineman's test set, several clip leads and a VOM
may be necessary to effectively troubleshoot the unit.
Table 1 identifies symptoms of some possible
problems with solutions. If your problem is listed,
perform the actions indicated.
If the trouble has not been located, continue to
troubleshoot by substituting a spare unit for the
suspected unit.
Assistance in troubleshooting is available from the
factory. When calling, you should have a VOM and a
test set available and be calling from the job site. Call
(540) 563-2000 and ask for Technical Support or call
(540) 767-1555 for Valcom 24-hour Faxback System or
visit our website at http://www.valcom.com.
Valcom equipment is not field repairable. Valcom, Inc.
maintains service facilities in Roanoke, VA. Should
repairs be necessary, attach a tag to the unit clearly
stating your company name, address, phone number,
contact person and the nature of the problem. Send
the unit to: Valcom, Inc.
Repair and Return Dept.
5614 Hollins Road
Roanoke, VA 24019-5056
Table 1 -Troubleshooting Chart
1. No output. A. Verify-24 Volts on white lead and ground (+)
on black lead.
B. Verify volume control turned up (Clockwise).
C. Try shorting red and green or brown and green
at horn and listen for output.
4
VALCOM LIMITED WARRANTY
Valcom, Inc. warrants its products to be free from defects in materials and workmanship under conditions of normal use and service
for a period of one year from the date of shipment. The obligation under this warranty shall be limited to the replacement, repair or
refund of any such defective device within the warranty period, provided that:
1. inspection by Valcom, Inc. indicates the validity of the claim;
2. the defect is not the result of damage, misuse or negligence after the original shipment;
3. the product has not been altered in any way or repaired by others and that factory sealed units are unopened (A service
charge plus parts and labor will be applied to units defaced or physically damaged);
4. freight charges for the return of products to Valcom are prepaid;
5. all units ‘out of warranty’ are subject to a service charge. The service charge will cover minor repairs (Major repairs will be
subject to additional charges for parts and labor).
This warranty is in lieu of and excludes all other warranties, expressed or implied, and in no event shall Valcom, Inc. be liable
for any anticipated profits, consequential damages, loss of time or other losses incurred by the buyer in connection with the
purchase, operation or use of the product.
This warranty specifically excludes damage incurred in shipment. In the event a product is received in damaged condition, the
carrier should be notified immediately. Claims for such damage should be filed with the carrier involved in accordance with the
F.O.B. point.
Headquarters: In Canada
Valcom, Inc. CMX Corporation
5614 Hollins Road 35 Van Kirk Drive #11 and 12
Roanoke, VA 24019-5056 Brampton, Ontario L7A 1A5
Phone: (540) 563-2000 Phone: (905) 456-1072
FAX: (540) 362-9800 FAX: (905) 456-2269
I-Beam
"C" Clamp
Speaker Base
Position
Adjustment
Knob
Figure 2 - Mounting to a Beam with a "C" Clamp
Electrical
Backbox
Position
Adjustment
Knob
Wire
Speaker
Base
Figure 3 - Mounting to an Electrical Backbox