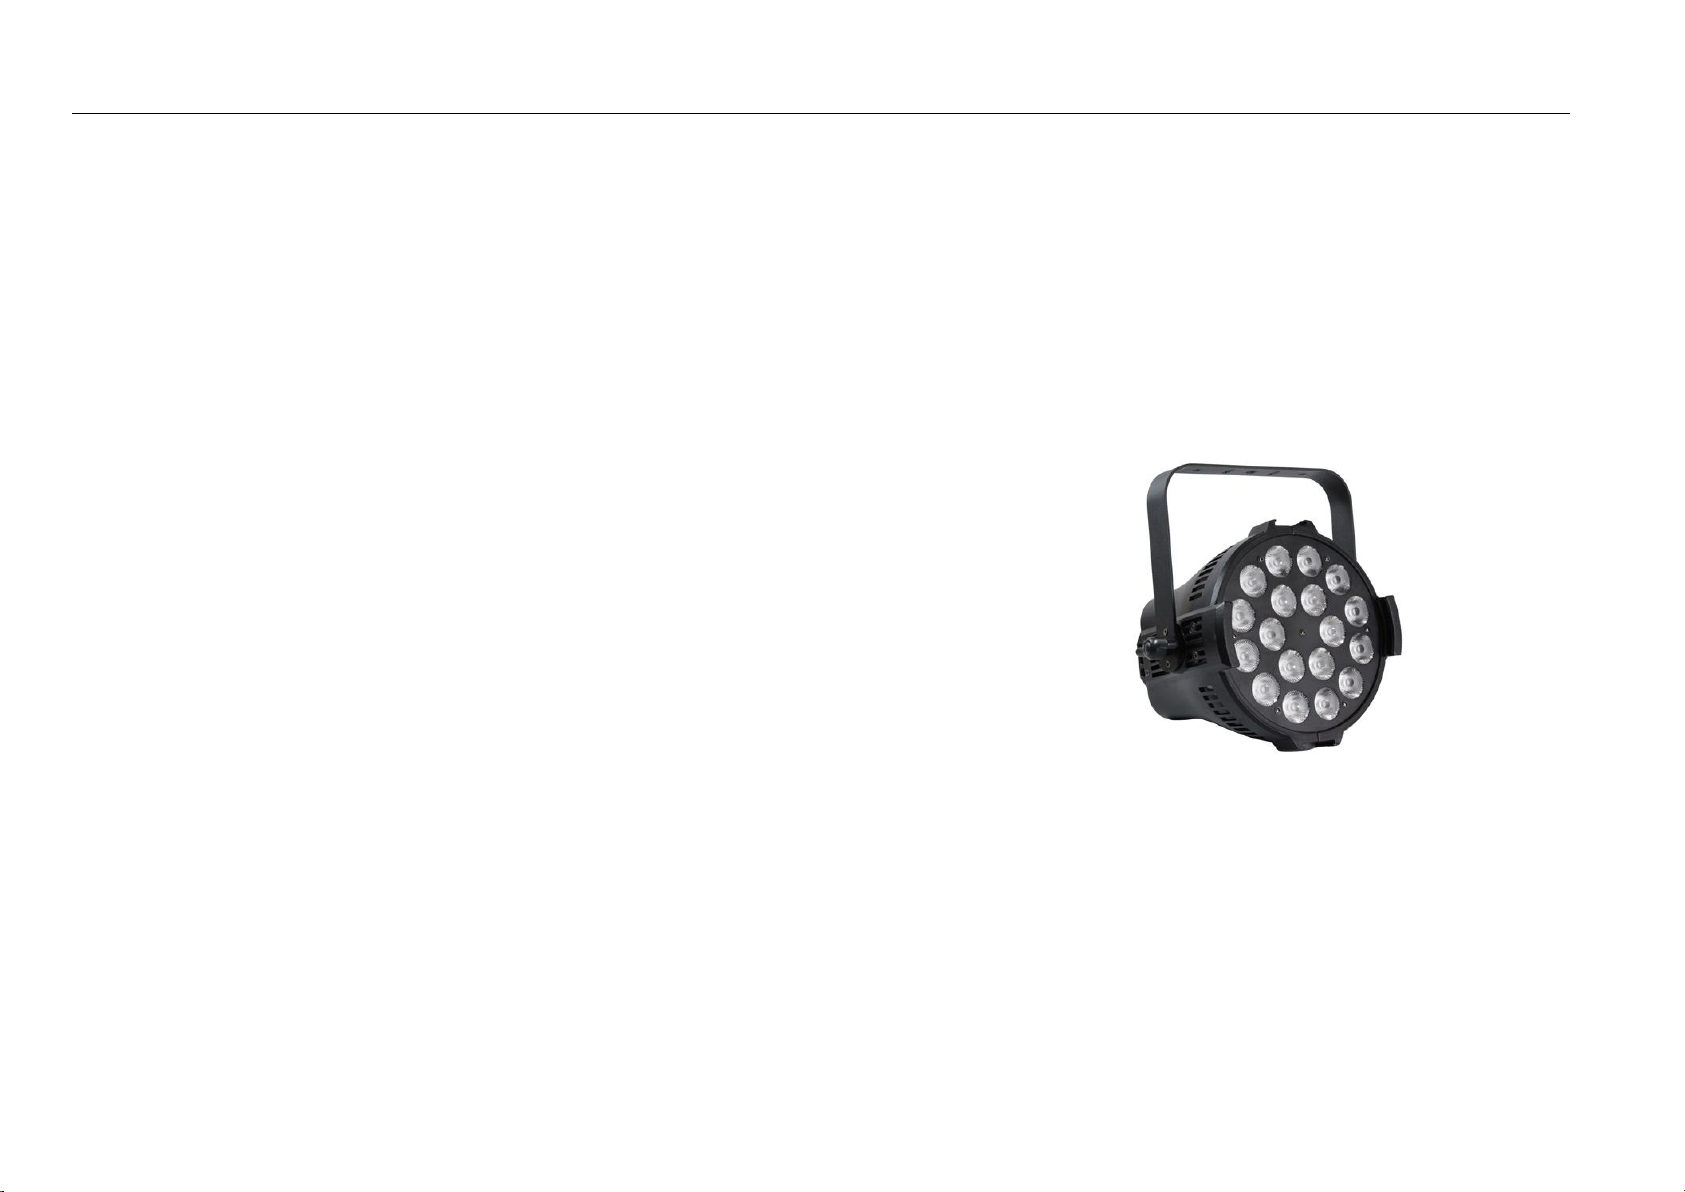
PAR-MPI1820D 18pcs 4in1 Indoor LED Par Light User Manual PAR-MPI1820D 18pcs 4in1 Indoor LED Par Light User Manual
Call the main menu, or escape the current menu, (i.e. return to the
upper menu and give up the selected item or parameter).
Browse the menu item forward or increase the parameter.
Browse the menu item backward or decrease the parameter.
Confirm the selected item or parameter, (i.e. enter into the next menu,
or escape the current menu and save the selected item or parameter).
INDICATOR
There are 4 dots at the bottom of the digital tube, from left to right as:
1. DMX signal LED indicator;
2. Memory writing indicator, (Press ENTER after amending the DATA, This Dot will be
light up, it means the Data is saving);
3. Power indicator;
4. Keyboard available indicator.
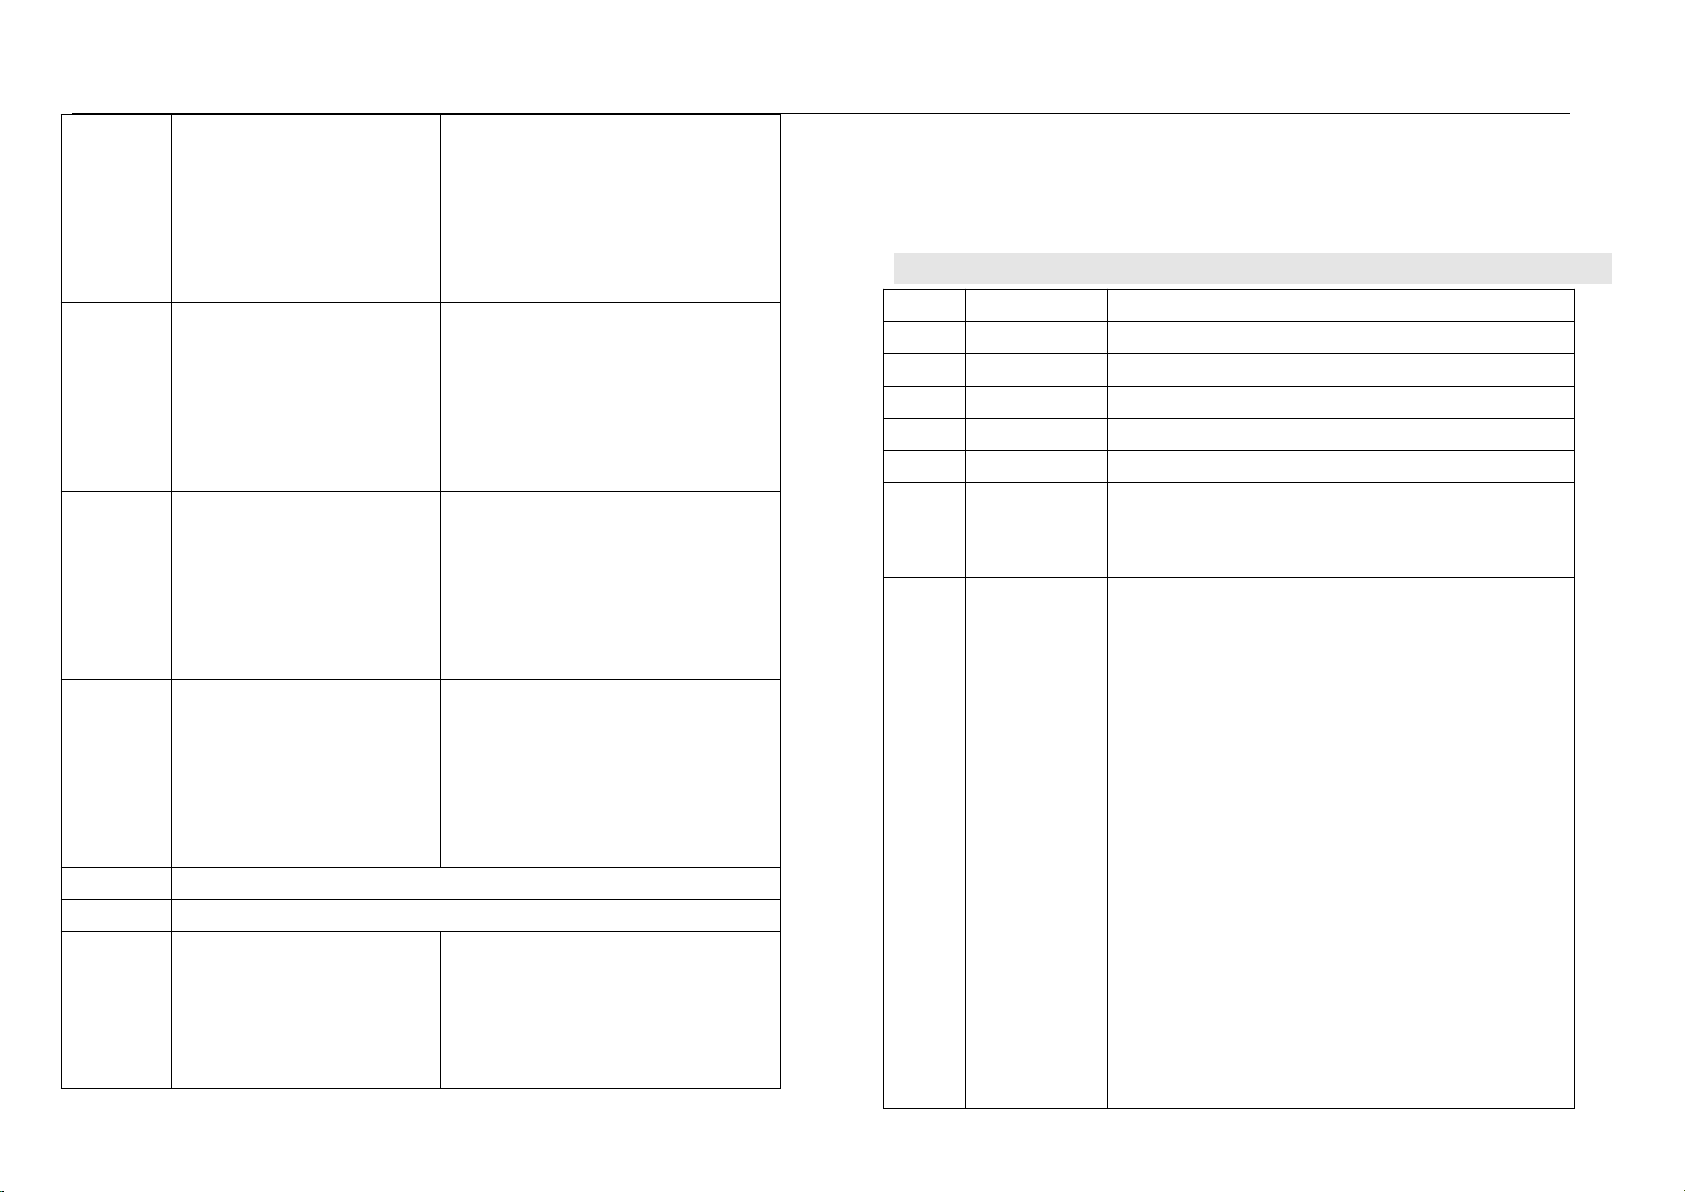
MAIN MENU
Press SET/MENU to turn the sub-menu
DMX mode(the "A" will flash
when control mode not
confirmed, the "." will not flash
under in slave mode, "***" will
flash when the DMX address is
not confirmed.
When show "A.***", press ENTER
button, the "***" will flash, then press
UP/DOWN to adjust the DMX address
value, then press ENTER keep the
setting.
Gradual change automatic
running mode(**is the running
speed, from 1-99.)
Press SET button choose "AF.**", then
press ENTER button change into
gradual change automatic mode, then
press ENTER button, the "**" will flash,
then press UP/DOWN button to adjust
the speed which you need.
Jump change automatic
running mode(**is the running
speed, from 1-99.)
Press SET button choose "AL.**", then
press ENTER button change into jump
change automatic mode, then press
ENTER button, the "**" will flash, then
press UP/DOWN button to adjust the
speed which you need.
Sound active running
mode(**is the sensitivity value,
from 0-99-FL.)Note: only some
item has sound active function
Press SET button choose "MS.**", then
press ENTER button change into sound
active mode, then press ENTER button,
the "**" will flash, then press
UP/DOWN button to adjust the speed
which you need.
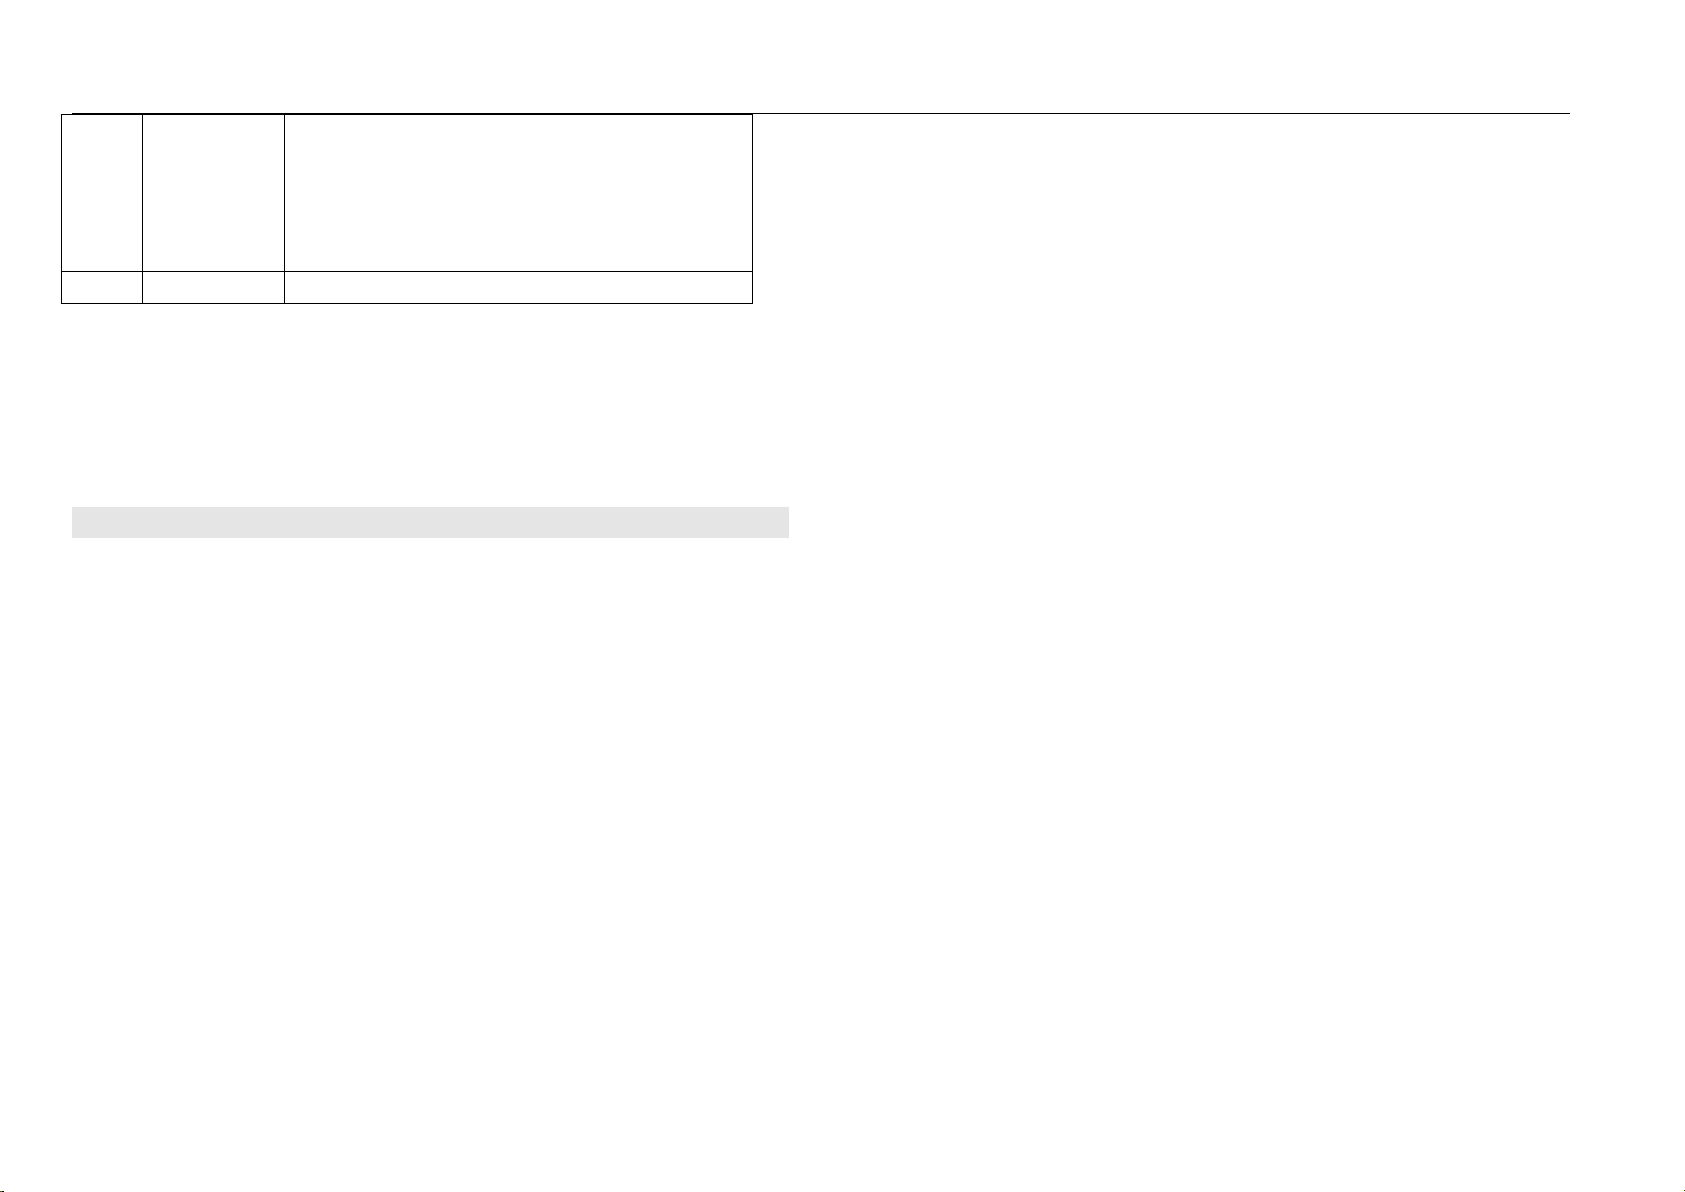
Red signal cyclorama running
mode(**is the LEDx dimmer
value 0-99-FL
Press SET button choose "d1.**", then
press ENTER button change into red
signal cyclorama mode, then press
ENTER button, the "**" will flash, then
press UP/DOWN button to adjust the
brightness which you need.