Swift1925Z Aura LED Moving Head Beam Wash Light User Manual Swift1925Z Aura LED Moving Head Beam Wash Light User Manual
the unit idle one minute to exit menu mode.
Backlight Auto Off
Select Backlight Auto Off, press ENTER button to confirm, present mode will blink on
the display, use UP and DOWN button to select No (display always on) or Yes (display
goes off one minute after exiting menu mode), press ENTER button to store. Press
MENU button back to the last menu or let the unit idle one minute to exit menu mode.
Backlight Intensity
Select Backlight Intensity, press ENTER button to confirm, present mode will blink on
the display, use UP and DOWN button to adjust backlight intensity from 1 (dark) to 10
(bright), press ENTER button to store. Press MENU button back to the last menu or let
the unit idle one minute to exit menu mode.
Temperature Unit
Select Temperature Unit, press ENTER button to confirm, present mode will blink on
the display, use UP and DOWN button to select ℃or ℉, press ENTER button to store.
Press MENU button back to the last menu or let the unit idle one minute to exit menu
mode.
Display Warning
Select Display Warning, press ENTER button to confirm, present mode will blink on
the display, use UP and DOWN button to select No (Normal) or Yes (display will show
the error warning when the unit went wrong). Press MENU button back to the last menu
or let the unit idle one minute to exit menu mode.
Language
Select Language, press ENTER button to confirm, present mode will blink on the
display, use UP and DOWN button to select English or Chinese. Press MENU button
back to the last menu or let the unit idle one minute to exit menu mode.
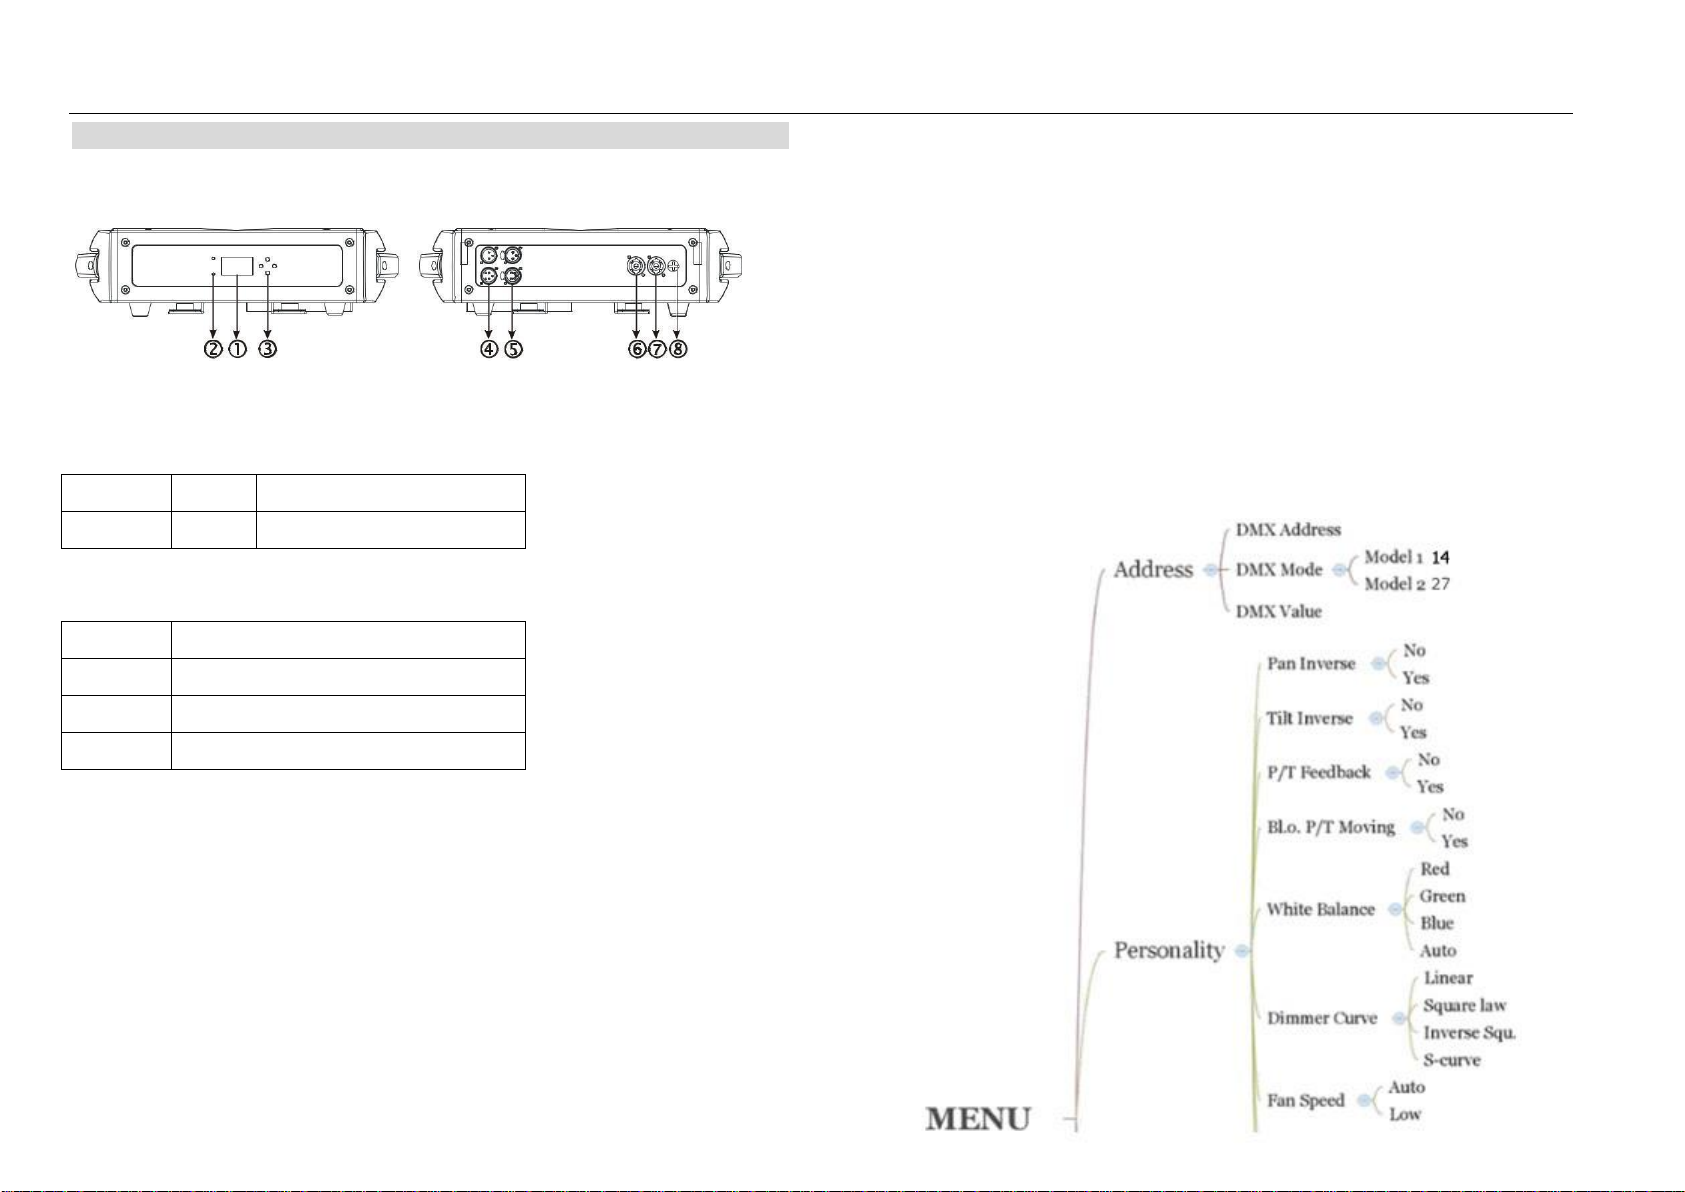
Fixture Test
Enter MENU mode, select Fixture Test, press ENTER button to confirm, use UP and
DOWN button to select Auto Test or Manual Test
Auto Test
Select Auto Test, press ENTER button to confirm, the unit will run built-in programs to
automatically test pan, tilt, color, gobo, shutter, dimmer, prism, red, green, blue, white,
CTC, frost, focus, and lamp on/off. Press MENU button back to the last menu or exit
menu mode after auto test.
Manual Test
Select Manual Test, press ENTER button to confirm, the present channel will show on
the display, use UP and DOWN button to select channel, press ENTER button to
confirm, then use UP and DOWN button to adjust the value, press ENTER button to
store, the fixture will run as the channel value indicates. Press MENU button back to
the last menu or exit menu mode let the unit idle one minute.
(All channels value will become 0 after exiting Manual Test menu)
Fixture Information
Enter MENU mode, select Fixture Information, press ENTER button to confirm, use
UP and DOWN button to select Fixture use time, Lamp on time or Firmware Version.