Getting started: • IMPORTANT •
This unit is equipped with a
smart panel that senses your
touch. Heavy pushing of
buttons is not recommended.
BEFORE YOU BEGIN
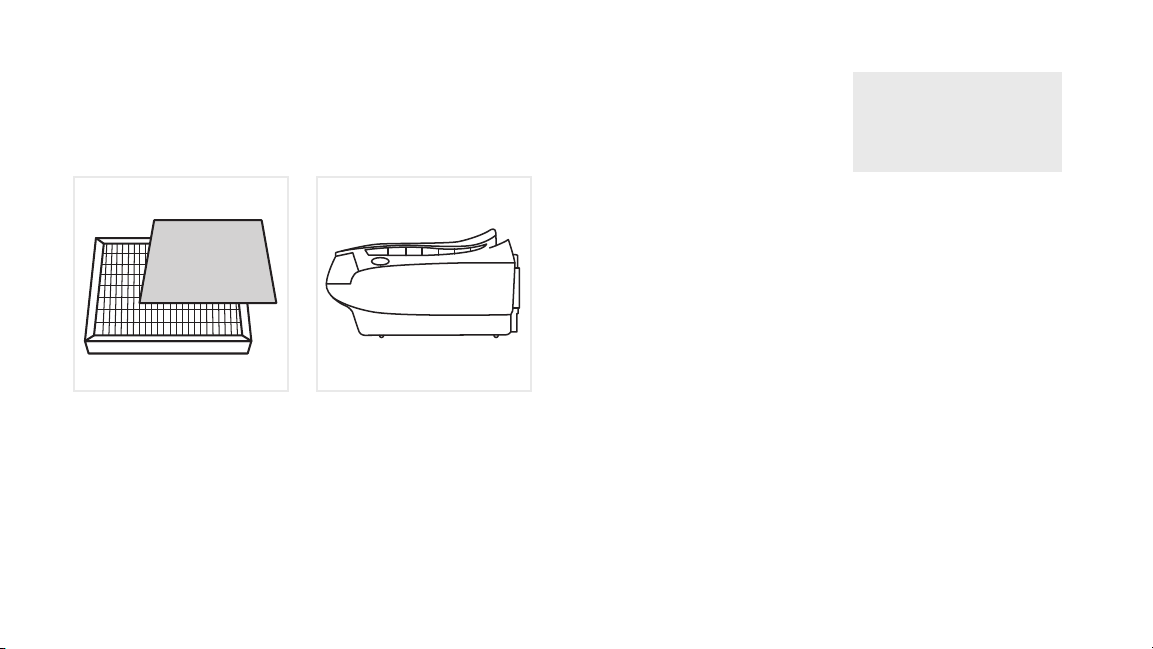
Important: Remove all packaging covering the air purier and lters.
Make sure the lters are in place and correctly tted before turning on.
Stand the air purier on a hard at surface away from candles and ames.
Never block the inlet grilles, keep air grilles free from any obstruction.
Check the air purier for
the lters. Be sure the
supplied lters are properly
in place and all plastic is
removed before turning
the unit on.
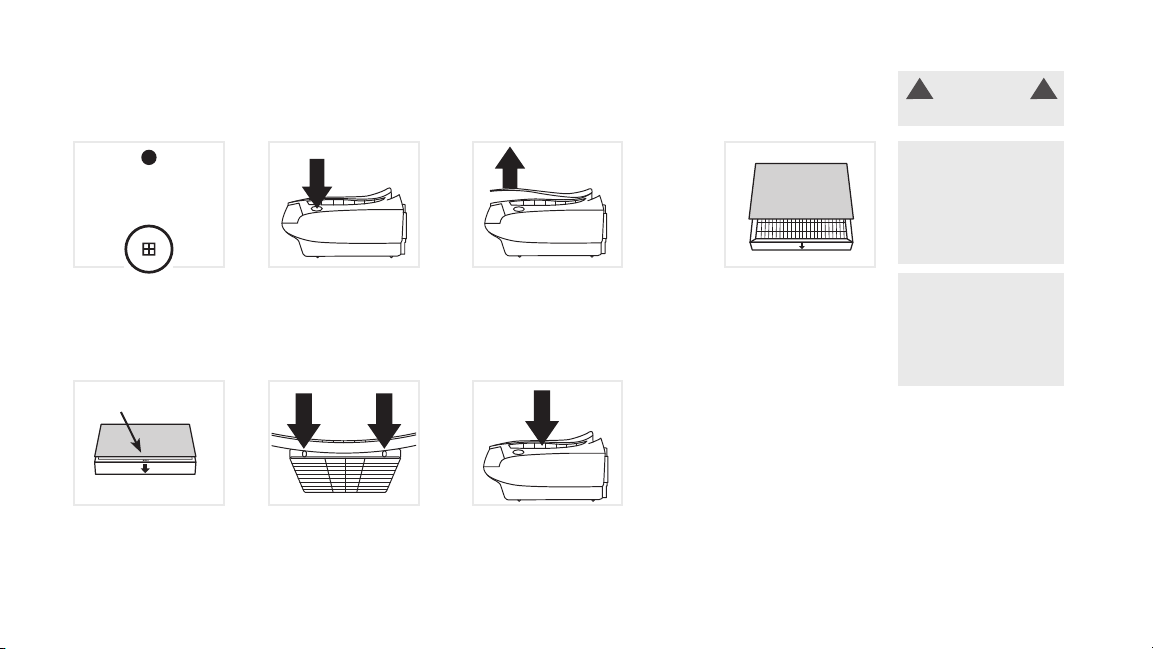
HORIZONTAL POSITION
Place the air purier on a
hard surface such as the
oor, a table or desk. Be sure
the grilles are not blocked by
other objects, and there are
no candles or ames near
the unit. The air purier can
be placed in a horizontal or
vertical position.
1 2
3
4
5
6
6
PLUG IN into nearest standard electrical outlet.
LIGHTLY TOUCH the power button to turn the air purier on.
Touch the power button again to turn the air purier o.
SELECT THE FAN SPEED. To select the speed, lightly touch and
release the fan speed button until the desired speed is reached.
L: Low for the Silence Technology®
M: Medium for typical use
H: High for maximum cleaning
ADJUST THE TIMER feature. The time can be selected from
two, four or eight hours. The unit will turn o once it runs for
the selected hours.
Note: The unit will run continuously if all the timer lights are o.
FRONT