Vax PureAir 200 Installation instructions

AC02AMV1
LET’S GET STARTED
PureAir
200

This air purier is intended for household use only and NOT for commercial or industrial use.
• Only use the air purier indoors and keep away from wet areas.
• Keep ngers, hair and loose clothing away from moving parts and openings whilst using the air purier.
• This air purier can be operated by children aged from 8 years and above and persons with reduced physical,
sensory or mental capabilities or lack of experience and knowledge, if they have been given supervision or
instruction concerning use of the air purier in a safe way and understand the hazards involved. Children
shall not play with the air purier.
• Cleaning and user maintenance shall not be made by children without supervision.
• Always position the air purier on a at, stable, solid surface and never over stretch the power cord.
• Position the air purier where dirty air is not drawn across your body or head while sitting or sleeping.
✘ Don’t
• Place the air purier near sources of heat, such as stove tops, ovens, radiators, open res, candles or computers.
• Move or tilt the air purier when in use.
• Use the air purier if the power cord or plug is damaged. Please contact our Customer Service Line
on 0330 026 8455.
• Use the air purier if it has been dropped, damaged or left outdoors.
• Run the power cord under rugs, runners or carpets as it can be a trip hazard.
• Pull, carry or trap the power cord under doors or sharp edges.
LET'S TALK SAFETY Basic Safety Precautions
2

• Handle the plug or air purier with wet hands.
• Unplug the air purier by pulling on the power cord.
• Use the air purier in an area with toxic/explosive vapours/liquids, oxygen water tanks or near to ammable,
combustible materials (lighter uid, petrol, kerosene, chlorine, bleach and ammonia drain cleaner etc).
• Use the air purier with incorrect voltage as this may result in damage or injury to the user. The correct
voltage is listed on the ratings label.
• Use without all lters in place.
✔Do
• Inspect the air purier regularly and remove any dust/dirt build up as this may aect the airow.
• Keep all openings/grills clear and free from obstruction and sources of heat, and open ames (including
candles). Don’t attempt to remove blockages with sharp objects as this may cause damage to the air purier.
• Turn o all controls on the air purier before disconnecting or connecting the power cord.
• Always replace the fuse in the plug with a 3amp fuse. Always protect the power cable from heat.
• Use only CE approved 13amp extension cords, non-approved extension cords may overheat.
• Take care to arrange the extension cord as it can be a trip hazard.
• Always switch o and unplug the air purier before performing maintenance or troubleshooting checks.
Please keep instructions for further use.
3

Contents
2-3
5-6
7
8
9
10-11
12
13
14
15
Lets talk safety
Getting to know your machine
Air Quality Display
Getting started
Using your machine
Taking care of your machine
What to do if it goes wrong
Getting in touch
Technical specications
Accessories
4

Getting to know your machine
On/O
Air Quality
Display
Fan Speed
Air Inlet
Air Outlet
Filter Replacement
Light
Timer
Dust Sensor
Carry Handle
Filter
Carry Handle
5

6
Getting to know your machine
Auto mode
Switches fan speed to auto depending on the air quality indoors.
Night Mode
Switches power to low and dims the lights on the display panel.
Fan Speed
Low/Mid/High.
Timer
1 hour, 2 hours, 4 hours, 6 hours or 8 hours.
TimerFan Speed
Night ModeAuto Mode
On/O

7
Air Quality Display
Green light Yellow light Red light
Status of air quality Good Fair Bad
Dust sensor reading

8
IMPORTANT
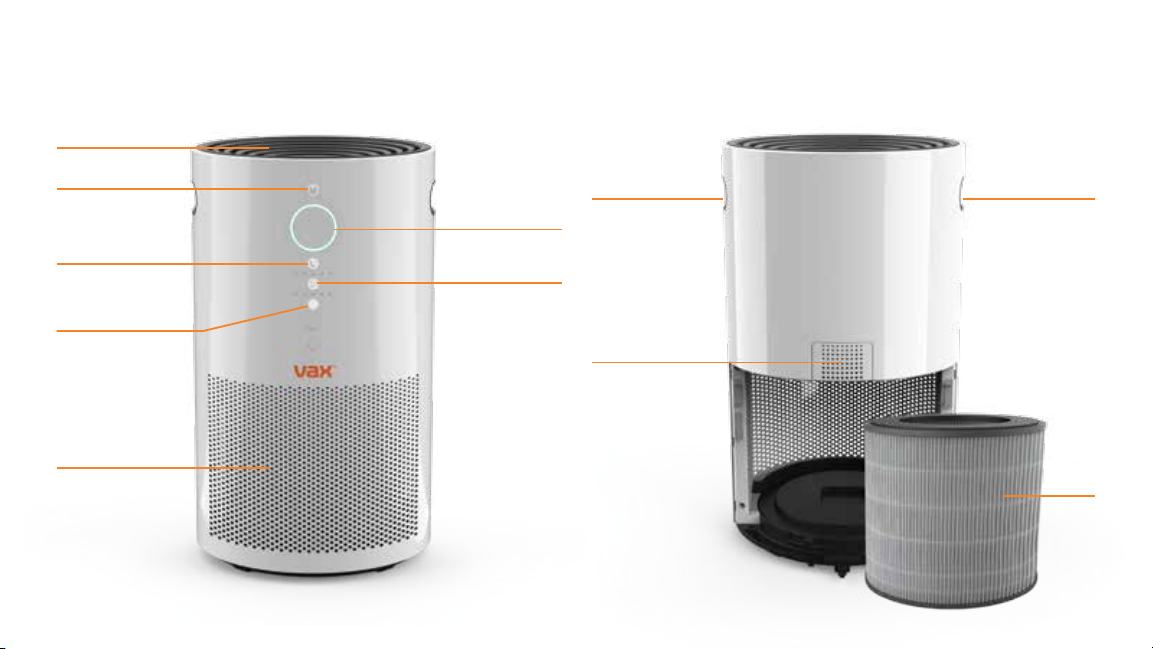
This air purier is equipped with a smart panel that senses
your touch. Heavy pushing of buttons is not recommended.
IMPORTANT
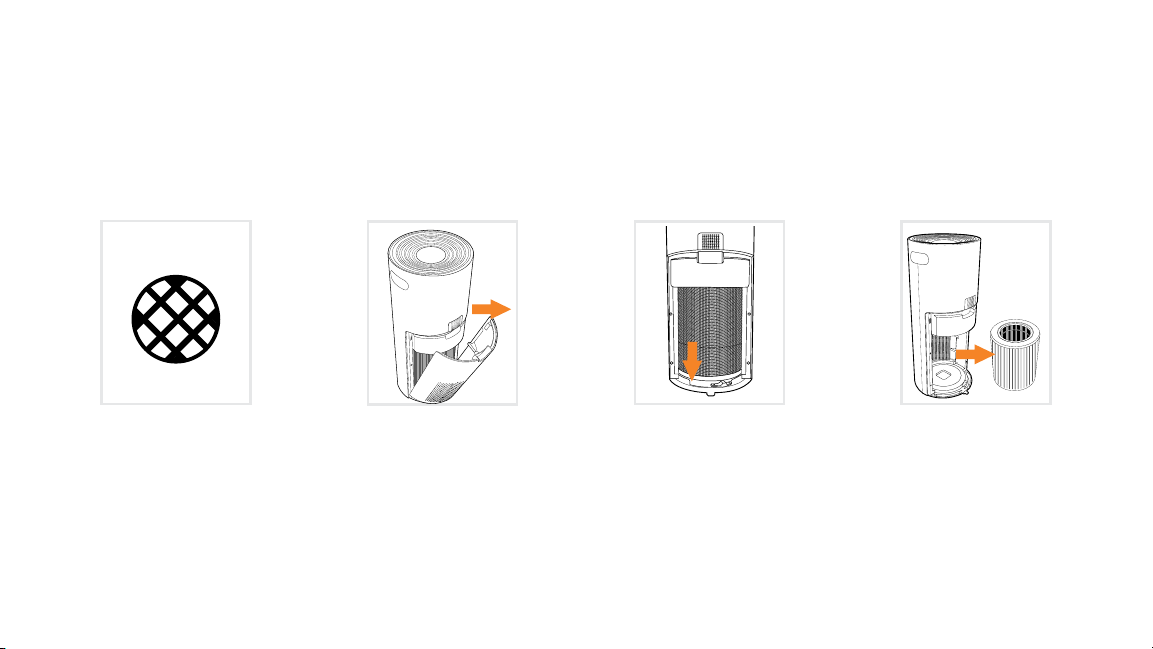
CHECK the air purier has a lter. Be sure the supplied
lter is properly in place and all plastic is removed
before turning the air purier on.
PLACE the air purier on a hard surface such as the oor, a table
or desk. Be sure the grilles are not blocked by other objects,
and there are no candles or ames near the air purier.
PLUG IN into nearest standard electrical outlet.
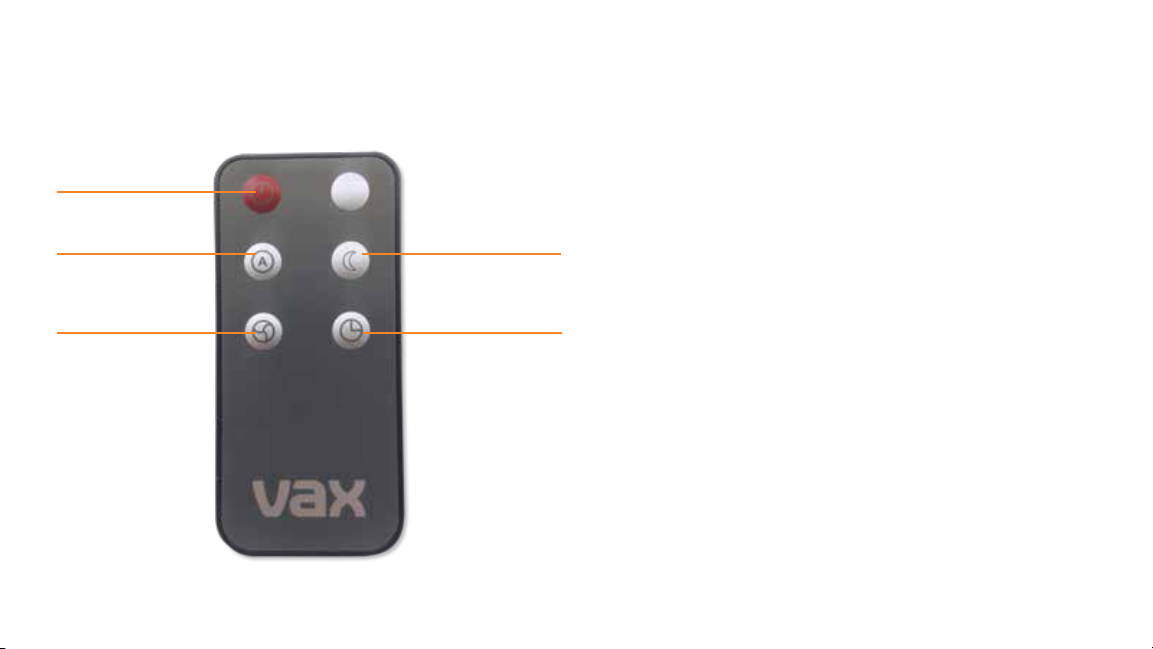
LIGHTLY TOUCH - the on/o button to switch the air purier on.
Touch the power button again to turn the air purier o.
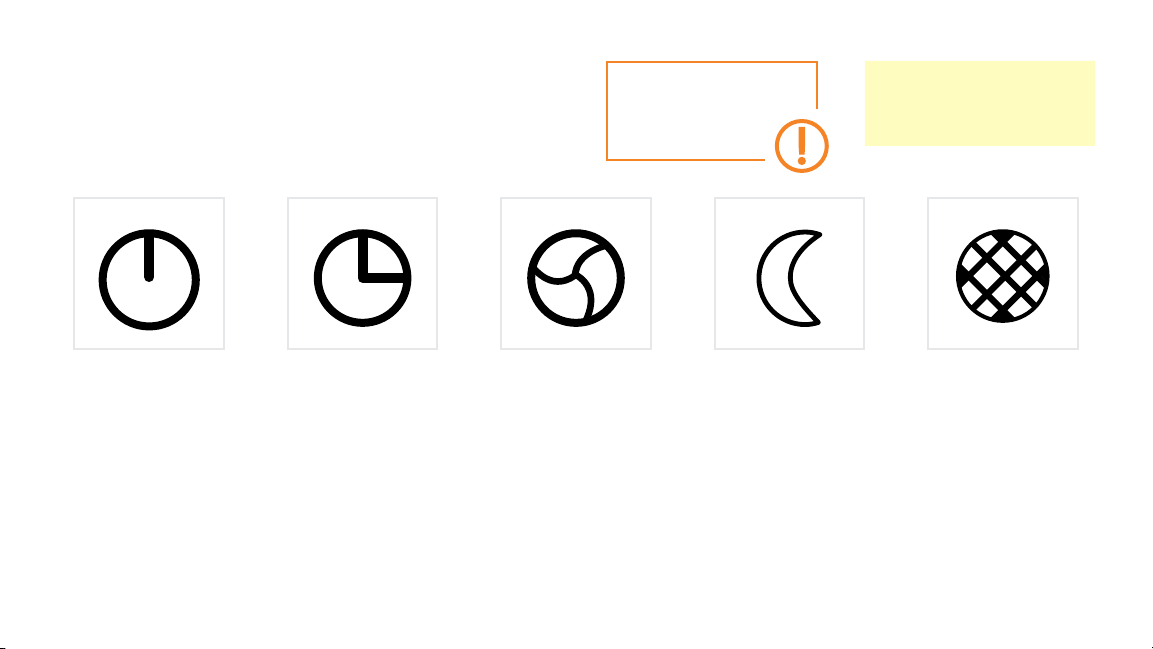
SELECT THE FAN SPEED - lightly touch the fan speed button until
the desired speed is reached.
ADJUST THE TIMER - lightly touch the timer button to set a run time
for 1 hour, 2 hours, 4 hours, 6 hours or 8 hours. The unit will turn o
once it runs for the selected hours.
Note: The air purier will run continuously if no time has been selected.
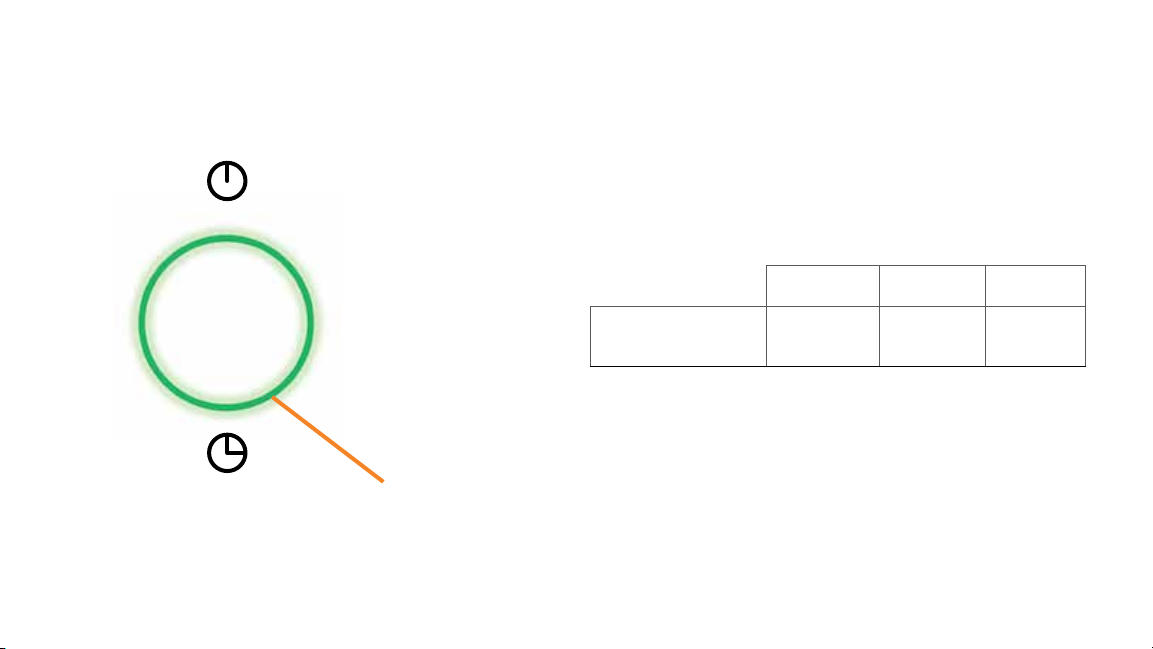
CHECK FILTER LIGHT - the lter light will illuminate when the lter
needs to be replaced. Once the lter has been replaced press the lter
replacement indicator for 5 seconds to reset, the lter indicator light
will go out. To order a replacement lter visit vax.co.uk
Getting started HOW THE AIR PURIFIER WORKS
An air purier draws in room air from its air inlet, lets the air pass through
the lter that consists of a pre-lter and HEPA lter inside of the unit, then
releases clean puried air from its air outlet. The air purier repeats this
process by moving its internal fan. As air passes through the HEPA lter, it
removes airborne particles such as smoke, dust, pollen, and other potentially
harmful particles which could cause allergies, asthma and hay fever.
Choosing a Location
To maximize air circulation, position the air purier at least 50cm away
from walls, or any other large objects that could disrupt the airow.
For optimum results close all windows and doors. For more ecient
air treatment, place the air purier in a central location and make sure
the control panel can easily be accessed.

9
Using your machine
Press on/o control
to switch on/o.
Please note: The air
purier will automatically
turn o once the lter
cover is removed. The
power button will ash
and the unit will not turn
on until the lter and
cover is replaced.
The air purier will
continuously run when
all timer lights are o.
IMPORTANT
The control panel is touch
sensitive, lightly press controls.
Press fan control. The fan
speed indicator light will
illuminate displaying
selected speed.
Auto = The fan speed
will automatically adjust
depending on the air quality.
L= Low fan speed
M= Medium fan speed
H= High fan speed.
Press timer control. The
timer light will illuminate
showing the time selected:
1 hour, 2 hours, 4 hours,
6 hours or 8 hours. The
air purier will turn o
once the selected time has
completed.
CAUTION
Filter replacement indicator.
Press for 5 seconds to reset
lter replacement indicator
once lter is changed.
The air purier can be controlled by using the controls on the air purier
or by using the remote control. When using the remote control always aim
towards the control panel on the front of the air purier
Night mode = Low speed
with limited light on the
product for easy sleeping.
Press the button for night
mode. It takes 10 seconds
for the lights to go o.

10
Taking care of your machine: replacing the lter
When the lter light is illuminated,
switch the air purier o and
unplug it from the power outlet.
Slide the lter lock to the left.
(Unlock position).
Remove lter cover. Carefully pull the used lter out.
Slide replacement lter into the unit.
Ensure the lter is in the upright
position with the open end facing
upwards as indicated above.
Replace your lter every 3-6 months depending on usage.

Once the lter has been replaced
press the lter replacement
indicator for 5 seconds, or
until the beep, to reset.
Lock the lter into place by sliding
the lter lock to the right.
Ret the lter cover.
Do not wash lters.
CAUTION
TIP
The lters will need replacing
more often when using the
air purier in smoke lled
or dusty environments.
TIP
Once the lter cover is removed
the power button will ash and
the air purier will not switch
on until the lter and cover
are replaced.
11

12
• The plug may not be fully pushed into the electrical socket.
• Check the fuse in the plug. If this needs replacing, always replace with a 3amp British fuse.
• The lter cover may not be secure. Check the lter cover is securely tted. Go to ‘Taking care of your machine’.
• The lter may not be tted correctly. Check the lter. Go to ‘Taking care of your machine’.
• Timer may have nished. Re-set the timer. Go to ‘Using your machine’.
• Fan speed may be set to L = Low. Change fan speed to desired setting. Go to 'Using your machine'.
• Timer may have nished. Re-set the timer. Go to ‘Using your machine'.
• The lter cover may not be secure. Check the lter cover is securely tted. Go to ‘Taking care of your machine’.
• The lter may not be tted correctly. Check the lter. Go to ‘Taking care of your machine’.
• The lter may need replacing. Go to 'Taking care of your machine'.
• The air grills may be blocked. Make sure the air inlet is free from any obstruction.
• The lter may need replacing. Go to 'Taking care of your machine'.
• Aim the remote control towards the control panel on the front of the air purier and press the on/o button.
• The battery may need replacing. Always replace with a CR2025 lithium battery.
SolutionProblem
Why does my air
purier have
no power?
Why isn't my fan
working?
Why is my air purier
making an excessive
noise?
Why isn't my remote
control working?
What to do if it goes wrong
IMPORTANT Unplug and switch o the air purier before performing maintenance or troubleshooting checks.

13
Getting in touch…
It's quick and easy to register
for your FREE guarantee†
Online at: vax.co.uk/registration
Please retain your original receipt
for proof of purchase.
†Registration required. Terms and conditions apply.
We’re here if you need us
Instead of taking me back to the shop,
simply visit our online support:
vax.co.uk/support
Still need to get in touch?
Our UK based Customer Care Team are here to support you.
For help with assembly, operational or performance problems, or buying and tting new accessories,
you can nd all our contact details at vax.co.uk/contact
This user guide can be found online at: vax.co.uk/support

14
Technical specications
Input voltage
Rated frequency
Wattage
Weight
220-240V
50Hz
45W
6.74kg

Accessories
Pure Air 200 Filter Kit
1-7-139061
15

EU Statement of Compliance: Manufacturer/EU importer: Vax Limited, hereby on our own responsibility, declare that the AC02AMV1 is manufactured in compliance with the
following Directives: Safety: 2014/35/EU Low Voltage Directive. EMC: 2014/30/EU Electromagnetic Compatibility Directive.
Waste electrical products should not be disposed of with household waste. Please recycle where facilities exist. Check with your Local Authority or retailer for recycling advice.
© 2017 Vax Limited. All rights reserved. The VAX trade mark and Vax lozenge is the property of Techtronic Floor Care Technology Ltd and is registered in the EU and may be
pending or registered in other countries.
GET IN TOUCH
This manual suits for next models
1
Table of contents
Other Vax Air Cleaner manuals