Vax VX11 User manual

VX11
Spray & Vac
Window Cleaner Range
Let’s get started

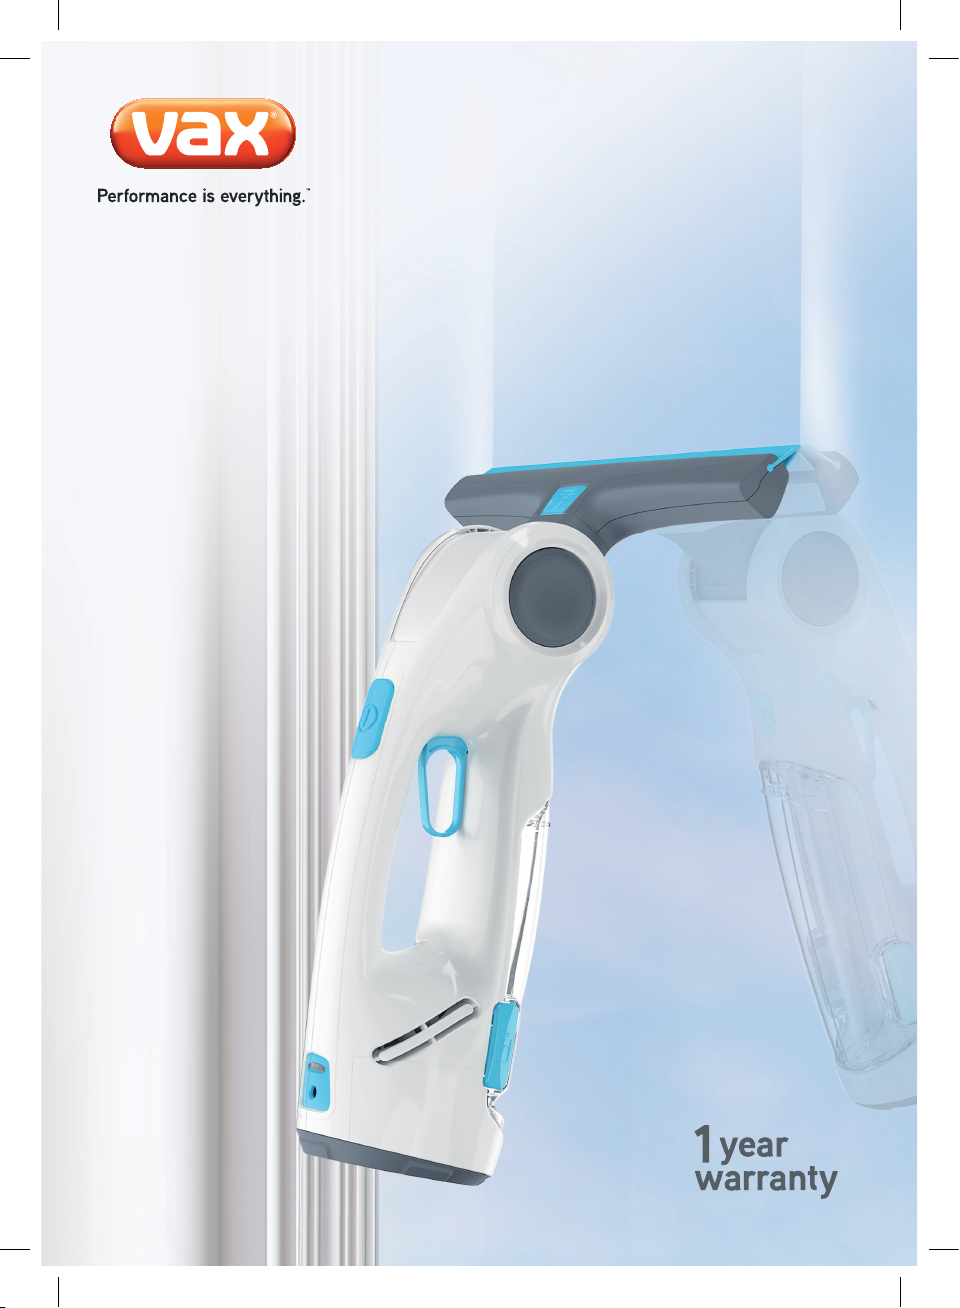
This Spray & Vac is intended for household use only
and NOT for commercial or industrial use.
When using the Spray & Vac basic safety precautions should
always be observed, including the following:
• Keep fi ngers, hair and loose clothing from moving parts and
openings whilst using the Spray & Vac
• This appliance is not intended for use by persons (including
children) with reduced physical, sensory or mental
capabilities or lack of experience and knowledge unless they
have been given supervision or instruction concerning use
of the appliance in a safe way and understand the hazards
involved. Children shall not play with the appliance.
Cleaning and user maintenance shall not be made by
children without supervision
• Keep the charger in a dry place and use indoors only
• Only Vax recommend charger, accessories and solution
should be used with this Spray & Vac
Please keep instructions for future reference and use the
Spray & Vac only as instructed in this guide
Basic safety precautions
Don’ts
Do’s
Let’s talk safety
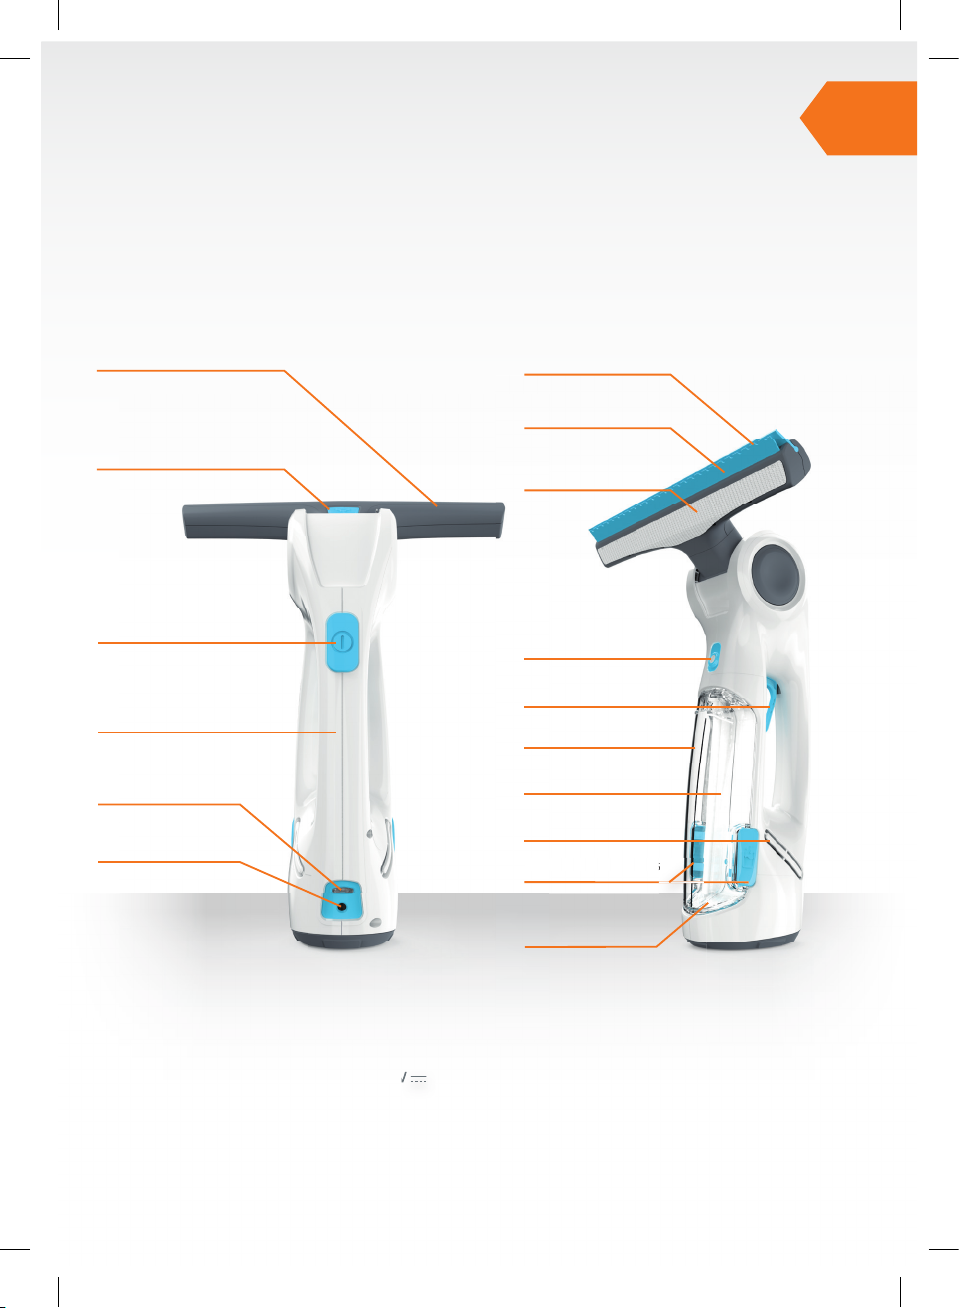
✓Only use the Spray & Vac indoors on vertical surfaces
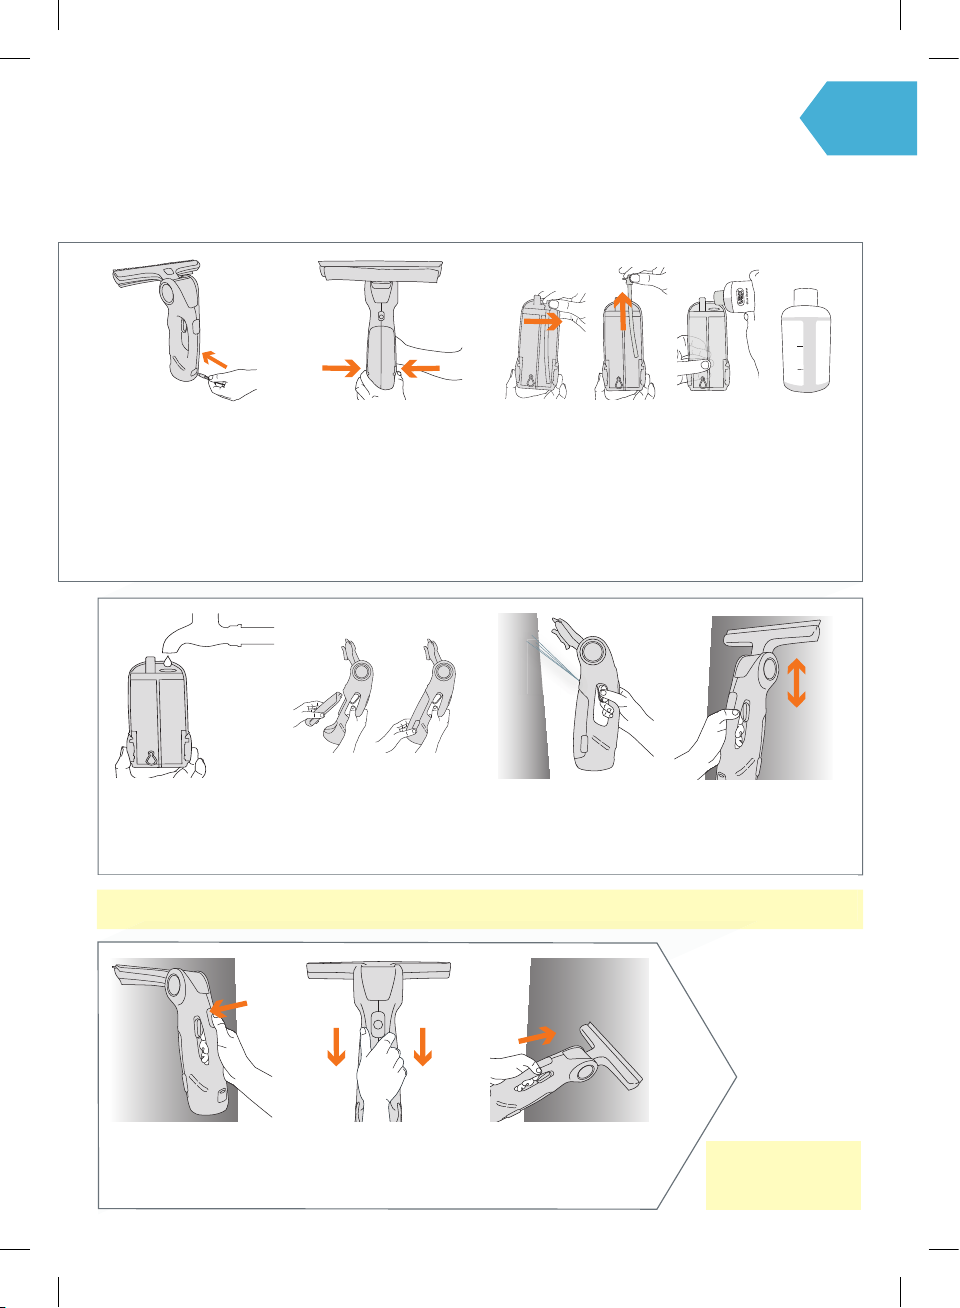
✓Always make sure the solution tanks are fi tted correctly before
using your Spray & Vac
✓Turn o all controls on the Spray & Vac before disconnecting or
connecting the charger
✓Always protect the charger cable from heated surfaces or near
open fl ames
✓Use only SAA approved 10amp extension cords, non-approved
extension cords may overheat
✓Always charge the Spray & Vac indoors
✓Always carry the Spray & Vac by the handle
✓Store your Spray & Vac in a cool, dry area away from children
✓Only use Vax recommended batteries and solution
This Spray & Vac is intended for indoor use only
and NOT for outdoor use.
✘ Don’t use this Spray & Vac if it has been dropped, damaged,
immersed in water or left outdoors
✘ Don’t unplug the Spray & Vac or pull the Spray & Vac by the
charger cord. Don’t use the charger cord as a handle, pull the
charger cord around corners or sharp edges or close a door
over the charger cord
✘ Don’t charge the Spray & Vac if the Charger cord or plug is
damaged. Please contact the Vax Careline on AU 1300 361 505
/ NZ 0800 800 900 or visit www.vax.com.au/www.vax.co.nz
Keep the cord away from heated surfaces
✘ Don’t use the Spray & Vac charger with incorrect voltage as this
may result in damage or injury to the user. The correct voltage is
listed on the rating label on the base of the machine.
✘ Don’t handle the plug or use the Spray & Vac with wet hands
✘ Don’t use the Spray & Vac whilst connected to the charger unit
✘ Don’t throw the Spray & Vac into fi re or expose to high
temperatures, as the Spray & Vac contains a rechargeable
battery which may cause damage or burst. Never dismantle the
battery or replace with a di erent type
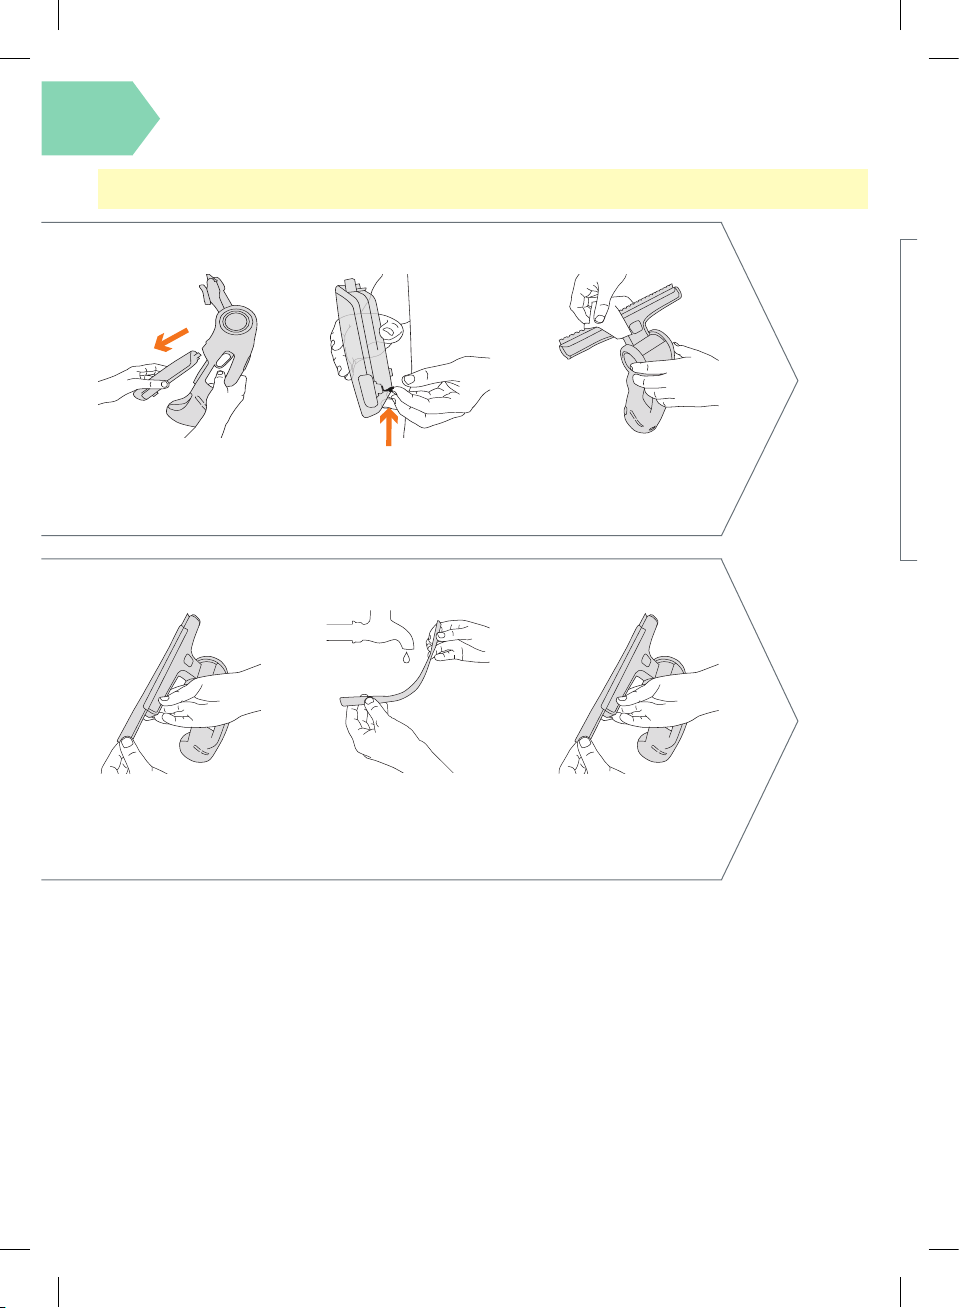
✘ Don’t attempt to remove blockages with sharp objects as this
may cause damage to your Spray & Vac
✘ Don’t vacuum up hot coals, cigarette butts, ash, matches or
smoking hot burning items or use in an area where there may
be harmful fl uids (chlorine, bleach, and ammonia drain cleaner)
✘ Do not vacuum hard or sharp objects such as glass, nails,
screws or coins etc
✘ Don’t not vacuum plaster dust, concrete dust or any other
building or vitreous material
✘ Do not vacuum fl our, baking soda or any other powder-based
carpet refresher or deodoriser

Thank you for buying this Spray & Vac
Taking care of your windows
The Spray & Vac Window Cleaner is designed to clean windows regularly as e ectively and
effi ciently as possible and this user guide will help you get the most out of your machine.
Clean windows look better and make your home brighter.
Taking care of your Spray & Vac
Also inside this guide are instructions on maintaining your new machine, so that it’s always
ready when you are to tackle your windows.
We’re here if you need us
For troubleshooting simply visit or call:
Australia: 1300 361 505* New Zealand: 0800 800 900*
vax.com.au vax.co.nz
*Monday – Friday: 8:30am -5:00pm
Calls are charged at the standard local rate. Please make note of the serial
number and model number of the product before calling.

Contents
Let’s talk safety
Getting to know your machine
Getting started
Using your machine
Taking care of your machine
What to do if it goes wrong
Getting in touch
Spray & Vac
Charger
Included with
your machine
Microfi bre pad x 2
Scrub pad x 2
Vax window
solution 120ml
x 2
Funnel
120m l
80ml
40ml

Contents
Getting to know your machine
Handle
Power On/O button
Power charger
connector
Power charger
indicator light
Suction head release button
Suction head Removable squeegee
Name Vax Spray & Vac
Voltage 3.7V
Weight 0.8kg
Runtime 30 minutes
Charge time 3 hours
Battery type Lithium-ion
Battery capacity 1500mAH
Technical Specification
Subject to technical change without notice.
Lower squeegee
Fastening strip
Solution spray outlet
Solution tank
Spray trigger
Dirty water tank
Exhaust vent
Tank release buttons
Dirty water
release cap
Tank release buttons
Charger model KSA34A0550060VAD
Charger input 100-240V~50/60Hz 0.15A
Charger output 5.5V
5.5V
5.5V
0.6A

Assembling your window vacuum
Getting started
Using your machine
PLEASE READ ‘LET’S TALK SAFETY’ AT THE BEGINNING BEFORE USE
Choose microfi bre/scrub
pad and push onto the
fastening strip located on
the suction head
Insert the suction head
into the machine and push
until it clicks into place
To remove the suction head,
press the suction head
release button and gently pull
the suction head away from
the machine
TIP
Note: The microfi bre pad
is for general cleaning and
the scrub pad for cleaning
stubborn marks

Using your window vacuum
Insert the charger cable into the
power charger connector. Plug
the charger into the mains. The
power charger indicator light will
flash during charging and when
fully charged the indicator light will
show solid red. The Spray & Vac
will need to charge for 3 hours
Top up with water (Max 35�C)
to MAX line on solution side of
the dual tank and turn the cap
clockwise to close
Squeeze the tank release
buttons to remove the dual
tank from the machine
To attach the dual tank back
onto the unit, insert top fi rst
and gently push the bottom
until it fastens into place
Pull the trigger to spray
solution onto the surface
to be cleaned
Turn the lid of the
cleaning solution tube
anticlockwise and lift
to remove
Pour 40ml of Vax
window solution into the
cleaning solution side of
the dual tank
Turn the Spray & Vac
on using the power
on/o button
When you reach the
bottom of the window,
apply pressure and the
suction head will pivot
Wipe/scrub the surface
with the microfi bre or
scrub pad on the
suction head
Getting started
Using your machine
Vacuum up the water using
slow, straight strokes
Note: You may need to press the trigger a few times fi rst before solution is dispensed, this clears air from the system
Note: Only use the
window vacuum or
vertical surfaces
120m l
80ml
40ml

Cleaning the removable squeegee
Taking care of your machine
Squeeze the tank release
buttons to remove the tank
from the Spray & Vac
To remove the squeegee,
pull and slide through the
suction head
Wash the squeegee under
running water (Max 40’C)
to remove dirt and debris.
Let it dry
To attach the squeegee
push and slide through
the suction head
Lift the emptying cap to
let the dirty water out of
the tank
Wipe the squeegee with a
damp cloth to remove any
excess water
After every use
Note: The Spray & Vac must be emptied after each use – DON’T store water/solution in the machine between usage
Taking care of your machine

Taking care of your machine
Using a crosshead screw-
driver, remove the 4 screws
at the base of the unit and
remove the base cover
Clip the new battery cradle
from Vax into place and
insert into the unit
Replace the base cover
and replace all screws
back in place
Lift the battery cradle out
of the unit
Pinch the release catch to
remove the battery cradle
Note: Replacement batteries have not been included with the machine. For replacement batteries please contact Vax
Careline on (AU) 1300 361 505 (NZ) 0800 800 900 or visit vax.com.au /vax.co.nz Then follow the instructions below.
Taking care of your machine
Replacing the battery

• The battery may not be charged. Connect the charger.
The indicator light will fl ash red when charging and show
a solid red light when fully charged. The initial charge should
be for 3 hours
• The unit might be plugged in. The window vacuum will not
run when the charger is plugged in. Remove unit from charger
to operate
• The squeegee blade may be blocked. Remove from the
machine, rinse and clear any dirt/debris
• The window vacuum may be low on charge. Plug the window
vacuum in to recharge
• The dual tank may be full, empty the dual tank
• The squeegee blade is dirty, detach and clean.
Go to ‘Taking care of your machine’
• You may be using the window vacuum on a fl at, horizontal
surface. Only use the window vacuum on vertical surfaces
• The dual tank may be full, empty the dual tank
• The charger may not be inserted correctly
• Check the mains power is switched on
• The electrical outlet may not be working
SolutionProblem
What to do if it goes wrong
Getting in touch
Why won’t the window
vacuum turn on?
Why won’t the window
vacuum pick up?
Why does my window
vacuum leave a smear
on my window?
Why does my window
vacuum leak?
Why won’t the
battery recharge?
Warning: Always turn o and unplug the Spray and Vac before carrying out and maintenance/troubleshooting checks

* Calls are charged at the standard local rate. Please make a note of the serial number and model number of the vacuum cleaner
before calling.
Getting in touch
Warning: Always turn o and unplug the Spray and Vac before carrying out and maintenance/troubleshooting checks

Distributed by Techtronic Industries Australia Pty. Ltd.
31 Gilby Road, Mt Waverley, VIC 3149 Australia.
Careline AU: 1300 361 505 www.vax.com.au
Careline NZ: 0800 800 900 www.vax.co.nz
© 2014 All rights reserved. VAX®, VAX Lozenge, Air Cordless are trade marks or registered trade marks of Techtronic Floor Care Technology Ltd.
Other Vax Ultrasonic Jewelry Cleaner manuals
Popular Ultrasonic Jewelry Cleaner manuals by other brands

Nilfisk-Euroclean
Nilfisk-Euroclean Compact Patio operating instructions

Oase
Oase PondoVac Classic operating instructions

METROVAC
METROVAC VNB4AFBR instruction manual

Makita
Makita BCL140 user manual

Bissell
Bissell 2005 SERIES user guide

Pattfield Ergo Tools
Pattfield Ergo Tools PE-EFR 1410 Translation of the original instructions