manuals.online logo
Brands
  1. Home
  2. •
  3. Brands
  4. •
  5. Vax
  6. •
  7. Vacuum Cleaner
  8. •
  9. Vax Agility Compact V-128 User manual

Vax Agility Compact V-128 User manual

This manual suits for next models

4

Other Vax Vacuum Cleaner manuals

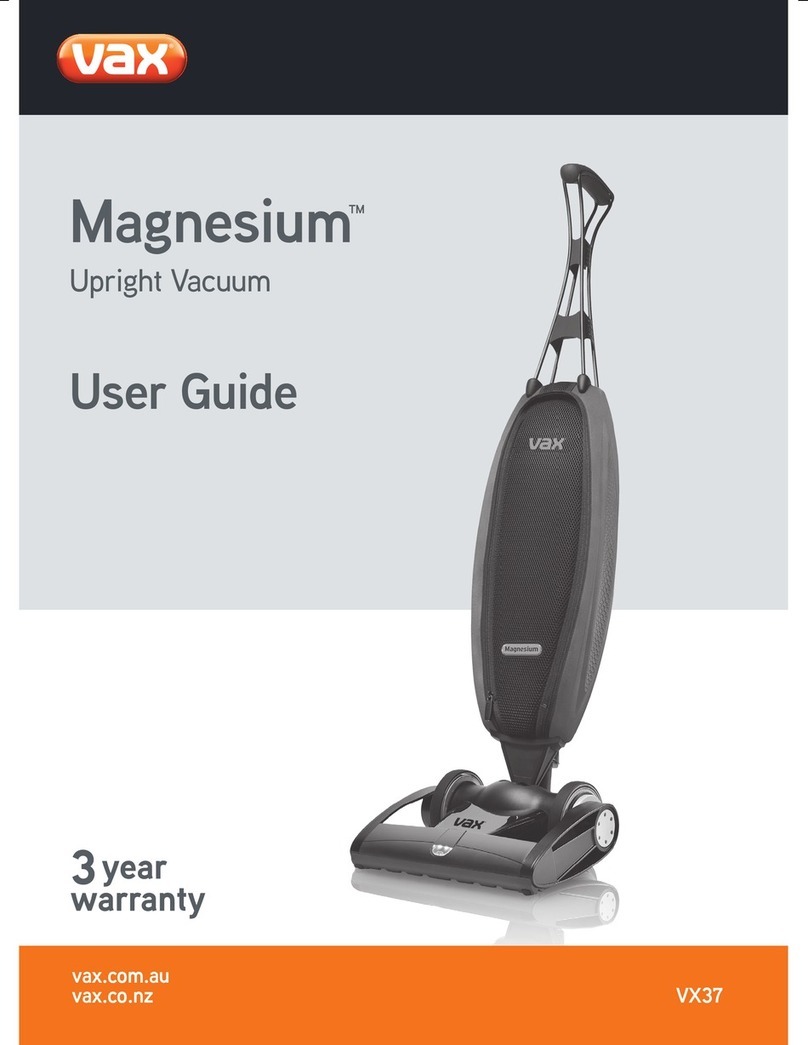
Vax Libretto Product information sheet

Vax

Vax Libretto Product information sheet

Vax C91-MJ-B-P User manual

Vax

Vax C91-MJ-B-P User manual

Vax VRS23UB User manual

Vax

Vax VRS23UB User manual

Vax W91-RS-B SERIES User manual

Vax

Vax W91-RS-B SERIES User manual

Vax Essentials VEC-01 User manual

Vax

Vax Essentials VEC-01 User manual

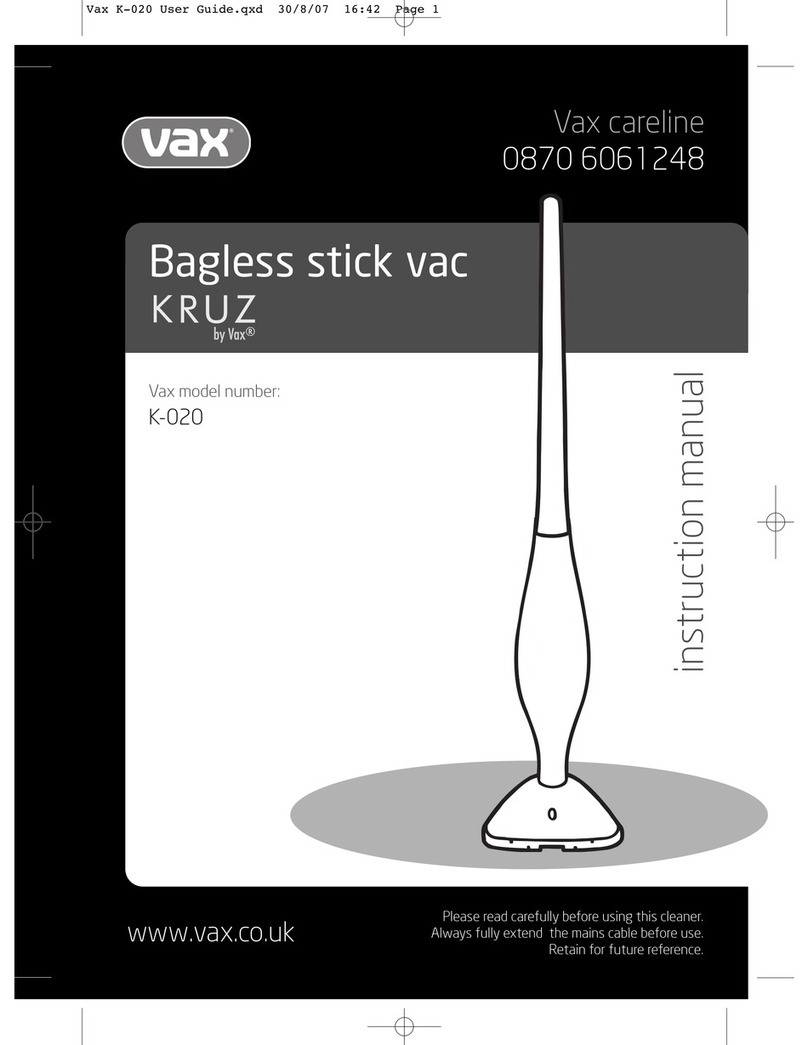
Vax Kruz K-020 User manual

Vax

Vax Kruz K-020 User manual

Vax Swift V-055 Product information sheet

Vax

Vax Swift V-055 Product information sheet

Vax H85-AC21-B User manual

Vax

Vax H85-AC21-B User manual

Vax LiFE User manual

Vax

Vax LiFE User manual

Vax U9O-MA-B User manual

Vax

Vax U9O-MA-B User manual

Vax X-003 User manual

Vax

Vax X-003 User manual

Vax Mach Air SERIES User manual

Vax

Vax Mach Air SERIES User manual

Vax MACH 1 VZL-6011 User manual

Vax

Vax MACH 1 VZL-6011 User manual

Vax VRS14W User manual

Vax

Vax VRS14W User manual

Vax U85-ACLG-BA User manual

Vax

Vax U85-ACLG-BA User manual

Vax Workman VCC-05 User manual

Vax

Vax Workman VCC-05 User manual

Vax C88-AM-Be User manual

Vax

Vax C88-AM-Be User manual

Vax V-041P User manual

Vax

Vax V-041P User manual

Vax Rapide Ultra User manual

Vax

Vax Rapide Ultra User manual

Vax V-112P User manual

Vax

Vax V-112P User manual

Vax Quicklite VRS107 Installation instructions

Vax

Vax Quicklite VRS107 Installation instructions

Vax VZL-702 User manual

Vax

Vax VZL-702 User manual

Vax Essentials Power VAC-41 User manual

Vax

Vax Essentials Power VAC-41 User manual

Vax Rapide Plus 5140 User manual

Vax

Vax Rapide Plus 5140 User manual

Popular Vacuum Cleaner manuals by other brands

Shark KD400WM owner's guide

Shark

Shark KD400WM owner's guide

Shark CORDLESS SV780_N 14 user manual

Shark CORDLESS

Shark CORDLESS SV780_N 14 user manual

Philips FC9176/08 manual

Philips

Philips FC9176/08 manual

Kenmore KW3030 user manual

Kenmore

Kenmore KW3030 user manual

AMiO YF-101 user manual

AMiO

AMiO YF-101 user manual

Beko VRT 94929 VI user manual

Beko

Beko VRT 94929 VI user manual

Shark CORDLESS SV780 Series quick start guide

Shark CORDLESS

Shark CORDLESS SV780 Series quick start guide

Lumme LU-3203 instruction manual

Lumme

Lumme LU-3203 instruction manual

Melissa 640-040/051 instruction manual

Melissa

Melissa 640-040/051 instruction manual

Makita DVC152L instruction manual

Makita

Makita DVC152L instruction manual

Bosch BSN1 instruction manual

Bosch

Bosch BSN1 instruction manual

King Canada 8560LST Service manual & parts list

King Canada

King Canada 8560LST Service manual & parts list

EUFY RoboVac 11c+ owner's manual

EUFY

EUFY RoboVac 11c+ owner's manual

Panasonic MC-E4101 Service manual

Panasonic

Panasonic MC-E4101 Service manual

Panasonic MC-V9658 operating instructions

Panasonic

Panasonic MC-V9658 operating instructions

Bosch BGB 2 Series instruction manual

Bosch

Bosch BGB 2 Series instruction manual

Hoover dog & cat TURBO manual

Hoover

Hoover dog & cat TURBO manual

FGE Far Tools NET UP 20 manual

FGE

FGE Far Tools NET UP 20 manual

manuals.online logo
manuals.online logoBrands
  • About & Mission
  • Contact us
  • Privacy Policy
  • Terms and Conditions

Copyright 2025 Manuals.Online. All Rights Reserved.

www.vax.co.uk Please read carefully before using this cleaner.
Always fully extend the mains cable before use.
Retain for future reference.
Vax careline
0870 6061248
instruction manual
Carpet cleaner
Vax model number:
V-128
Vax V-128 User Guide.qxd:V-128 User Guide 14/4/08 16:01 Page 1
V-128
1. Diagram
www.vax.co.uk
2parts overview
15
14
13
5
6
7
8
12
11
10
9
16
16
1
2
3
Fig.1/1
1 Hand grip
2 Telescoping handle
3 Telescoping handle collar
4 Carry handle
5 On/Off switch
6 Solution tank
7 Tool connector / hose
8 Nozzle
9 Recovery tank
10 Recovery tank lid
11 Float indicator window
12 Upper handle release button
13 Solution trigger (press to release cleaning solution)
14 Stair / upholstery tool
15 Handle release pedal
16 Cord hooks
4
Vax V-128 User Guide.qxd:V-128 User Guide 14/4/08 16:01 Page 2
3
Vax Careline 0870 606 1248
safety information
2. Safety Information
FOR HOUSEHOLD USE ONLY.
When using the carpet washer, basic safety precautions
should always be observed, including the following:
1. Do not leave the carpet washer unattended when
plugged in. Unplug it from socket when not in use.
2. To prevent electric shock do not use outdoors.
3. Not to be used as a toy. Children should be supervised to
ensure that they do not play with the appliance.
4. This appliance is not intended for use by persons
(including children) with reduced physical, sensory or
mental capabilities, or lack of experience and knowledge,
unless they have been given supervision or instruction
concerning the use of the appliance by a person
responsible for their safety.
5. Use only as described in this manual.
6. Do not use with a damaged cord or plug. If the supply
cord and/or plug is damaged, they must be replaced
by the manufacturer, a Vax Service Agent or similarly
qualified persons in order to avoid hazard.
7. Do not pull or carry by the cord, use the cord as a
handle, allow the cord to come into contact with hot
or sharp surfaces or close a door on the cord.
8. Do not unplug by pulling on the cord.
9. Do not handle the plug or carpet washer with wet
hands.
10. Do not put any objects into openings or operate with
openings blocked, keep them free of anything that
may reduce airflow.
11. Keep hair, loose clothing, fingers and all parts of the
body away from openings and moving parts.
12. Do not use the carpet washer on any glowing,
burning or smoking particles.
13. Do not use without the solution tank and dirty water
tank in place.
14. Turn off all controls before unplugging.
15. Do not use to pick up flammable or combustible
liquids such as petrol, or use in areas where they may
be present.
16. Keep the unit on the floor.
17. Do not use an extension cord.
18. Do not attempt to remove blockages with sharp
objects as they may cause damage.
19. Store indoors put away after use to prevent tripping
accidents.
20. Using improper voltage may result in damage to the
motor and possible injury to the user. The correct
voltage is listed on the rating label.
21. A hazard may occur if the carpet washer runs over
the power supply cord.
22. To prevent dirty water from running into motor, do
not hold the appliance upside-down or lay on its side.
Use appliance in normal vacuuming position.
23. Use extra care when cleaning on stairs.
24. Do not carry appliance while motor is running.
NOTE: Carpets should be dry vacuumed thoroughly
before washing.
NOTE: The unit must be unplugged from the mains
socket outlet after use, and before cleaning or
maintaining the unit.
NOTE: The brush bar will only rotate when the
machine is in the reclined floor cleaning position and
the power switch is on. The brushbar will turn off
when in tool mode or upright position.
IM ORTANT: This unit is not intended for
commercial use.
LEASE KEE THESE INSTRUCTIONS
FOR FURTHER USE.
!
Vax V-128 User Guide.qxd:V-128 User Guide 14/4/08 16:01 Page 3
www.vax.co.uk
4unfolding handle / filling the solution tank
3. Carpet Cleaner Basics
Unfold handle
Raise handle from storage position until it locks in place
(Fig.3/1).
Slide collar (A) up on telescoping handle (B) to adjust
handle to desired height (Fig.3/2).
Folding handle
Push up on the collar (A) to lower the telescoping handle.
Rotate knob (C) backwards to drop the handle into storage
position (Fig.3/3).
Filling the Solution Tank
IM ORTANT: Unplug carpet cleaner from electrical outlet.
Pull up on solution tank handle (A) and remove solution
tank (Fig.3/4).
Turn tank upside down and unscrew cap (B) (Fig.3/5). The
cap consists of 2 pieces - the cap ring (C) and the solution
tank valve (D).
Pour solution into tank to solution fill line (E) (Fig.3/6).
Fill tank completely with hot tap water (max 50°C).
Replace cap. Be sure the valve (D) is in the cap ring (C)
before screwing the cap back on the tank (Fig.3/5).
Place tank back onto cleaner (Fig.3/7), pressing firmly to
be sure tank is fully positioned.
CAUTION: Avoid solution contact with the eyes and
skin. In case of contact with eyes, flush with cold
water for 15 minutes. In case of contact with skin, wash
with water. If irritation persists, consult your GP.
!
Fig.3/1
Fig.3/4
Fig.3/2
Fig.3/5
Fig.3/6
Fig.3/3
B
C
A
A
A
B
C
D
E
Vax V-128 User Guide.qxd:V-128 User Guide 14/4/08 16:01 Page 4
5
Vax Careline 0870 606 1248
emptying the recovery tank / transporting
Emptying the Recovery Tank
IM ORTANT: Unplug carpet cleaner from electrical outlet.
An automatic shut-off device prevents the carpet cleaner
from picking up more dirty water than it can hold in the
recovery tank.
You will know the tank needs to be emptied -
• When the motor sound rises in pitch.
• You do not see dirty solution coming up through the
recovery tank lid.
• The float (A) inside the recovery tank has risen to the top
of the tank (Fig. 3/8), and is visible through the lid
window (B).
Step on handle release pedal (C) to lower handle and
unlock the recovery tank (Fig.3/9).
Lift up on tank (D) and pull off (Fig.3/10).
Lift up on tank lid latches (E) and remove the tank lid (F),
including the float (G) (Fig.3/11). Empty tank.
Replace lid. Secure both latches (E) (Fig.3/11).
NOTE: For full suction, it is important that the recovery
tank lid is properly secured before replacing or operating.
Remove any debris that has collected on lint filter (H) on
cleaner body (Fig.3/12 and inset).
Place tank onto cleaner. Return handle to upright position.
Transporting
Your carpet cleaner may be transported easily by the
convenient carrying handle (see item 4, page 2).
Fig.3/7
Fig.3/8
Fig.3/9
Fig.3/11
Fig.3/12
Fig.3/10
A
C
B
D
E
F
E
G
H
Vax V-128 User Guide.qxd:V-128 User Guide 14/4/08 16:01 Page 5
www.vax.co.uk
6hose and tools
4. Hose and Tools
Using the Hose
Place handle in upright, storage position.
Press on the tab (A) to remove the hose wand (B) from the
floor nozzle (C) (Fig.4/1).
Attaching Tool
Stair/upholstery nozzle has a built-in brush to help
provide the scrubbing action some spots may need for
removal (Fig.4/2).
Slide tool (D) onto end of hose wand. Snap tool over bump
(E) on wand (Fig.4/3).
Removing Tool
To remove tool: Push forward and up on tab (F). Slide tool
off hose wand.
Storing Hose and Tool
To return hose wand to storage position, align bump (E) on
wand with hole (G) in nozzle and push in firmly until you
hear a snap (Fig.4/4).
NOTE: Hose wand must be returned to floor nozzle
storage position in order for cleaner to be used in the
upright position for floor cleaning.
Store upholstery nozzle (H) over projection (I) on back of
cleaner for storage (Fig.4/5).
Fig.4/2
Fig.4/3
Fig.4/1
Fig.4/4
Fig.4/5
A
C
D
F
E
B
E
G
H
I
Vax V-128 User Guide.qxd:V-128 User Guide 14/4/08 16:01 Page 6
7
Vax Careline 0870 606 1248
cleaning carpet
5. Cleaning Carpet
Remove lightweight furniture (tables, lamps, etc.) from
area to be cleaned.
Protect any remaining furniture by pinning up furniture
skirts and placing aluminum foil or plastic under legs.
Vacuum carpet thoroughly to remove loose dirt, hair, lint
and other debris (Fig.5/1).
Test solution for colorfastness on a hidden area of carpet.
Wet a white cloth or paper towel with some solution.
Gently rub onto a hidden area of carpet. Wait ten minutes.
Blot with white cloth or paper towel and check for
color transfer.
Pretreat spots, stains and high traffic areas with Vax
Pre-Treatment Spray (Fig.5/2).
Fill solution tank with hot tap water (max water
temperature 50°C) and proper amount of Vax cleaning
solution (see page 4) (Fig.5/3).
NOTE: Use only Vax brand solutions in your carpet cleaner.
Other brands may damage the carpet cleaner.
To reduce the risk of fire, do not use a flammable or
combustible liquid to clean floor.
Plan your cleaning to avoid walking on wet carpet. Start at
the end of the room farthest from the exit and work in
small sections (Fig.5/4).
Raise handle from storage position until it locks in place.
Slide collar (A) on telescoping handle (B) to adjust handle
to desired height. (Fig.5/5). Step on handle release pedal
and lower handle. Turn cleaner ON.
Squeeze and hold trigger to release cleaning solution
(Fig.5/6). Push cleaner forward SLOWLY then pull it back
SLOWLY.
Let go of trigger and push carpet cleaner over same area
to pick up dirty solution without putting down more
solution.
Fig.5/1
Fig.5/2
Fig.5/3
Fig.5/4
Fig.5/5
Fig.5/6
Start
Exit
A
B
Vax V-128 User Guide.qxd:V-128 User Guide 14/4/08 16:01 Page 7
www.vax.co.uk
8cleaning upholstery
Continue using dry strokes until you see only a little
solution coming up through the nozzle (front of extractor)
or recovery tank lid.
Do not make the carpet too wet! Use no more than two
sets of forward and backward strokes while releasing
solution. Always follow with dry strokes - the more the
better.
Listen carefully! When the motor sound changes (rises in
pitch), the recovery tank needs to be emptied. When water
has reached the maximum capacity in the recovery tank,
the float will rise to the top of the tank and the cleaner will
NOT pick up dirty solution.
Allow carpet to dry. Avoid walking on the carpet until it is
dry. Increased air circulation (open doors, turn on fans, etc.)
will help carpet dry thoroughly.
Vacuum thoroughly after carpet has dried. This will reduce
any shading left by the carpet cleaner’s brushes.
NOTE: No cleaning solution removes all stains from all
carpets. Stain removal varies with the type of spill, time
passed before removal, carpet material, and carpet type.
6. Cleaning Upholstery
IM ORTANT: Check fabric manufacturer’s
instructions to confirm that it is alright to use your
carpet cleaner to clean the upholstery.
Vacuum upholstery thoroughly with your vacuum
cleaner’s attachments.
Test solution for colorfastness on a hidden area of
upholstery. Wet a white cloth or paper towel with some
solution. Gently rub onto a hidden area of upholstery.
Wait ten minutes. Blot with white cloth or paper towel
and check for color transfer.
Pretreat spots and stains with Vax Pre-Treatment Spray
(Fig.6/1).
Fill solution tank with hot tap water (max water
temperature 50°C) and proper amount of Vax cleaning
solution (see page 4) (Fig.6/2).
NOTE: Use only Vax brand solutions in your carpet cleaner.
Other brands may damage the carpet cleaner.
Place handle in upright, storage position. Press on the tab
(A) to remove the hose wand (B) from the floor nozzle (C)
(Fig.6/3).
Slide tool (D) onto end of hose wand. Snap tool over
bump (E) on wand (Fig.6/4).
Squeeze and hold trigger (A) to release cleaning solution.
Gently press tool into fabric and slowly pull the tool over
the fabric (Fig.6/5).
!
Fig.6/1
Fig.6/2
Fig.6/3
A
C
B
Fig.6/4
D
F
E
Vax V-128 User Guide.qxd:V-128 User Guide 14/4/08 16:01 Page 8
9
Vax Careline 0870 606 1248
maintenance
Let go of trigger and pull tool over same area to pick up
dirty solution without putting down more solution.
Continue using dry strokes until you see only a little
solution coming up through the tool.
Do not make the upholstery too wet! Use no more than
two strokes while releasing solution. Always follow with
dry strokes - the more the better.
Listen carefully! When the motor sound changes (rises in
pitch), the recovery tank need to be emptied. When water
has reached the full line in the recovery tank, the cleaner
will NOT pick up dirty solution.
Allow upholstery to dry. Avoid using upholstery until it is
dry. Increased air circulation (open doors, turn on fans,
etc.) will help upholstery dry thoroughly to prevent the
growth of mold or mildew.
7. aintenance
Cleaning the Nozzle
Unplug carpet cleaner from electrical outlet.
Wipe debris off nozzle and front of cleaner with a damp
cloth (Fig.7/1).
Cleaning the Brushes
Unplug carpet cleaner from electrical outlet.
Remove solution and recovery tanks to prevent possible
leaks.
Tilt cleaner back so handle rests on the floor (Fig.7/2).
Remove any carpet fibers or strings that may be attached
to the brushes (Fig.7/3).
Empty solution tank and rinse thoroughly.
Fig.6/5
Fig.7/1
Fig.7/2
Fig.7/3
A
A
Vax V-128 User Guide.qxd:V-128 User Guide 14/4/08 16:01 Page 9
www.vax.co.uk
10 storage / troubleshooting
Place empty solution tank on carpet cleaner. Turn carpet
cleaner ON. Squeeze trigger and push carpet cleaner
forward and back several times, using the cleaner to pick
up the remaining liquid. This will clear any solution
remaining inside the cleaner.
8. Storage
Empty recovery tank, rinse thoroughly and let air dry.
Allow brushes and underside of carpet cleaner to air dry
thoroughly before storing carpet cleaner on a carpeted or
wood surface.
Push up on the collar (A) and lower the telescoping handle.
Rotate knob (B) backwards to drop the upper handle into
storage position (Fig.8/1).
To store the cleaner, ensure all tanks are clean, empty
and dry.
9. Troubleshooting
WARNING: To reduce the risk of personal injury,
unplug the vacuum cleaner before performing
maintenance or troubleshooting checks.
ROBLEM: The cleaner won't run.
Cause: Not properly plugged into electrical outlet.
Solution: Plug in firmly.
Cause: No electricity in electrical outlet.
Solution: Check fuse or breaker.
Cause: ON/off switch not turned on.
Solution: Push on/off switch to ‘on’.
Cause: Blown fuse/tripped breaker.
Solution: Reset circuit breaker or replace fuse.
ROBLEM: Cleaner won’t pick up/loss of suction.
Cause: Dirty water tank is full.
Solution: Switch off and unplug cleaner. Empty dirty
water tank as shown in Section 3.
Cause: Recovery tank and lid not correctly installed.
Solution: Replace tank and lid securely.
Cause: Hose/wand tool not securely in position.
Solution: Securely position hose/tool in floor nozzle.
Cause: Lint filter blocked.
Solution: Check lint filter and remove any debris.
ROBLEM: Brushes won’t rotate.
Cause: Handle is not in the operating position.
Solution: Brushes only rotate when the handle is in the
reclined, floor cleaning position.
Cause: Circuit breaker tripped.
Solution: Turn cleaner off and unplug. Check for
obstructions in the brush bar. Allow the
cleaner to cool, then switch on and continue
cleaning.
ROBLEM: Low suction in hose.
Cause: Tool not properly connected.
Solution: Securely attach tool to tool connector.
Cause: Handle is not in upright, storage position.
Solution: ake sure handle is in upright position.
Cause: Recovery tank is full - automatic shut-off
engaged.
Solution: ake sure handle is in upright position.
Cause: Handle is not in upright, storage position.
Solution: Switch off and unplug cleaner. Empty dirty
water tank as shown in Section 3.
Cause: Lint filter blocked.
Solution: Check lint filter and remove any debris.
Fig.8/1
A
B
!
Vax V-128 User Guide.qxd:V-128 User Guide 14/4/08 16:01 Page 10