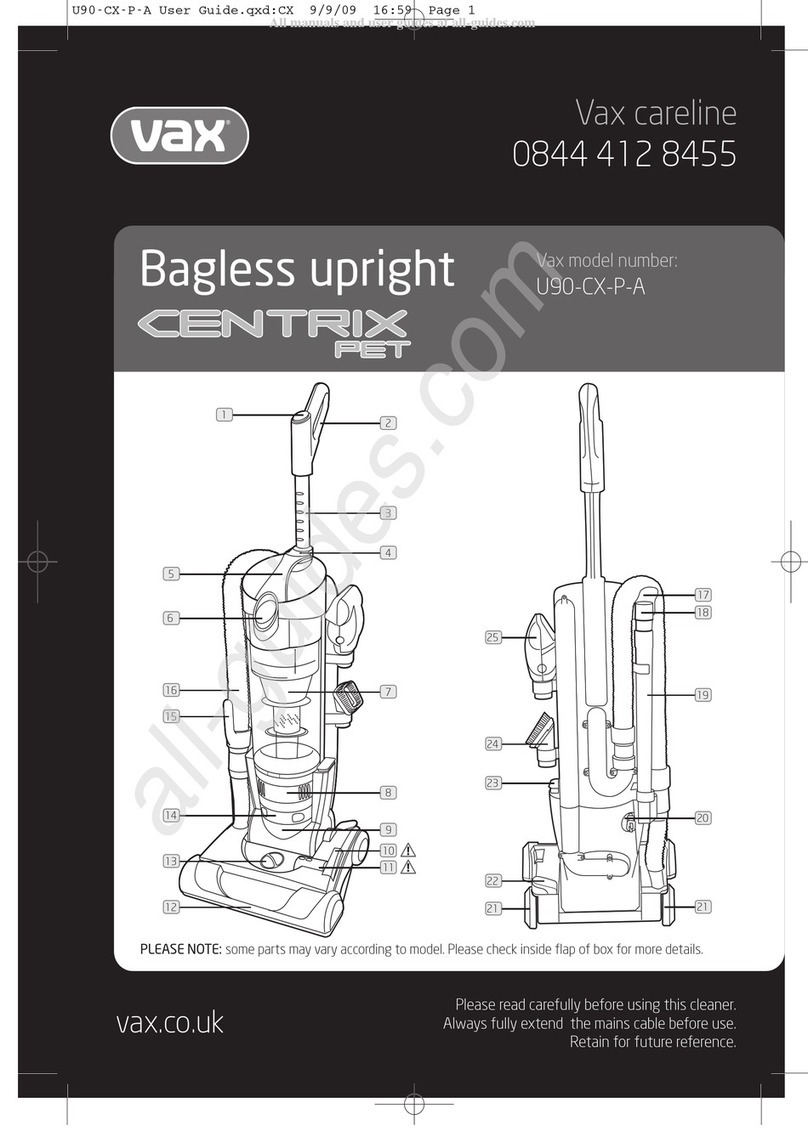
Vax Ultrixxcobalt User manual

Instruction Manual
www.vax.co.uk
Vax Careline:
0870 6061248
Please read carefully before using
your cleaner. Always fully extend the
mains cable before use.
BAGLESS CYLINDER VACUUM CLEANER
Vax Model Number: V-062

Combination brush/upholstery tool
Flexible hose
Hose grip/handle
Tool caddy
Bleed valve
Crevice tool
Chrome telescopic tubes
Combination floor tool
Cord rewind
Variable power dial
Rear carry handle
On/off button
Front dust cover
Hose connector
Top cover release buttons
Front carry handle
Dust container
9
8
7
6
5
4
3
2
1
2
Parts Overview
1. Diagram
10
11
12
13
14
15
16
17
12
2
1
3
4
5
6
14
15
16
13
11 10 9
8
7
17
Fig.1

Dusting brush
Upholstery brush
Dust container release button
Dust container handle
Pre-motor filter
Central filter (washable)
TurboTool TM
Post-motor (exhaust) filter
Post-motor (exhaust) filter cover
3
Parts Overview
18
19
20
21
23
24
25
26
1. Diagram (continued)
23
18
19
4
6
20
21
25
26
22
22
Fig.1/1 Fig.1/2
Fig.1/3 Fig.1/6
Fig.1/4
24
Fig.1/5

4
2. Safety Information
FOR HOUSEHOLD USE ONLY
When using the vacuum cleaner, basic safety
precautions should always be observed, including the
following:
1. Only use the vacuum cleaner indoors on dry
surfaces.
2. Turn off the vacuum cleaner controls before
connecting to or disconnecting from the mains
supply.
3. Always unplug the vacuum cleaner before
connecting or disconnecting the vacuum hose.
Do not allow the plug to whip when rewinding.
4. Close attention is necessary when used by or near
children. Do not allow children to use as a toy.
5. Use only as described in this manual. Use only the
manufacturer’s recommended attachments.
6. Do not use the vacuum cleaner with a damaged
cord or plug. Do not use the vacuum cleaner if it
has been dropped, damaged, left outdoors or
dropped into water. Return the vacuum cleaner to
a Vax Authorised Service Agent or suitably
qualified person for examination, repair or
adjustment.
7. Do not pull or carry by the cord. Do not use the
cord as a handle, close a door on the cord or pull
the cord around sharp edges or corners. Do not
run the vacuum cleaner over the cord. Keep the
cord away from heated surfaces.
8. Do not handle the plug or vacuum cleaner with
wet hands. Do not use outdoors or on wet
surfaces.
9. Do not put any objects into openings. Do not use
with any openings blocked and do not restrict air
flow. Keep all openings free of dust, lint, hair or
anything that may reduce airflow.
10. Keep hair, loose clothing, fingers and all parts of
body away from openings and moving parts.
11. Do not pick up hot coals, cigarette butts,matches
or any hot, smoking or burning objects.
12. Do not pick up flammable or combustible
materials (lighter fluid, petrol, kerosene, etc) or use
in the presence of explosive liquids or vapours.
13. Do not vacuum up harmful or toxic material
(chlorine bleach, ammonia, drain cleaner, etc).
14. Do not vacuum up hard or sharp objects such as
glass, nails, screws, coins, etc.
15. Do not use without the filters in place.
16. Use extra care when vacuuming on stairs.
17. Keep vacuuming area well lit.
18. Store the vacuum indoors in a cool, dry area.
19. Turn off the switch before unplugging.
20. Use only CE-approved 13A extension cords. Non-
approved extension cords may overheat. Care
should be taken to arrange the cord so that the
cord cannot be pulled or tripped over.
WARNING: Always switch off and unplug the
vacuum cleaner from electrical outlet before
assembling, opening or emptying the dust
container, or connecting/disconnecting the
attachments.
CAUTION: The vacuum cleaner is a very powerful
unit. Before plugging cord into outlet make sure the
switch is in the ‘off’ position. Hold the vacuum
cleaner firmly when starting and in use.
IMPORTANT: If the vacuum inlet, hose or chrome
telescopic tubes are blocked, switch off the vacuum
cleaner and remove the blockage(s) before starting
the vacuum cleaner.
IMPORTANT: Washing filters improves vacuum
performance. Make sure all filters are completely dry
before inserting back in the vacuum cleaner.
This vacuum cleaner is intended for household use
only and not for commercial or industrial use.
PLEASE KEEP THESE INSTRUCTIONS FOR
FURTHER USE.
3. Use & Function
Assembling the Vacuum Cleaner
NOTE: Always remove the power plug from the wall
outlet before assembling or removing the
accessories.
1. Attach the flexible hose into the vacuum
cleaner. Connect the flexible hose into the
vacuum inlet . Push until you hear a click,
indicating it is in its locked position.
2. Fit the chrome telescopic tubes to the black
plastic hand grip by pushing the tubes into the
hand grip.
3. Extend the telescopic tubes by pushing the
black plastic button on the tubes in the
direction of the ridged arrows and pull the inner
tube downwards.
4. Fit the combination floor tool on to the
telescopic tubes by pushing the tubes into the
floor tool. Adjust the tubes to the desired
length.
WARNING: Once all of the attachments are in
place, unwind the cable fully and insert the plug into
a wall outlet. The first (yellow) mark on the power
cord shows the ideal cable length. Do not extend
the power cord beyond the second (red) mark.
Using the Vacuum Cleaner
1. Insert the power plug into the wall outlet.
2. Press the power on/off button located on the
unit to turn the vacuum cleaner on.
12
8
7
14
2
Safety Information/Use & Function
5
Use & Function/Filters
Carpets & Hard Floors
1. Hard floors (tiles, parquet, etc): the brushes on
the combination floor tool must be lowered, by
pressing the top of the rocker switch (Fig.2).
2. Carpets or rugs: the brushes on the
combination floor tool must be raised, by
pressing the bottom of the rocker switch (Fig.3).
Variable Power
To adjust the suction, turn the variable power dial
to control the suction power.
1. Turn the dial to ‘MIN’ to reduce suction.
2. Turn the dial to ‘MAX’ to increase suction.
Cord Rewind
To rewind the power cord, press the cord rewind
button with one hand and guide the power cord
with the other hand to ensure that it does not whip
causing damage or injury.
Motor Thermostat
IMPORTANT: The motor is equipped with a thermal
cut-out. If, for any reason, the vacuum cleaner
should over-heat, the thermostat will automatically
turn the unit off. Should this occur, unplug the
vacuum cleaner from the wall outlet and turn off the
switch. Remove the dust container and empty.
Clean the filters. Allow the cleaner to cool for
approximately 1 hour. To re-start, plug into a wall
outlet and switch back on.
4. Filters
IMPORTANT: For reasons of hygiene and in order
to achieve maximum suction, the dust container
should be emptied after every use or when the
maximum level indicator is reached. The filters
should also be cleaned after every use in order to
achieve maximum suction.
Removing & Cleaning the Central Filter
1. Switch off the vacuum cleaner.
2. Remove the flexible hose .
3. Depress top cover release buttons .Lift the
top cover. Hold the handle of dust container
(without pressing the dust container release
button ) and lift it out (Fig.4).
4. Over a waste bin, empty the dust container by
pressing the dust container release button
on the handle (Fig.5).
5. To remove the central filter from the dust
container, lift out (Fig.6).
6. The central filter needs cleaning by being
tapped on a hard surface to allow the dust to
drop from in-between the pleats. Use a small
brush to clean any further dust from the filter
and shroud.
7. Insert the central filter back in to the dust
container.
8. Close the top cover and re-attach the flexible
hose.
PLEASE NOTE:
The white central filter material in the dust container
will discolour over time. This is normal and will not
affect its performance. The filter should be
frequently hand washed with cold water and left to
fully air dry for 24 hours. If the filter is damaged, it
should be replaced.
Changing & Cleaning the Pre-Motor Filter
1. Switch off the vacuum cleaner.
2. Remove the flexible hose .
3. Push the top cover release buttons to open
the dust container.
4. Remove the pre-motor filter from its position
and clean by shaking the dust off completely.
Never operate the vacuum cleaner without all
the filters in place.
22
15
2
23
20
20
21
15
2
17
9
10
Fig.2 Fig.3
Fig.4
Fig.5 Fig.6

6
Filters/Accessories
Changing & Cleaning the Post-Motor
(Exhaust) Filter
1. Lift the post-motor filter cover and remove.
2. Remove the post-motor filter and clean by
shaking the dust off.
PLEASE NOTE: The post-motor filter should be
replaced every 9-12 months.
Replacing the filters
IMPORTANT: All filters should be checked regularly
for any signs of damage, preferably every time after
the vacuum cleaner has been used. If the filters are
damaged or show any signs of wear, they must be
replaced immediately. Always disconnect the
vacuum cleaner from the mains before checking or
replacing the filters.
CAUTION: Only use the vacuum cleaner when all
the filters have been fitted.
5. Accessories
The accessories are put on to the handle by
pushing and turning and removed again by pulling
and turning (Figs.8 & 9).
Accessories holder
The handle tool caddy means that the
accessories are always on hand when needed
(Fig.8). The combination brush/upholstery tool
and crevice tool are shown in (Figs.7 & 8).
Upholstery tool: for carpet,
upholstery, stairs etc.
Crevice tool: for crevices,
corners, cracks, etc.
Dusting brush: for delicate
surfaces.
Using the Dusting Brush
Align the two arrows on the combination
brush/upholstery tool as shown in (Fig.10).
Using the Upholstery Tool
Twist the head around so that the two arrows on the
combination brush/upholstery tool are aligned as
shown in (Fig.11).
NOTE: Always unplug the vacuum cleaner before
attaching or removing accessories.
TurboTool™
The TurboTool™ fits on the end of the telescopic
tubes and/or hose grip. The TurboTool™ should be
pulled in a backwards direction for optimum
cleaning.
Cleaning Blockages
To clear blockages, rotate the locking ring 180°
(Fig.12), then turn the TurboTool™ cover. Pivot the
lower housing open, then remove any obstructions.
To re-assemble, ensure the tabs are engaged, pivot
the lower housing closed then re-position the
locking ring (Fig.13).
6
1
4
3
25
26
Fig.7
Fig.10
Closed
Open
Closed
Open
Fig.11
Fig.12 Fig.13
Fig.8
Fig.9

6. Spare Parts
Filter kit A (pre-motor filter, post-motor filter) Vax part number 1-1-125641-00
Filter kit B (central filter, pre-motor filter, post-motor filter) Vax part number 1-1-125642-00
To purchase Vax consumables, visit www.vax.co.uk
7
Spare Parts/Troubleshooting/Technical Specification
7. Troubleshooting
PROBLEM: Vacuum cleaner won't run
Cause: Power cord not firmly pushed into mains socket.
Solution: Plug cord in firmly to power outlet.
Cause: Blown fuse or tripped circuit breaker.
Solution: Check fuse/breaker. Replace fuse or reset breaker.
PROBLEM: Vacuum cleaner won’t pick up/loss of suction
Cause: Dust container not installed properly.
Solution: Re-install dust container.
Cause: Dust container full.
Solution: Empty the dust container.
Cause: Nozzle/dirt passage clogged.
Solution: Remove obstruction.
Cause: Filters are clogged.
Solution: Clean or replace filters.
Cause: Accessories not attached correctly.
Solution: Check the accessories are firmly connected.
Cause: Combination floor tool in wrong position.
Solution: Check the rocker is in the correct position for carpets or hard floors.
PROBLEM: Dust escaping from vacuum cleaner
Cause: Dust container not installed properly.
Solution: Re-install dust container.
Cause: Dust container full.
Solution: Empty the dust container.
8. Technical Specification
Power supply: 220-240V/50Hz
Motor power: 1800W
Dust container: Bagless
Dust container volume: 2.7 litres
Filter system: Central filter (washable)
Post-motor (exhaust) filter
Pre-motor filter
Cord length: 6 metres
Weight: 8.6kg
Subject to technical change without notice.

EEC STATEMENT OF COMPLIANCE
Manufacturer/EEC importer: Vax Limited, hereby on our own responsibility, declare that the product
V-062 Ultrixx Cobalt is manufactured in compliance with the following:
Safety: 73/23/EEC Low Voltage Directive, as modified by 93/68/EEC
EMC: 89/336/EEC Electromagnetic Compatibility Directive, as modified by 93/68/EEC
Waste electrical products should not be disposed of with household waste. Please recycle where
facilities exist. Check with your local Authority or retailer for recycling advice.
Vax Ltd., Kingswood Road, Hampton Lovett, Droitwich, Worcestershire WR9 0QH, UK
Version 2
This manual suits for next models
1
Table of contents
Other Vax Vacuum Cleaner manuals

Vax
Vax Dynamo Power Total Home User manual

Vax
Vax VZL-702 User manual

Vax
Vax agility COMPACT User manual

Vax
Vax C90-CX SERIES User manual

Vax
Vax V-039 Series User manual

Vax
Vax V-033 SERIES User manual

Vax
Vax DynamoPower U85-DP-Be User manual

Vax
Vax V-112P User manual

Vax
Vax VCT-01 User manual

Vax
Vax WashVax V-020 PU User manual

Vax
Vax BLADE 4 PET User manual

Vax
Vax V-049 User manual

Vax
Vax C91-P5 SERIES User manual

Vax
Vax Eclipse V-109 User manual

Vax
Vax VCAPH1500 User manual

Vax
Vax X-003 User manual

Vax
Vax familyVAX 6155 Product information sheet

Vax
Vax VPPST1600 User manual

Vax
Vax Zero Advance VZ-302 User manual

Vax
Vax turbo force zero VZL-501 User manual