A2C59512953 © Continental Trading GmbH 2
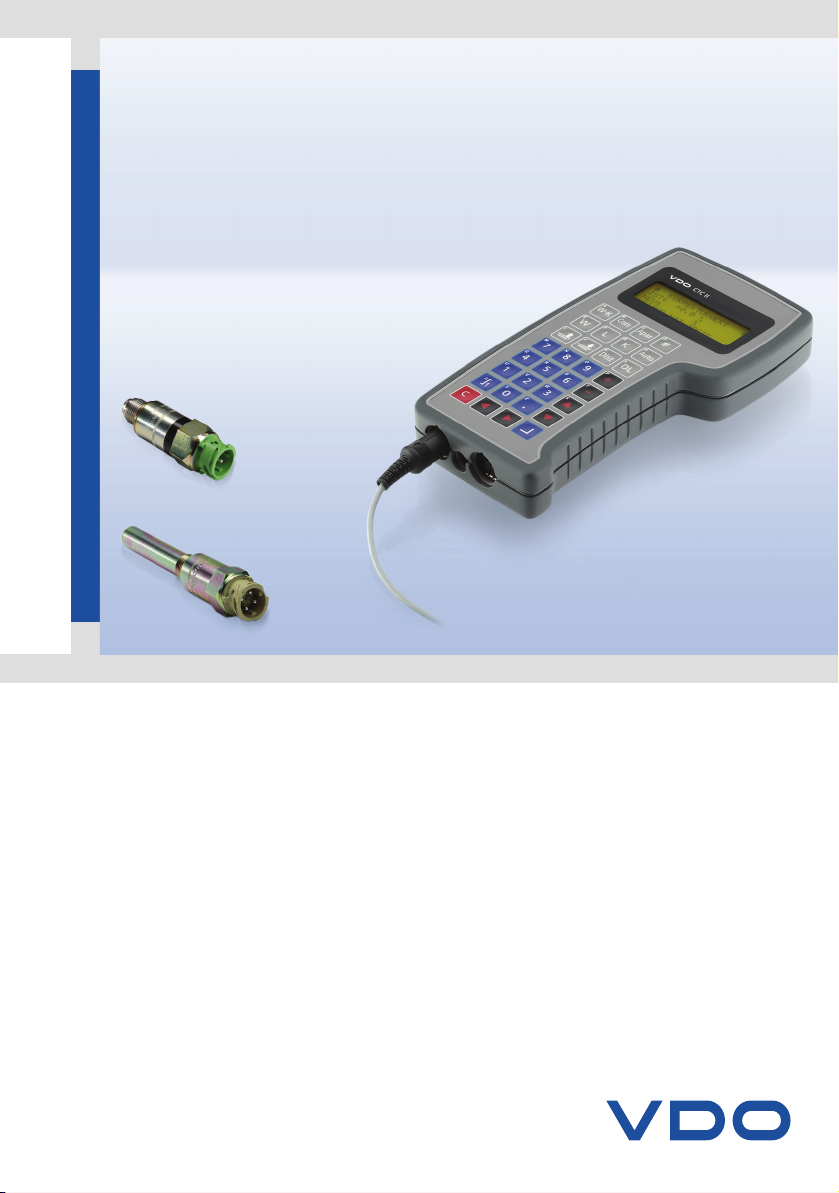
KITAS Testing Instructions for CTC II • Edition 02/2009
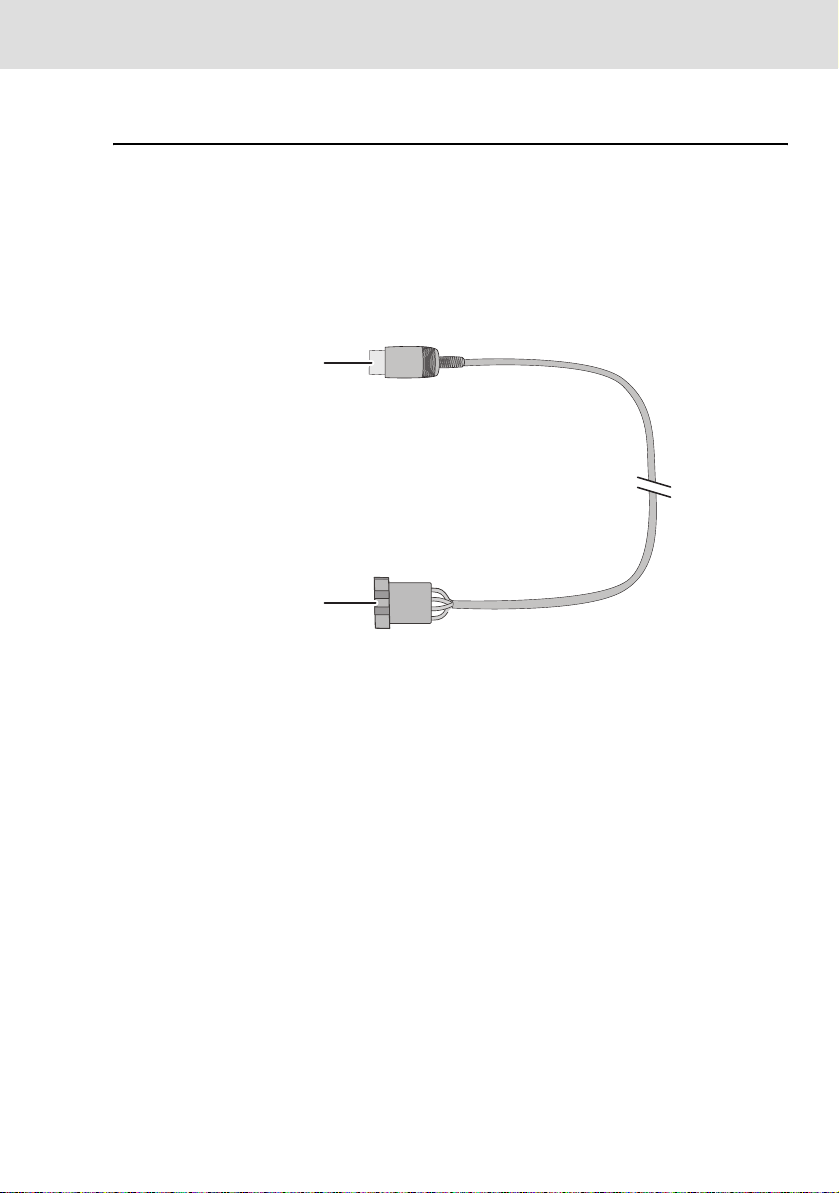
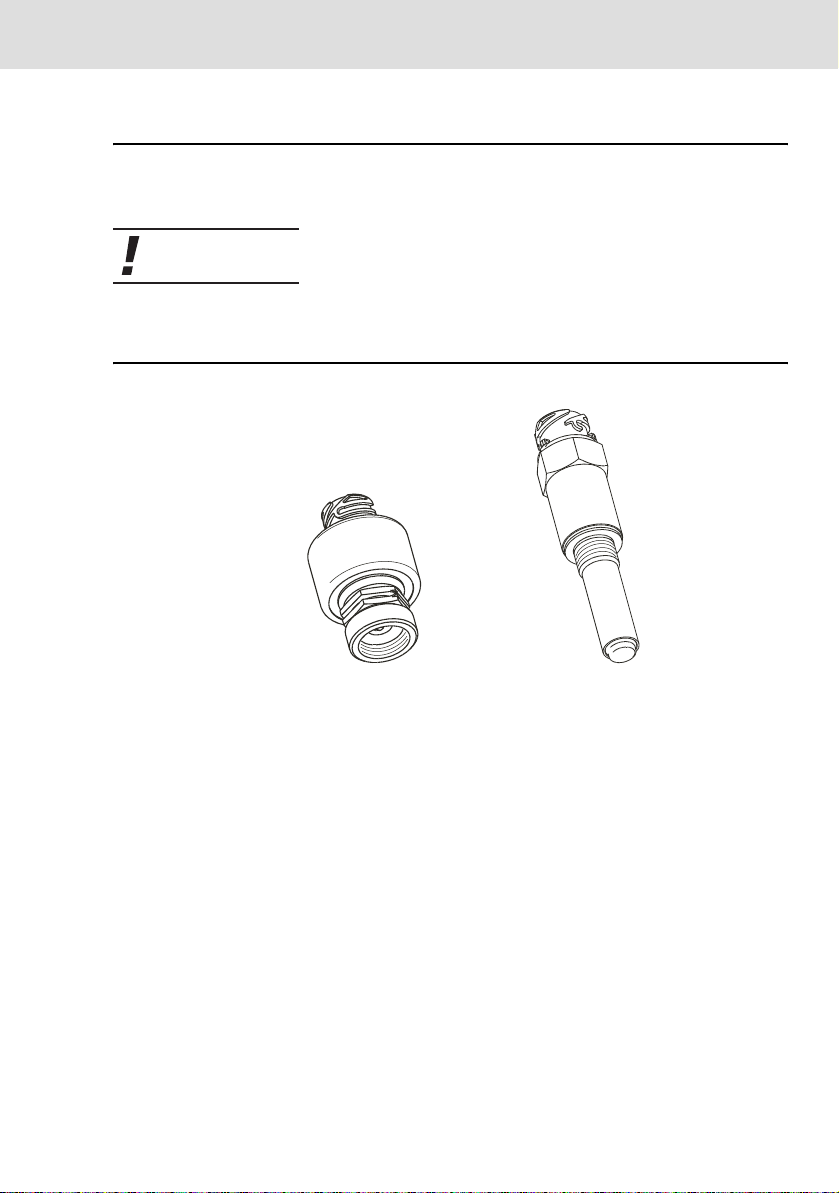
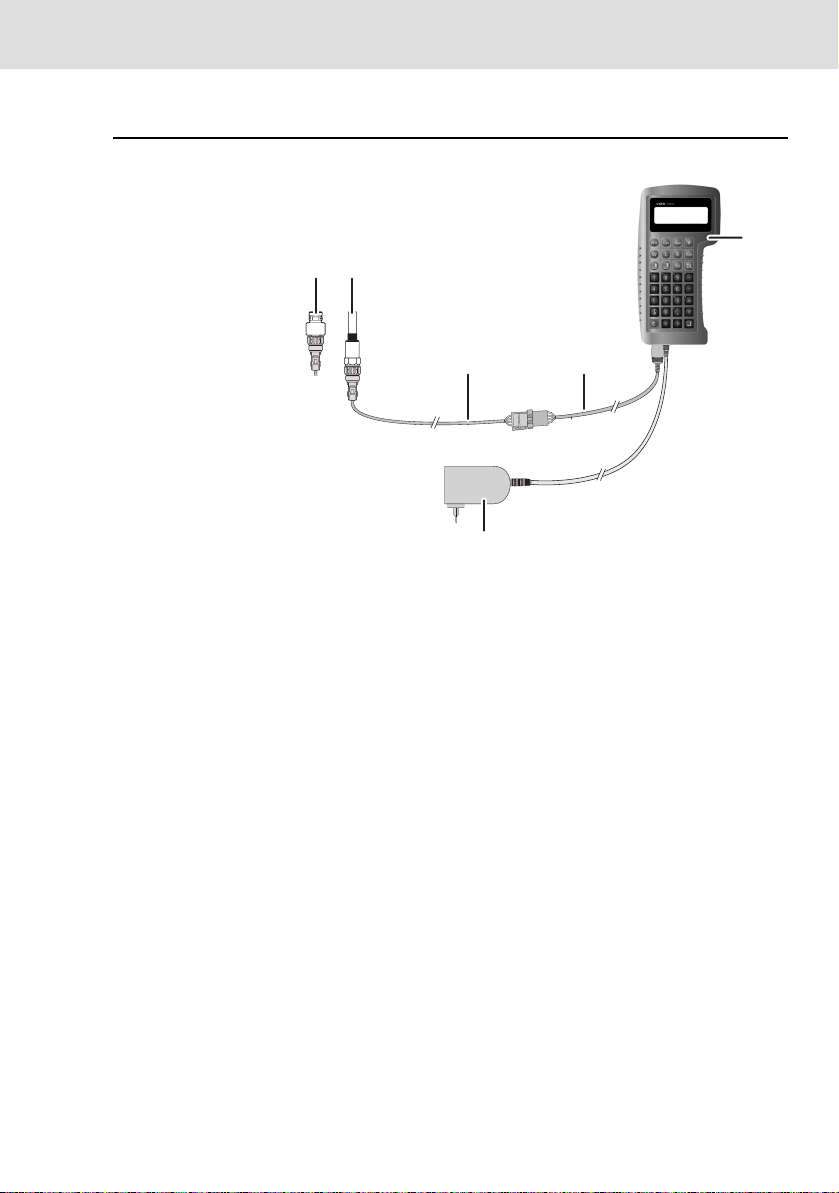
Sender unit test cable
Testing Instructions for CTC II Imprint
The information contained in this documentation is subject to
change without prior notice. In doing so, Continental Trading
GmbH do not enter into any obligation. The description is
based on the information available at the time this
documentation was printed. We reserve the right to change
technical details in the descriptions, information and
illustrations in this manual.
Continental Trading GmbH shall accept no liability for
incorrect information in the documentation or for any
consequential damages arising from this.
No part of this documentation may be reproduced or
photocopied in any form or by any means without the prior
written consent of Continental Trading GmbH. Any
communication of this documentation to a third party requires
the prior written permission of Continental Trading GmbH.
KITAS 2170, KITAS 2171, CTC II, DTCO®1381 and
MTCO®1324 are trademarks of the Continental Corporation.
The above mentioned trademarks are used to some extent in
following document without special reference to their owners.
© by Continental Trading GmbH. All rights reserved.
Responsible for the content
Continental Trading GmbH
P.O. Box 16 40
78006 Villingen-Schwenningen
Germany
Internet www.dtco.vdo.com
E-mail tachograph@vdo.com
VDO – A trademark of the Continental Corporation