Vector VI 200 User manual

Weighing Indicator
User manual

UserManual
Page 1of 27
safety instruction
For safety operation pls. follow the safety instruction.
WAR NI NG
set. Calibrate, inspect and fix the the weighing indicator is prohibited by Non
professional staff
WAR NI NG
Pls. make sure the weighing display well earthing
WAR NI NG
The indicator is electrostatic sensitive device, pls. power off
during electrical connections, internal components touched by
hand is prohibited, and please take the anti-static measure

UserManual
Page 2of 27
LIST
1. Summary .....................................................................................................3
1.1 Main function....................................................................................3
1.2 Technical parameter ..........................................................................3
1.3 Outline and installation picture .........................................................4
1.4 Battery...............................................................................................5
2. Installation and Calibration .........................................................................5
2.1 connection indicator with load cell ...................................................5
2.2 communication interface ...................................................................6
3. Basic operation............................................................................................6
3.1 Key and display.................................................................................6
3.2 Power on..........................................................................................10
3.3 Zero setting......................................................................................10
3.4 TARE...............................................................................................10
3.5 HOLD..............................................................................................10
3.6 TOTAL ............................................................................................11
3.7 10 times high resolutions..............................................................12
3.8 Up and Low limit alarm ..................................................................12
3.9 Print function...................................................................................13
4 Calibration & parameter setting .................................................................13
4.1 Enter calibration ..............................................................................13
4.2. Step of calibration operation: .........................................................14
4.3 Application parameter setting..........................................................16
4.4 Communication setting ...................................................................17
4.5 Application setting ..........................................................................18
4.6 Exit setting ......................................................................................20
5.Output data format .....................................................................................20
5.1 Computer continuous sending format .............................................20
5.2 Big display continuous sending format...........................................21
5.3 Serial interface reception command:............................................22
5.4 Print output format ..........................................................................23
5.5 Print the accumulated output format ...............................................23
6. Maintenance ..............................................................................................24
6.1 Regular Error and maintain method ................................................24
6.2 Daily maintenance...........................................................................25
6.3 Restore default parameters..............................................................26

UserManual
Page 3of 27
1. Summary
1.1Mainfunction
》General weighing: zero tare
》Animal weighing: Peak-hold. Data-hold, Auto-hold
》Accumulation
》Optional by RS232
》Low battery remind
》Power off automatically
1.2Technicalparameter
》Stimulating voltage:+3.3 VDC
》A/D converting speed:10 SPS
》Load signal range: 0~12.8mV
》load capacity:it can connect 4 pcs 350Ωload cell at most
》weight unit:kg.
》Resolution:3000e
》Interval:1/2/5/10/20/50
》Display:6-digits LED/LCD,word height: 20.3mm
》key:ON/OFF TOTAL HOLD TARE ZERO SET
》Interface:RS232C Baud rate optional 1200/2400/4800/9600

UserManual
Page 4of 27
》Operation temperature:-10~40℃
》Storage temperature:-20~+60℃
》optional power:4V/4Ah rechargeable battery
110/220VAC
1.3Outlineandinstallationpicture

UserManual
Page 5of 27
1.4Battery
1. when you use the internal battery first time,you should charge the battery
10-12 hours, to prevent low voltage resulted from self leakage of battery.
2. when the red battery light is on and flashes,it means low battery You
should charge battery in time.
3. Charge time: 10-12 hours And it works 45 hours
4. When the battery light turns green, it means fully charged
5. If you don’t use the battery long time, take out the battery to protect the
indicator from battery leakage
6. In order to keep the battery in best using condition, it is suggest that you
fully discharge the battery every month, the method is that using the
indicator till it is automatically power off.
2. Installation and Calibration
2.1connectionindicatorwithlo a d cell
it can connect four pcs 350Ωload cell at most, both four and six line load
cell are ok. To make it simple, we use quick connector
Or standard plug. As belows

UserManual
Page 6of 27
Quick connector connection
2.2communicationinterface
PIN2-------TXD
5 4 3 2 1 PIN3------RXD
PIN5 --------GND
9 8 7 6
3. Basic operation
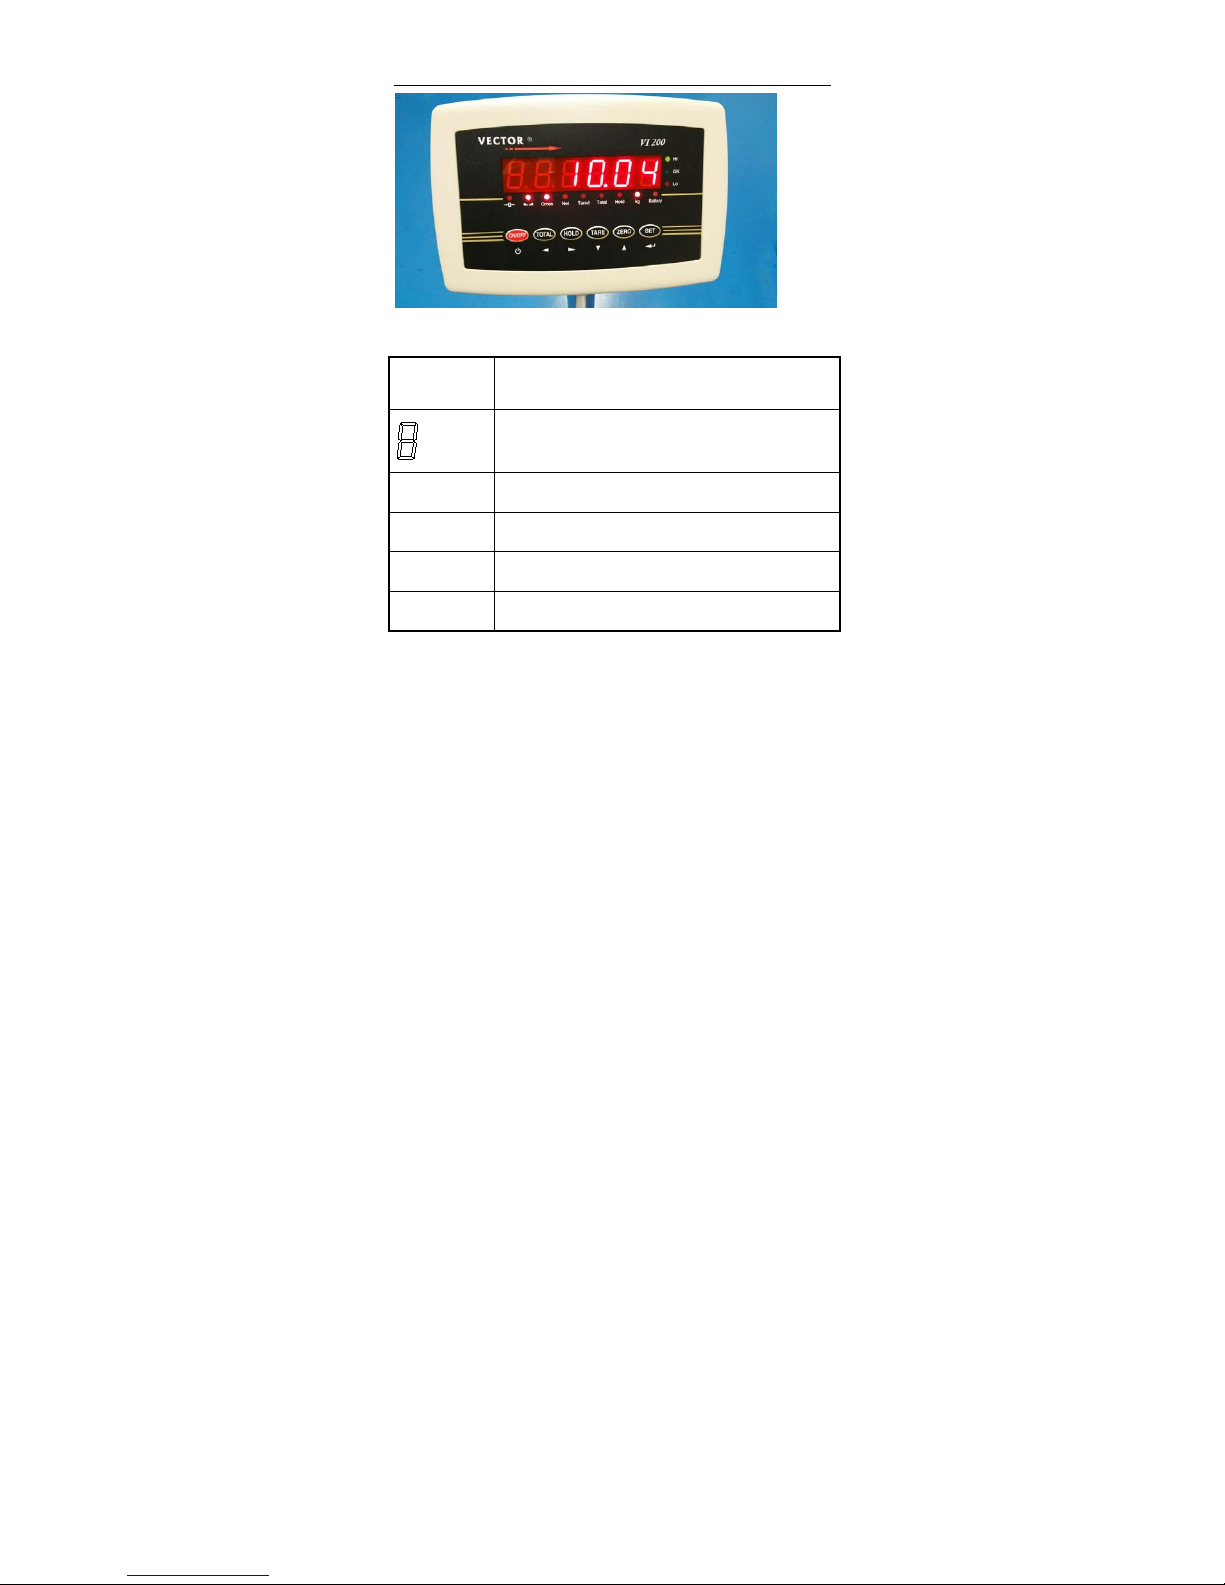
3.1Keyanddisplay
UserManual
Page 7of 27
Weighing indicator display instruction
LED display instruction
Weighing data display
Kg Weight unit kg
HOLD Hold the data
Tare Display tare status
Net Display net weight
UserManual
Page 8of 27
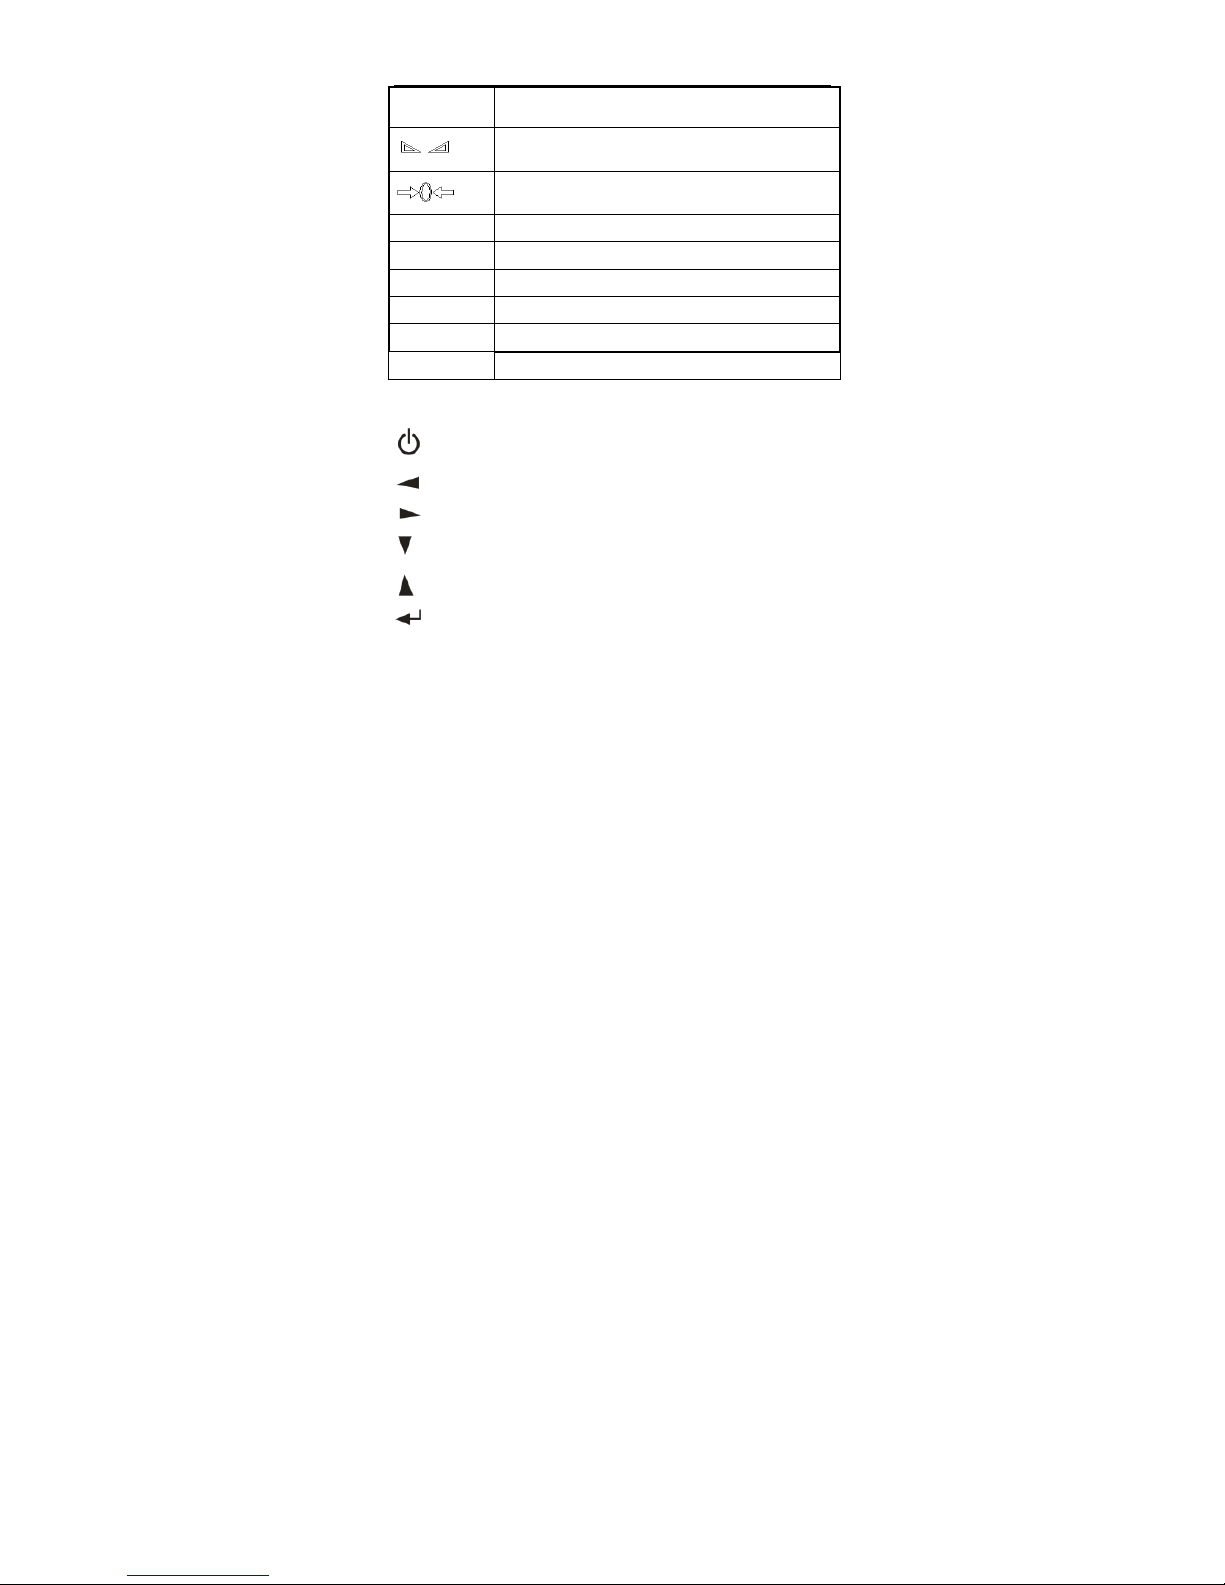
Gross Display gross weight
Display data keep still
zero, indicating zero weight
Battery Using battery
Hi Over Limit
OK Within Limit
Lo Below Limit
Total Accumulation
Count Counting function
Key’s function
ON/OFF, EXIT AND SAVE SETTING
LEFT
RIGHT
DOWN
UP
CONFIRM, GO TO NEXT STEP

UserManual
Page 9of 27
Key symbol Key name Key function
SET
Work together with “on/off” enter and exit
calibration
ZERO
Clear weight within zero range
TARE
1.At Gross mode, tare the loaded weight
2.At Net mode, display gross weight after
deduct tare
HOLD
Enter and exit “hold” mold
TOTAL
accumulating operation
ON/OFF
Press it for 2 seconds to power on or power
off
Table of contents


