manuals.online logo
Brands
  1. Home
  2. •
  3. Brands
  4. •
  5. Velleman
  6. •
  7. Weather Station
  8. •
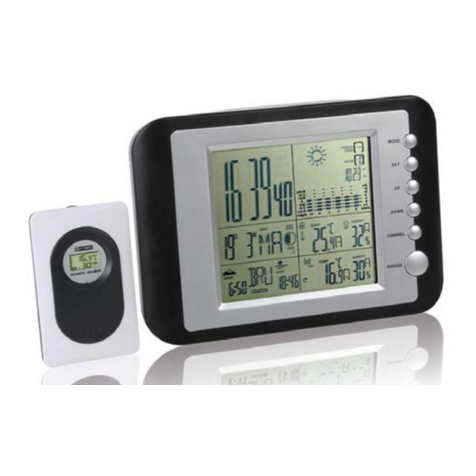
  9. Velleman WS8707 User manual

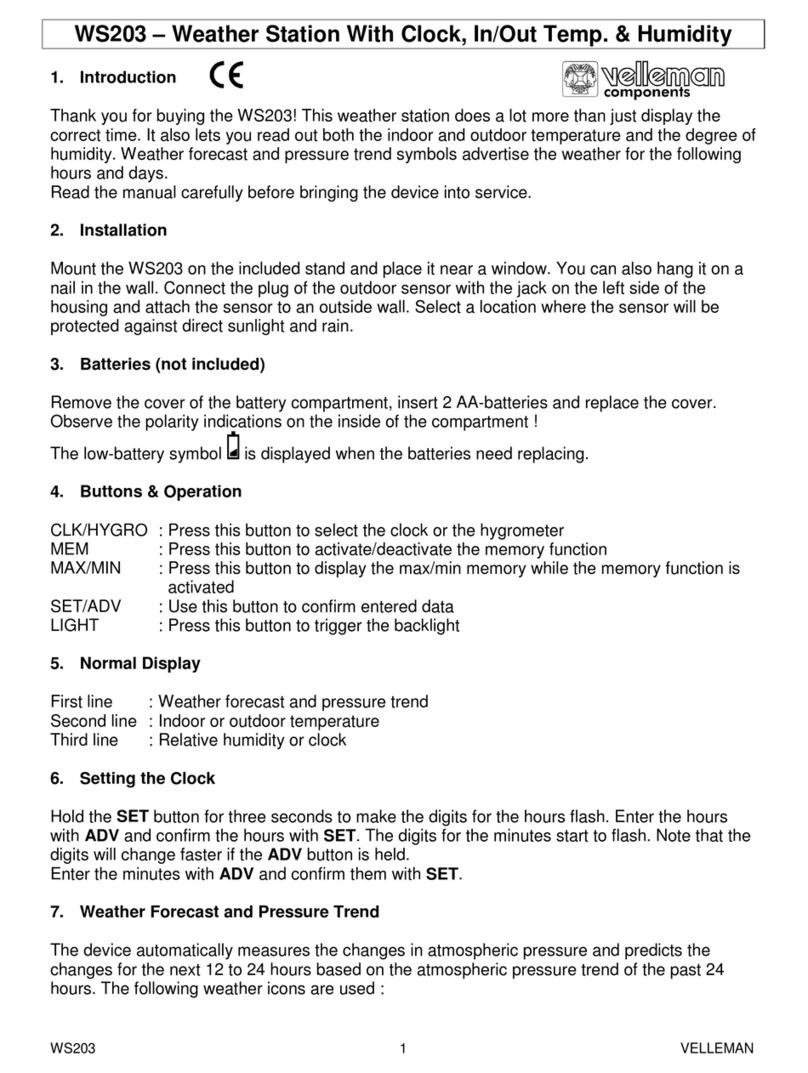
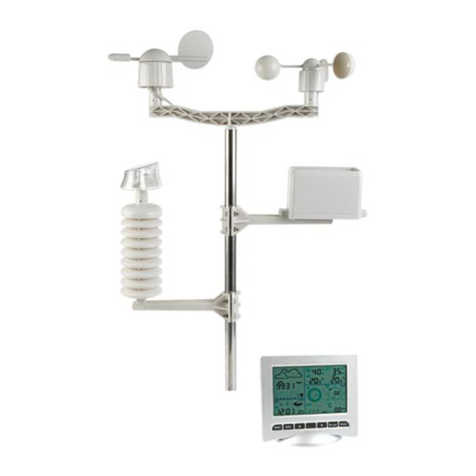
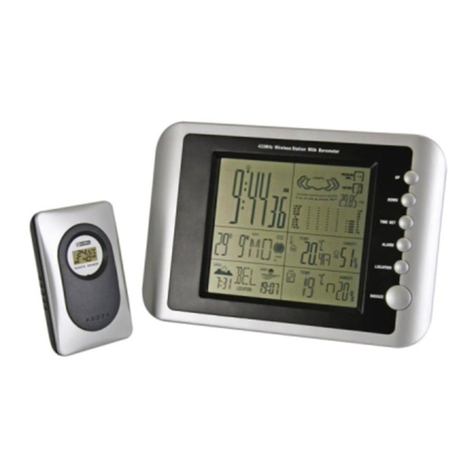
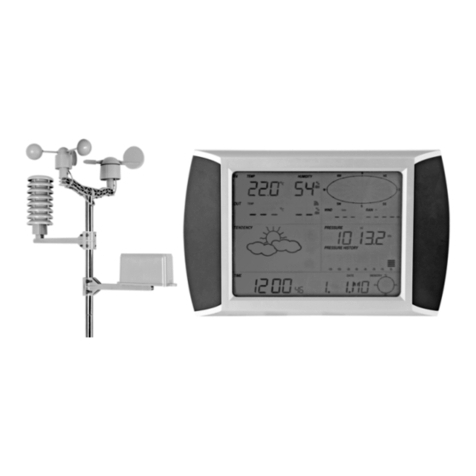
Velleman WS8707 User manual

WS
8
WIREL
E
DRAA
D
STATI
O
ESTAC
I
DRAHT
USER M
GEBRUI
NOTICE
MANUA
L
BEDIEN
8
707
E
SS WEATH
E
D
LOOS WEE
R
O
N M
É
T
É
O S
A
IÓ
N METEO
R
LOSE WETT
E
ANUAL
KERSHANDL
E
D’EMPLOI
L
DEL USUAR
I
UNGSANLEIT
U
E
R STATION
R
STATION
A
NS FIL
R
OL
Ó
GICA I
N
E
RSTATION
E
IDING
I
O
U
NG
N
AL
Á
MBRIC
A
3
9

15

21

27

A
07.10.2010
WS870
7
2
7
©Velleman
nv
07.10.2010
1. Int
r
To all re
s
Importa
n
T
t
d
s
T
recycling
If in dou
Thank yo
u
bringing
t
install or
2. Saf
e
K
T
a
3. Ge
n
Refer to t
of this m
a
•Familia
r
it.
•All mo
d
caused
•Only u
s
unauth
o
•Damag
e
covere
d
any en
s
r
oduction
s
idents of the
E
n
t environmen
t
T
his symbol on t
h
t
he device after i
d
ispose of the u
n
s
hould be taken
t
T
his device shou
service. Respect
bt, contact yo
u
u
for choosing V
e
t
his device into s
e
use it and conta
c
e
ty Instructi
o
K
eep the device
a
T
here are no us
e
a
uthorized deale
r
n
eral Guideli
n
he Velleman®
S
a
nual.
Keep this de
v
dripping liqu
Keep this de
v
Protect this
d
when operat
r
ise yourself wit
h
d
ifications of the
d
by user modific
a
s
e the device for
o
rised way will v
o
e
caused by disr
e
d
by the warrant
y
s
uing defects or
p
WS870
7
3
User ma
n
E
uropean Unio
n
t
al information
h
e device or the
ts lifecycle could
n
it (or batteries)
t
o a specialized
c
ld be returned t
o
the local enviro
n
u
r local waste
d
e
lleman! Please
r
e
rvice. If the de
v
c
t your dealer.
o
ns
a
way from child
r
er
-serviceable pa
r
r
fo
r
service and
/
n
es
S
ervice and Qu
v
ice away form
r
ids.
v
ice away from
d
d
evice from sho
c
ing the device.
h
the functions o
f
d
evice are forbid
a
tions to the dev
i
its intended pur
p
o
id the warranty
e
gard of certain
g
y
and the dealer
p
roblems.
7
n
ual
n
about this pro
d
package indicat
e
harm the envir
o
as unsorted mu
n
c
ompany for rec
y
o
your distributo
r
n
mental rules.
d
isposal author
i
r
ead the manual
v
ice was damag
e
r
en and unautho
r
r
ts inside the de
v
/
or spare parts.
ality Warranty
r
ain, moisture, s
p
d
ust and extrem
e
c
ks and abuse. A
v
f
the device befo
den for safety r
e
i
ce is not covere
d
p
ose. Using the
d
.
g
uidelines in thi
s
will not accept r
e
©Velleman
d
uct
e
s that disposal
o
o
nment. Do not
n
icipal waste; it
y
cling.
r
or to a local
i
ties.
thoroughly befo
r
e
d in transit, don
'
r
ised users.
v
ice. Refer to an
on the last page
p
lashing and
e
heat.
v
oid brute force
re actually using
e
asons. Damage
d
by the warrant
y
d
evice in an
s
manual is not
e
sponsibility for
nv
o
f
r
e
'
t
s
y
.
WS8707
07.10.2010 ©Velleman nv
4
4. Features
•indoor and wireless outdoor humidity measurement
•indoor and wireless outdoor temperature measurement
•weather forecast and moon phase
•time, date, month, alarm, snooze, moon phase
•12/24hours display mode
•comfort mode icons
•indoor/outdoor thermometer trend indicator
•up to 3 wireless sensors can be connected (3 channels)
•day of the week in 7 languages: Dutch, Spanish, Danish, German,
English, Italian, French
•°C/°F selectable
•outdoor humidity/temperature processed from max. 3 different wireless
sensors (WS8707S, 1 incl.)
5. Overview
Refer to the illustrations on page 2of this manual.
A display
1 date and month
2 day of the week
3 moon phase indication (8 phases)
4 time and status indication, year indication
AM/PM… 12h mode
snooze function activated
battery low
alarm enabled
5 weather forecast (4 indications)
6 indoor trend indication
7 comfort indication
8 indoor temperature
9 indoor humidity
10 outdoor temperature
11 outdoor trend indicato
r
12 outdoor humidity
13 channel indicator
14 link indicator
B DOWN button
C UP button
D SET button
E ALARM button
F CHANNEL selecto
r
G SNOOZE button
WS8707
07.10.2010 ©Velleman nv
5
S1 sensor display S4 channel selector
S2 suspension S5 °C/°F selector
S3 test button S6 battery compartment
6. Settings
Refer to the illustrations on page 2of this manual.
•Insert batteries in the battery compartment at the back of the weather
station. Follow the polarity as indicated in the battery compartment (see
§9).
Setting the date and time
•To switch between 12h and 24h format, press UP [C].
•Press and hold SET [I] for ±2s. The year indication starts flashing [4].
•Press the UP [C] or DOWN [B] to set the year, press SET [D] to confirm.
The month indication [1] starts flashing.
•Use UP [C] or DOWN [B] to successively set the month [1], date [1],
day language [2] (EN= English, IT = Italian, FR = French, NE = Dutch,
ES = Spanish, DA = Danish, GE= German), hour [4], minutes [4] and
time zone [4]. Confirm each setting with the SET button [D].
Notes:
•press and hold UP [C] or DOWN [B] for fast progress
•day of the week and moon phase change automatically depending on
the set date and time.
•the display will return to normal operation after ±7s of inactivity
Alarm setting
•Press and hold ALARM [E] for ±2s. The alarm time is displayed [4] and
the hour indication is flashing.
•Use UP [C] or DOWN [B] to successively set the hour and minutes.
Confirm each setting with the ALARM button [E].
Remote sensor
•Slide the back of the remote sensor open (slide down) and make sure
batteries are present inside the remote sensor (see §9).
•Set the channel selector [S4] to the desired channel (1~3). The channel
is indicated on the LCD [S1].
Note: when multiple sensors are used they must be set to different
channels.
•Set the same channel on the clock using the channel selector [F]. The
channel is shown on the LCD [13].
•Press the test button [S3] to test the link between the sensor and the
clock. When everything works fine, a link indicator [14] lights up
briefly on the LCD and the clock will beep once.
•Press the °C/°F selector [S5] to set the temperature scale on the remote
LCD [S1] to °C or °F.
Note: this setting is only applicable for the temperature indication on the
remote sensor itself, not on the clock.
•Close the back of the sensor.
WS8707
07.10.2010 ©Velleman nv
6
•The sensor can be used freestanding by unfolding the foldable stand or
hung on the wall by the suspension [S2]. Always placed the sensor in a
location protected from rain, moisture, splashing and dripping liquids.
7. Operation
Alarm handling
•To enable the alarm, press the ALARM-button [E] shortly. The alarm-icon
appears. To disable it, press the ALARM-button [E] again.
•When the set time is reached, the alarm will sound. Format:
0~10s: 1 beep per second
11~20s: 2 beeps per second
21~30s: 4 beeps per second
31~120s: continuous beep.
•To go into snooze mode, press the SNOOZE-button [G]. The alarm is
postponed for ±5 minutes and the snooze-icon appears (flashing).
•Pressing any other button will stop and exit the alarm.
Weather forecast [5]
•The weather icon shows a forecast of the weather for the next 24h.
•There are 4 icons:
sun
sun/clouds
clouds
rain
•Place the weather station in a natural ventilated area (e.g. not in a room
with air-conditioning) to get more accurate results.
Temperature display [8 (indoor) / 10 (outdoor)]
•The indoor temperature range [8] is 0~50°C (32~122°F), the outdoor
range [10] is -20°C~60°C (-4°F~140F).
•To switch between °C and °F display on the weather station, press the
DOWN button [B] shortly.
Trend indicator [6 (indoor)/ 11 (outdoor)]
•The trend indicator is based on the difference between a recorded
temperature and the current temperature. When the current temperature
is at least 1°C higher than the recorded, the arrow will point up and the
current temperature becomes the recorded. If the temperature is at least
1°C lower than the recorded value, the arrow will point down and the
current temperature becomes the recorded. In all other cases, the arrow
will be flat.
Note: the recorded temperature is set to the current temperature at
start-up or reset of the weather station.
raising
steady
falling
WS8707
07.10.2010 ©Velleman nv
7
Humidity display [9 (indoor)/ 12 (outdoor)]
•The humidity range is 20~95% for both indoor and outdoor.
Comfort indication [7]
•The comfort level is based on the current temperature and humidity and is
indicated by following icons:
dry
temp.: 0~50°C
humidity <40%
wet
temp.: 0~50°C
humidity >70%
comfort
temp. 20~28°C
humidity: 40~70%
no icon temp. <20°C or >28°C
humidity: 40~70%
Moon phase [3]
•One of the eight moon phase icons is shown depending on the position of
the moon, the earth and the sun:
new moon waxing crescent first quarter waxing gibbous
full moon waning gibbous last quarter waning crescent
8. Maintenance
•Gently wipe the device regularly with a moist, lint-free cloth. Do not use
alcohol or solvents. Do not apply pressure on the display.
•Never submerge the weather station in any liquid.
9. Battery
Clock
•When the battery low icon is shown, insert batteries into the battery
compartment at the back of the weather station.
•Open the battery cover and insert two new 1.5V type AAA batteries (not
incl.) following the polarity markings inside the battery compartment.
•Close the battery cover.
Remote sensor
•Slide the back of the remote sensor open (slide down).
•Insert two new 1.5V AAA batteries in the battery compartment in
accordance with the polarity markings inside the battery compartment.
•After replacing the batteries on the remote sensor, press and hold the
channel button [F] on the weather station for ±2s to clear all previous
sensor data. Than press the test button [S3] on the remote senor to re-
establish connection.
•Close the back of the sensor.
07.10.2010
WARNI
N
10. Te
c
transmis
s
indoor/ou
range
temperat
u
power su
p
dimensio
n
weight
Use this
be held
r
(incorre
c
and the
l
www.ve
l
change
w
© COPYR
I
This man
u
nv. All wor
l
translated
o
consent of
t
N
G:
Do not punct
u
explode. Do
n
batteries (Al
k
with local reg
c
hnical specif
i
s
ion frequency
tdoor relative h
u
u
re range ind
o
out
d
p
ply mai
sen
s
n
s mai
sen
s
mai
sen
s
device with or
i
r
esponsible in
t
c
t) use of this
d
l
atest version
o
l
leman.eu. The
w
ithout prior n
o
I
GHT NOTICE
u
al is copyrighted
.
l
dwide rights reser
v
o
r reduced to any e
l
t
he copyright holde
r
WS870
7
8
u
re or throw b
a
n
ot attempt to
r
k
aline). Dispos
e
ulations. Keep
i
cations
43
3
u
midity 20
%
o
or 0°
C
d
oo
r
-2
0
n unit 2
x
s
or 2
x
n unit 20
.
s
or 6
x
n unit 23
5
s
or 86
g
i
ginal accessor
i
t
he event of da
m
d
evice. For mo
r
o
f this user ma
n
information in
o
tice.
.
The copyright to
v
ed. No part of this
m
l
ectronic medium o
r
r
.
7
a
tteries in fire
a
r
echarge non-r
e
e
of batteries i
n
batteries awa
y
3
MHz
%
~95 %
C
~+50°C
0
°C~+60°C
x
1.5V AAA (LR0
3
x
1.5V AAA (LR0
3
.
1 x 2.7 x 12.6c
m
x
10 x 2.5cm
5
g
g
i
es only. Velle
m
m
age or injury
r
e info concern
i
n
ual, please vi
s
this manual is
this manual is o
w
m
anual may be cop
r
otherwise without
©Velleman
a
s they might
e
chargeable
n
accordance
y
from children
.
3
C, not incl.)
3
C, not incl.)
m
m
an nv cannot
resulted from
i
ng this produc
t
s
it our website
subject to
w
ned by Velleman
ied, reproduced,
the prior written
nv
.
t

Other manuals for WS8707

1

Other Velleman Weather Station manuals
Velleman ws1170 User manual

Velleman

Velleman ws1170 User manual

Velleman ED31502 User manual

Velleman

Velleman ED31502 User manual

Velleman ED31168 User manual

Velleman

Velleman ED31168 User manual

Velleman WS9153 User manual

Velleman

Velleman WS9153 User manual

Velleman WS203 User manual

Velleman

Velleman WS203 User manual

Velleman WS805 User manual

Velleman

Velleman WS805 User manual

Velleman WS1070 User manual

Velleman

Velleman WS1070 User manual

Velleman WS8710 User manual

Velleman

Velleman WS8710 User manual

Velleman ws1170 User manual

Velleman

Velleman ws1170 User manual

Velleman ws1170 User manual

Velleman

Velleman ws1170 User manual

Velleman TA21 User manual

Velleman

Velleman TA21 User manual

Velleman PEREL WC217 User manual

Velleman

Velleman PEREL WC217 User manual

Velleman WS3080 User manual

Velleman

Velleman WS3080 User manual

Velleman WS8472 User manual

Velleman

Velleman WS8472 User manual
Velleman WS8706 User manual

Velleman

Velleman WS8706 User manual

Velleman WS8737 User manual

Velleman

Velleman WS8737 User manual

Velleman WS1080 User manual

Velleman

Velleman WS1080 User manual

Velleman WS1060 User manual

Velleman

Velleman WS1060 User manual

Velleman WS1080 User manual

Velleman

Velleman WS1080 User manual

Velleman ws8710n User manual

Velleman

Velleman ws8710n User manual

Velleman ED31405 User manual

Velleman

Velleman ED31405 User manual

Velleman PEREL WC224 User manual

Velleman

Velleman PEREL WC224 User manual

Velleman WS1080 User manual

Velleman

Velleman WS1080 User manual

Velleman WS2800MP User manual

Velleman

Velleman WS2800MP User manual
Popular Weather Station manuals by other brands

Bresser ClimaTrend WF instruction manual

Bresser

Bresser ClimaTrend WF instruction manual

Somogyi Home HCW 10 instruction manual

Somogyi

Somogyi Home HCW 10 instruction manual

National Geographic 9070300 instruction manual

National Geographic

National Geographic 9070300 instruction manual

Kestrel 3000 Pocket Weather instruction manual

Kestrel

Kestrel 3000 Pocket Weather instruction manual

Rain Bird Pro Installation, maintenance and troubleshooting manual

Rain Bird

Rain Bird Pro Installation, maintenance and troubleshooting manual

Maurer 51199 instruction manual

Maurer

Maurer 51199 instruction manual

TFA 30.3016.01.IT instruction manual

TFA

TFA 30.3016.01.IT instruction manual

Sencor SWS 100 user manual

Sencor

Sencor SWS 100 user manual

Ea2 DE908 user manual

Ea2

Ea2 DE908 user manual

La Crosse Technology Wireless Weather Station instruction manual

La Crosse Technology

La Crosse Technology Wireless Weather Station instruction manual

Vaisala AWS310 Technical note

Vaisala

Vaisala AWS310 Technical note

BROWIN 2measure 170607 Operation manual

BROWIN

BROWIN 2measure 170607 Operation manual

Popp POPE005206 quick start guide

Popp

Popp POPE005206 quick start guide

hager TG053A User instructions

hager

hager TG053A User instructions

Oregon Scientific BAR321 user manual

Oregon Scientific

Oregon Scientific BAR321 user manual

La Crosse Technology 302-604B Faqs

La Crosse Technology

La Crosse Technology 302-604B Faqs

La Crosse Technology WS-9065TWC instruction manual

La Crosse Technology

La Crosse Technology WS-9065TWC instruction manual

LEXIBOOK WB400RX instruction manual

LEXIBOOK

LEXIBOOK WB400RX instruction manual

manuals.online logo
manuals.online logoBrands
  • About & Mission
  • Contact us
  • Privacy Policy
  • Terms and Conditions

Copyright 2025 Manuals.Online. All Rights Reserved.