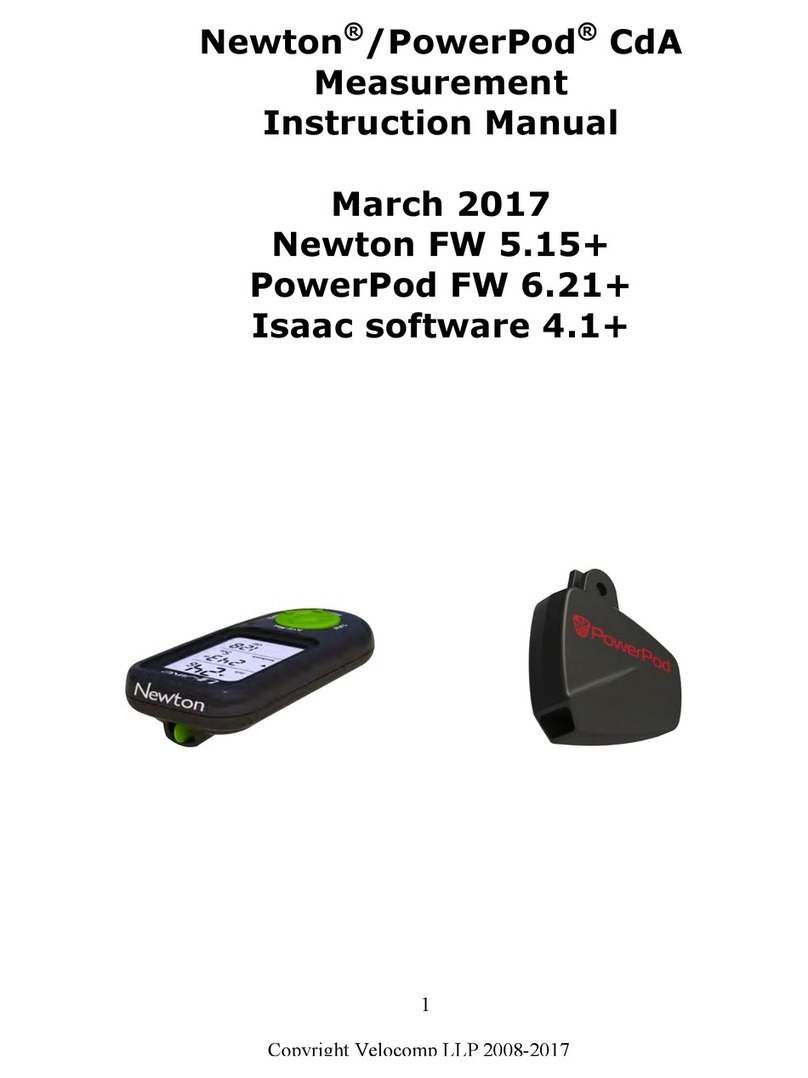
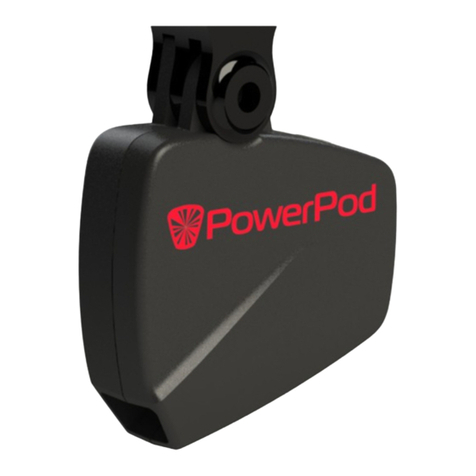
velocomp PowerPod User manual

PowerPod Instructions
Version 1.0.3
August 11 2015

Copyright Velocomp LLC 2005-2015
2
What’s In the Box
Your PowerPod includes three items:
1) PowerPod sensor
2) PowerPod mount and mounting hardware
3) USB cable
Additional items you must supply separately:
1) ANT+ bike computer with power display (such as Garmin, Brighton,
Timex, etc)
2) ANT+ speed sensor or speed/cadence sensor (part of your ANT+ bike
computer setup)
3) USB charger (computer or other device)

Copyright Velocomp LLC 2005-2015
3
POWERPOD CONTROL BUTTON AND STATUS LIGHT
The PowerPod has one control button and one status light.
Each time you click the button the light will turn on and indicate the
operating status of your PowerPod. After about 8 seconds the status light
will turn off. For some modes (charging and auto-calibration) the status
light will flash continuously.
The status light has three different colors: RED, YELLOW, and GREEN.
Also, depending on PowerPod status, the light will either FLASH, or remain
on continuously (SOLID).
For example, the status light FLASHES RED continuously whenever the
PowerPod is connected to a USB charger and its battery is being charged.
The status light goes out when the battery is fully charged.

Copyright Velocomp LLC 2005-2015
4
DO THIS FIRST: CHARGE POWERPOD SENSOR
Before beginning the setup of your PowerPod, we recommend that you fully
charge the PowerPod’s internal battery.
1) Attach the USB cable to the USB port of your PowerPod.
2) Plug the USB cable into your USB charger.
3) While charging the status light on your PowerPod will FLASH RED
continuously. When the PowerPod is fully charged the status light will stop
flashing and turn off.
4) After the PowerPod is charged (status light is off), disconnect PowerPod
from the USB cable.
NEXT: CHECK YOUR ANT+ SPEED SENSOR AND BIKE COMPUTER
PowerPod requires that you have an ANT+ speed sensor and ANT+ bike
computer installed and operational on your bike.
To confirm proper operation of your speed sensor and bike computer, place
your bike computer close to your bike, spin the wheel of your bike, and
check to see that you see bike speed displayed on your bike computer
screen. If you don’t see speed displayed on your bike computer, consult
your bike computer instructions to correct the problem.
Do not proceed with PowerPod setup until you have a functional
ANT+ speed sensor and bike computer.

Copyright Velocomp LLC 2005-2015
5
ONE-TIME POWERPOD SETUP
To setup PowerPod you’ll do four things:
1) Attach PowerPod to your bike
2) Pair PowerPod to your ANT+ speed sensor
3) Pair PowerPod to your bike computer
4) Ride your bike for 5 minutes, after which power will be displayed on
your bike computer
1. Attach the PowerPod to your bike
1) Following the pictorial instructions enclosed separately, attach the
PowerPod mount to your bike. Make sure the mount is securely
attached so that the mount cannot rotate on your bike’s handlebars.
2) After attaching the mount to your bike, attach the PowerPod sensor to
to the mount, making sure the PowerPod is securely fastened so that it
cannot rotate.
2. Pair PowerPod to your ANT+ bike speed sensor
Click the button to turn on the PowerPod status light, which indicates the
operational status of your PowerPod. After 8 seconds the status light turns
off automatically. Click the button at any time to turn the light back on.
If your PowerPod is new and has not yet been paired to any speed sensor,
the status light will show SOLID RED (red light does not flash on and off).
To pair your ANT+ speed sensor to your PowerPod:
1) Wake up your ANT+ speed sensor by spinning the bike wheel where
the speed sensor is located.
2) Click PowerPod button. Status light will show SOLID RED.
3) Press and hold the PowerPod button for about 4 seconds. PowerPod
will enter its pairing mode, and the status light will FLASH GREEN.
4) Release the button when the status light is FLASHING GREEN
5) It should take only a few seconds for the pairing. When pairing is
successful, the status light will change to SOLID GREEN for a
few seconds, then turn off.
6) If pairing is not successful, after about 30 seconds the status light will
change to SOLID RED.Consult Troubleshooting for corrective action.

Copyright Velocomp LLC 2005-2015
6
3. Pair PowerPod to your ANT+ bike computer
PowerPod transmits its power signals readings wirelessly through ANT+.
1) Wake up your speed sensor by spinning the bike wheel
2) Click PowerPod button. The status light may FLASH GREEN while
PowerPod finds the speed sensor, but then will change to SOLID
YELLOW, indicating that PowerPod working and sending power info.
3) Follow the instructions included with your ANT+ bike computer to pair
the PowerPod and your other ANT+ sensors to your bike computer.
4) If your bike computer lets you select power averaging, set
power averaging to the shortest time available.
4. First ride—PowerPod self calibration
Your PowerPod and bike computer are now ready for a 5 minute self-
calibration, after which PowerPod will measure your cycling power!
1) Attach the PowerPod sensor to its mount.
2) Make sure the PowerPod sensor cannot rotate on the handlebars.
3) Attach your bike computer to your bike and awaken it
4) Click the PowerPod button to awaken it. The status light will show
SOLID YELLOW.If the light goes out it’s OK; PowerPod is still “on”.
5) Start your bike ride.
6) After a few seconds the status light will change to FLASH YELLOW,
indicating that the PowerPod is calibrating itself.
7) The calibration takes 5 minutes (300 seconds).During the
calibration the status light will FLASH YELLOW continuously.
8) If you have to stop during your ride don’t worry; calibration will pause,
but then continue when you resume riding.
9) DURING THE CALIBRATION THE POWERPOD DOES NOT SHOW
YOUR TRUE CYCLING POWER. Instead, PowerPod sends “false”
wattage readings that reflect the percentage progress of the
calibration. For example “10W” displayed on your bike computer
means the PowerPod self calibration is 10% complete (ride time 30
seconds); “60” means the calibration is 60% complete (ride time 180
seconds). The wattage display climbs to “100” (100% complete).
10) When the 5 minute auto calibration is finished, the power display
will briefly show “100” and then the flashing yellow status light will
turn off. The power numbers displayed afterwards will be your
actual readings.

Copyright Velocomp LLC 2005-2015
7
USING POWERPOD ON YOUR DAILY RIDES
1) Attach PowerPod sensor to your bike
2) Click PowerPod button to wake up the PowerPod
3) FLASHING RED means the PowerPod battery is low and should be
recharged soon.
4) FLASHING GREEN means the speed sensor is not yet awake.
5) After PowerPod finds your sensor the status light will change to SOLID
GREEN. SOLID GREEN means the PowerPod is ready to measure
power. GREEN MEANS GO!
Now, just ride—PowerPod will send its power readings to your bike computer
USING POWERPOD WITH MULTIPLE BIKES
You can use PowerPod easily with each of your bikes.
Each bike needs to have its own ANT+ speed sensor, PowerPod mount, and
bike computer mount.
1) Purchase a PowerPod mount for each bike, and install the PowerPod
mount according to instructions
2) Attach the PowerPod sensor to the bike you are using for today’s ride
3) Move your bike at least 100 feet away from any other bike with an
ANT+ sensor
4) Perform the PowerPod pairing process (page 6) on your bike
5) Also, pair your bike computer to the ANT+ sensors on your bike
6) Each time you pair your PowerPod to a different speed sensor (each
bike has a unique speed sensor) PowerPod automatically goes into
self-calibration mode (SOLID YELLOW!FLASH YELLOW, page 6)
7) After 5 minutes of riding in self calibration mode PowerPod
power measurements will be displayed on your bike computer.
8) On all subsequent rides with the same bike, and as long as you don’t
pair PowerPod to a different speed sensor, you will see accurate
power right from the start of your ride.
9) Whenever you switch bikes, repeat the above steps. PowerPod will
automatically self-calibrate for 5 minutes.

Copyright Velocomp LLC 2005-2015
8
TROUBLESHOOTING
1) When I click the PowerPod button, the status light does not
turn on
a. PowerPod requires a “Hard Reset”. To Hard Reset, press and
hold the button CONTINUOUSLY for 10 seconds, until status light
turns on, then release button.
b. If the status light doesn’t turn on after the hard reset, PowerPod
battery is dead. Charge the PowerPod (see page 4)
2) When I click the button, the status light FLASHES RED
a. PowerPod battery needs charging. See page 4
3) I can’t get the PowerPod to start the pairing process (page 5)
a. Press and hold the PowerPod button continuously, without
releasing it, for about 4 seconds, until the status light FLASHES
GREEN. Release the button when you see the FLASHING GREEN
b. Unit requires a “Hard Reset”. Press and hold the button
CONTINUOUSLY for 10 seconds, until status light turns on. After
hard reset try the pairing process again (page 5).
4) I can start the pairing process (continuous FLASH GREEN), but
after about 30 seconds the status light turns SOLID RED
a. SOLID RED means the pairing was unsuccessful
b. With your bike computer near your bike, spin the wheel of your
bike and confirm that your bike computer shows bike speed. If
you see bike speed, then perform the pairing process again,
page 5.
c. If your bike computer does not show bike speed, then use your
bike computer instructions to check and correct the position of
the speed sensor probe and speed sensor magnet. After
correcting the position of your speed sensor and magnet, spin
the wheel and confirm that your bike computer is showing bike
speed. If you see bike speed, then perform the pairing process
again, page 5.
d. If your speed sensor and magnet are properly positioned but you
still don’t see bike speed, then replace the battery in your speed
sensor. After replacing the battery spin the wheel and confirm
that your bike computer is showing bike speed. If you see bike
speed, then perform the pairing process again, page 5.
e. If, after replacing your battery you still don’t see bike speed,
then, following the instructions of your bike computer, pair your
speed sensor to your bike computer. After pairing your speed
sensor to your bike computer, spin the wheel and confirm that

Copyright Velocomp LLC 2005-2015
9
your bike computer is showing bike speed. If you see bike
speed, then perform the PowerPod/bike computer pairing
process again, page 6.
f. If your bike computer still does not show bike speed, then your
speed sensor is defective and requires replacement.
g. If you have completed all of the above steps, your bike computer
does show bike speed, and you still cannot pair your PowerPod
5) I can’t pair my PowerPod to my bike computer
a. Before pairing your PowerPod to your bike computer you must
first pair your PowerPod to your speed sensor. See page 5.
6) I only see zero power (“0W”) on my bike computer screen
a. Confirm that your speed sensor works. Spin the wheel of your
bike and confirm that you see bike speed on your bike computer.
b. If you have a cadence sensor, spin the crank and confirm that
you see cadence on your bike computer screen.
c. Confirm that your PowerPod is paired to your speed sensor.
Click the PowerPod button. The status button should show
SOLID GREEN.
i. If the status light is FLASHING GREEN, then pair your
PowerPod to your speed sensor, see page 6
d. Using your bike computer instructions, confirm that your
PowerPod is paired to your bike computer.
7) During the first few minutes of riding I see power numbers but
the power numbers seem to be “off”
a. If the status light is FLASHING YELLOW the PowerPod is
performing a self-calibration process. See page 6 for details on
how to complete the self calibration. Self calibration happens
any time you pair your PowerPod to a new speed sensor.
b. If your PowerPod mount has rotated on your handlebars, or you
have moved (rotated) your bike handlebars, power readings will
be “off” for up to 7 minutes, after which power will be normal.
i. If the mount can rotate, then tighten it more so that it
cannot rotate. Do not over tighten.
c. Make sure your PowerPod sensor is firmly attached to its mount
d. If you’ve put your bike on a bike mechanic’s bike stand and spun
the wheels of your bike, this could cause inaccurate power
readings at the beginning of your next ride. Ride for 7 minutes
and power will return to normal.
e. Make sure speed magnet and sensor are properly positioned. If
speed data is incorrect then power data will be wrong.
Other manuals for PowerPod
3
Table of contents
Other velocomp Measuring Instrument manuals