manuals.online logo
Brands
  1. Home
  2. •
  3. Brands
  4. •
  5. Vents
  6. •
  7. Fan
  8. •
  9. Vents CF User manual

Vents CF User manual

User's manual
2011
CFCF
2
CONTENT
Purpose
Delivery set
Basic technical data
Fan designation key
Safety requirements
Fan structure
Mounting and preparation to operation
Mounting options
Mounting sequence
Fan electrical connection
Wiring diagrams
Servicing and maintenance
Storage rules
Manufacturer's warranty
Acceptance certificate
Warranty card
р. 3
р. 3
р. 3
р. 4
р. 5
р. 7
р. 8
р. 8
р. 10
р. 12
р. 14
р. 23
р. 23
р. 25
р. 27
р. 27
CFCF
3
PURPOSE
DELIVERY
SET
BASIC
TECHNICAL
DATA
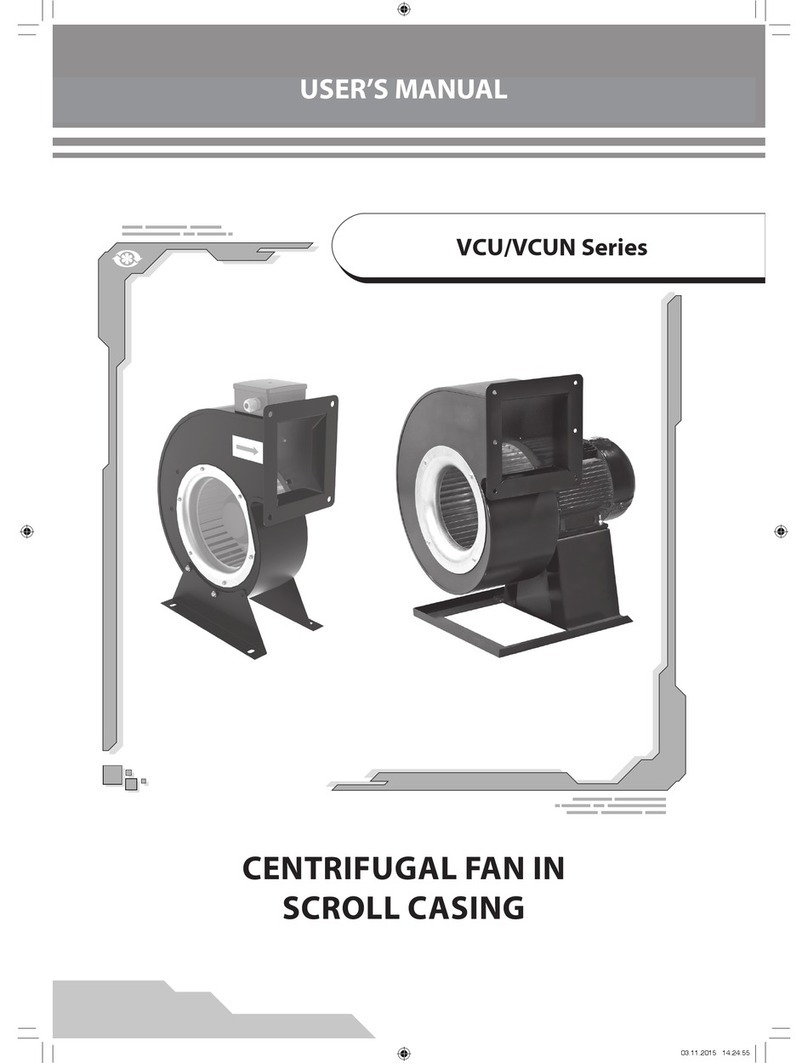
The centrifugal fan VENTS CF, further referred as the fan, is designed for exhaust
ventilation of living spaces, offices, shops, kitchens, WCs and other residential and
public premises heated during winter time.
The fan is suitable for ceiling or wall mounting.
The operating medium must not contain any dust or other solid particles, sticky
3
substances and fibrous materials concentrated above 100 mg/m .
The delivery set comprises:
- fan - 1 pce;
- decorative front panel - 1 pce;
- dowels and screws - 4 sets;*
- user's manual - 1 pce;
- packing box - 1 pce;
The delivery set for the CF 100 turbo comprises 3 sets.
The fan is designed for connecting to single-phase AC power supply network with
voltage 220-240 V and 50 Hz frequency or 12 V voltage and 50 Hz frequency for
low-voltage 12 V modifications.
The fan is designed for operation in the temperature range between 0°C and +45°C.
The fan does not cause interference with radio-, TV- or video- equipment.
The minimum service life is 5 years.
CFCF
4
CХХХ 100 X X
Fan and filter type
C - centrifugal
F - synthetic filter
FA - aluminium filter
V - electrical switch modification
T - timer modification
TH - timer and humidity sensor modification
TP - timer and motion sensor modification
Designation key example:
VENTS CF 100 VTH turbo - CF series fan, sincludes a synthetic filter, flange diameter 100 mm, equipped with
an electric switch, timer, humidity sensor and single-phase high-powered motor.
100 - exhaust pipe diameter [mm]
Number of speeds
_ - the fan has one speed by default
3 - three-speed fan
Motor modifications
turbo - high-powered motor
12 - low-voltage motor 12V/50 Hz
FAN
DESIGNATION
KEY
CFCF
5
SAFETY
REQUIREMENTS
Protection rating against access to dangerous parts and water penetration:
- IP 24 for fans with a synthetic filter;
- IP 34 for fans with aluminium filter.
Disconnect the fan from power mains prior to all connection, adjustment, servicing and
repair works.
Only the qualified electricians authorized for independent electrical works at electrical
installations with the voltage up to 1000 V are allowed for servicing and maintenance of
the fan after reading this manual.
Single-phase power network used for connection of the device must be in compliance
with the acting norms and standards. The fixed wiring system must be equipped with an
automatic circuit breaker.
The fan shall be connected through the switch integrated into fixed wiring system.
Keep the clearance between the dead contacts not less than 3 mm for all poles.
Before installation works make sure that the fan impeller, casing and grille are free of
any visible damages and that the casing has no foreign objects inside that can damage
the impeller blades.
Misuse of the device, any unauthorized alteration or modification is prohibited.
The device is not designed to be used by children, physically or mentally disabled
persons, persons with sensory disorder, persons with no appropriate life experience
and/or expertise unless they are properly instructed about the device use or supervised
by the person in charge for their safety.
Keep the device out of reach of children or supervise the children to avoid their playing
with the device.
CFCF
6
Don't use the fan for operation in explosive dust-air mixture environment.
Do not operate the fan beyond the specified operating temperature conditions as well as
in environments containing aggressive mixtures.
Take precautions to prevent penetration of smoke, carbon monoxide and other flame
products into the room through open chimney flues or other fire-protection devices.
Take also measures to disable gas back draft in case of using gas or open flame devices.
The operating medium must not contain any dust or other solid particles, sticky
substances and fibrous materials.
The fan operation in the environment containing flammable substances or vapours such
as spirit, gasoline, insecticides etc. is not allowed.
Do not close or block unit inlet and outlet vents to ensure the most effective air passage.
Do not sit or put objects on the unit.
The owner of the goods should follow the requirements set forth herein.
PROHIBITED: PROHIBITED:
!
Disconnect the fan from power mains prior to all installation, connection, adjustment and
repair works.
!
CFCF
WARNING
WARNING
7
FAN
STRUCTURE
1
The VENTS CF fan (fig, 1) consists of the casing 1 with the motor and impeller 6
assembled inside of the casing. The impeller 6 is located in the scroll casing 7.
The frame 5 is locked inside the casing 1 and functions as a stopper in case of
Through-the wall mounting.
The swivel cover 2 with the fixed grille 4 is attached to the casing.
The filter 3 is inserted into a space between the cover and the grille.
The back valve is installed on the fan back side in the exhaust pipe.
The LED lamp 8 indicates the fan ON/OFF operation.
1 - casing,
2 - removable cover,
3 - filter,
4 - grille,
5 - decorative frame,
6 - runner,
7 - scroll casing,
8 - indicating lamp.
1
6
5
7
23
8
4
CFCF
8
MOUNTING AND
PREPARATION
TO OPERATION
MOUNTING
OPTIONS
The VENTS CF fans are suitable for wall and ceiling mounting.
The mounting options are shown in fig. 2-7.
In case of wall mounting (fig. 2) the fan is fastened to the wall with self-tapping screws
included into delivery set. In case of mounting as shown in fig. 3 the fan is mounted by
means of the fastening brackets.*
Bend the fastening brackets for the required length to suit mounting requirements.
The mounting option in fig. 4 provides the fan installation on the construction foam.
The mounting option in fig. 5 provides the fan installation of the fan in a specially designed
recess. The fan is mounted to ceiling either with fastening brackets (fig.6) or inserted into
a specially designed recess (fig.7).
The wall mounting sequence is shown in fig. 8-10.
The built-in wall mounting sequence is shown in fig. 11 and the ceiling built-in mounting
sequence is shown in fig. 12.
* The basic delivery set does not include fastening brackets.
2
Wall mounting
CFCF
9
3
4
5
Flush wall
mounting with
fastening
brackets
Flush wall
mounting with
construction
foam
Built-in recess
mounting
1
~851
~85
0
~2 0
0
~2 0
1 0~ 1
1 0~ 1
-2
70 7
-2
70 7
CFCF
10
MOUNTING
SEQUENCE
6 7
Ceiling mounting with
fastening brackets
Ceiling mounting inside a specially
designed recess
8 9
10
CFCF
11
11
12
CFCF
12
FAN
ELECTRICAL
CONNECTION
The fan shall be connected through the switch with the gap between the dead contacts not
less than 3 mm for all poles.
Mounting and connection examples of the fan are shown in fig. 13-31 and diagrams 1-6.
The connection of the fan to the power supply network is as follows:
- route the supply cables through an opening in the casing bottom or make a special hole
in the casing cover in case of the lateral cable connection (fig. 14);
- strip the cable ends for 7-8 mm and insert those into respective terminals to the stop and
fasten with screws (fig. 15);
- fix the cables with a retaining clip (fig. 14);
- cover the fan (fig.16);
- connect the fan to the power supply network (fig. 17).
The connection of the three-speed fan to the power network is as follows:
- lead out the supply cables through an opening in the casing bottom or cut a special hole
in the casing cover in case of cable connection on side (fig. 14);
- screw out the cover of the electrical part of the fan (fig. 22);
- strip the cable ends for 7-8 mm and insert those into respective terminals to the stop and
fasten with screws (fig. 23);
- fix the cables with a retaining clip as shown in fig. 14;
- cover the fan (fig.24);
- connect the fan to the power supply network (fig. 25).
All mounting and connection works are allowed with the fan disconnected from power
supply network only.
WARNING
!
CFCF
13
13 14
15 16
17
CFCF
14
WIRING
DIAGRAMS
Wiring diagram of the fan for connection to the external socket
18
МB
S - light switch
C - lighting lamp
B - junction box
M - fan
E - external socket diagram 1
E
NL
N
L
М
E
В
C
S
N
L
C
S
CFCF
15
Wiring diagram of the fan with built-in switch
19
C
B
S
B - junction box
M - fan
C - lighting lamp
S - light switch diagram 2
М
В
N
L
S
N
L
C
М
CFCF
16
Wiring diagram of the fan without built-in switch through the external switch
20
B - junction box
M - fan
C - lighting lamp
S - light switch
Sm - external switch of the fan Diagram 3
C
S
М
Sм
Sм
N
LМ
B
NL
В
C
S
N
L
CFCF
17
21 22
23
25
P3-1-300
Sм
24
В
CFCF
18
Wiring diagram of the three-speed fan with external speed switch P3-1-300.
26
B - junction box
M - fan
C - lighting lamp
S - light switch
Sm - external switch of the fan
P3-1-300 (not included into delivery set)
diagram 4
C
B
S
М
3
2
1
L
3
2
1
Sм
B
4
5
6
C
N
X1
X2
M
Sм
NL
В
C
S
N
L
CFCF
19
The fans with timer modification have the function of automatic shutoff after a time
period between 2 and 30 minutes that is adjusted by rotating the potentiometer T
clockwise to increase the turn-off time and counter-clockwise to decrease it
respectively. (fig. 27).
The fans with timer and humidity sensor modification have the function of automatic
turning-on as the humidity level in the ventilated area reaches the set value adjusted by
rotating the potentiometer between 50 and 90% clockwise to increase the set value and
counter-clockwise to decrease it within the time period set by the timer (fig. 28).
The timer circuit is under mains voltage. Any adjustments are allowed with the fan
disconnected from power supply network only.
WARNING
!
27 28
CFCF
20
29
C
B
S
B - junction box
M - fan
C - lighting lamp
S - light switch diagram 5
М
Wiring diagram of the fan with timer/ timer and humidity sensor modification connected
in parallel with the lighting lamp and controlled from a common switch. After the light in
the room is turned off the fan continues operation within the time period set by the timer.
N
L
CВ
S
N
LT
L
CEILING
MOUNTING
М
CFCF

This manual suits for next models

1

Other Vents Fan manuals

Vents iFan Celsius User manual

Vents

Vents iFan Celsius User manual

Vents Frigate HRV 120 SR User manual

Vents

Vents Frigate HRV 120 SR User manual

Vents TwinFresh Style Wi-Fi User manual

Vents

Vents TwinFresh Style Wi-Fi User manual

Vents Solo RA1-50-9 R V.2 User manual

Vents

Vents Solo RA1-50-9 R V.2 User manual

Vents TwinFresh Comfo RA1-25 User manual

Vents

Vents TwinFresh Comfo RA1-25 User manual

Vents VUT 300 WH EC Mounting instructions

Vents

Vents VUT 300 WH EC Mounting instructions

Vents CBF LP 110 DC User manual

Vents

Vents CBF LP 110 DC User manual

Vents iFan Wi-Fi User manual

Vents

Vents iFan Wi-Fi User manual

Vents CBF 200 User manual

Vents

Vents CBF 200 User manual

Vents VUE P3B EC A14 User manual

Vents

Vents VUE P3B EC A14 User manual
Vents Quietline 100 User manual

Vents

Vents Quietline 100 User manual

Vents VKV Series User manual

Vents

Vents VKV Series User manual

Vents TwinFresh Easy User manual

Vents

Vents TwinFresh Easy User manual

Vents Ceileo Compact 200 User manual

Vents

Vents Ceileo Compact 200 User manual

Vents TT Silent-M 450-4E User manual

Vents

Vents TT Silent-M 450-4E User manual

Vents VSK 315 2D User manual

Vents

Vents VSK 315 2D User manual

Vents VKMI Series Mounting instructions

Vents

Vents VKMI Series Mounting instructions

Vents VP Series User manual

Vents

Vents VP Series User manual

Vents Solo RA1-35A-9 P User manual

Vents

Vents Solo RA1-35A-9 P User manual

Vents TT Silent-M Series User manual

Vents

Vents TT Silent-M Series User manual

Vents TwinFresh Comfo RA-50 V.3 User manual

Vents

Vents TwinFresh Comfo RA-50 V.3 User manual

Vents VKM EC User manual

Vents

Vents VKM EC User manual

Vents Brig HRV 120 User manual

Vents

Vents Brig HRV 120 User manual
Vents TwinFresh Comfo RA1-50 User manual

Vents

Vents TwinFresh Comfo RA1-50 User manual

Popular Fan manuals by other brands

Reel EFX RE5 owner's manual

Reel EFX

Reel EFX RE5 owner's manual

Zehnder Rittling ComfoAir 155 CM User/Homeowner Guide

Zehnder Rittling

Zehnder Rittling ComfoAir 155 CM User/Homeowner Guide

NuTone 8663RFT instruction manual

NuTone

NuTone 8663RFT instruction manual

Atlas fan company Diane AC-MGB2 instructions

Atlas fan company

Atlas fan company Diane AC-MGB2 instructions

Vent-Axia VSC Series Installation and wiring instructions

Vent-Axia

Vent-Axia VSC Series Installation and wiring instructions

Craftmade Bellows IV installation guide

Craftmade

Craftmade Bellows IV installation guide

Levoit Classic Pro user manual

Levoit

Levoit Classic Pro user manual

Craftmade Mondo 54 installation guide

Craftmade

Craftmade Mondo 54 installation guide

STARLUNA 4018445 Intended use

STARLUNA

STARLUNA 4018445 Intended use

Sealey HVSF30.V2 quick start guide

Sealey

Sealey HVSF30.V2 quick start guide

Kendal Lighting AC-19544 installation instructions

Kendal Lighting

Kendal Lighting AC-19544 installation instructions

Schako NOVENCO AUO Series Installation and Maintenance

Schako

Schako NOVENCO AUO Series Installation and Maintenance

FACTO FT40-8HC Operator's manual

FACTO

FACTO FT40-8HC Operator's manual

Hunter 23970 Owner's guide and installation manual

Hunter

Hunter 23970 Owner's guide and installation manual

Bionaire Digital Tower BT36R instruction manual

Bionaire

Bionaire Digital Tower BT36R instruction manual

Habo VS 4046 instruction manual

Habo

Habo VS 4046 instruction manual

UNITED UTF-673 instruction manual

UNITED

UNITED UTF-673 instruction manual

Monte Carlo Fan Company Clarity 3CLMR56 D Series Owner's guide and installation manual

Monte Carlo Fan Company

Monte Carlo Fan Company Clarity 3CLMR56 D Series Owner's guide and installation manual

manuals.online logo
manuals.online logoBrands
  • About & Mission
  • Contact us
  • Privacy Policy
  • Terms and Conditions

Copyright 2025 Manuals.Online. All Rights Reserved.