manuals.online logo
Brands
  1. Home
  2. •
  3. Brands
  4. •
  5. Vermont Castings
  6. •
  7. Stove
  8. •
  9. Vermont Castings 0119 User manual

Vermont Castings 0119 User manual

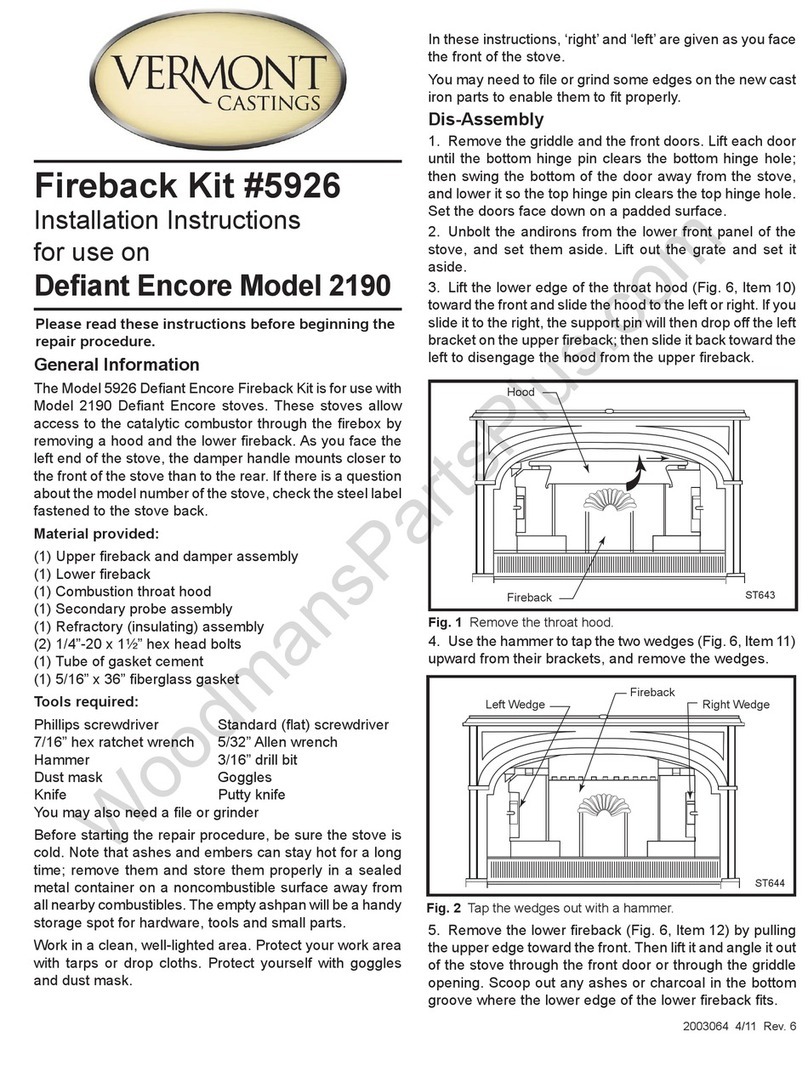
Rebuild Kits
#0119 & #0118
Installation Instructions
Deant 1610 NC Stove &
Encore 1450 NC Stove
General Information
The Model 0119 Deant NC Rebuild Kit is for use with
the Deant 1610 Non-Cat Stove. The Model 0118 Encore
NC Rebuild Kit is for use with the Encore 1450 Non-Cat
Stove. If there is a question about the model number of
your stove, check the steel label fastened to the back of
your stove. These kits are not for use with any other De-
ant or Encore wood stove models.
Materials Provided:
• Shoe Gasket Kit with separate included instructions
• Refractory Shoe
• Refractory Fireback
• Fountain Assembly
• Damper Housing Assembly (Upper Fireback)
• 3/8” Adhesive Gasket
• Hardware for mounting Damper Housing and Fireback
Brackets
• Instructions
Tools Needed: Phillips screwdriver, 7/16” Wrenches, Allen
Key Wrench, Flashlight or droplight
Before starting the procedure, be sure the stove is cold.
Clean all ashes from the ash dump and the combustion
chamber. Use the empty ash pan as a storage spot for
hardware, tools and small parts. Work in a clean, well-
lighted area. Protect your work area with tarps or drop
cloths. If possible, remove the stove to a utility area,
take off the legs and raise the stove to a secure elevated
surface.
CAUTION: Wear gloves, a dust mask and
protective eyewear when servicing a stove.
Disassembly
1. Remove the doors, andirons and the bottom grate. The
tab on the rear grate wedges the shoe in place so it will
be tight. Begin by prying the front of the grate up with a
screw driver. Carefully slide the refractory shoe out of
the unit being careful not to damage the gasket on the
bottom (Fig. 1).
30005619 9/11 Rev. 1
KT1509
remove shoe
Fig. 1 Remove shoe. KT1509
2. Take out the right side brick and insulating panel by
removing the Phillips head screw holding the bracket
(Fig. 2) and carefully sliding the items out.
KT1510
remove side brick
Fig. 2 Remove side brick. KT1510
3. For the Deant only, remove the ue collar by backing
out the two Phillips round head machine screws.
4. Remove the top. For the Deant only, carefully pull
back the adhesive gasket for the ue collar located on
the back of the top of the stove and let it hang down the
back. The top is held in place by two hex head bolts in
the rear left and right corners of the top (Fig.3) and by
one socket at head screw in the outside center of the
top near the griddle opening. (Fig. 4)
WoodmansPartsPlus.com
230005619
5. Remove the rear shroud held by two Phillips round
head machine screw in the center and four sheet metal
screws - two on each side. This allows access to the six
hex head nuts and washers holding the damper housing
assembly and the reback retainers.
6. Remove the damper housing assembly. First remove
the damper handle with the Allen key supplied with the
unit (Fig. 5). Locate and remove the four hex head
through bolts, two per side on the outside of the inner
back, that hold the upper reback in place (Fig. 6). The
nuts and washers are on the outside of the back. This
may require the use of two 7/16” wrenches. Gently
rotate the damper housing down right side rst and
maneuver out of the rebox by sliding left to right to
clear the damper rod from the left side. Please locate
damper rod spacer and remove from the hole in the side
for reinstalling.
7. Remove the Refractory Fireback. Locate the two hex
nuts on the outside of the inner back that hold the refrac-
tory brackets in place (Fig. 7). The nuts and washers
are on the outside of the back. This may require the
use of two 7/16” wrenches. Remove the two hex nuts
with washers and pull out the hex head cap screws
holding the brackets. This may require the use of two
7/16” wrenches. Remove the brackets. Hold the top of
the refractory reback while removing the brackets as
it will fall forward with the brackets removed.
KT1511
remove top bolts
Fig. 3 Remove top bolts in rear corners. KT1511
KT1512
remove flat head socket screw
Fig. 4 Remove at head socket screw. KT1512
KT1513
remove damper handle
Fig. 5 Remove damper handle. KT1513
KT1514
defiant damper housing
Fig. 6 Deant damper housing with one (1) bolt removed.
KT1514
KT1515
remove fireback brackets
Fig. 7 Remove reback brackets. KT1515
8. Slide the reback brick forward and out of the unit.
9. Slide the fountain assembly out.
This completes the disassembly.
WoodmansPartsPlus.com
3
30005619
Reassembly
1. Before reassembly, check the following and replace or
repair where necessary:
• gaskets on the back installed on either side for the
reback seal
• back to bottom and side seal (tighten if neces-
sary)
• top gaskets including the ue collar and griddle
seal
2. Install the gasket on the bottom of the new shoe by fol-
lowing the instructions that came with the Shoe Gasket
Kit.
3. Slide the fountain assembly into place.
Important: Position fountain assembly in the center
of the back.
4. Install the reback centered on the back and the foun-
tain with the two (2) reback brackets removed earlier
and two (2) hex head bolts and nuts with four washers
and leave loose. Ensure it is against the gaskets in the
rear sides. Do not fully tighten.
5. Replace the shoe before tightening the reback brack-
ets to ensure the reback and fountain line up properly
to allow the shoe to enter. If not going in, line up the
reback and fountain as close to center as possible.
Once the shoe travels easily all the way to the back,
tighten the brackets. Verify the reback seals against
the rear gaskets.
6. Install the damper hous-
ing assembly. Insert the
damper rod into the left
side of the unit, raise
the right side up, slide
over and attach using
the four hex head bolts,
nuts and eight washers.
Ensure the washer is in
place near the end of
the rod (Fig. 8) to pre-
vent the rod from slid-
ing. Push tight against
the reback and line up
with holes in the back
while tightening to make
a good seal against
the reback. This seal
is critical to the proper
operation of the unit. In-
stall the spacer around
the damper rod on the outside.
7. Install the damper handle using the Allen key supplied
with the stove.
8. Install the right side brick and insulation panel with the
notches to the upper back with the bracket and hex
head cap screw.
10. Position the top in place over the sides, back and front
and insert the two hex head bolts in the rear corners
and one socket at head screw in the front center. Do
not tighten yet. Finger tighten the front center bolt;
then nger one corner bolt; fully tighten the other corner
bolt; then go back to the opposite bolt and center bolt
to fully tighten them down. When installed, the top
should be level. Ensure there is a good seal between
the top edge of the damper housing and the top by
viewing through the ue collar opening. Again, this
seal is critical. Refer to Figure 9 for an example of a
top that is not level.
11. With the Deant only, install the ue collar. Carefully
replace the gasket pulled off the top earlier. If neces-
sary, replace with some of the gasket supplied in the
KT1516
defiant damper rod
Fig. 8 Deant damper rod
washer.
KT1517
top not level
Fig. 9 Stove top that is not level. KT1517
kit or hold in place with a small amount of furnace
cement.
12. Install the grate with the shoe tab to the back. The t
is tight. CAUTION - Do not damage the shoe. If not
tting down, push hard on the shoe to allow grate to
go all the way down. You may want to insert the rear
rst and pry the front lip of the grate into the stove. This
tab holds the shoe in place (Fig. 10).
KT1518
install grate
Fig. 10 Install the grate with the tab holding the
shoe in place.
13. Install the griddle, andirons and front doors.
This completes the reassembly.
WoodmansPartsPlus.com
MHSC
149 Cleveland Drive • Paris, Kentucky 40361
www.mhsc.com
WoodmansPartsPlus.com

This manual suits for next models

1

Other Vermont Castings Stove manuals

Vermont Castings 2950 User manual

Vermont Castings

Vermont Castings 2950 User manual

Vermont Castings Radiance RUVSOD 3358 User manual

Vermont Castings

Vermont Castings Radiance RUVSOD 3358 User manual

Vermont Castings Cast Iron User manual

Vermont Castings

Vermont Castings Cast Iron User manual

Vermont Castings ACSB User manual

Vermont Castings

Vermont Castings ACSB User manual

Vermont Castings SNV30 Mounting instructions

Vermont Castings

Vermont Castings SNV30 Mounting instructions

Vermont Castings The Intrepid II 1990 Mounting instructions

Vermont Castings

Vermont Castings The Intrepid II 1990 Mounting instructions

Vermont Castings Dutchwest 2467 User manual

Vermont Castings

Vermont Castings Dutchwest 2467 User manual

Vermont Castings 5927 User manual

Vermont Castings

Vermont Castings 5927 User manual
Vermont Castings RUVSOD Series Mounting instructions

Vermont Castings

Vermont Castings RUVSOD Series Mounting instructions

Vermont Castings Radiance RUVS40 Mounting instructions

Vermont Castings

Vermont Castings Radiance RUVS40 Mounting instructions

Vermont Castings Vigilant II 2310 User manual

Vermont Castings

Vermont Castings Vigilant II 2310 User manual

Vermont Castings 3349 Mounting instructions

Vermont Castings

Vermont Castings 3349 Mounting instructions

Vermont Castings Vigilant User manual

Vermont Castings

Vermont Castings Vigilant User manual

Vermont Castings Intrepid II User manual

Vermont Castings

Vermont Castings Intrepid II User manual

Vermont Castings The Intrepid II 1990 Installation instructions

Vermont Castings

Vermont Castings The Intrepid II 1990 Installation instructions

Vermont Castings Defiant User manual

Vermont Castings

Vermont Castings Defiant User manual

Vermont Castings Encore Flexburn 2040 Installation instructions

Vermont Castings

Vermont Castings Encore Flexburn 2040 Installation instructions

Vermont Castings Encore 2550C User manual

Vermont Castings

Vermont Castings Encore 2550C User manual

Vermont Castings Discovery VS38 Manual

Vermont Castings

Vermont Castings Discovery VS38 Manual

Vermont Castings 1991 Defiant Encore 2190 User manual

Vermont Castings

Vermont Castings 1991 Defiant Encore 2190 User manual

Vermont Castings ACSG User manual

Vermont Castings

Vermont Castings ACSG User manual

Vermont Castings interpid II 2070 User manual
Vermont Castings

Vermont Castings interpid II 2070 User manual

Vermont Castings RFSDV34 Assembly instructions
Vermont Castings

Vermont Castings RFSDV34 Assembly instructions

Vermont Castings 1975CE CE Mounting instructions

Vermont Castings

Vermont Castings 1975CE CE Mounting instructions

Popular Stove manuals by other brands

Portway Rochester MK2 PCSSB2 Installation and operating instructions

Portway

Portway Rochester MK2 PCSSB2 Installation and operating instructions

ILD 12 ECO manual

ILD

ILD 12 ECO manual

Ecowood FI 3 DUAL Installation, User’s and Maintenance Handbook

Ecowood

Ecowood FI 3 DUAL Installation, User’s and Maintenance Handbook

Warmlite WL46040 manual

Warmlite

Warmlite WL46040 manual

Charnwood L.A. Firefront MKII Operating and installation instructions

Charnwood

Charnwood L.A. Firefront MKII Operating and installation instructions

Ravelli RBC 810 Use and maintenance manual

Ravelli

Ravelli RBC 810 Use and maintenance manual

Harbor Freight Tools 35558 Assembly and operating instructions

Harbor Freight Tools

Harbor Freight Tools 35558 Assembly and operating instructions

Palazzetti Ecofire BRIAN Assembly - Description - Cleaning - Technical Data

Palazzetti

Palazzetti Ecofire BRIAN Assembly - Description - Cleaning - Technical Data

Quadra-Fire 3100 Millennium owner's manual

Quadra-Fire

Quadra-Fire 3100 Millennium owner's manual

Harman Allure50 owner's manual

Harman

Harman Allure50 owner's manual

Ashley AP5660L Owner's operation and instruction manual
Ashley

Ashley AP5660L Owner's operation and instruction manual

Zanussi 253110 Specifications

Zanussi

Zanussi 253110 Specifications

Fireline FGi 5 Installation and operating instructions

Fireline

Fireline FGi 5 Installation and operating instructions

Fox Cook Ware instructions

Fox

Fox Cook Ware instructions

CASATELLI CARLO PRO DESCRIPTION / CLEANING / TECHNICAL DATA

CASATELLI

CASATELLI CARLO PRO DESCRIPTION / CLEANING / TECHNICAL DATA

AL Tech Torus Pellet manual

AL Tech

AL Tech Torus Pellet manual

VARDE OVNE Thurø 1 Installation and user guide

VARDE OVNE

VARDE OVNE Thurø 1 Installation and user guide

Aito AK-68 installation instructions

Aito

Aito AK-68 installation instructions

manuals.online logo
manuals.online logoBrands
  • About & Mission
  • Contact us
  • Privacy Policy
  • Terms and Conditions

Copyright 2025 Manuals.Online. All Rights Reserved.