Notice d’utilisation
5
FRANÇAIS ENGLISH DEUTSCH NEDERLANDS ESPAÑOL
A
B
1
2
3
9
C
D
4
5
6
E
F
F
7
Fixez les 4 roues 1sur le support
inférieur 2en utilisant les vis 9 .
Déposez l’étagère inférieure 3 .
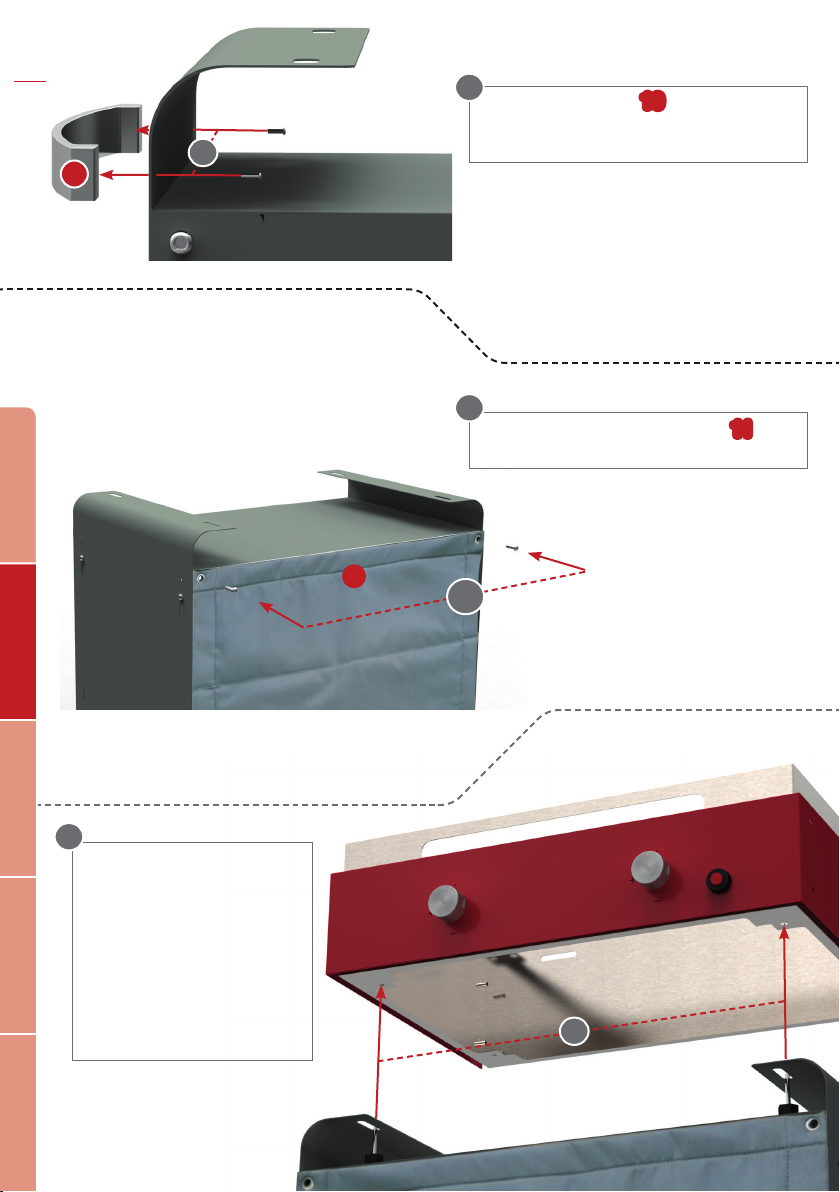
Vissez la partie latérale
gauche 4 .
Vissez l’étagère
supérieure 5 .
Vissez la partie latérale droite 6en
répétant l’opération Cet Dpour ce
côté.
Fixez le fond 7sur le tout.
A
B
C
D
E
F