manuals.online logo
Brands
  1. Home
  2. •
  3. Brands
  4. •
  5. Vestil
  6. •
  7. Indoor Furnishing
  8. •
  9. Vestil GCAB-4415-72W User manual

Vestil GCAB-4415-72W User manual

Galvanized Storage Cabinet, Model GCAB-4415-72W
Assembly Instructions
Identifier Item Description Quantity
A4 Top panel 1
B7 Left side panel 1
B8 Right side panel 1
C5 Left rear panel 1
C8 Right rear panel 1
D6 Shelf 5
E3 Front leg assembly 1
F3 Rear leg assembly 1
H2 Center panel 1
L3 Left door 1
R3 Right door 1
I Shelf support 20
J #8 10mm self-tapping
screw 21
Product specifications:
Capacity per shelf = 66lbs (30kg)
Dimensions = 72in. (H) x 44in. (W) x 15in. (D)
~(183cm x 112cm x 38cm)
Overall wei
g
ht = 96lbs
(
~44k
g)
Step 2:
Insert center panel (H2) into the
slot
in
the
front
leg assembly
and
secure it from the inside with a 10mm screw (see 1st & 2nd frame of diagram
below). Install the left rear panel (C5) and then the right rear panel (C6)
[NOTE: C6 will overlap C5]; then fasten the rear panels together and to the
side panels with 10mm screws (J).
Rear
view
Front view
Front view
J
Don’t install screws
here until ste
p
3
Step 4: Install the left door (L3) and right door (R3) by inserting the hinge
pins mounted on the door panels into the hinge barrels mounted on the side
panels.
Hinge
barrel
Hinge
pin
Step 1: Insert the front leg assembly (E3) and rear leg assembly (F3) into the
bottom end (has flange with 2 holes for screws)
of the left side panel (B7) and
right side panel (B8) as shown in the diagram below. Fasten both
leg assemblies
to the panels with 10mm screws (J). Hinge
barrel
J
J
Step 3: Set the top panel (A4) in place on top of the cabinet and secure it in
place to the side panels with 10mm screws (J). Brace the rear
panels from the
inside (e.g. with a portion of 2-by-4) to prevent the panel from warping, and
then fasten the top panel to the rear panels with 10mm screws. Install shelf
supports (I) in all 4 corners at the same height to support each shelf
as shown
below; then install the shelves (D6) so that they rest on the supports.
Rear view
Front view Shelf support (I)
Copyright 2016 Vestil Manufacturing Corp. Page 3
LIMITED WARRANTY
Vestil Manufacturing Corporation (“Vestil”) warrants this product to be free of defects in material and workmanship
during the warranty period. Our warranty obligation is to provide a replacement for a defective original part if the part is
covered by the warranty, after we receive a proper request from the warrantee (you) for warranty service.
Who may request service?
Only a warrantee may request service. You are a warrantee if you purchased the product from Vestil or from an
authorized distributor AND Vestil has been fully paid.
What is an “original part”?
An original part is a part used to make the product as shipped to the warrantee.
What is a “proper request”?
A request for warranty service is proper if Vestil receives: 1) a photocopy of the Customer Invoice that displays the
shipping date; AND 2) a written request for warranty service including your name and phone number. Send requests
by any of the following methods:
Mail Fax Email
Vestil Manufacturing Corporation (260) 665-1339 [email protected]
2999 North Wayne Street, PO Box 507 Phone
Angola, IN 46703 (260) 665-7586
In the written request, list the parts believed to be defective and include the address where replacements should be
delivered.
What is covered under the warranty?
After Vestil receives your request for warranty service, an authorized representative will contact you to determine
whether your claim is covered by the warranty. Before providing warranty service, Vestil may require you to send the
entire product, or just the defective part or parts, to its facility in Angola, IN. The warranty covers defects in the
following original dynamic components: motors, hydraulic pumps, electronic controllers, switches and cylinders. It also
covers defects in original parts that wear under normal usage conditions (“wearing parts”): bearings, hoses, wheels,
seals, brushes, batteries, and the battery charger.
How long is the warranty period?
The warranty period for original components is 30 days. The warranty period begins on the date when Vestil ships the
product to the warrantee. If the product was purchased from an authorized distributor, the period begins when the
distributor ships the product. Vestil may extend the warranty period for products shipped from authorized distributors
by up to 30 days to account for shipping time.
If a defective part is covered by the warranty, what will Vestil do to correct the problem?
Vestil will provide an appropriate replacement for any covered part. An authorized representative of Vestil will contact
you to discuss your claim.
What is not covered by the warranty?
1. Labor;
2. Freight;
3. Occurrence of any of the following, which automatically voids the warranty:
 Product misuse;
 Negligent operation or repair;
 Corrosion or use in corrosive environments;
 Inadequate or improper maintenance;
 Damage sustained during shipping;
 Collisions or other incidental contacts causing damage to the product;
 Unauthorized modifications: DO NOT modify the product IN ANY WAY without first receiving written
authorization from Vestil. Modification(s) might make the product unsafe to use or might cause excessive
and/or abnormal wear.
Do any other warranties apply to the product?
Vestil Manufacturing Corp. makes no other express warranties. All implied warranties are disclaimed to the extent
allowed by law. Any implied warranty not disclaimed is limited in scope to the terms of this Limited Warranty.

Other Vestil Indoor Furnishing manuals

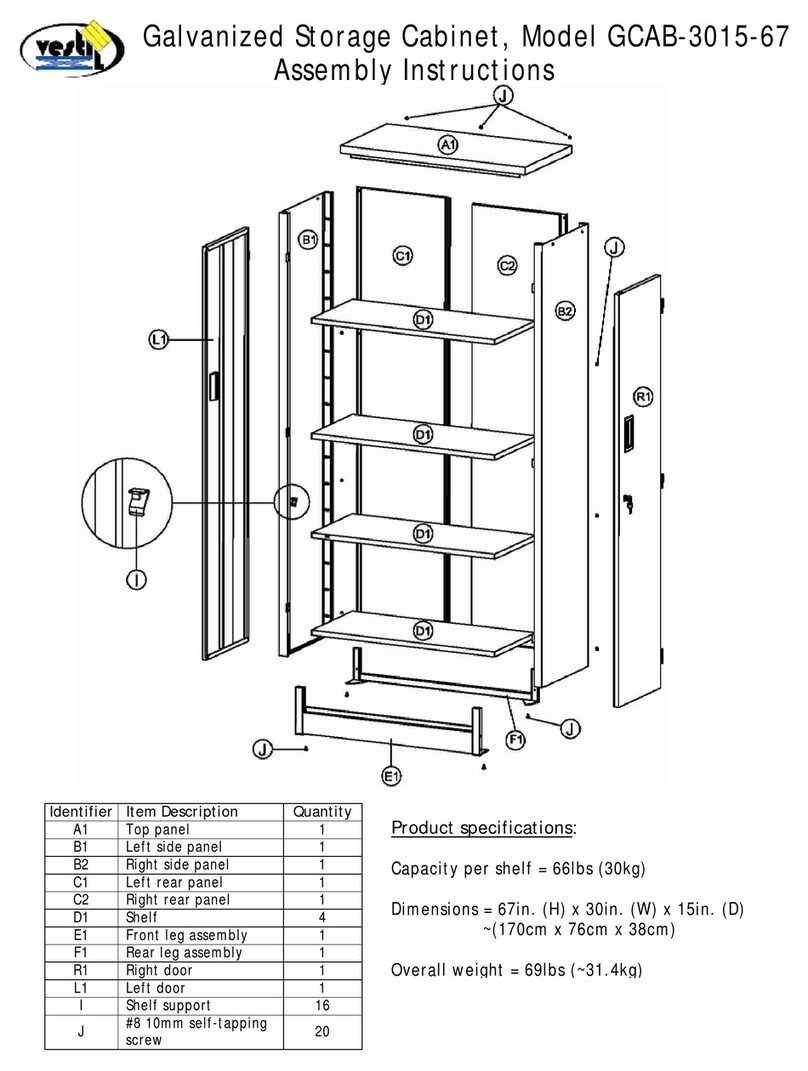
Vestil GCAB-3015-67 User manual

Vestil

Vestil GCAB-3015-67 User manual

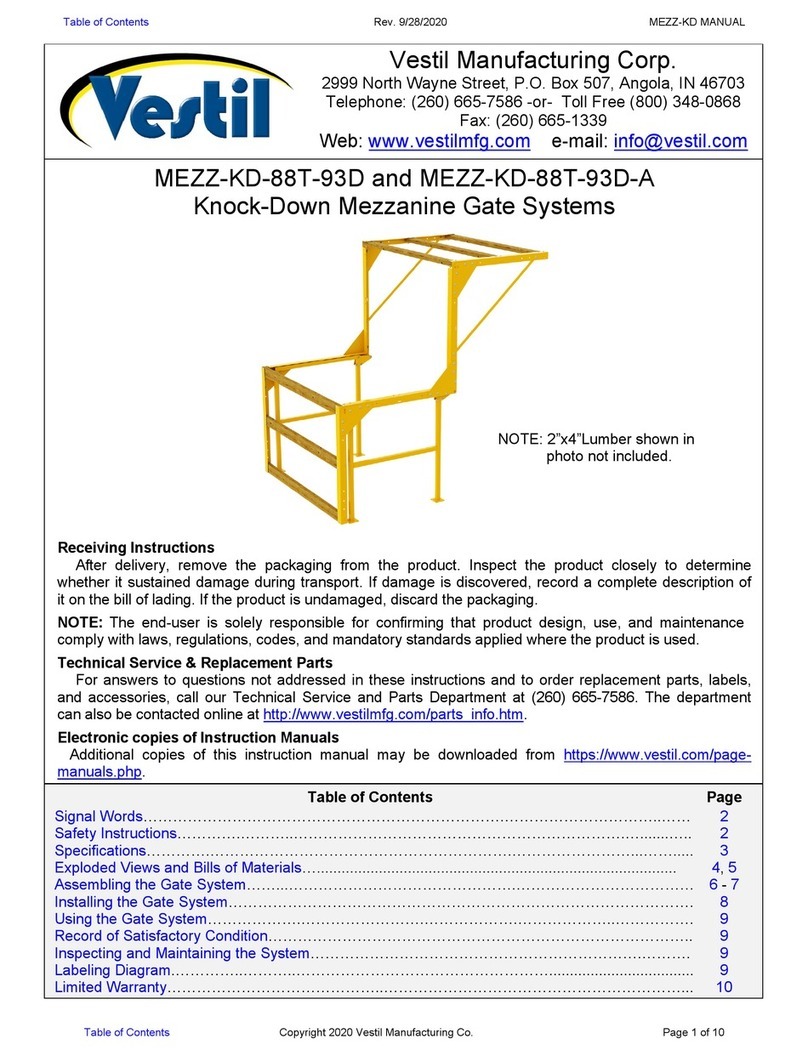
Vestil MEZZ-KD-88T-93D User manual

Vestil

Vestil MEZZ-KD-88T-93D User manual

Vestil AHLT Series User manual

Vestil

Vestil AHLT Series User manual

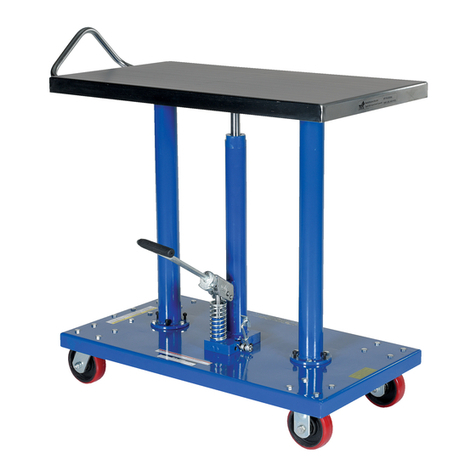
Vestil HT-10-2036A User manual

Vestil

Vestil HT-10-2036A User manual

Vestil MT User manual

Vestil

Vestil MT User manual

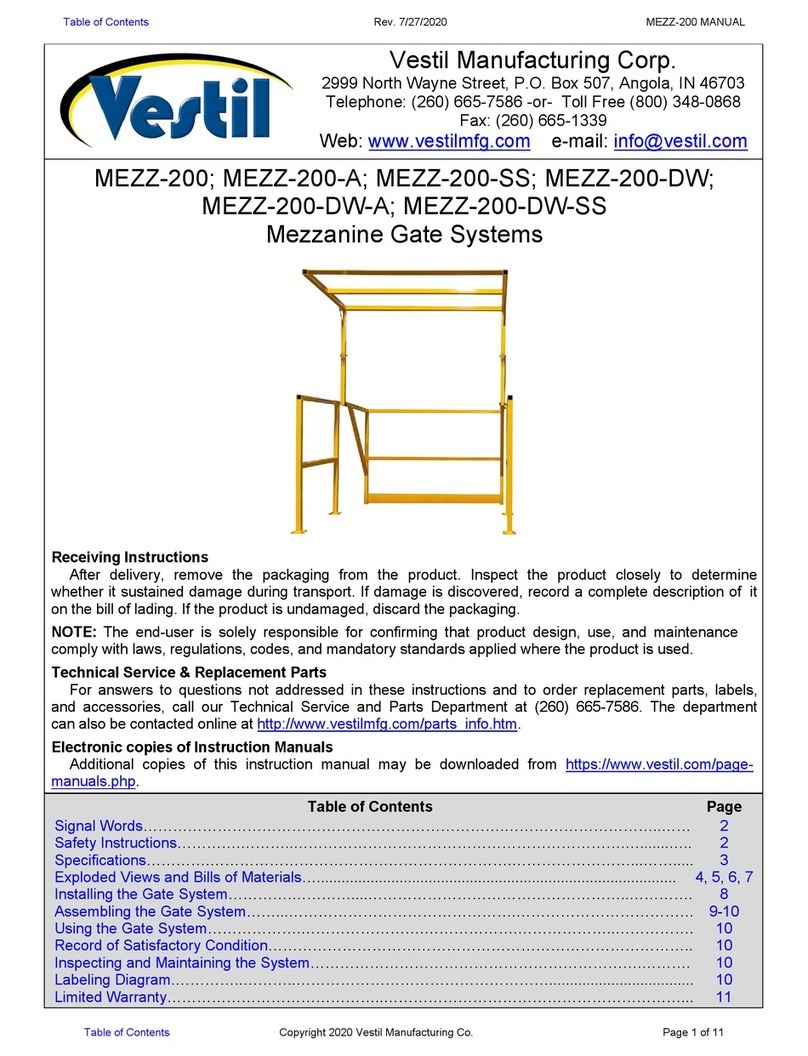
Vestil MEZZ-200 User manual

Vestil

Vestil MEZZ-200 User manual

Vestil EHLTT Series User manual

Vestil

Vestil EHLTT Series User manual

Vestil D-HEAD-1 User manual

Vestil

Vestil D-HEAD-1 User manual

Popular Indoor Furnishing manuals by other brands

Regency LWMS3015 Assembly instructions

Regency

Regency LWMS3015 Assembly instructions

Furniture of America CM7751C Assembly instructions

Furniture of America

Furniture of America CM7751C Assembly instructions

Safavieh Furniture Estella CNS5731 manual

Safavieh Furniture

Safavieh Furniture Estella CNS5731 manual

PLACES OF STYLE Ovalfuss Assembly instruction

PLACES OF STYLE

PLACES OF STYLE Ovalfuss Assembly instruction

Trasman 1138 Bo1 Assembly manual

Trasman

Trasman 1138 Bo1 Assembly manual

Costway JV10856 manual

Costway

Costway JV10856 manual

moss DESIGN Caisson Credenza Assembly instructions

moss DESIGN

moss DESIGN Caisson Credenza Assembly instructions

Aquaglide FULL DECK 15.0 owner's manual

Aquaglide

Aquaglide FULL DECK 15.0 owner's manual

AREBOS AR-HE-SW30 user manual

AREBOS

AREBOS AR-HE-SW30 user manual

Till-Hilft Fulda 87005.330 Assembly instructions

Till-Hilft

Till-Hilft Fulda 87005.330 Assembly instructions

Twoey Outside 2010 quick start guide

Twoey Outside

Twoey Outside 2010 quick start guide

Hettich Easys 200 operating instructions

Hettich

Hettich Easys 200 operating instructions

The bedboss RELAX 404 Series owner's manual

The bedboss

The bedboss RELAX 404 Series owner's manual

Oeseder Möbelindustrie Bern 991 720 Assembly instructions

Oeseder Möbelindustrie

Oeseder Möbelindustrie Bern 991 720 Assembly instructions

Costway HW68469 user manual

Costway

Costway HW68469 user manual

Next ALIX A27743 Assembly instructions

Next

Next ALIX A27743 Assembly instructions

BROSA Hans Assembly guide

BROSA

BROSA Hans Assembly guide

Prodigg MINIKA PBA015T-FUR installation manual

Prodigg

Prodigg MINIKA PBA015T-FUR installation manual

manuals.online logo
manuals.online logoBrands
  • About & Mission
  • Contact us
  • Privacy Policy
  • Terms and Conditions

Copyright 2025 Manuals.Online. All Rights Reserved.