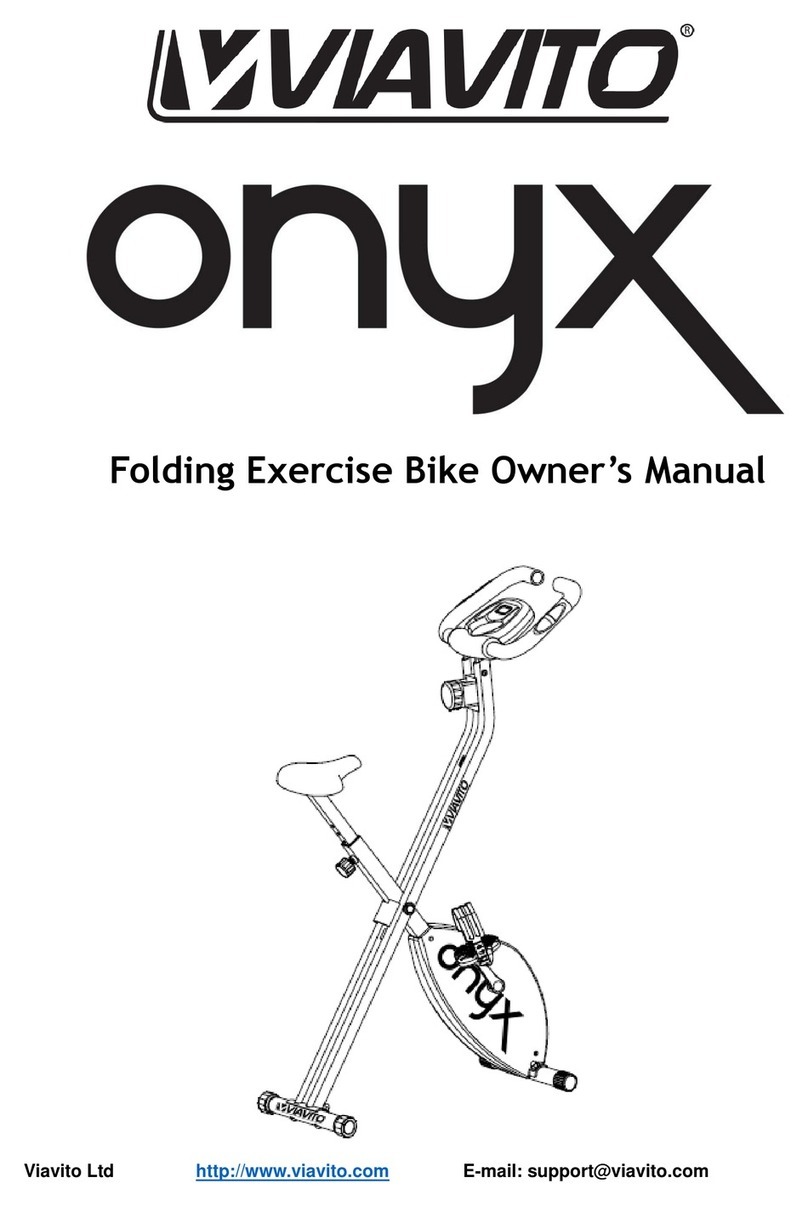
Viavito Onyx User manual

Owner’s Manual.
Folding
Exercise Bike
ONYX
www.viavito.com
Manual version 2.1

02
Congratulations
on purchasing your
very own ONYX
Folding Exercise Bike.
Manual Contents.
www.viavito.com
You have chosen a high-quality, safe and
innovative piece of exercise equipment
as your training partner and we are certain
it will keep you motivated on the way to
achieving your personal tness goals.
Please take the time to read this owner’s
manual as it will help you to get the most
out of your new exercise bike.
For more information, or if you require
any assistance please email us at
support@viavito.com
Safety Information 03/04
Machine Assembly 05/10
Assembly Instructions 06/09
Folding & Storage 10
Console Instructions 11/12
Display Functions 11
Button Functions 11
Operation 12
Changing the Resistance 12
Conditioning Guidelines 13/19
Why Exercise? 13
Target Heart Rate 14
Beginners Guide to Exercise 15
Workout Tips 15
How to Begin 16
How Hard Should You Work? 16
Tips For Stretching 17
Warm-Up and Cool-Down 18/19
Customer Support 20/21
Contact Information 20
Manufacturer's Warranty 21
Technical Information 22/25
Troubleshooting 22
Space Required 23
Parts List 24
Exploded diagram 25

03
Safety Information.
www.viavito.com
• Please read all the instructions carefully
before using this product.
• Retain this manual for future reference.
• The specications of this product may
vary slightly from the illustrations and
are subject to change without notice.
IMPORTANT SAFETY NOTICE:
note the following precautions before
assembling or operating the machine.
01 Assemble the machine exactly as per
the instructions in this manual, using
only the supplied tools to assemble it.
02 Check all the screws, nuts and other
connections before using the machine
for the rst time and ensure that it
has been built correctly and is safe
to be used.
03 This machine is for indoor, home use
only. Position the machine on a clear,
dry and level surface. DO NOT position
it near water or outdoors.
04 Place a suitable base (e.g. rubber mat,
wooden board etc.) beneath the
machine in the assembly area to
protect it from dirt.
05 Make sure there is sucient free space
around the exercise bike when you set
it up.
06 Before beginning training, remove
all objects within a 2-metre radius
of the machine.
07 Use the machine only for its intended
purpose as described in the manual.
This machine is not suitable for
therapeutic or medical purposes.
08 This machine may only be used by one
person at a time.
09 Always wear appropriate workout
clothing when exercising. Running
or aerobic shoes are required when
using this machine.
10 Before exercising on this machine,
always warm up and do the stretching
exercises listed in this manual rst.
11 When altering any adjustable parts,
make sure they are adjusted properly
and note the marked maximum
position for each part, for example
on the saddle support. Saddle post:
the minimum insertion depth should
not be higher than the mark of MAX.
There is a 95mm adjusting range.
12 DO NOT use aggressive cleaning
products, such as detergents,
to clean the machine. Remove
drops of sweat from the machine
immediately after nishing training.
13 Your health can be aected by
incorrect or excessive training.
Consult a doctor before beginning
a training program.
14 WARNING! Heart rate monitoring
systems may be inaccurate. Over
exercising may result in serious injury
or death. If you experience dizziness,
nausea, chest pain, or any other
abnormal symptoms STOP
EXERCISING IMMEDIATELY
AND CONSULT A PHYSICIAN
WITHOUT DELAY.

04 www.viavito.com
15 Disabled persons should not use this
machine without a qualied person
or physician in attendance.
16 Children should be kept away from the
machine at all times.
17 The maximum user weight should be
100kg (220lbs). The product weight
is 13.9kg (30.6lbs). Safety standards:
EN-957 Certicate - European Safety
compliant.
18 WARNING: the safety level of the
machine can be maintained only if it
is examined regularly for damage and
wear, e.g. bearings, connection points.
19 Examine the machine carefully before
you use it, especially the components
most susceptible to wear, e.g.
handlebar, cranks, pedals and
the connection points.
20 Stop using the machine immediately
if there are any defective components
and keep it out of use until you replace
the components or it is repaired by a
qualied engineer.
21 Use only original spare parts for any
necessary repairs.
22 WARNING! Inappropriate use or of
this machine such as while under the
inuence of drugs or alcohol, not in
line with instructions or excessive
usage, may result serious injury
or death.
WARNING: Before beginning using this
machine or doing any exercise program,
consult your doctor. This is especially
important for people over the age of
35 or those with pre-existing health
problems. Read all instructions before
using this elliptical cross trainer.
Viavito assumes no responsibility
for personal injury or property,
and/or damage sustained by or
through the use of this product.
SAVE THESE INSTRUCTIONS.
RECYCLING INFORMATION
Used electrical and electronic equipment (WEEE) should not be mixed with general
household waste. For proper treatment, recovery and recycling, please take this
product to designated collection points where it will be accepted free of charge.
Alternatively, in some countries you may be able to return your products to your
local retailer upon purchase of an equivalent new product. Disposing of this product
correctly will help save valuable resources and prevent any potential negative
eects on human health and the environment, which could otherwise arise from
inappropriate waste handling. Please contact your local authority for further
details of your nearest designated collection point. Penalties may be applicable
for incorrect disposal of this waste, in accordance with your national legislation
SAFETY STANDARDS
This equipment meets the requirements of European safety directives such as: the
Electromagnetic Compatibility (EMC) Directive and the Low Voltage Directive (LVD).

05
www.viavito.com
Machine Assembly.
WARNING: Before beginning to use this exercise bike or starting any exercise program,
consult your doctor. This is especially important for people over the age of 35 or those
with health problems. Read all the instructions before using the exercise bike.
NOTE:
Most of the listed assembly components have been packaged separately, but some
items have been pre-installed. In these instances, simply remove and reinstall the hard-
ware as assembly is required.
Please refer to the individual assembly steps and make a note of all pre-installed
hardware.
PREPARATION:
Before assembling, make sure that you will have enough space around the item.
Before assembling, please check whether all the parts listed are present.
To assemble, use only the supplied tools. It is strongly recommended that this
machine be assembled by two people to avoid possible injury.
Please also view our Youtube
Assembly Guide video, should you
require extra assistance in setting
up this product:
https://youtu.be/p6SjHrGLkBc

06 www.viavito.com
Assembly Instructions
Attention: Please follow these assembly instructions step by step
to assemble this bike:
Step One.
01 Attach the front stabiliser (2) and the
rear stabiliser (3) to the main frame (1),
using the carriage bolts (12) arc wash-
ers (13) and acorn nuts (14) which have
been pre-assembled onto the stabilis-
ers. Simply remove the pre-assembled
parts, slide the stabilisers onto the
main frame and tighten them with the
bolts, washers and nuts.
02 When both stabilisers have been at-
tached, stand the bike up, remove the
locking pin, unfold the bike and then
reinsert the locking pin.

07
www.viavito.com
Step Two.
01 Attach the handlebar (5) to the main
frame (1) using the Allen bolts (23),
curved washers (24) and at washers
(22). The at washers go at the side
of the main frame and the curved
washers at the front.
02 Connect the sensor wire (19) to the
cable coming out of the computer (8).

08 www.viavito.com
Step Three.
Attach the pedals (7L/R) to the respective
cranks (6L/R).
Note: The pedals are labelled L for LEFT
and R for RIGHT.
Important: To tighten them, turn the
left pedal ANTI-CLOCKWISE and the right
pedal CLOCKWISE.

09
www.viavito.com
Step Four.
01 Fasten the saddle (4) to the saddle
post (16) using at washer (29) and
nylon nut (30).
02 Insert the saddle post (16) into the
post of the main frame (1).
03 Adjust to the desired height and align
the hole on the saddle post (16) with
the hole on the post of the main frame
(1) so that the pin of the seat-post
knob (15) clicks into the hole. Then
tighten the seat-post knob to secure.
Note: Partially unscrew the seat-post
knob (15) and pull backwards to adjust
the height of the saddle post (16).
Once the desired height is reached,
re-tighten seat-post knob to secure.

10 www.viavito.com
Folding & Storage
The Onyx bike is foldable. There is a locking pin in the centre of the frame. Remove the
locking pin, fold or unfold the bike as required, and then reinsert the locking pin to se-
cure the bike in place. Take care not to trap ngers when folding or unfolding the bike!

11
www.viavito.com
Console Instructions.
Display Functions
Button Functions
All data displayed is approximate guidance and cannot be used in any medical
application.
Heart rate displayed is an approximate read-out, and may not be used as guidance in any
cardio-vascular related medical or paramedical program.
The red button on the console is the MODE button and lets you turn on the console,
select functions and change the units viewed during your workout.
TIME Shows the total workout time with a display range of 00:00-99:59
SPEED Shows your current speed with a display range of 0.0-99.9KM/H
DISTANCE Shows the total distance done for your current workout with a
display range of 0.00-999.9KM
CALORIES Shows the number of calories burnt during your workout with a
display range of 0.0-9999KCAL
ODOMETER Shows the total accumulated distance done on the bike, with a
display range of 0-9999KM
PULSE Shows your current heart rate when holding the pulse sensors,
with a display range of 40-240BPM

12 www.viavito.com
Operation
Changing The Resistance
1. Auto ON/OFF
The console will turn on when the button is pressed or when you start pedalling.
The console will automatically turn o when no buttons are pressed or you have not
pedalled for approximately 4 minutes.
2. Reset
The units can be reset either by changing the batteries in the console or by pressing and
holding the MODE key for 3 seconds.
3. Scan/Lock
During your workout, the console can be locked to display a single unit of feedback or
scan through all your metrics (speed, distance, time, odometer, calories, pulse). Hold the
MODE button to switch between SCAN and LOCK.
Resistance is increased and decreased by turning the resistance knob (part number 18)
clockwise and anti-clockwise respectively.

13
www.viavito.com
Conditioning Guidelines.
Why Exercise?
Exercise has been proven essential for good health and general wellbeing. Regular
exercise will:
• Relieve tension and stress
• Provide enjoyment and fun
• Stimulate the mind
• Help maintain stable weight
• Control appetite
• Boost self-image
• Improve muscle tone and strength
• Improve exibility
• Lower blood pressure
• Relieve insomnia
The following guidelines will help you to plan your exercise program and exercise safely.
Remember that proper nutrition and adequate rest are essential for successful results.
WARNING: Before beginning to use this machine or any starting any other exercise
program, consult your doctor. This is especially important for pregnant women and new
mothers, all people over the age of 35, and those with medical problems such as heart
disease, high or low blood pressure, injuries, joint problems, obesity and asthma.

14 www.viavito.com
Target Heart Rate
To train eectively you should aim to work in the heart rate zone appropriate to your
age as stipulated below. Please note this is a guide and your heart rate at rest and during
training is determined by your tness level and other lifestyle factors as well as your age.
If you reach the recommended beats per minute below and feel you’re over-exerting
yourself stop, rest and when you feel recovered return to exercise at a lower intensity.
AGE TRAINING ZONE - MIN - MAX (BPM)
20 133 - 167
25 132 - 166
30 130 - 164
35 129 - 162
40 127 - 161
45 125 - 159
50 124 - 156
55 122 - 155
60 121 - 153
65 119 - 151
70 118 - 150
75 117 - 147
80 115 - 146
85 114 - 144

15
www.viavito.com
Beginners Guide to Exercise
Workout Tips
If you’re beginning an exercise program for the rst time or starting a new exercise pro-
gram, you must check with your doctor that you are t to do so particularly if:
• You have been diagnosed with heart
problems, high blood pressure or other
medical conditions
• You have not exercised for over a year
• If you are over 35 and do not currently
exercise
• You are pregnant or are a new mother
• You have diabetes
• You have chest pain, or experience
dizziness or fainting spells
• You are recovering from an injury or
illness
• Always perform a warm-up and stretching exercises before your workout and a cool-
down and stretching exercises at the end
• Start slowly and build up your time, speed and resistance gradually; doing too much
too soon can lead to injuries
• If you are sore or tired, give yourself a few extra days to recover

16 www.viavito.com
How To Begin
How Hard Should You Work?
• Start with two or three 15-minute
sessions per week with a rest day
between workouts
• Warm up for 5 to 10 minutes with gentle
movements incorporating the whole
body such as walking while swinging
your arms in a circle and then stretch the
muscles you’ll use during your workout.
Seated cycling works mainly the
quadriceps (thighs) and hamstrings
• Increase the pace and resistance to
slightly harder than comfortable and
exercise for as long as you can. You
may only be able to exercise for a few
minutes at a time, but that will change
quickly when you exercise regularly
• End each workout with a 5-minute cool-
down with the resistance set to a low
level. You should then stretch the
muscles you’ve just worked to develop
exibility, reduce muscle soreness and
prevent injury
• Increase your workout time by a few min-
utes each week until you can work
continuously for 30 minutes per session
• Don’t worry about distance or pace for
the rst few weeks, focus on endurance
and conditioning.
When exercising, you should try to stay within your target heart rate (THR) zone.
The table on page 14 will tell you the THR for your age.
Always be aware of how you feel when you exercise. If you feel dizzy or light-headed,
stop immediately and rest.

17
www.viavito.com
Tips For Stretching
• Begin with small mobility exercises of all
the joints e.g. simply rotate the ankles,
bend the knees and roll your hips.
Gradually make the movements larger
and faster. This will allow the body’s
natural lubrication (synovial uid) to
protect the surface of your bones
at these joints
• Always warm up the body before
stretching, as this increases blood ow
around the body, creating warmth which
makes the muscles more supple
• Start with your legs, and steadily work up
the body
• Each stretch should be held for at least
10 seconds (working up to 20 to 30
seconds) and usually repeated
about 2 or 3 times
• Do not stretch until it hurts. If there’s any
pain, ease o
• Don’t bounce. Stretching should be
gradual and relaxed
• Don’t hold your breath during a stretch
• Stretch after exercising to prevent mus-
cles from
tightening up
• Stretch at least three times a week to
maintain exibility.

18 www.viavito.com
Warm-Up and Cool-Down
A successful cardio-vascular exercise program consists of a full-body warm-up, aerobic
exercise, and a cool-down. Do the entire program at least two and preferably three
times a week, resting for a day between workouts. After several months, you can
increase your workouts to four or ve times per week.
WARM-UP
The purpose of warming up is to prepare your body for exercise and to minimise injuries.
Warm up for ve minutes before strength training or exercising aerobically. Perform
activities that raise your heart rate and warm the working muscles. Activities may include
brisk walking, jogging, jumping jacks, jump rope, and running on the spot. Try to
incorporate moves that take the joints through their full range of motion.
STRETCHING
Stretching while your muscles are warm after a proper warm-up and again after your
strength or aerobic training session is very important. Muscles stretch more easily at
these times because of their elevated temperature, which greatly reduces the risk
of injury. Stretching develops exibility and reduces muscles soreness.
Stretches should be held for 15 to 30 seconds.
DO NOT BOUNCE OR OVER-STRETCH
Take your time in each stretch. Gradually take each stretch a little deeper on every out
breath to your personal maximum.

19
www.viavito.com
COOL-DOWN
The purpose of cooling down is to return the body to its normal or near normal, resting
state at the end of each exercise session. A proper cool-down slowly lowers your heart
rate, allows blood to return to the heart and helps prevent muscle soreness
caused by the build-up of lactic acid in the muscles.
Side Stretch

20 www.viavito.com
Customer Support.
Should you require any assistance
regarding this product please gather
the following information and then
contact us using the details below:
• Serial No. - This can be found on
a label on the product itself
• Original purchase date
• Place of purchase
• Information about the place and
conditions of use
• Precise description of the issue
or defect.
IMPORTANT!! - Please retain your
sales receipt, Viavito Customer Care
may request proof of purchase to
validate eligibility for warranty service.
Warranty cover starts from the date
shown on the proof of purchase.
The best way to contact us is via the
website: www.viavito.com
Viavito Ltd
Sabichi House
5 Wadsworth Road
Perivale, Middlesex
UB6 7JD
Email: support@viavito.com
Contact Information
https://www.facebook.com/MyViavito
https://plus.google.com/+Viavito
https://twitter.com/MyViavito
Other manuals for Onyx
1
Table of contents
Other Viavito Exercise Bike manuals