VideoProtects VP220D User manual

430751-081 (Rev. 8/21) Copyright 2021 VideoProtects Incorporated. All rights reserved.
VP220D
Installation Guide

VP220D Installation Guide | 2430751-081 (Rev. 8/21) Copyright 2021 VideoProtects Incorporated. All rights reserved.
Table of Contents
Camera Features
..................................................................3
Quick Installation Guide
..............................................................4-8
Status Bar Key
..................................................................9

VP220D Installation Guide | 3430751-081 (Rev. 8/21) Copyright 2021 VideoProtects Incorporated. All rights reserved.
Camera Features

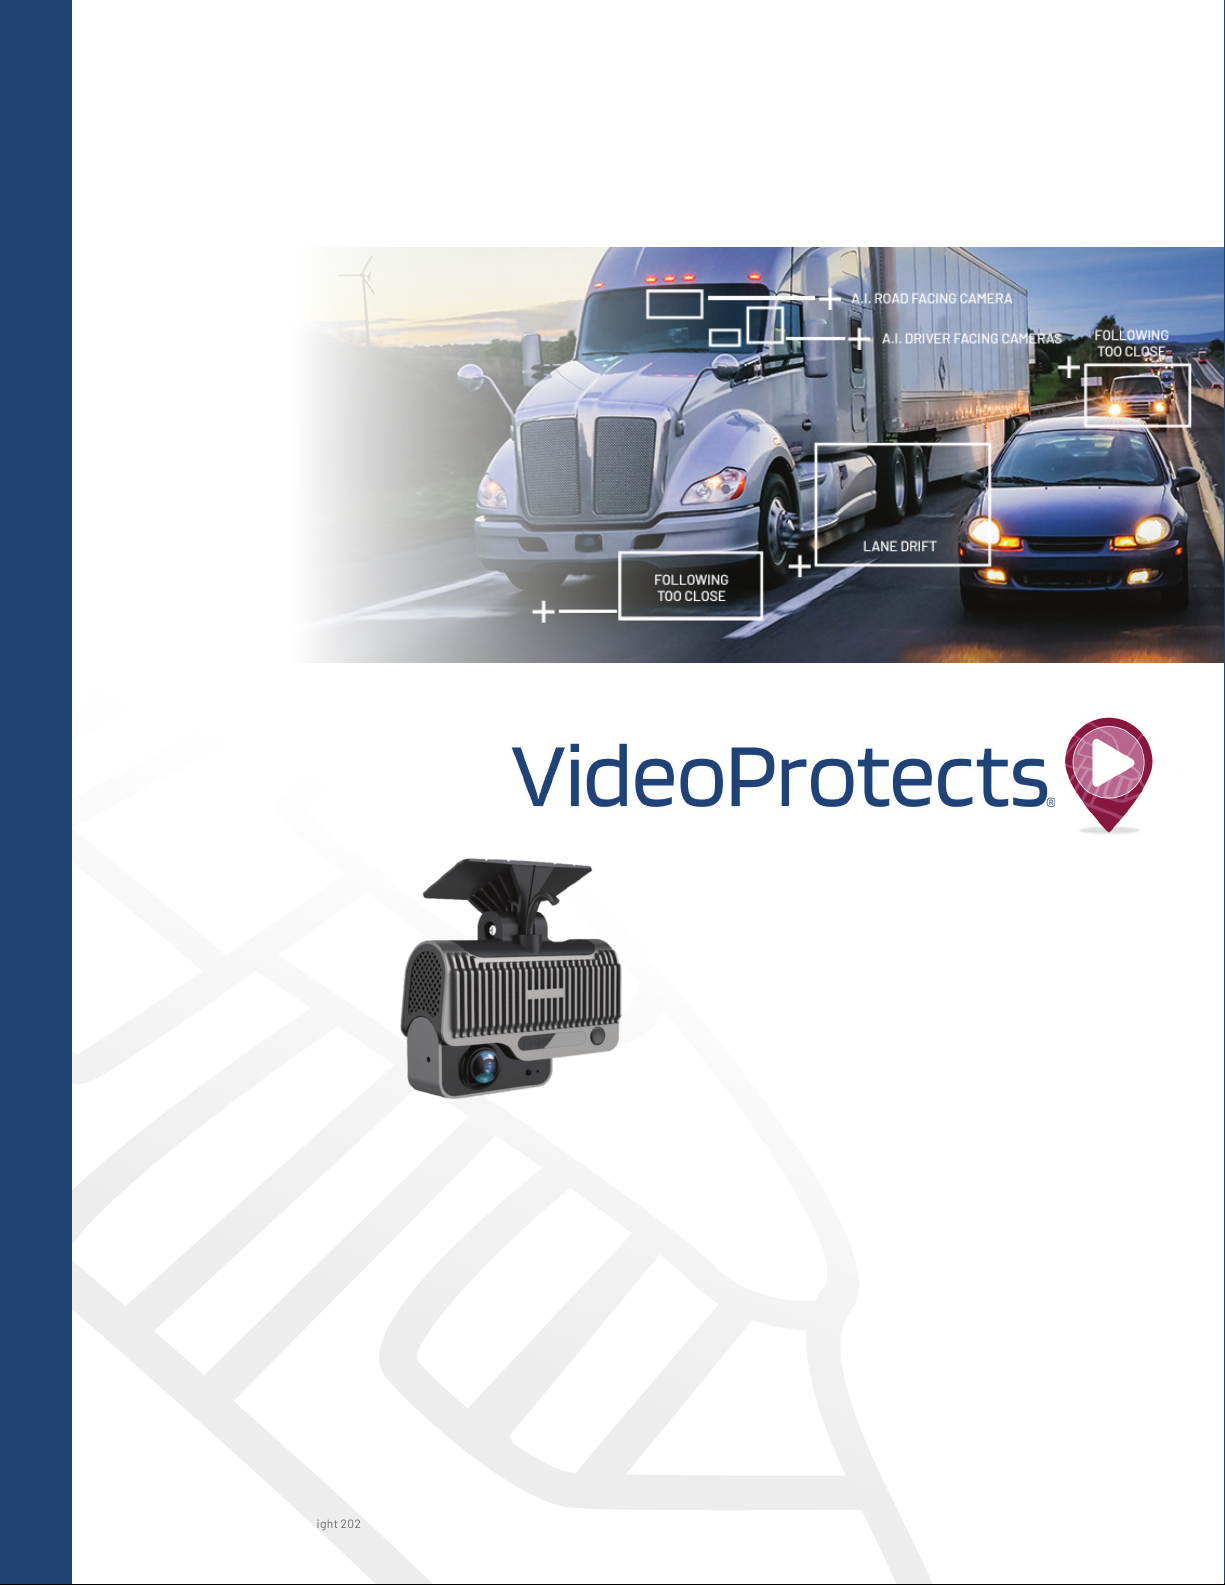
VP220D Installation Guide | 4430751-081 (Rev. 8/21) Copyright 2021 VideoProtects Incorporated. All rights reserved.
Quick Installation Guide
1) The camera must be installed in the middle of the front windshield, generally in the
rearview mirror area above the centerline of the front windshield. For optimal accuracy
of the forward-facing camera placement must be within 5cm of the center line.
2) The external camera lens must be located within the working range of the left or right
windshield wipers.
3) The optimum vertical height of the external camera lens to the ground is between
130 cm-240 cm. Be sure that the camera placement does not interfere with the
driver’s view from the rearview mirror.
The ideal installation area is shown in the figure below:
1) Clean the interior and exterior of the glass in the
target installation area with an alcohol wipe to
ensure that no dirt on the glass in this area will affect
the adhesion of the mounting bracket and view of
the external camera lens. Ensure the glass is dry
before mounting.
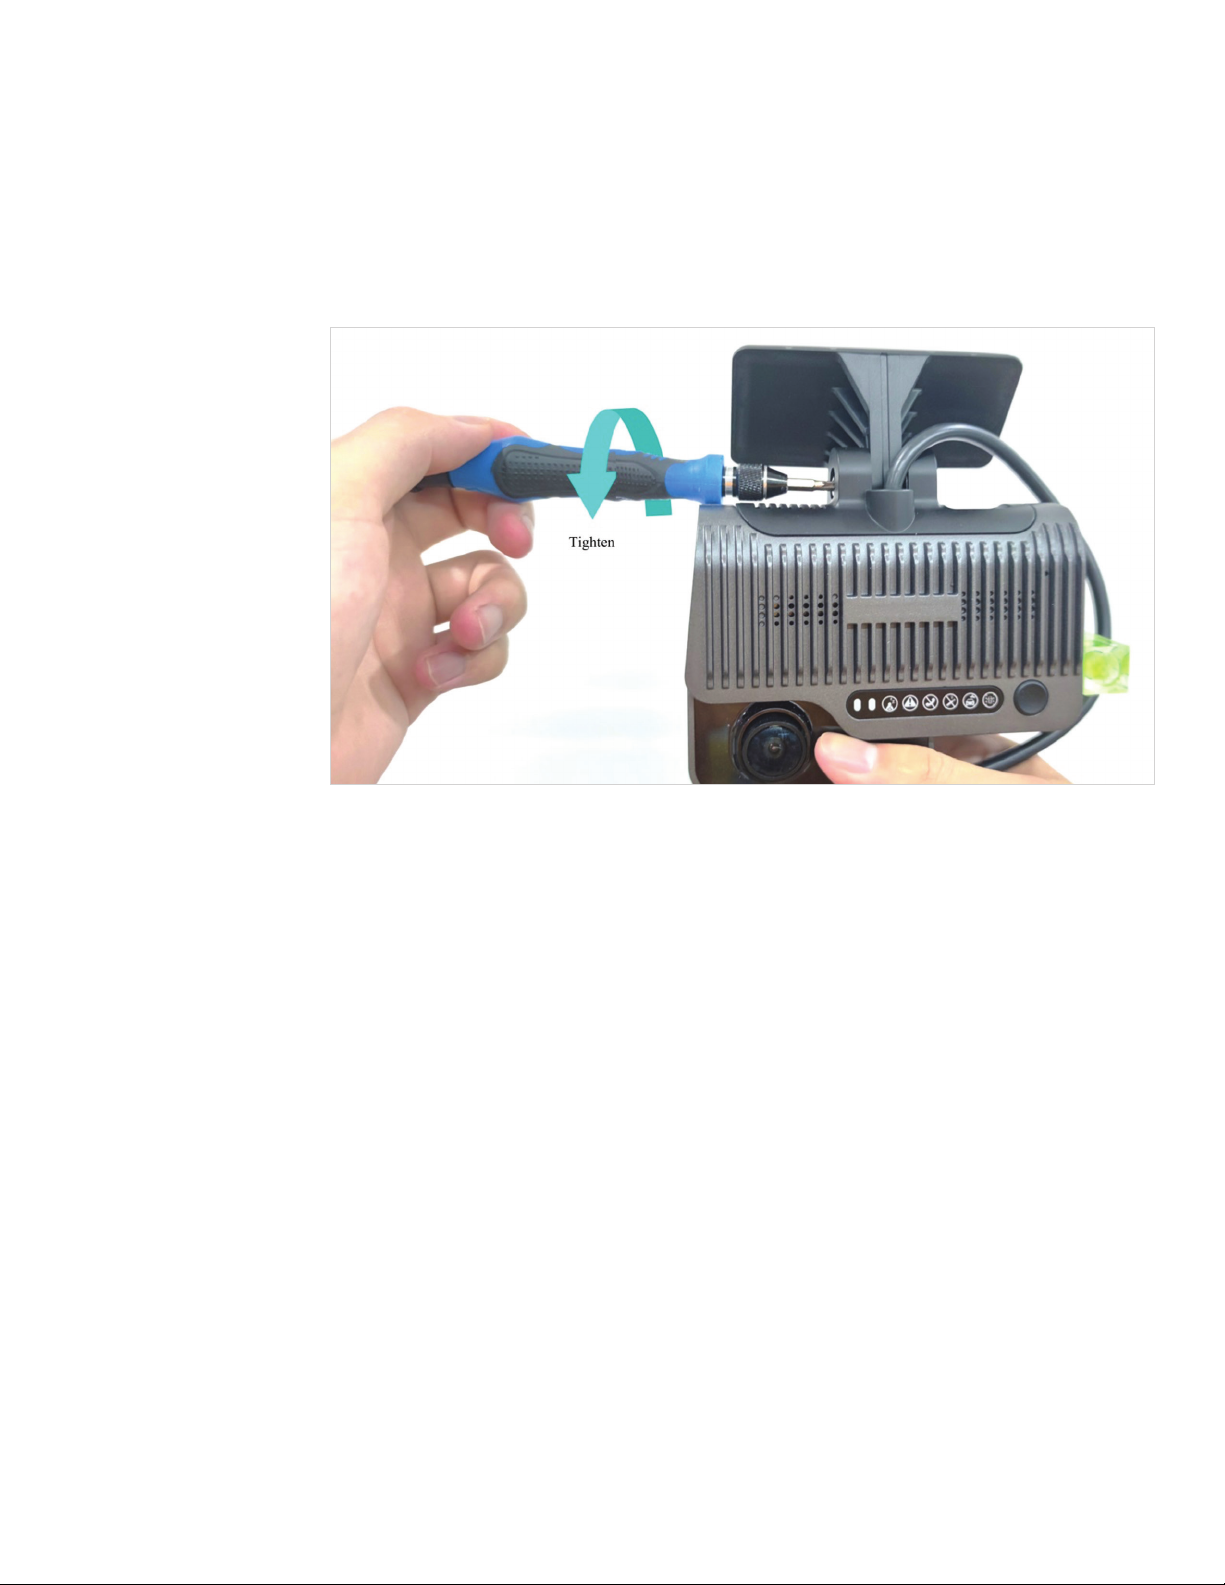
2) Align the mounting bracket with the connection
of the bracket facing down (with the toothed side
facing left).
3) Tear off the 3M adhesive film on the bracket and stick
the bracket horizontally level on the front windshield.
Then press the bracket in place for 10 seconds to
ensure there are no bubbles between the bracket
and the glass.
Step 1 – Specify the position to install the camera
Vehicle Centerline
Step 2 – Install the camera bracket

VP220D Installation Guide | 5430751-081 (Rev. 8/21) Copyright 2021 VideoProtects Incorporated. All rights reserved.
Connect the camera to the bracket with the front side facing inward — with the teeth on the
left side of the bracket engaged with those on the left inner side of the camera. Tighten the
bracket bolt clockwise with a PH2 cross screwdriver. Before tightening completely, adjust the
camera to be as close to vertical as possible.
Step 3 – Install the camera

VP220D Installation Guide | 6430751-081 (Rev. 8/21) Copyright 2021 VideoProtects Incorporated. All rights reserved.
Step 4 – Connect power supply
There are three ways to provide power to the camera:
1) Quick plug-in OBD-II power cable adapter (ordered separately)
If using the OBD-II power supply connection, plug the power box cable into the camera.
Then, connect the OBD-II quick plug to the power box cable. Route the assembled cable
up under the headliner, and down the A pillar into the dashboard area near the OBD-II port
on the vehicle. Plug the OBD-II quick connector into an available OBD-II port. Secure the
cables under the dashboard with zip ties.
NOTE: An OBD-II T harness (ordered separately) will be required to provide multiple
OBD-II ports for connecting the camera and a GO device.
2) Quick plug-in 9 pin power cable adapter (ordered separately)
If using the 9-pin power supply connection, plug the power box cable into the camera.
Then, connect the 9-pin quick plug to the power box cable. Route the assembled cable
up under the headliner, and down the A pillar into the dashboard area near the 9-pin port
on the vehicle. Plug the 9-pin quick connector into an available 9-pin port.
NOTE: A 9-pin T harness (ordered separately) might be required to provide the appropriate
ports for connecting the camera and a GO device.

VP220D Installation Guide | 7430751-081 (Rev. 8/21) Copyright 2021 VideoProtects Incorporated. All rights reserved.
3) Direct wiring “cut-in” (included in camera kit)
If the mode of power supply connection through discrete wire “cut-in” is adopted,
connect POWER/ACC/GND with the power cable of the vehicle, respectively.
Professional installation is highly recommended for this option.

VP220D Installation Guide | 8430751-081 (Rev. 8/21) Copyright 2021 VideoProtects Incorporated. All rights reserved.
Step 5 – Secure cables
Secure all cables by routing them under the headliner and behind the trim panels or with zip
ties and mounting blocks. Securely fasten any cables under the dash up and out of the way
of the operator.
Step 6 – Power on camera and validate operation
1) Ensure that all power cables are connected and that the GO device is installed per
GeoTab’s instructions (see GeoTab for GO device installation steps).
2) Turn on the vehicle ignition to power up the camera.
3) Wait for at least 2 minutes and verify that the status bar on the camera indicates
proper function of the camera (the first icon, Power, is solid green).
NOTE: The four (4) infrared lights surrounding the driver facing camera may also be visible
depending on the ambient light conditions inside the vehicle.

VP220D Installation Guide | 9430751-081 (Rev. 8/21) Copyright 2021 VideoProtects Incorporated. All rights reserved.
Status Bar Key
Icon Denition Status Description
1Power Power connection is good: solid green light
2Alarm Default: light off
When an event alarm is triggered the red light will blink three times
3GPS Location connection normal: light off
Location connection abnormal: solid red light
4NET Cellular Network connection normal: light off
Cellular Network connection abnormal: solid red light
5WIFI Client mode: light off
Access Point (AP) mode: solid red light
6Road facing
camera
Video recording working: light off
Video recording abnormal: solid red light
7Safety cabin
camera Video recording working: light off
8REC No extra connect camera or extra camera working: light off
Extra camera connection abnormal: solid red light
1 2 3 4 5 6 7 8

430723-081
Other manuals for VP220D
1
Other VideoProtects Dashcam manuals