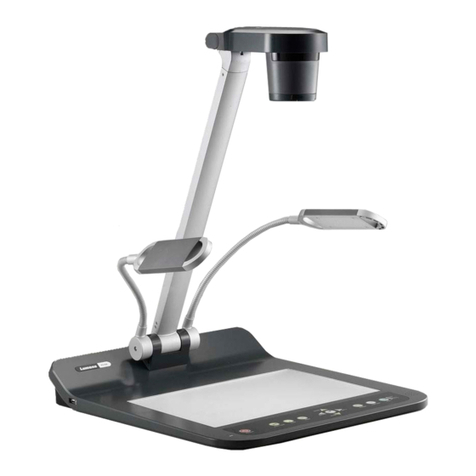
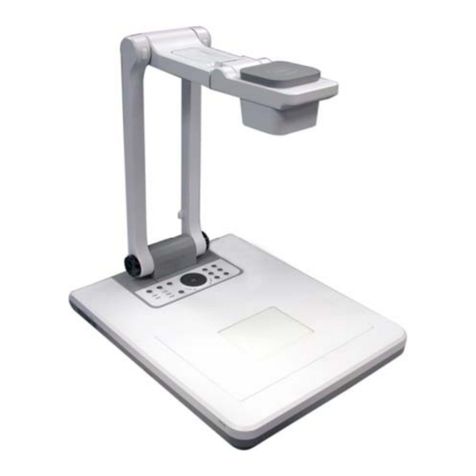
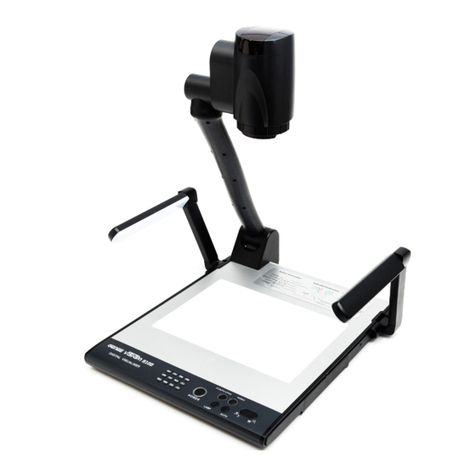
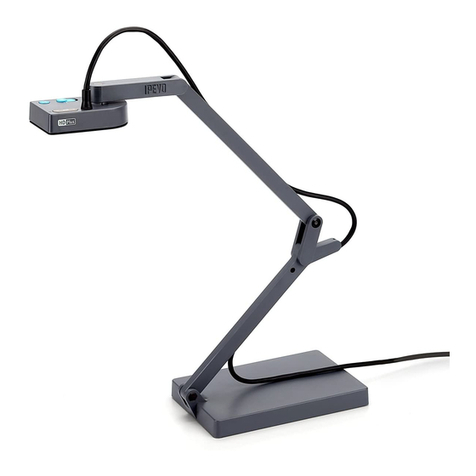
Vidifox i3780T User manual

1
i3780T
Document Camera
USER MANUAL

2
Please read this manual carefully before operating the document camera and keep it for reference
PRECAUTIONS
NOTICES: PLEASE READ CAREFULLY BEFORE USE
Use the document camera under the rated electric conditions.
Do not place the document camera on any unstable surface. It may fall and cause injures or
damages.
Do not place this device directly under sunlight or near heaters.
Do not place this device near water.
Keep the camera away from acid or alkali gas.
Do not place this document camera in humid, dusty, windy or vibrant locations.
The recommended operating environment is:
Temperature: 0ºC--45ºC(32ºF-113ºF)
Humidity: less than 75%
Always unplug BEFORE cleaning the device. Use a damp soft-cloth for cleaning. Do not use
volatile solvent.
When this equipment functions abnormally, such as smoke, smell, noise, immediately
unplug and call for professional assistance.
Unplug the document camera or shut off the power when not in use.

3
USER MANUAL...........................................................................................1
1. PARTS IDENTIFICATION.................................................................. 5
2. CONTROL PANEL .................................................................................6
3. TOUCH FUNCTION ...............................................................................7
4. INPUTS AND OUTPUTS........................................................................9
5. REMOTE CONTROL ...........................................................................10
6. CONNECTIONS ....................................................................................12
6.1. COMPUTER CONNECTION...............................................................................................13
6.2. USB-A CONNECTION......................................................................................................... 14
6.3. VGA OUTPUT CONNECTION ........................................................................................... 15
6.4. DVI OUTPUT CONNECTION ............................................................................................. 16
7. USB FUNCTION ....................................................................................17
7.1 USB-A..................................................................................................................................... 17
7.2 USB-B..................................................................................................................................... 17
7.2.1 COMPUTER REQUIREMENTS .................................................................................. 17
7.2.2 PREPARATION FOR INSTALLATION ..................................................................... 18
7.2.3 SOFTWARE INSTALLATION .................................................................................... 24
7.2.4 SOFTWARE START .................................................................................................... 25
7.2.5 IMAGE CONTROL....................................................................................................... 27
7.2.6 IMAGE CAPTURE AND VIDEO RECORDING ........................................................ 28
7.2.7 SETTING..................................................................................................................... 299
7.2.8 IMAGE MODIFY.......................................................................................................... 30
8. FEATURES.............................................................................................35
LIGHT........................................................................................................................................... 35
ZOOM IN AND ZOOM OUT ...................................................................................................... 35
POSITIVE/NEGATIVE CONVERSION ..................................................................................... 35
FOCUS ADJUSTMENT............................................................................................................... 35
BRIGHTNESS ADJUSTMENT................................................................................................... 35
WHITE BALANCE ADJUSTMENT........................................................................................... 35
IMAGE FREEZE.......................................................................................................................... 36
IMAGE ROTATE......................................................................................................................... 36
SPLIT SCREEN............................................................................................................................ 36
TITLE FUNCTION ...................................................................................................................... 36
PICTURE IN PICTURE FUNCTION .......................................................................................... 36
IMAGE SAVE .............................................................................................................................. 36
IMAGE RECALL ......................................................................................................................... 36
RGB INPUT SWITCH ................................................................................................................. 37

4
OUTPUT SWITCH....................................................................................................................... 37
USB IMAGE CAPTURE AND VIDEO RECORDING .............................................................. 37
USB HOST PORT ........................................................................................................................ 37
RS232 CONTROL........................................................................................................................ 37
9. SPECIFICATION ..................................................................................38
10. TROUBLE-SHOOTING: ....................................................................38
11. PACKING LIST ...................................................................................39

5
1. PARTS IDENTIFICATION
1. Remote control IR receiver
2. Camera
3. LED light box
4. Upper mechanical arm
5. Main mechanical arm
6. Side panel
7. Back panel
8. Control panel
9. Touch LCD Panel

6
2. CONTROL PANEL
1. POWER: Turn on/off the power.
2. MENU ENTER: a. Activate the on screen menu.
b. Display the selected image in Image Recall mode.
3. PC | CAM : Press this button to toggle between the image from the Camera and the VGA input.
4. AUTO : a. Carry out automatic adjustment for focus, color and white balance.
b. When in Image Recall mode, press this button to delete a selected image.
5. ZOOM+/-: Image zoom in and zoom out control.

7
3. TOUCH FUNCTION
1: Enter to the setting menu
2 Active the function menu
1 Image split
2 Title function
3 Brightness+
4 Brightness-
5 Image freeze
6 Image rotate
7 Focus+
8 Focus-
9 Image capture
10 Text/Picture function
11 Lamp on/off
12 Image mirror
13 Picture-in-picture function
14Negative/positive conversion
15 Image recall

8
16 Exit
3 Annotation function
1 Select writing pen
2 Select clear pen
3 Rubber
4 Delete all annotation
5 Cursor
6 Select the pen's color: Red
7 Select the pen's color:Yellow
8 Select the pen's color:Blue
9 Select the thickness of writing
10 Select the thickness of writing
11 Select the thickness of writing

9
4. INPUTS AND OUTPUTS
1. DC 12V: Power input.
2. RS 232: Serial port, to control the document camera from a computer via this port.
3. DVI: DVI-A signal output.
4. AUDIO OUT: Audio output.
5. VGA OUT: VGA (RGB) signal output (15 pin D-SUB).
6. PC OUT: Output the signal from VGA in PLUG (15 pin D-SUB).
7. VGA IN: VGA (RGB) signal input (15 pin D-SUB).
8. AUDIO IN: Audio input.
9. USB-A: Communicate with a USB device, such as a USB mouse or USB drive stick.
10. USB-B:
a. In USB Video Mode, capture images or record video into a connected
computer via provided software;
b. In USB Disc Mode, download saved images to a connected computer.

10
5. REMOTE CONTROL

11
1. : Turn the document camera on or off.
2. PC/CAM: Press this button to toggle the output image between the document camera and
VGA-IN.
3. MIR: Output right-and-left, up-and-down mirror image
4. Output Format: Press this button to activate the Output Format selection menu on screen. Use
Up and Down arrows to select a desired output format, press MENU ENTER button to
confirm.
5. Arrow Buttons:
a. In Image Recall Mode, use arrow buttons to navigate the thumbnail images;
b. In On-Screen Menu mode, use arrow buttons to select menu items (see details below).
6. MENU ENTER
a. In Camera mode, press and hold the MENU ENTER button to enter the On-Screen Menu mode,
then
1. Use left and right arrow buttons to navigate the menu bar;
2. Press MENU ENTER button briefly to enter the submenu;
3. Use up and down arrows to select a function;
4. Use left and right arrows to change parameters of the selected function.
5. Press and hold MENU ENTER button at anytime to exit the On-Screen Menu mode.
b. In Image Recall mode, press MENU ENTER button to display a selected image.
7. : Turn the LED light on or off.
8. : Activate the USB Mode selection menu on screen. Use Up and Down arrows to select
USB Disc, USB Video, or Exit, press MENU ENTER button to confirm.
9. Save: Capture the current image. If a USB drive is connected to the document
camera, the image will be saved to the USB drive; otherwise, the image will be saved to internal
memory.
10. RECALL:
a. In Camera Mode, press this button to enter the Image Recall mode.
(1) When no USB drive is connected to the document camera, thumbnails of images in the
internal memory will be displayed. Use PAGE+/- keys to navigate between pages; Use

12
arrow keys to select a thumbnail; Press MENU ENTER button to display the selected
image.
(2) When a USB drive is connected to the document camera, contents of the USB drive will
be displayed on screen. Use up and down arrows to select a folder or image file; Press
MENU ENTER button to enter the selected folder or display the selected image.
b. In Image Recall mode, press this button to go back to an upper level.
11. Page +/-: in Image Recall mode, navigate between pages of thumbnail images.
12. AUTO DEL:
a. In Camera mode, carry out automatic adjustment for focus, color and white balance.
b. In Image Recall mode, press this button to delete a selected image.
13. TITLE: Enable the title function.
14. Zoom+/-: Image zoom in and zoom out control.
15. Split: Split screen, enable the comparison between the frozen image and live image.
16. Bri+/-: Image brightness adjustment.
17. Frz: Freeze/unfreeze the image
18. Fc+/-: Adjust focus manually, focus far and focus near.
19. : Rotate the image by 90
o
, 180
o
, 270
o
.
20. Sharp+/-: Adjust sharpness of the image.
21. Neg: Switch the image between positive and negative colors.
22. PIP: Active the Picture in Picture function. Press PIP, it will appear the saved picture, then
select on picture for PIP picture.
23. T/P: Switch the output image between the text mode and picture mode
.
6. CONNECTIONS

13
6.1.COMPUTER CONNECTION

14
6.2. USB-A CONNECTION

15
6.3. VGA OUTPUT CONNECTION

16
6.4. DVI OUTPUT CONNECTION

17
7. USB FUNCTION
7.1 USB-A
USB-A connector can be used to communicate with USB mouse and USB memory stick or other
USB slave device.
1. USB mouse
The USB mouse will be automatically activated when plug into the USB-A connector of i3780T,
you can use it to make note or mark on the image.
2. Memory stick
* Connect the memory stick with i3780T, then press Recall button to access the memory stick.
* Use the left and right arrow to exit/enter a folder.
* Use the up and down arrow button to select an image.
* Press Menu Enter to display the selected image.
* Press Recall button to exit.
7.2 USB-B
7.2.1 COMPUTER REQUIREMENTS
Visualizer_USB Camera software is an application that allows user to capture image, preview and
record video under the Windows operating systems.
Visualizer_USB Camera software runs on MS Windows XP, Windows 7, and Vista operating
systems. The minimal requirements for the computer hardware are:
Operating system: Windows XP
CPU: PIV1.8G
Physical memory: 512M
Video memory: 64M

18
7.2.2 PREPARATION FOR INSTALLATION
To install and uninstall, please login in as system administrator, otherwise, the install/uninstall
will fail.
Please connect the unit to the PC before starting installation.
Please select the right software to install:
Visualizer_USB(x32): Windows XP, Windows 7, 32bit.
Visualizer_USB(Windows7 x64): Windows 7, 64bit.
Visualizer_USB(Vista x64): Windows Vista, 64bit.
For Vista system, please do not choose “Use User Account Control (UAC) to help protect your
computer”, follow the step to complete the setting:
1. Open the control panel, then click User accounts:
2. Click “Turn User Account Control on or off”, we will see:

19
3. Make sure do not tick the option “Use User Account Control (UAC) to help protect your
computer”:
For Windows 7, please change the User account control setting to Never Notify. Follow the step to
complete the setting:
1. Click the right key of the mouse, choose properties:

20
2. Click Action center:
3. Click Change User Account Control Setting, then choose Never notify.
Table of contents
Other Vidifox Document Camera manuals

Vidifox
Vidifox PV 380 User manual

Vidifox
Vidifox DV 550S User manual

Vidifox
Vidifox DV 485 User manual

Vidifox
Vidifox PV 360 User manual

Vidifox
Vidifox GV 200 User manual

Vidifox
Vidifox i3030 User manual

Vidifox
Vidifox PV 700ST User manual

Vidifox
Vidifox PV 490S User manual

Vidifox
Vidifox GV 400 User manual

Vidifox
Vidifox DV 480 User manual