CarouselMate_sm-1300-01-Oct2014
Service: 1-866-821-2647 Oce: 1-800-210-0141www.storevertical.com
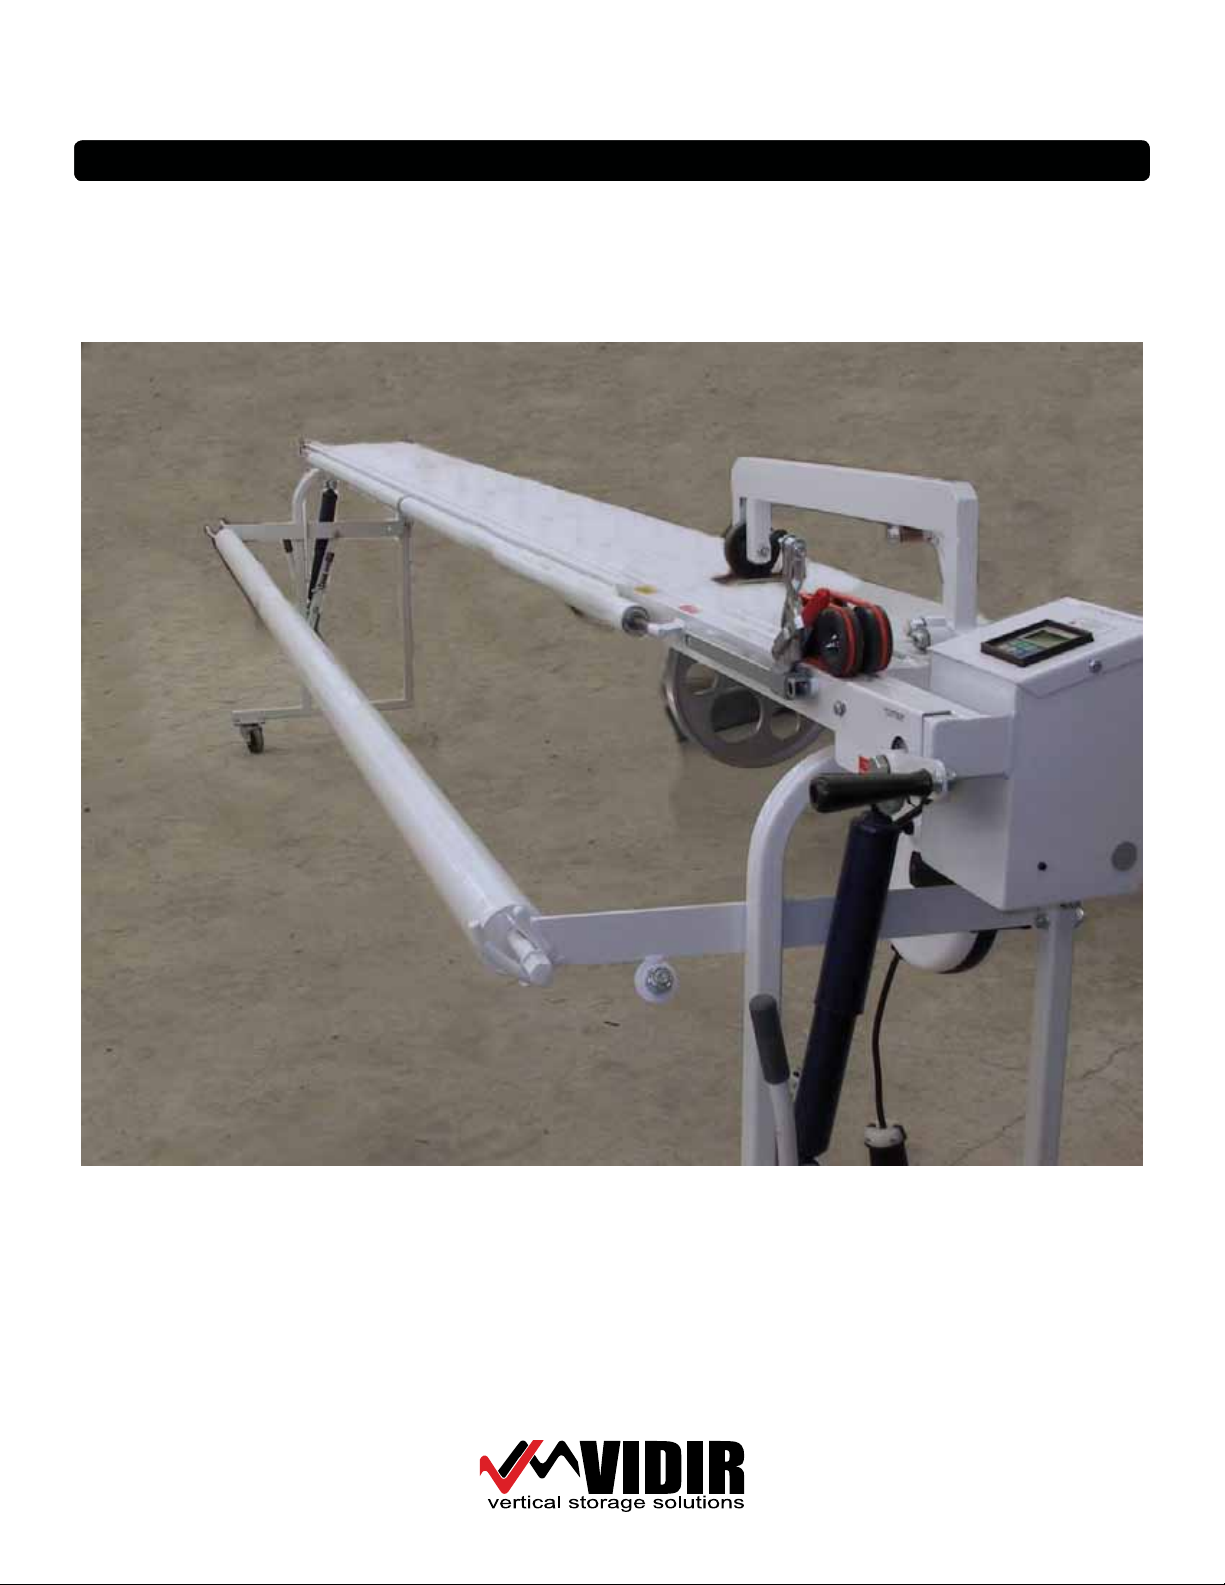
Carousel Mate - Service Manual
TABLE OF CONTENTS
INTRODUCTION ������������������������������������������������������������������������������������������������������������������������������������������������������������������������������������ 1
SAFETY
Important Safety Instructions ��������������������������������������������������������������������������������������������������������������������������������������������������� 2
Safety Precautions ������������������������������������������������������������������������������������������������������������������������������������������������������������������������� 3
Safety Hazards��������������������������������������������������������������������������������������������������������������������������������������������������������������������������������� 3
PREPARATIONS
Electrical Specications ��������������������������������������������������������������������������������������������������������������������������������������������������������������� 4
Grounding Instructions���������������������������������������������������������������������������������������������������������������������������������������������������������������� 4
Grounding Instructions���������������������������������������������������������������������������������������������������������������������������������������������������������������� 5
Building Requirements ���������������������������������������������������������������������������������������������������������������������������������������������������������������� 5
Installation Requirements����������������������������������������������������������������������������������������������������������������������������������������������������������� 5
OPERATING INSTRUCTIONS
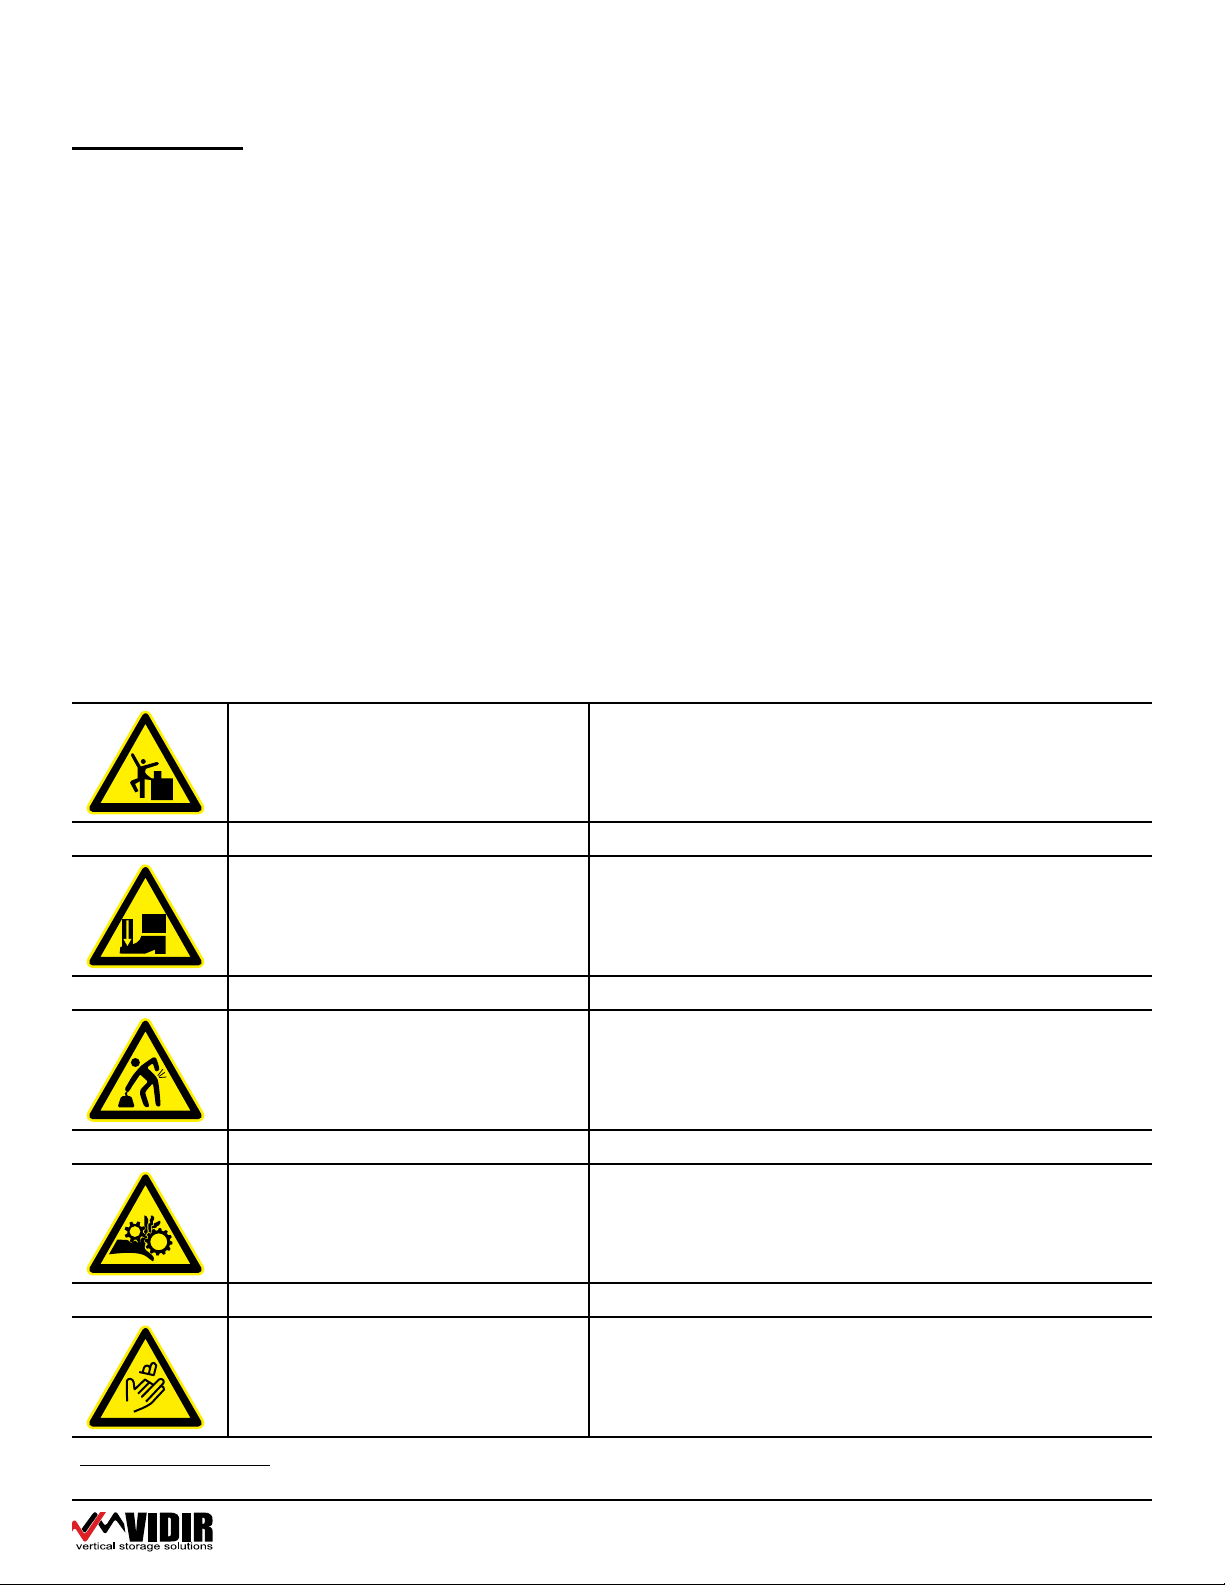
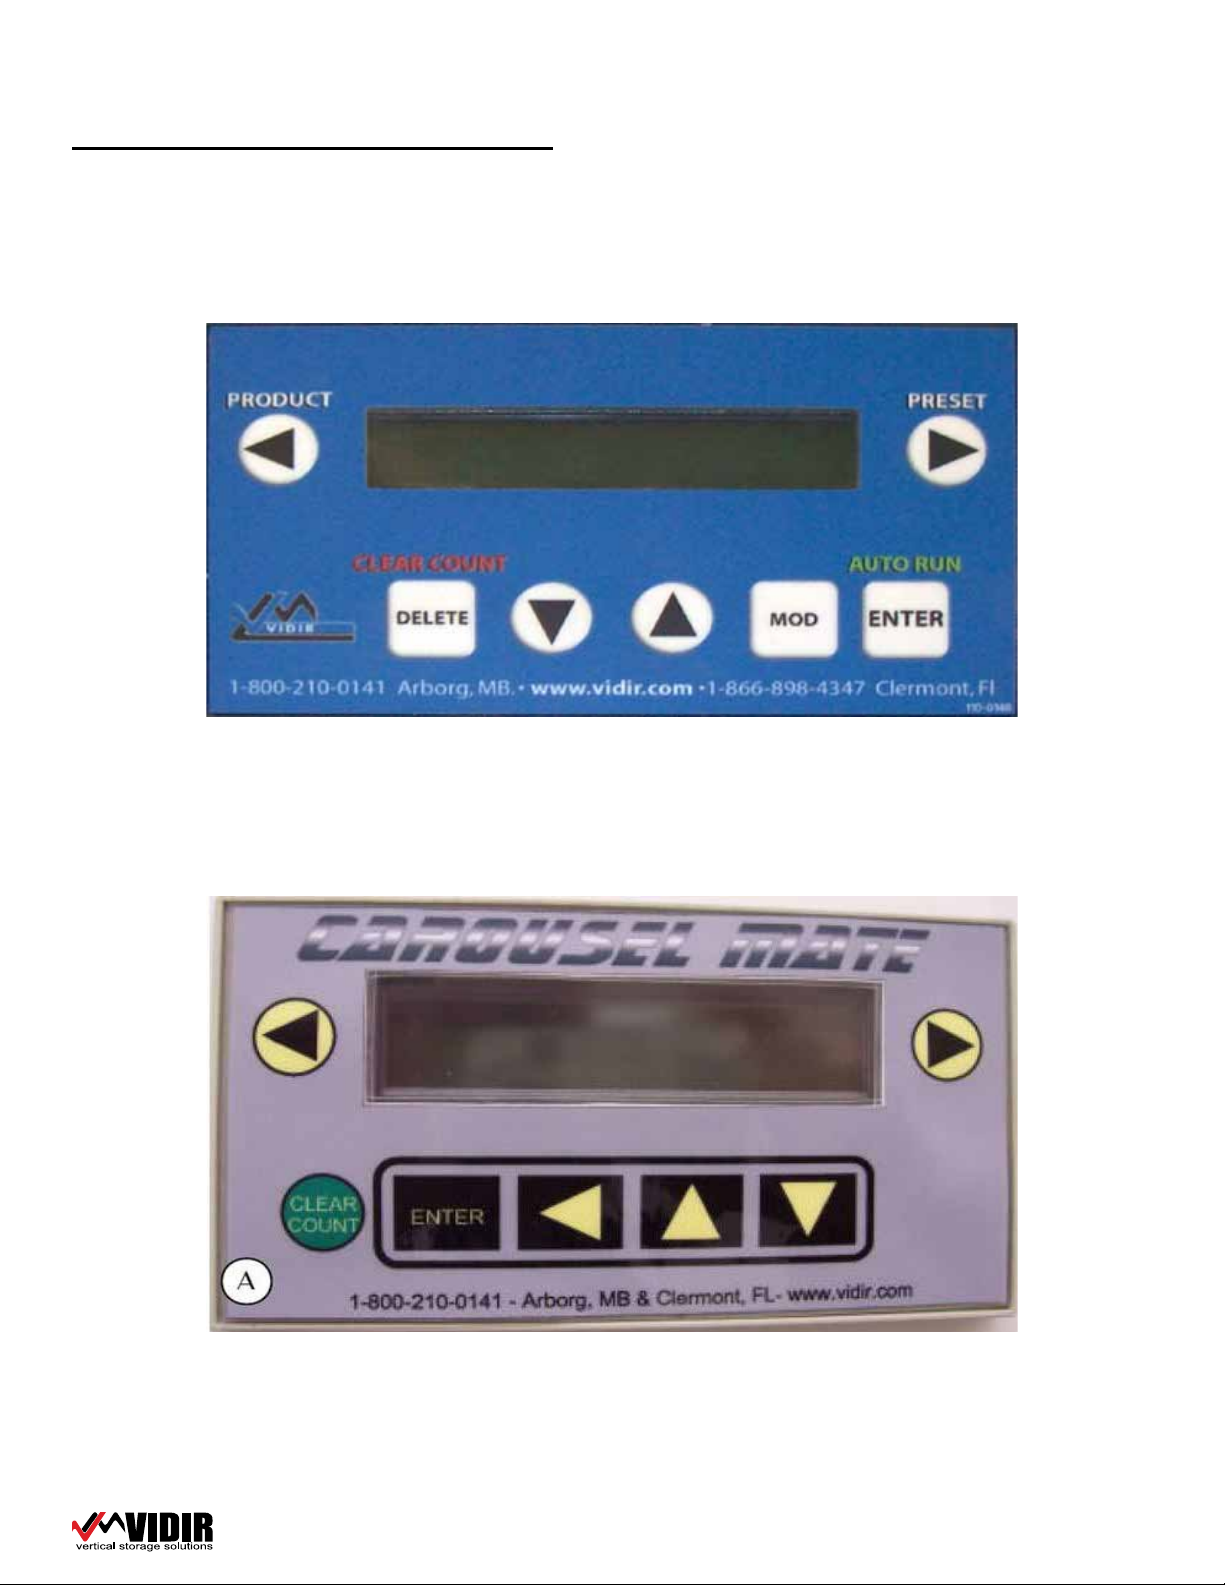
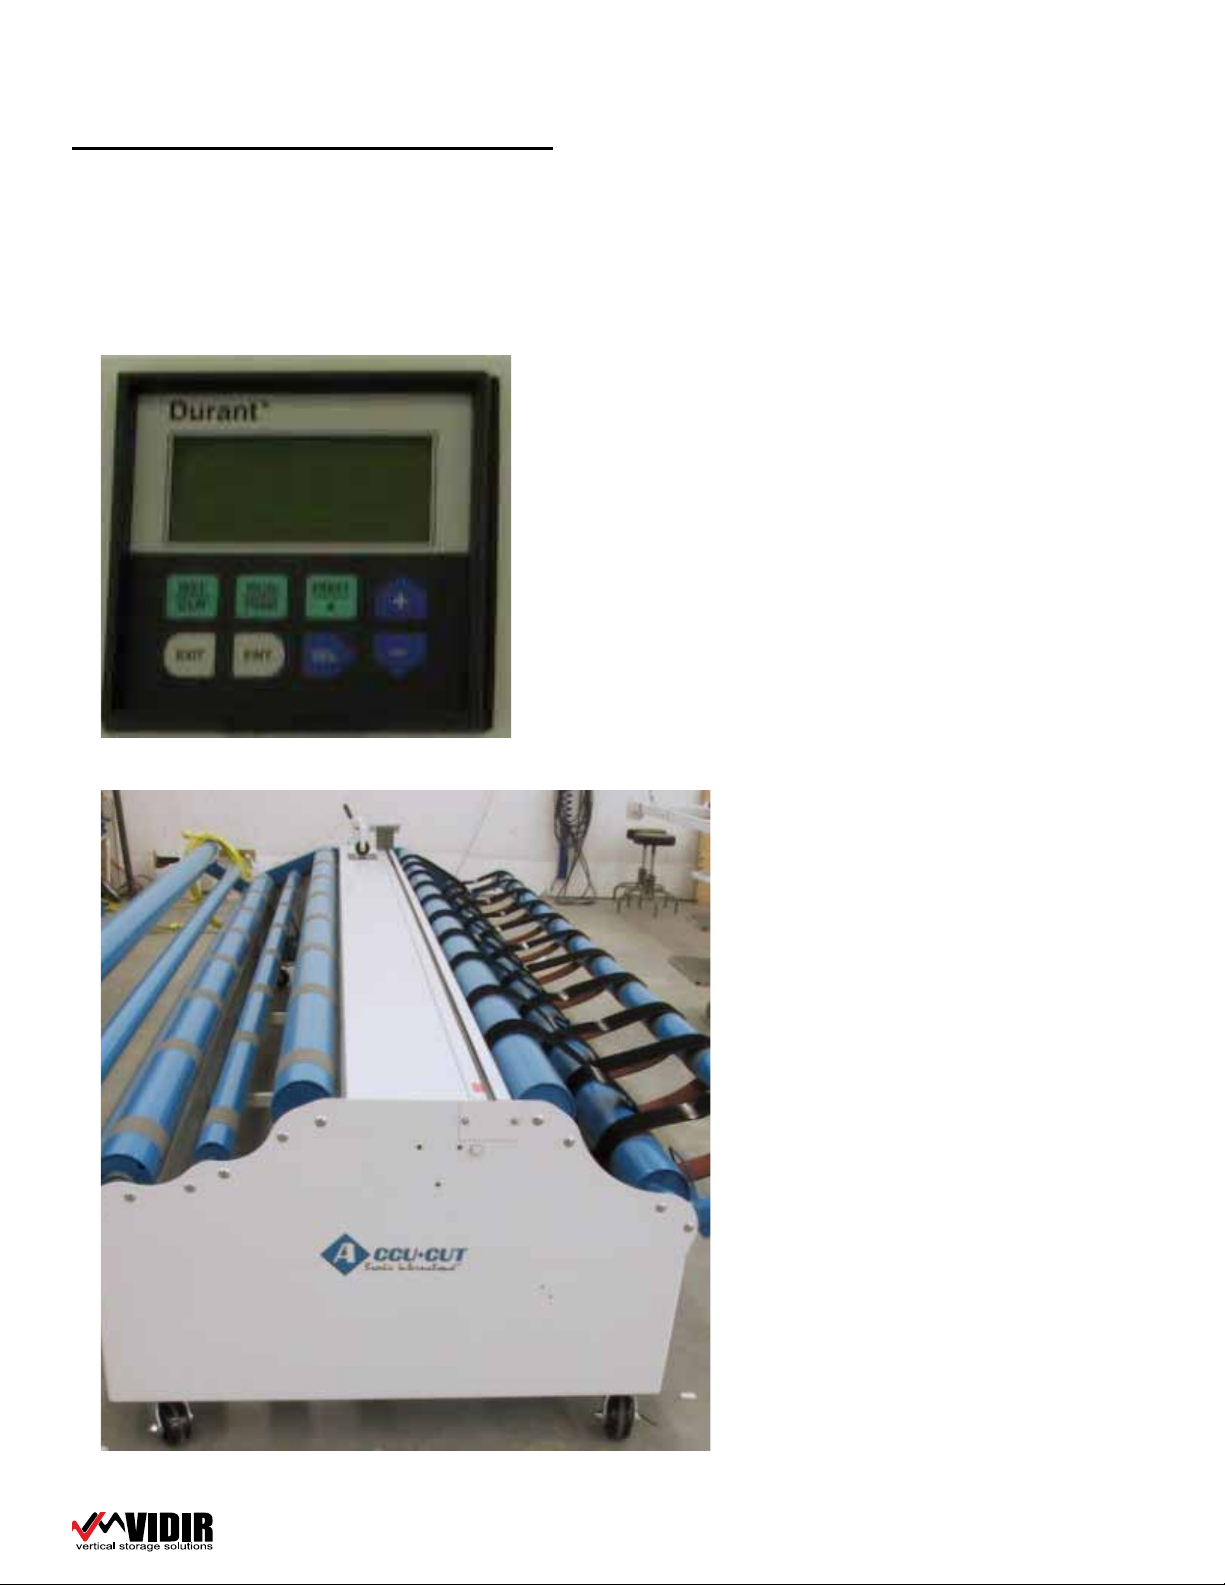
Counter Functions Explained ���������������������������������������������������������������������������������������������������������������������������������������������������� 6
Password Protection ��������������������������������������������������������������������������������������������������������������������������������������������������������������������� 7
Setup �������������������������������������������������������������������������������������������������������������������������������������������������������������������������������������������������� 8
Unit of Measure ������������������������������������������������������������������������������������������������������������������������������������������������������������������������������ 8
Slow Down Preset�������������������������������������������������������������������������������������������������������������������������������������������������������������������������� 8
Calibration Factors������������������������������������������������������������������������������������������������������������������������������������������������������������������������� 9
Enter New User Password ����������������������������������������������������������������������������������������������������������������������������������������������������������� 9
Password Timer������������������������������������������������������������������������������������������������������������������������������������������������������������������������������� 9
Operating the Carousel��������������������������������������������������������������������������������������������������������������������������������������������������������������10
How to change the cutter blade���������������������������������������������������������������������������������������������������������������������������������������������13
How to check counter calibration������������������������������������������������������������������������������������������������������������������������������������������14
PARTS
Electrical Parts �������������������������������������������������������������������������������������������������������������������������������������������������������������������������������15
Counter Parts���������������������������������������������������������������������������������������������������������������������������������������������������������������������������������16
End Frame & Drop Handle ��������������������������������������������������������������������������������������������������������������������������������������������������������17
Misc� parts���������������������������������������������������������������������������������������������������������������������������������������������������������������������������������������18
Cutter Parts�������������������������������������������������������������������������������������������������������������������������������������������������������������������������������������19
Cutter Wheel Cover ���������������������������������������������������������������������������������������������������������������������������������������������������������������������20
Re-roller parts��������������������������������������������������������������������������������������������������������������������������������������������������������������������������������21
TROUBLESHOOTING �������������������������������������������������������������������������������������������������������������������������������������������������������������������������22
WIRING SCHEMATIC ��������������������������������������������������������������������������������������������������������������������������������������������������������������������������23
WARRANTY & LIABILITY
Vidir Machine Inc� Warranty Agreement and Limitation of Liability��������������������������������������������������������������������������25