Control Function Guide
First Use
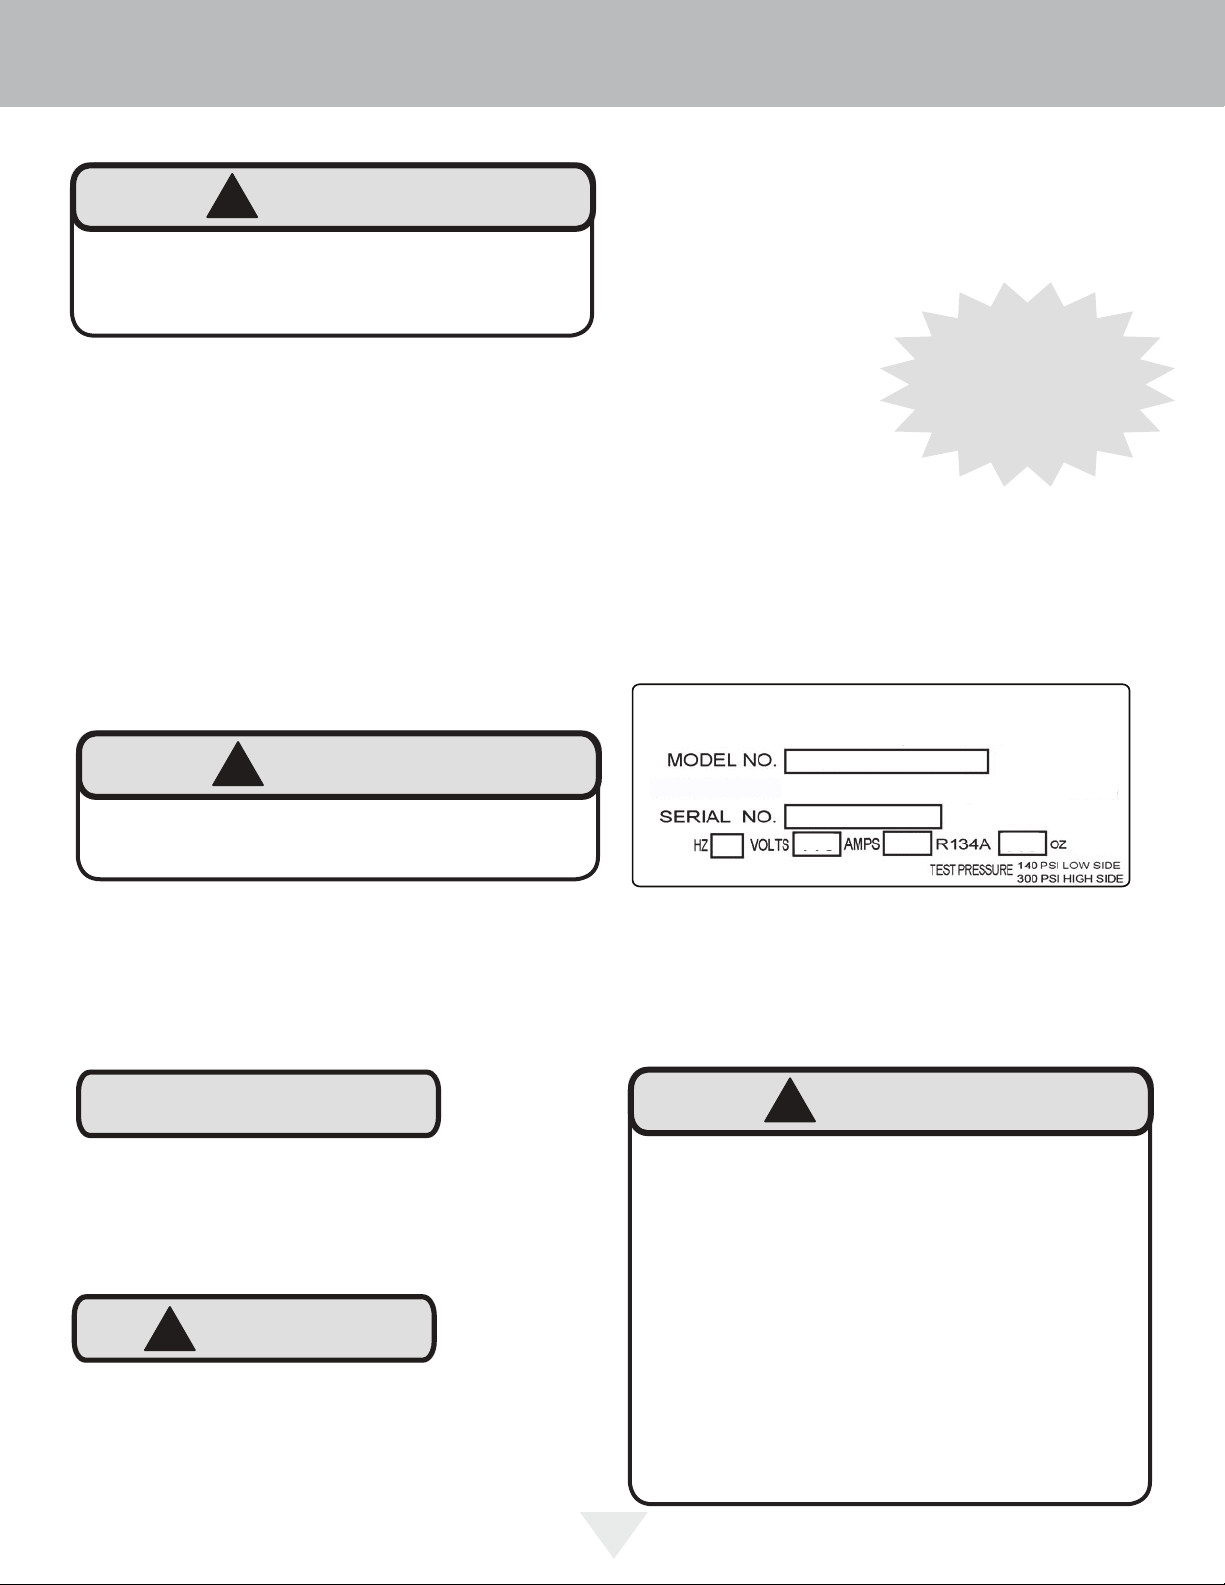
Initial startup requires no adjustments. When plugged in, the unit will
begin operating under the factory default settings. If the unit was turned o
during installation, simply press and the unit will immediately switch on.
To turn the unit o, press .
NOTE: Temperature displayed reects actual temperature inside unit. If the
temperature displayed is dierent than selected, the unit is progressing towards
the selected temperature. Time to reach set point varies based upon ambient
temperature, temperature of product loaded, door openings, etc. It is recommended
to allow the unit to reach set points before loading.
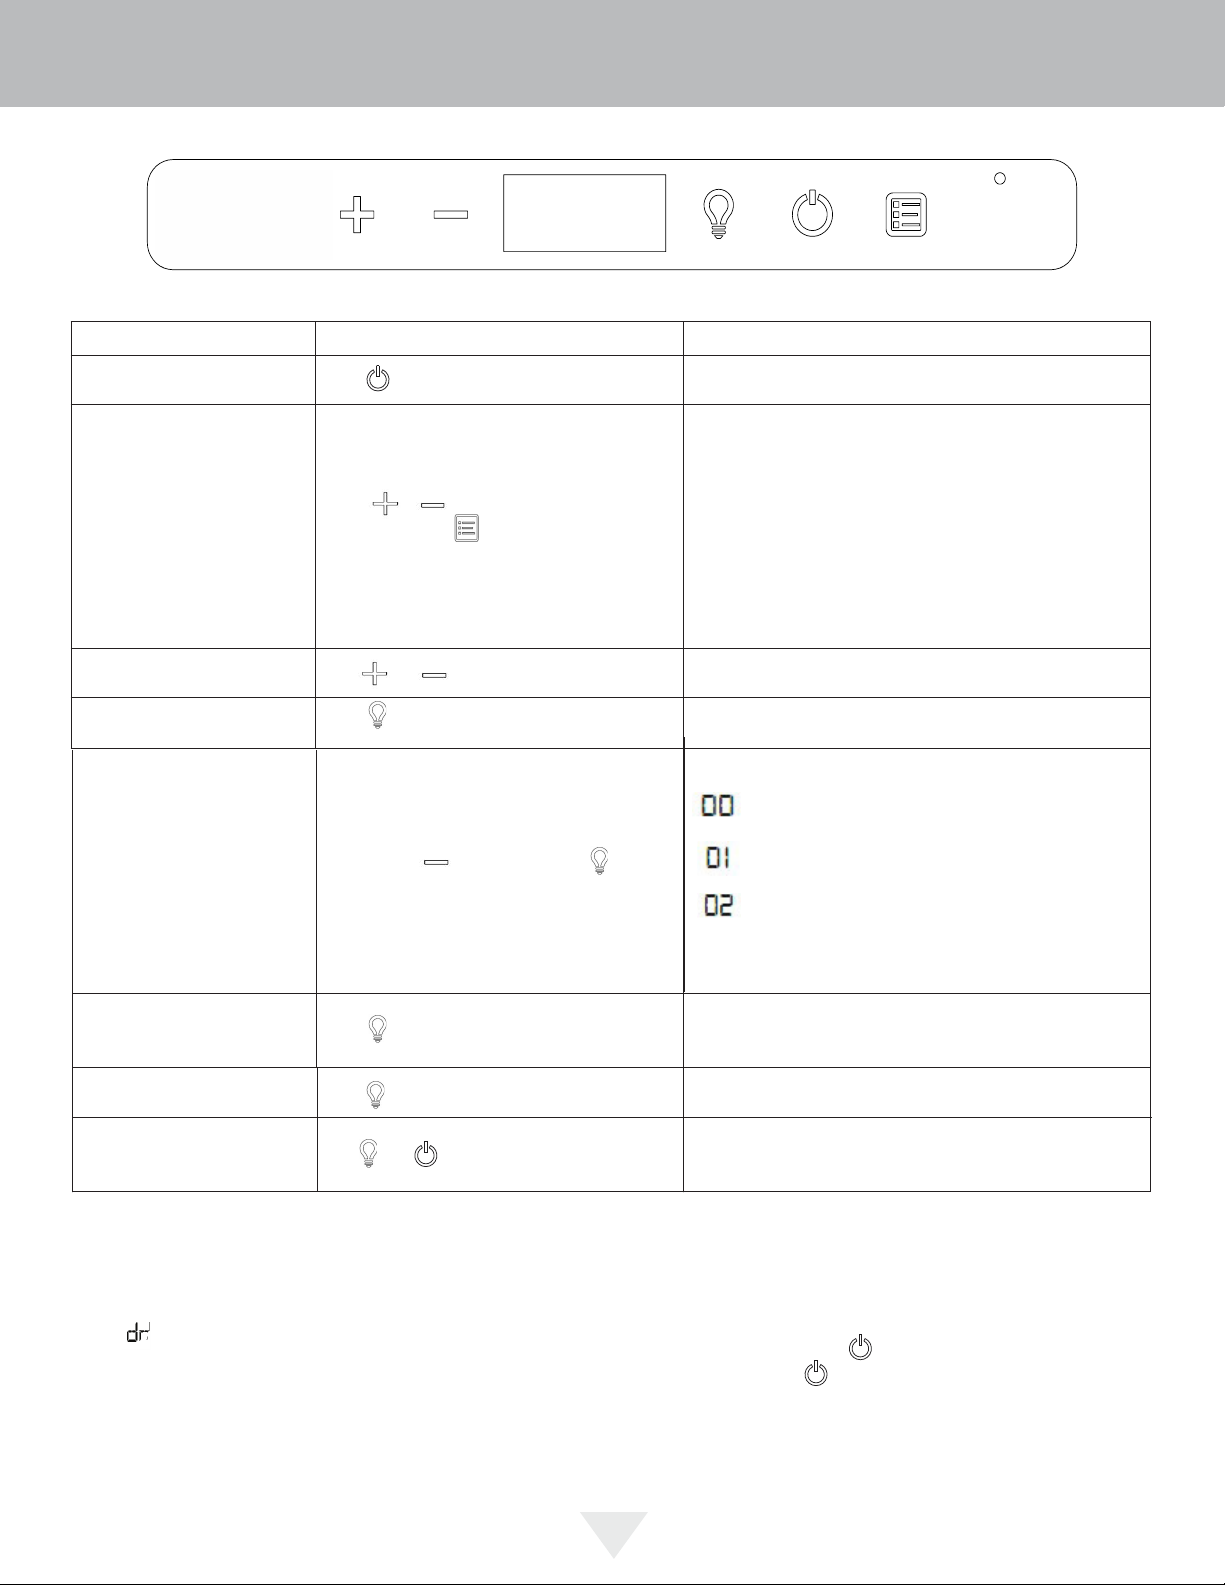
Function Command Notes
ON/OFF Press and release. Unit will immediately turn ON or OFF.
Adjust Temperatures
Press or and release to adjust the
upper zone. Press to change to lower zone.
Toggle Between oF / oC Hold and for 5 seconds. The display will change units.
Leave Interior Light On Press and release to leave interior light on for
12 hours; press again to deactivate.
After 12 hours, factory default is restored; light will turn on when
door is open.
Adjust Light Color
While holding , press and release to scroll
through lighting options.
Option Open Door Closed Door
White White
Blue Blue
White Blue
Light will be set at full intensity when door is open, and 50%
intensity when door is closed.
Enable Sabbath Mode Press and hold for 5 seconds and release.
The oF / oC symbol will ash briey after 5 seconds. Interior
light and display will go dark and remain so until user resets
mode - unit continues to operate.
Disable Sabbath Mode Press and release. Display and interior light return to normal operation.
Showroom Mode Hold and for 5 seconds.
The oF / oC symbol will ash. Display will be lit and interior light
will function. Unit will not cool. Repeat command to return to
normal operation.
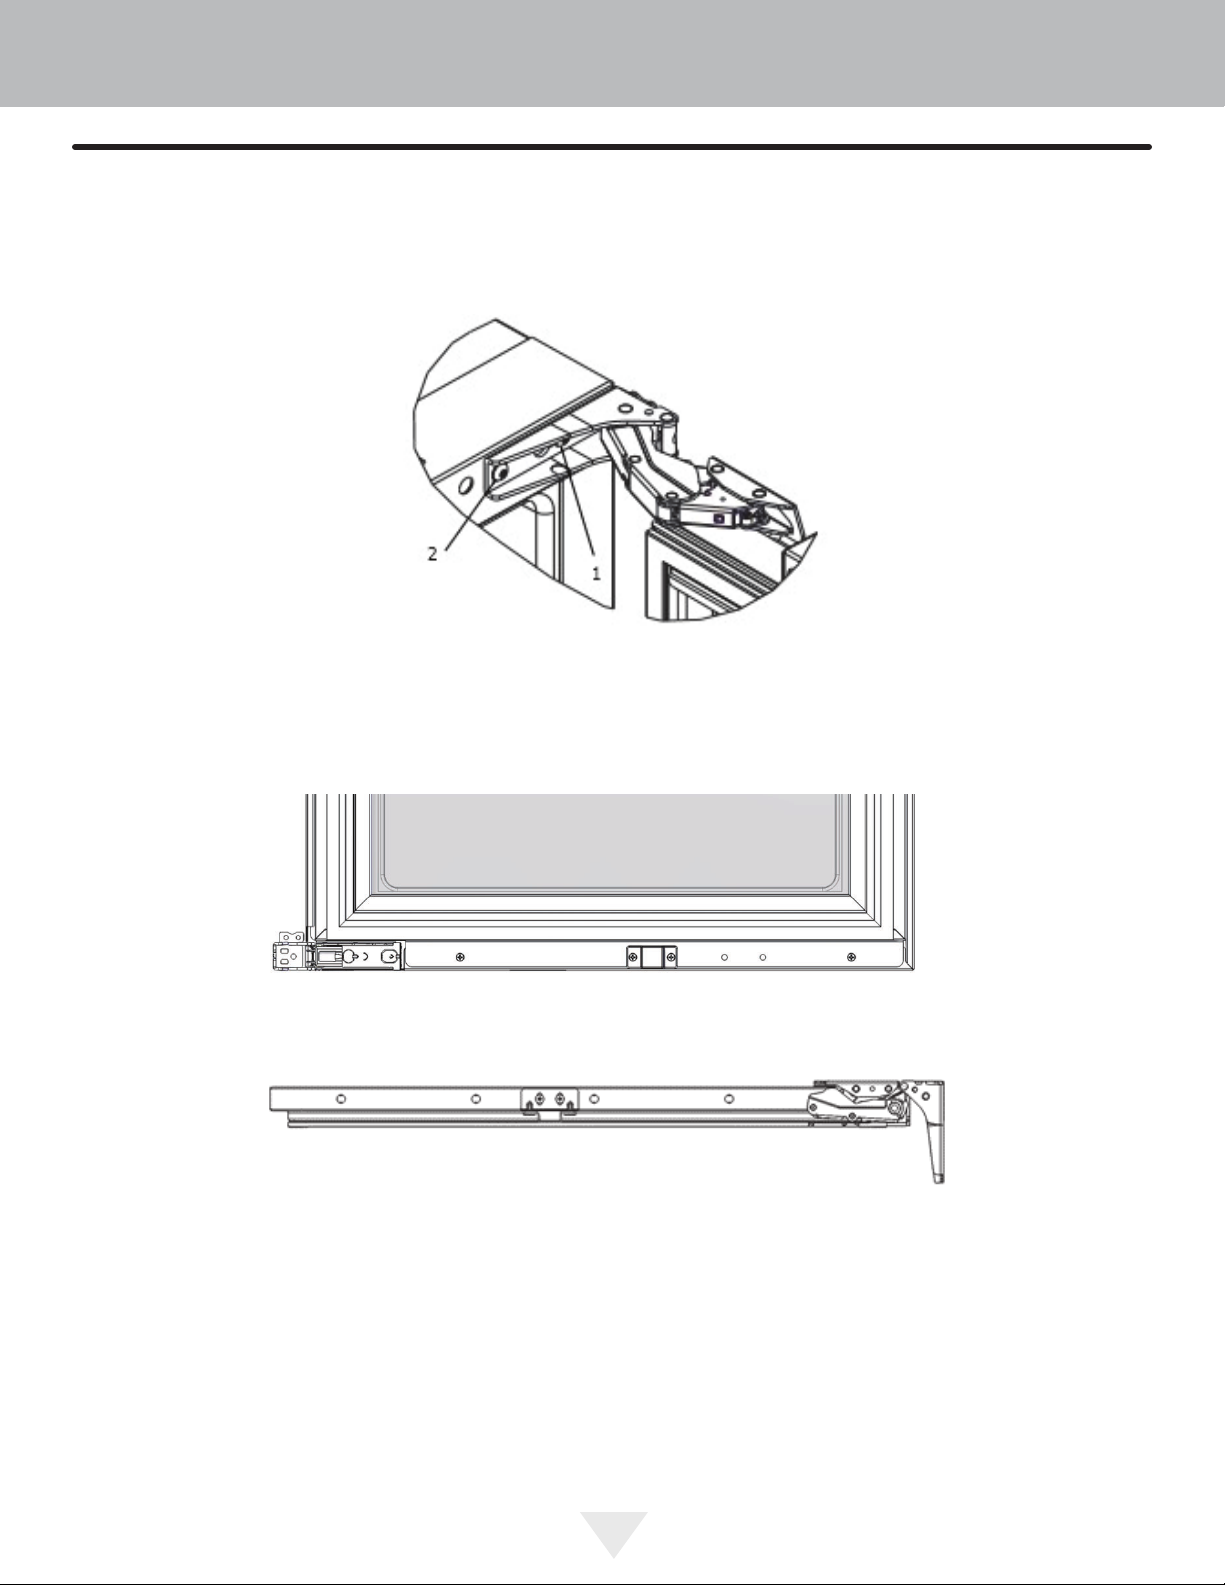
"V" notches
in bracket
'RRU$OHUW1RWL¿FDWLRQ
When the door is left open for more than 30 minutes:
• A tone will sound for several seconds every minute
•will appear in display
• Close door to silence alert and reset
High/Low Temp. Notifications
When the compartment temperature exceeds the control setting
for an extended amount of time:
•“HH” will appear in display (High Temp)
•“LL” will appear in display (Low Temp)
Contact service dept. for further instructions.
Interior light color indicates zone temperature being set;
Blue = Upper (38o- 65o)
White = Lower (38o- 65o)
Note: The set temperature of the lower zone can't be
colder than the set temperature of the upper zone.
Adjusting the set temperature of the upper zone may
cause the lower zone to automatically adjust. The lower
zone cannot be more than 20o above the set temperature
of the upper zone.
See table on next page.
9
USING YOUR ELECTRONIC CONTROL