manuals.online logo
Brands
  1. Home
  2. •
  3. Brands
  4. •
  5. Viking
  6. •
  7. Telephone
  8. •
  9. Viking E-10 Instructions for use

Viking E-10 Instructions for use

E-10, E-15,
E-10, E-15,
E-20A
E-20A
Speaker Phones
May 19, 2000
P
Ph
ho
on
ne
e.
..
..
.7
71
15
5.
.3
38
86
6.
.8
88
86
61
1
i
in
nf
fo
o@
@v
vi
ik
ki
in
ng
ge
el
le
ec
ct
tr
ro
on
ni
ic
cs
s.
.c
co
om
m
h
ht
tt
tp
p:
:/
//
/w
ww
ww
w.
.v
vi
ik
ki
in
ng
ge
el
le
ec
ct
tr
ro
on
ni
ic
cs
s.
.c
co
om
m
Power: Telephone line powered (18 VDC/20mA minimum)
Dimensions: E-10/E-15 - Overall - 127mm x 127mm x 57.2mm
(5.0” x 5.0” x 2.25”), Plastic electrical box - 102mm x 102mm x
57mm (4” x 4” x 2.25”), E-20A - 140mm x 115mm x 38mm (5.5”
x 4.5” x 1.5”).
Shipping Weights: E-10/E-15 - 1.59 kg (3.5 lbs), E-20A - .75 kg
(1.5 lbs)
Connections: (1) RJ11 jack
Provide Convenient Handsfree Communication
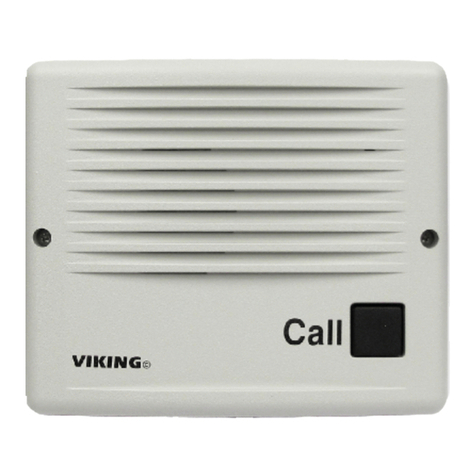
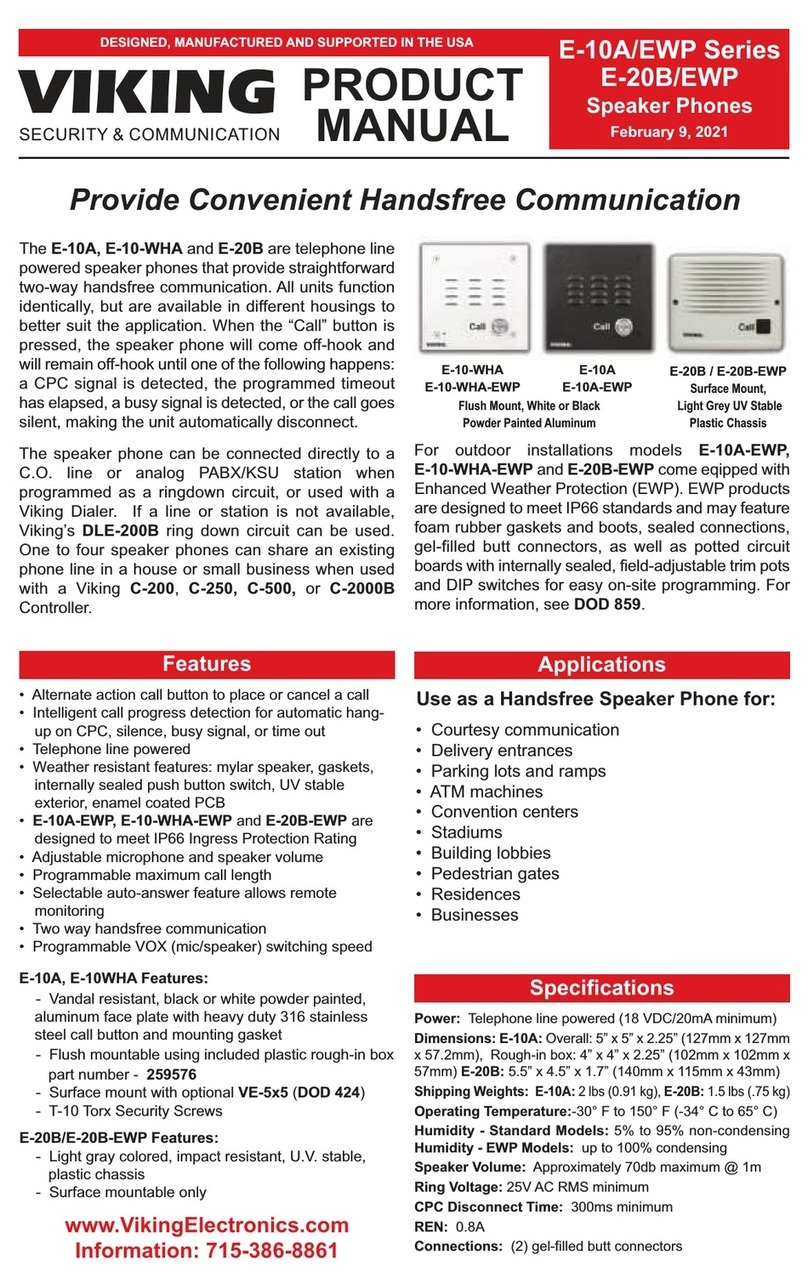
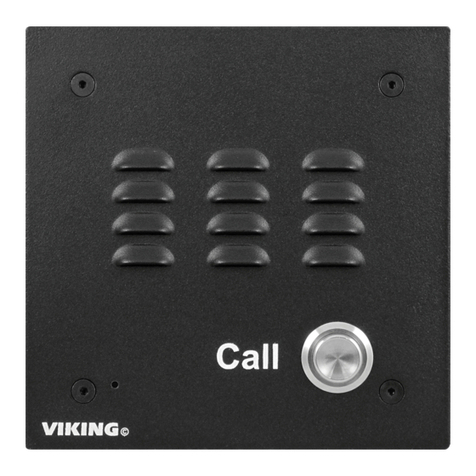
The E-10, E-15 and E-20A are line powered speaker phones
designed to provide two-way handsfree communication.
The E-10, E-15 and E-20A can
be connected directly to a C.O.
line or analog PABX/KSU station
when used in conjunction with a
Hot-Line Dialer or programmed
ring down circuit. The E-10, E-
15 and E-20A can also be used
P
Pr
ra
ac
ct
ti
ic
ce
e
T
TE
EL
LE
EC
CO
OM
MS
SO
OL
LU
UT
TI
IO
ON
NS
SF
FO
OR
RT
TH
HE
E2
21
1S
ST
TC
CE
EN
NT
TU
UR
RY
Y
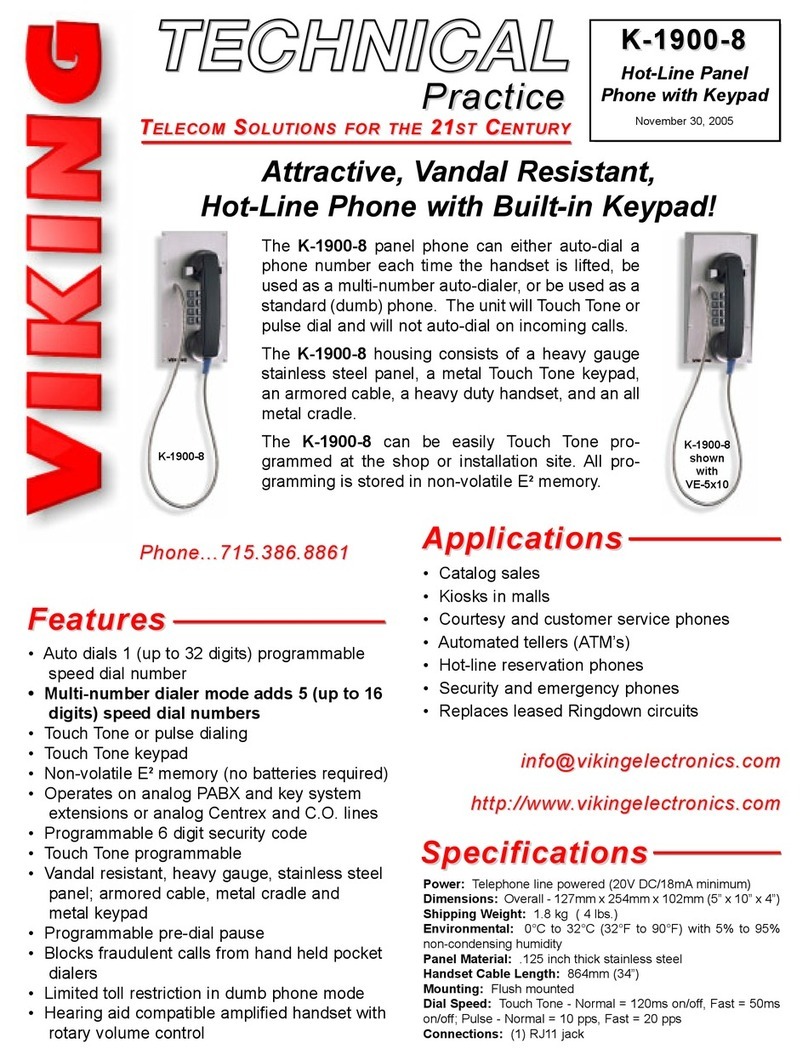
TECHNICAL
TECHNICAL
S
Sp
pe
ec
ci
if
fi
ic
ca
at
ti
io
on
ns
s
F
Fe
ea
at
tu
ur
re
es
s• Commercial, industrial and residential door
security
• Door or gate communication
• Truck stop/gas station fuel island
communication
• Business delivery entrances
• Use in conjunction with a Viking Hot-Line Dialer
on C.O. lines or analog PABX/KSU stations
• Use on any programmed ringdown circuit of an
analog PABX/KSU station
• Telephone line powered
• Weather resistant
• Adjustable microphone and speaker volume
E-10/E-20A Features
• Adjustable call time out, to limit prank calls and
false alarms (approximately 30 sec - 6 min)
• Auto-answer feature allows remote monitoring
(can be disabled)
• Two way handsfree communication
E-15 Feature Push and hold to talk button
E-10/E-15 Features
• Vandal resistant, black powder painted,
aluminum face plate with mounting gaskets
• Flush mountable using included rough-in box
• Surface mountable using the VE-5x5 surface
mount box (Fax Back Document 424)
E-20A Features
• Ash colored, impact resistant, U.V. stable,
plastic chassis
• Surface mountable only
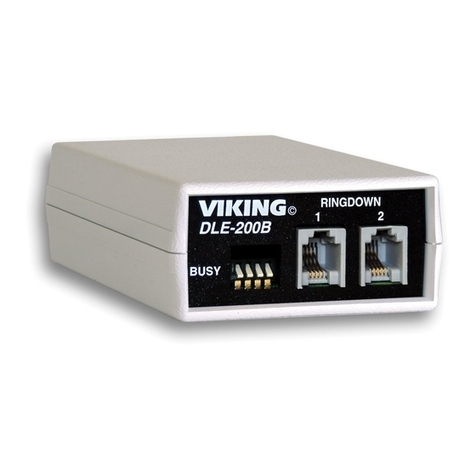
with Viking’s DLE-200B ring down circuit.
When the “Call” button is pressed, the E-10/E-20A will come off-hook and will remain
off-hook until the pre-selected timeout has elapsed. During this time the user may con-
verse handsfree. Alternatively, the E-15 “Call” button must be pressed and held for the
duration of the call.simply answers the call from the phone of their choice.
A
Ap
pp
pl
li
ic
ca
at
ti
io
on
ns
s
E-10/E-15
E-20A
A. Changing the Call Time-Out
The E-10 and E-20A are equipped with an adjustable call time-out feature
which automatically hangs-up the E-10 or E-20A after the pre-set time has
elapsed. To change the time-out, adjust the call time as shown to the right.
The time can be adjusted from approximately 30 seconds to 6 minutes (facto-
ry set to approximately 3 minutes).
Due to the dynamic nature of the product design, the information contained in this document is subject to change without notice. Viking Electronics, and its affiliates and/or
subsidiaries assume no responsibility for errors and omissions contained in this information. Revisions of this document or new editions of it may be issued to incorporate
such changes.
Fax Back Doc 210
ZF301380 Rev A
Printed in the U.S.A.
P
Pr
ro
od
du
uc
ct
tS
Su
up
pp
po
or
rt
tL
Li
in
ne
e.
..
..
.7
71
15
5.
.3
38
86
6.
.8
86
66
66
6F
Fa
ax
xB
Ba
ac
ck
kL
Li
in
ne
e.
..
..
.7
71
15
5.
.3
38
86
6.
.4
43
34
45
5
Call
3.25”
5.22”
5.14”
2.25”
3.0”
3.0”
3.3”
(2) 0.2 x 0.43
slots
(4) 0.38”dia
(1) .74”dia
I
In
ns
st
ta
al
ll
la
at
ti
io
on
n
P
Pr
ro
og
gr
ra
am
mm
mi
in
ng
g
B. Adjusting Speaker Volume
The SPKR VOL pot can be adjusted to increase or decrease the speaker vol-
ume to the level desired as shown to the right.
Standard PVC
electrical box
(Carlon part #
E989NNJ - included)
Large foam or small
rubber gasket
(included) Optional Surface Mount Box (VE-5x5) is designed to be surface
mounted to a single gang box, pedestal or directly to a wall. For
more information, retrieve Fax Back Document 424.
Front View
of the VE-5x5 Rear View of VE-5x5
A. Mounting the E-10 and E-15
The E-10 and E-15 are designed to be
flush mounted to the included 4” x 4” x
2” deep plastic electrical box or surface
mounted using optional Viking model
VE-5x5.
Note: The E-10 and E-15 will NOT
mount to a standard double gang box.
B. Mounting the E-20A
The E-20A is designed to be sur-
face mounted to a single gang box
(not included) or a 4” x 4” electri-
cal junction box (not included).
C. Wiring
C. Adjusting the Microphone Volume
In certain noisy locations (background traffic, machinery or wind), the micro-
phone volume may need to be decreased. A symptom of this is one-way talk
path, in which the distant party cannot be heard over the speaker. A MIC ADJ
pot is provided on the E-10, E-15 and E-20A for increasing or decreasing the
microphone sensitivity. Note: If the microphone volume is set too high or too
low, one-way talk path may occur.
D. Disabling the Auto-Answer feature
The E-10 and E-20A come factory set to auto answer when an inbound call is
detected. To disable this feature, cut the resistor shown through the hole on
the back of the circuit board as shown to the right. Important: Disconnect
the telephone line before cutting the auto-answer resistor.
Notes: Talk battery must be a minimum of 28V DC when using an E-10, E-15 or E-20A with a Hot-Line Dialer. For more
information on Hot-Line Dialers, retrieve Fax Back Documents 833.
VIKING©
MODEL: K-1900-4
Viking Electronics, Inc.
Hudson,WI 54016
Programmable
Pulse Dialer
-
Q170200
100½0.5W
UP
++
+
+
+
+
30 sec 6 min
Call Time Out Microphone Volume
Cut to disable
Auto-Answer Speaker Volume
Rear View of the
E-10/E-15 Optional K-1900-4 (pulse)
or K-1900-5 (DTMF) dialer. C.O. Line
or analog
PABX/KSU
station
VIKING©
MODEL: K-1900-4
Viking Electronics, Inc.
Hudson,WI 54016
Programmable
Pulse Dialer
C.O. Line
or analog
PABX/KSU
station
Optional K-1900-4 (pulse)
or K-1900-5 (DTMF) dialer.
Rear View of the
E-20A
To open the speaker box,
release each finger latch.
Mount back panel to a
wall, a single gang box or
a 4”x4” junction box with
the arrow pointing up.
3.40”
1.55”
3.30”
2.35”
3.40” Side view of the E-20A
Important: FIRST
align the top, THEN
push the bottom
together to snap the
speaker box together.
Do NOT force the
speaker box together!

Other manuals for E-10

4

This manual suits for next models

2

Other Viking Telephone manuals

Viking ACA-1 Instructions for use

Viking

Viking ACA-1 Instructions for use

Viking K-1500P-D User manual

Viking

Viking K-1500P-D User manual

Viking E-30 Instructions for use

Viking

Viking E-30 Instructions for use

Viking K-1900-8/EWP User manual

Viking

Viking K-1900-8/EWP User manual

Viking K-1900-7 Instructions for use

Viking

Viking K-1900-7 Instructions for use

Viking E-10 Instructions for use

Viking

Viking E-10 Instructions for use

Viking DLE-200B User manual

Viking

Viking DLE-200B User manual

Viking K-1900-8 User manual

Viking

Viking K-1900-8 User manual

Viking K-1900W-2 Instructions for use

Viking

Viking K-1900W-2 Instructions for use

Viking K-1500 Series User manual

Viking

Viking K-1500 Series User manual

Viking K-1900-7 Instructions for use

Viking

Viking K-1900-7 Instructions for use

Viking K-1500P-D Instructions for use

Viking

Viking K-1500P-D Instructions for use

Viking K-1900-8 Instructions for use

Viking

Viking K-1900-8 Instructions for use

Viking C-2000A Instructions for use

Viking

Viking C-2000A Instructions for use

Viking DLE-200B Instructions for use

Viking

Viking DLE-200B Instructions for use

Viking K-1900-7-EWP User manual

Viking

Viking K-1900-7-EWP User manual

Viking E-10-IP User manual

Viking

Viking E-10-IP User manual

Viking K-1900-8 Instructions for use

Viking

Viking K-1900-8 Instructions for use

Viking E-60-IP Series User manual

Viking

Viking E-60-IP Series User manual

Viking E-30 Instructions for use

Viking

Viking E-30 Instructions for use

Viking E-20TF-IP User manual

Viking

Viking E-20TF-IP User manual

Viking E-10 Instructions for use

Viking

Viking E-10 Instructions for use

Viking E-30-PT Instructions for use

Viking

Viking E-30-PT Instructions for use

Viking K-1500-6A Instructions for use

Viking

Viking K-1500-6A Instructions for use

Popular Telephone manuals by other brands

Portech PT-380 user manual

Portech

Portech PT-380 user manual

CEECO SSP-363-E Service manual

CEECO

CEECO SSP-363-E Service manual

Sanyo Sprint SCP-4000 user guide

Sanyo

Sanyo Sprint SCP-4000 user guide

Bell 595 Series Installation and Maintenance

Bell

Bell 595 Series Installation and Maintenance

Unify OpenScape DECT Phone R6 user guide

Unify

Unify OpenScape DECT Phone R6 user guide

Jabra FREEWAY user manual

Jabra

Jabra FREEWAY user manual

GE EX29350 user manual

GE

GE EX29350 user manual

Strata DK24 user guide

Strata

Strata DK24 user guide

Doro Kronos user guide

Doro

Doro Kronos user guide

LG RD3600 manual

LG

LG RD3600 manual

Nokia 2780 Flip user guide

Nokia

Nokia 2780 Flip user guide

Mitel Superset 4 user guide

Mitel

Mitel Superset 4 user guide

Yealink W56P Telesystem quick guide

Yealink

Yealink W56P Telesystem quick guide

Siemens OpenStage 10 T quick start guide

Siemens

Siemens OpenStage 10 T quick start guide

Chima SVP309P user manual

Chima

Chima SVP309P user manual

LG LG KS500 user guide

LG

LG LG KS500 user guide

NEC NEAX 2000IVS2 user guide

NEC

NEC NEAX 2000IVS2 user guide

Mitel M7324 user guide

Mitel

Mitel M7324 user guide

manuals.online logo
manuals.online logoBrands
  • About & Mission
  • Contact us
  • Privacy Policy
  • Terms and Conditions

Copyright 2025 Manuals.Online. All Rights Reserved.