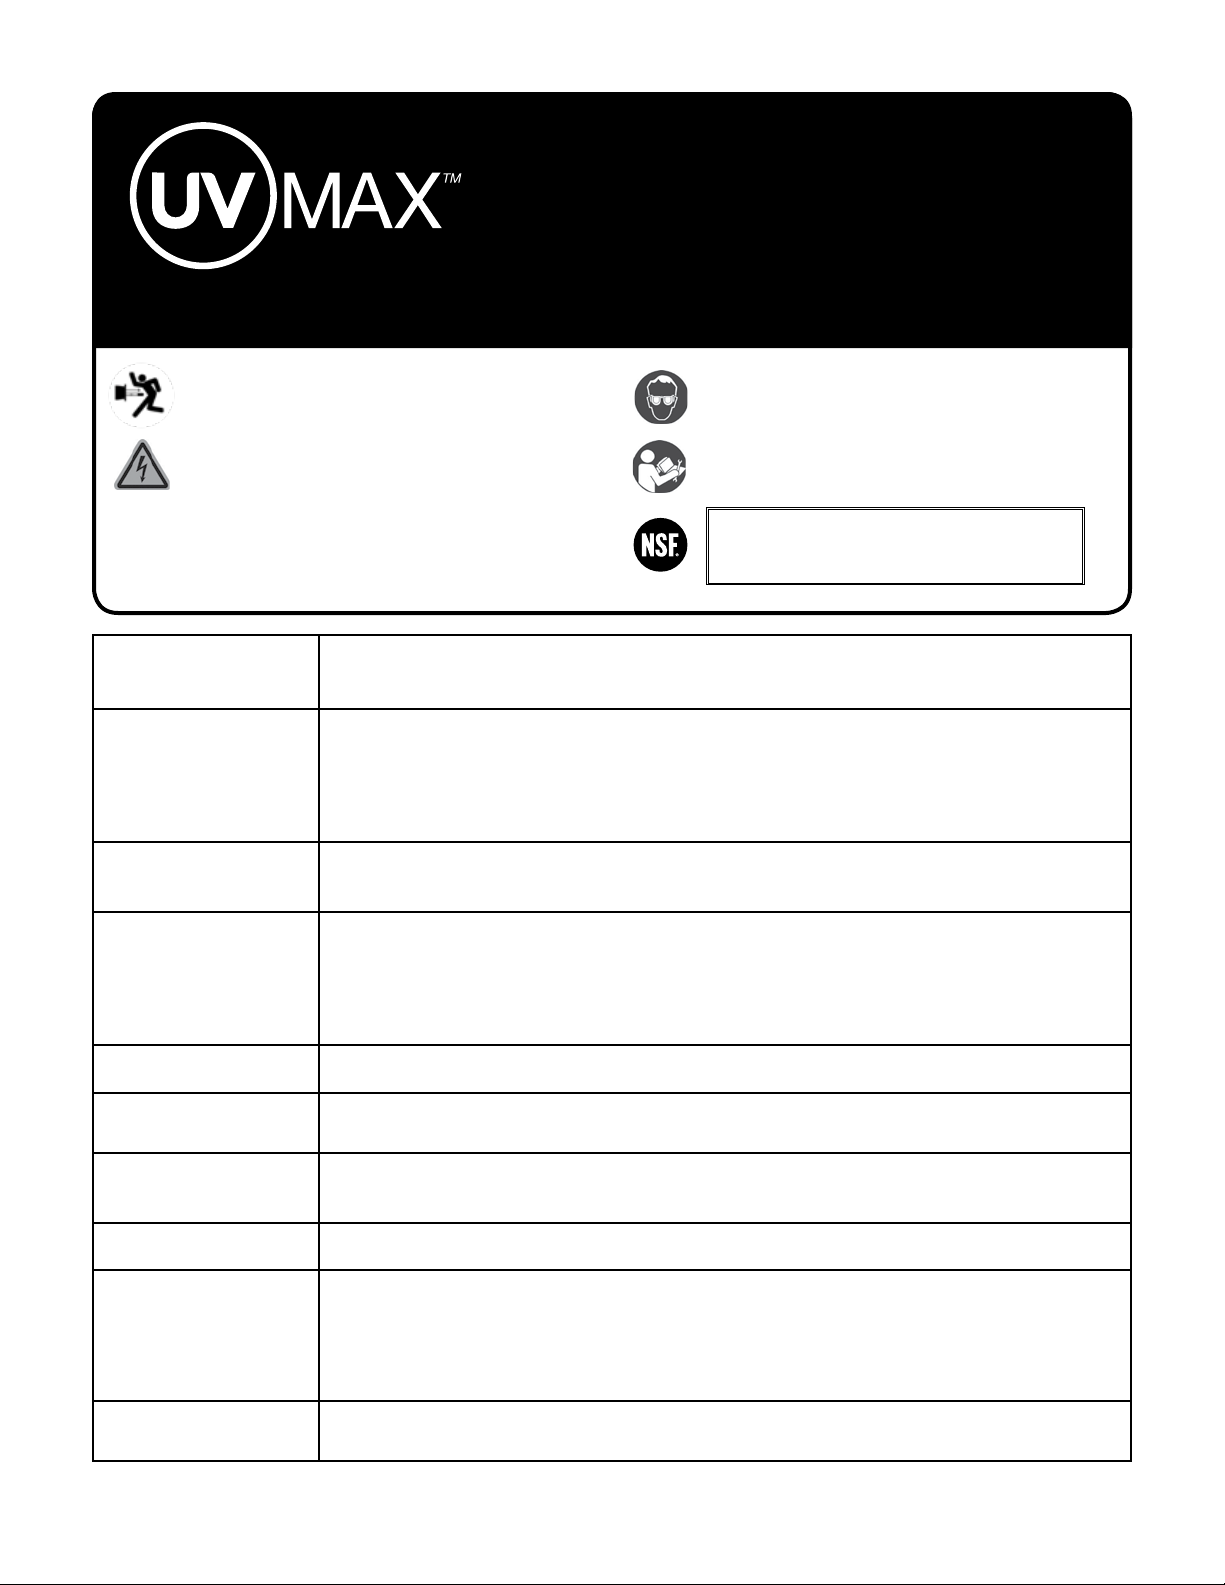
Viqua UVMAX PRO10 Use and care manual
Always shut-off water flow and release
water pressure before servicing.
Electrical hazard. Be sure to unplug power
supply. Keep all electrical connections dry
and off the ground. Do not touch plug with
wet hands.
Never look directly at the lamp when it is
operating.
Read directions before servicing.
602962-J
VIQUA - a Trojan Technologies Company 425 Clair Road West, Guelph ON, Canada N1L 1R1
COMPONENT
The 602854, 602855 and 602856 are Tested and Certified
by NSF International against NSF/ANSI Standard 55
the UVMAX Pro10, UVMAX Pro20 and UVMAX Pro30,
respectively, for disinfection performance, Class A.
Lamp and Sleeve Replacement
G, H, J & K
G Plus, H Plus, J Plus & K Plus
Pro10, Pro20, Pro30 & Pro50
Potential
Hazard
Safety Measures
UV Exposure Never illuminate UV Lamp outside of the UV Chamber.
Never look directly at illuminated UV Lamp, even when using protective gear.
Always use protective gear, including gloves and UV safety glasses.
If accidental exposure occurs, immediately cool affected area and consult physician.
Electrical Shock Disconnect power to system before performing any maintenance or repair.
There may be more than one source of power.
Impalement Never perform any physical inspection, repair or maintenance on UV Chamber unless UV
chamber has been isolated and depressurized.
Never service UV Lamps, Sleeves or associated hardware until depressurization of UV
chamber has been confirmed.
Hot chamber Allow UV Lamps, UV Chamber to cool for a minimum of 10 minutes before handling.
Cut or ingestion Ensure the quartz sleeve or lamp is not broken, cracked or damaged in any way when
handling equipment.
Scald from water When there is no water flow, the water in the chamber will become hot. To prevent
scalding, allow the system to cool before draining the system.
Fire Do not store any combustible or flammable material close to the system.
Hg Exposure The UV lamp contains mercury. If the lamp breaks, then avoid inhalation or ingestion of
the debris and avoid exposure to eyes and skin. Never use a vacuum cleaner to clean
up a broken lamp as this may scatter the spilled mercury. Obey local regulations and
guidelines for the removal and disposal of mercury waste.
Water leak Use proper plumbing materials to avoid potential material degradation from UV exposure.

About sleeve cleaning:
Minerals in the water slowly form a coating on the sleeve.This coating must be removed because it
reduces the amount of UV light reaching the water, thereby reducing disinfection performance.
About lamp replacement:
The amount of UV light created by the lamp decreases over time, requiring that the lamp be
replaced. The system will automatically notify you when it is time to replace the lamp (the lamp
should last approximately 24 months).
Equipment required:
Cloth must be
soft, lint-free, and
chemical-free. No
clean-wipes.
Scale remover
such as CLRTM or
Lime-AwayTM.
#2 Phillips
screw driver
Cotton swab.
Clean cotton,
latex or plastic
gloves are
preferred.
Part Lamp Sleeve Length
UVMAX G & Pro10 602854 602974 15.1“
UVMAX H & Pro20 602855 602975 26.7“
UVMAX J, K & Pro30, Pro50 602856 602976 36.5“

4
3
Let the system cool for 10 minutes.
8
9
7
10
Pinch wire
form to
release it.
12
Do not touch
glass with
bare hands.
1
2
1
2
11
13
15
14
2
3
Sleeve removal tool
Insert sleeve
removal tool into
bottom of sleeve
Pry sleeve
upward until it
comes loose.
Some water
will escape.
16
18
Remove sleeve.
Water will
escape - have
bucket under
chamber.
Remove
O-ring
from
top of
sleeve.
17
Remove
O-ring from
bottom of
chamber.
19 Ensure cloth used to clean the sleeve
is soft, lint-free, and contains no
chemicals (no clean-wipes). Sleeve
must be replaced if it cannot be
completely cleaned or if it appears
scratched or cracked.
20
1
2
Ensure
sleeve bolt
is fully
rotated until
positive
stop.
1
2
Solenoid
Solenoid representative
only. Not on all systems.
5
6
Close
after all
water has
drained.
1Remove
screw (if
equipped).

22
23
21
1
2
Ensure
sleeve bolt
is fully
rotated until
positive
stop.
Do not touch
glass with
bare hands.
Insert curved
end of
sleeve first.
Do not rotate
sleeve.
Wet O-ring
with water
then place
over top end
of sleeve.
24
1
2
25
26
1
2
Ensure
sleeve
bolt is
fully
rotated
until
positive
stop.
Wet O-ring
with water
then place over
bottom end of
sleeve.
27
28
29
Re-install
current lamp if
it does not need
replacement. Be
sure to rotate
lamp completely.
Do not touch
glass with bare
hands.
1
2
30
31
32
33
34
If lamp was replaced:
Press and hold "New Lamp"
button for 5 seconds until
you hear a "beep".
35
Disinfect the water lines.
UV systems disinfect the water using
ultraviolet light, treating the water as
it passes through the system. When
there is a risk that water downstream
of the UV system has been
contaminated it is critical that these
water lines be chemically disinfected.
36
37
38
39
40
41
Lock wire
form into
position.
Skip to
Step 31
if not
equipped with
a sensor.
3
Install
screw (if
equipped).
Unplug sensor from blue jack.

42
43
44
Go to a water outlet and allow the
cold water to flow until you can smell
bleach, then stop the flow. Allow hot
water (if present) to flow until you
can smell bleach, then stop the flow.
Repeat procedure at all water outlets.
Remember to include all faucets,
washing machines, toilets, outside taps,
and other water outlets. Note:You will
likely run out of bleach; if you cannot
smell bleach at a given outlet, turn off
the main water supply, depressurize
and add more bleach to the filter
housing.
45
46
Let the bleach sit in the water lines
for at least four hours.
47
48
52
49
50
51
54
55
Flush all water outlets until bleach
can no longer be smelled (at least 5
minutes).
53
Allow water to
fill UV chamber.
Plug sensor into blue jack.
56
57
58
Other manuals for UVMAX PRO10
2
This manual suits for next models
11


