Step 6: Second night of testing
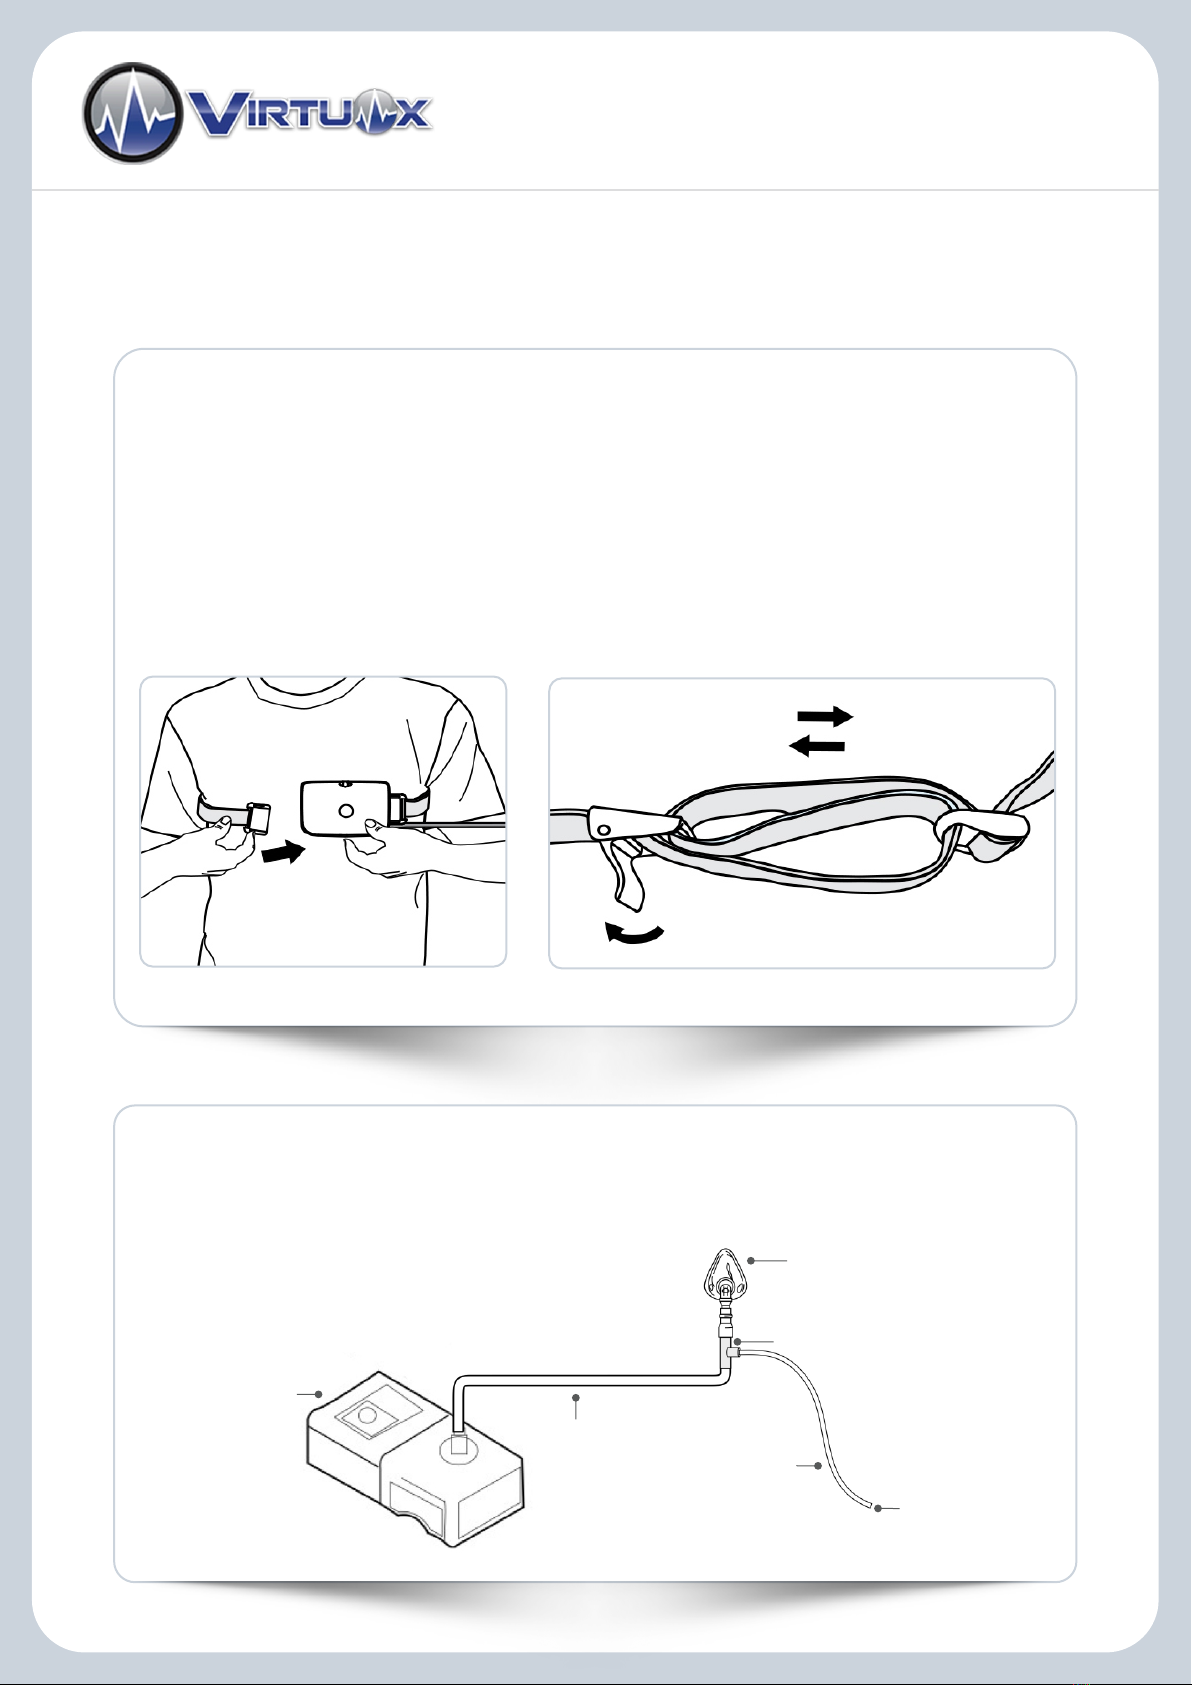
- Press clip down and pull forward.
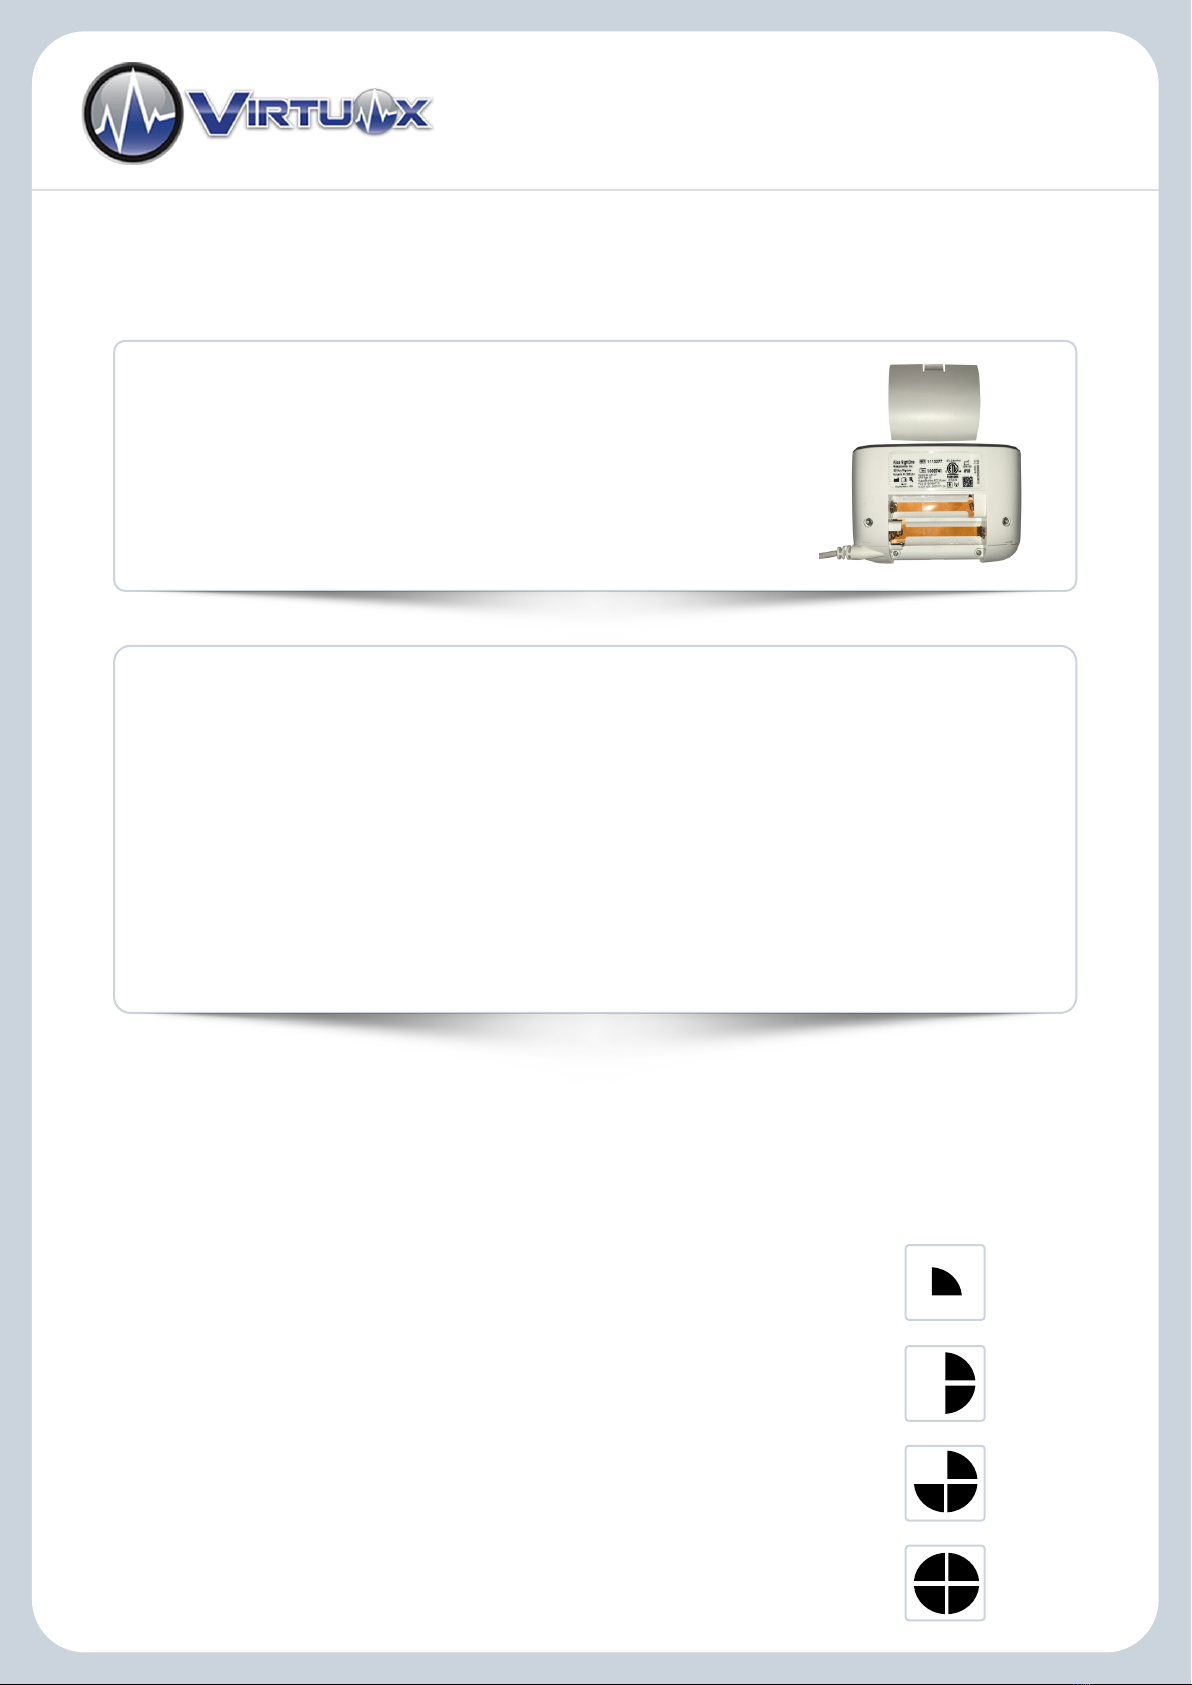
- Replace the batteries with new batteries provided.
Important! The Good Study Indicator can only be checked at the end
of a study. Pressing and holding the User Button while a study is in
progress will end the study and turn the device off.
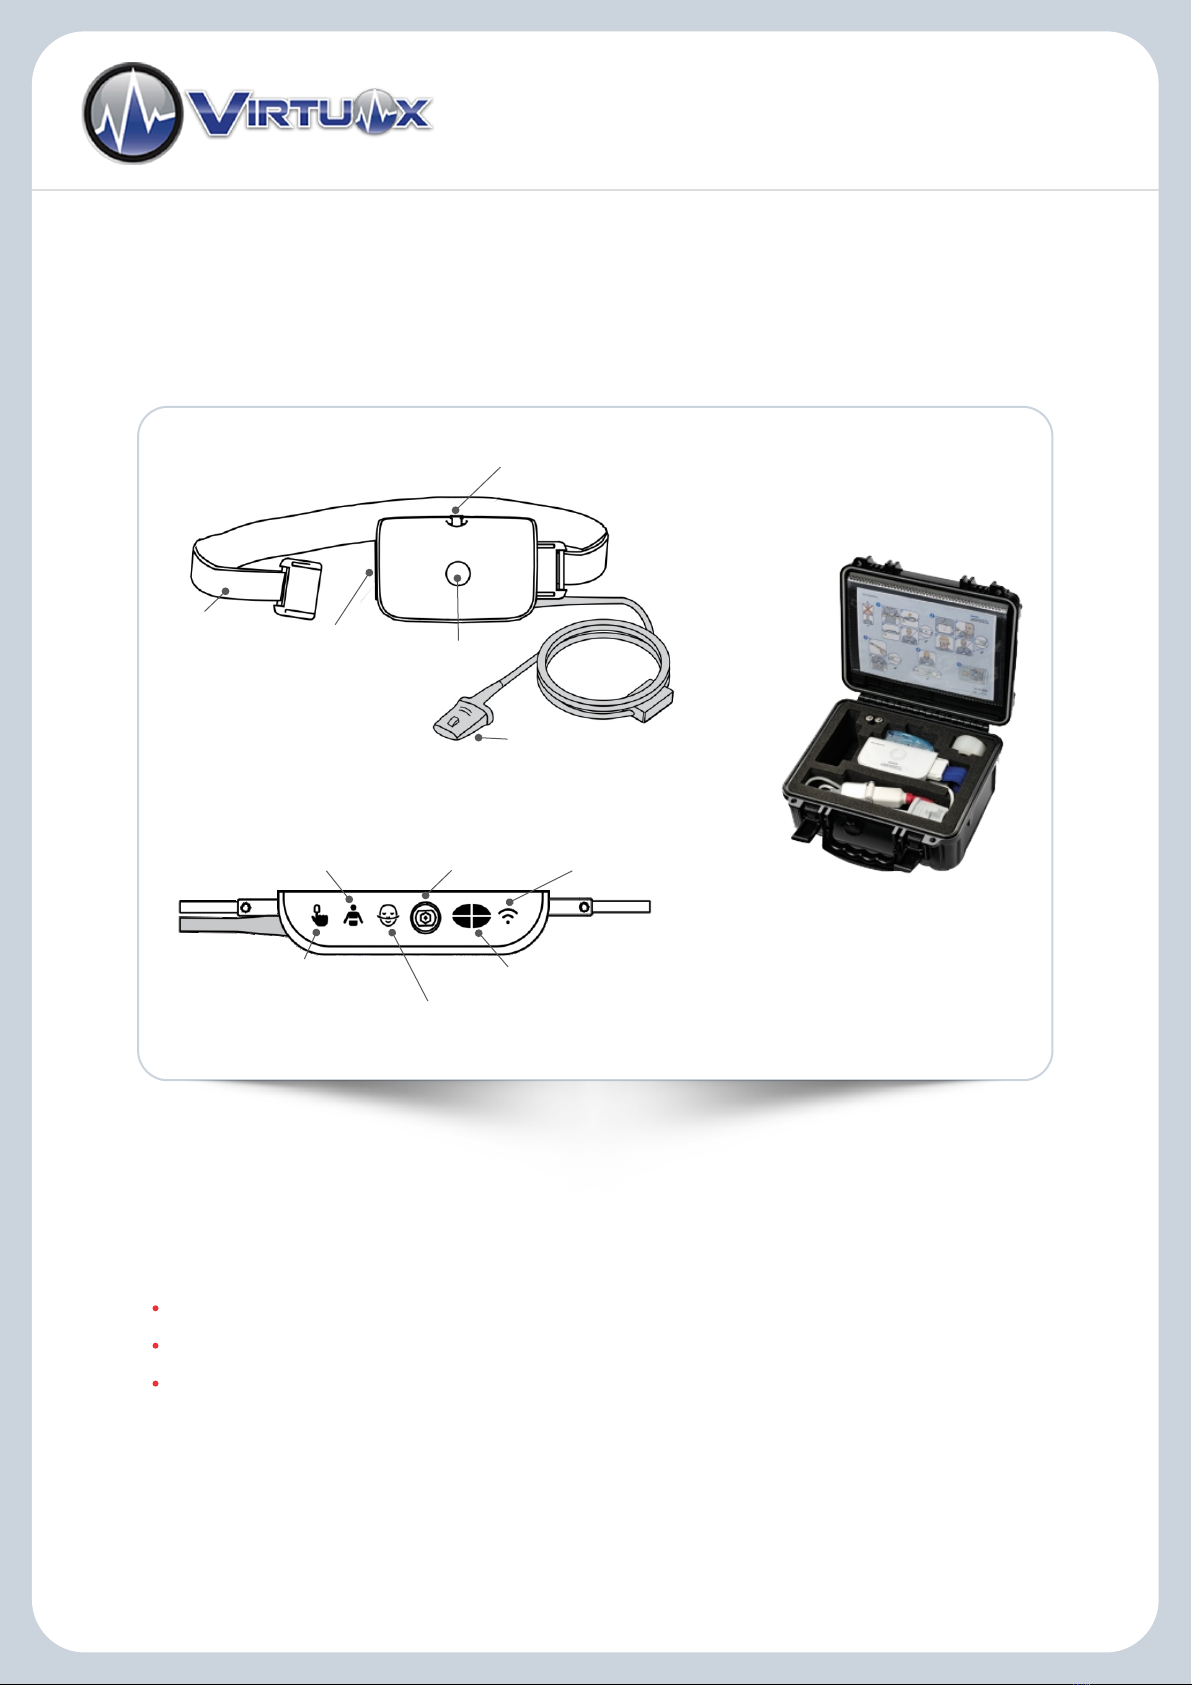
Good Study Indicator
The Good Study Indicator displays how much good quality data the device has gathered for
an amount of time set by your provider. To view the Good Study Indicator at the end of a
study, first check that the device has stopped recording. Look inside the SpO2 sensor. If the
red light is on, the Alice NightOne is still in recording mode. To exit recording mode and end
the study, press and hold the User Button until the Good Study Indicator flashes.
Once the device has exited recording mode, wait at least 1 minute. Then, briefly press
(less than 5 seconds) and release the User Button again and the Good Study Indicator will
be displayed.
Good Study Indicator status
- The device has gathered 25% of the good quality data requested
by your provider.
- The device has gathered 50% of the good quality data requested
by your provider.
- The device has gathered 75% of the good quality data requested
by your provider.
- The device has gathered 100% of the good quality data requested
by your provider.
Important! We still need one additional night of testing. Please
replace the batteries and repeat the test one additional night.