vistaCNC P2-S User manual

www.vistacnc.com - 1 -
www.vistacnc.com - 1 - P2-S Pendant LinuxCNC Manual v. 1.1
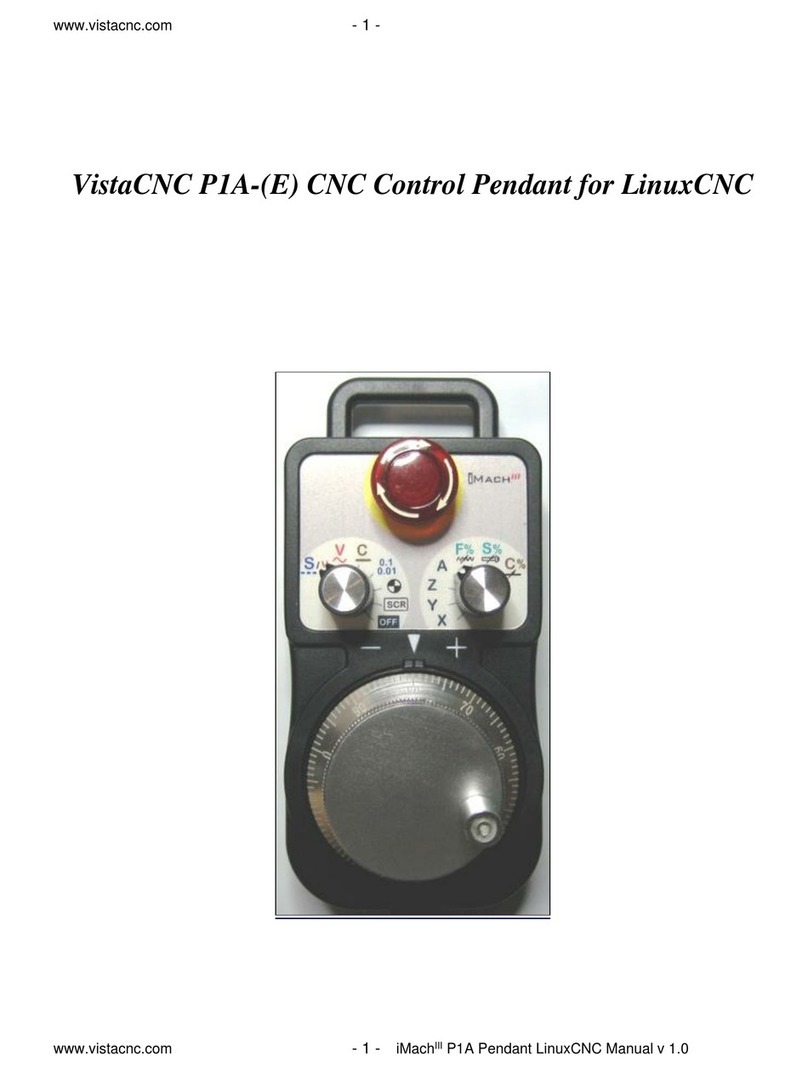
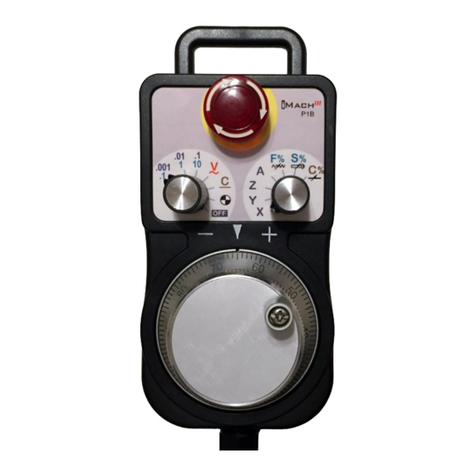
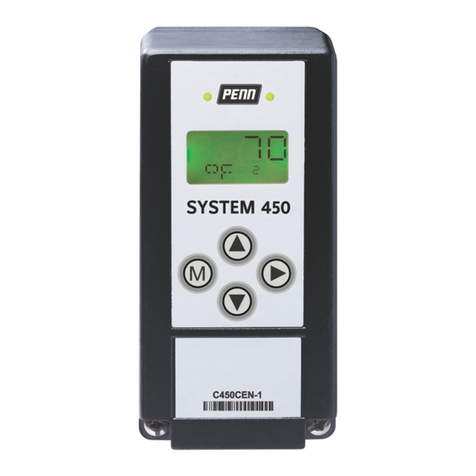
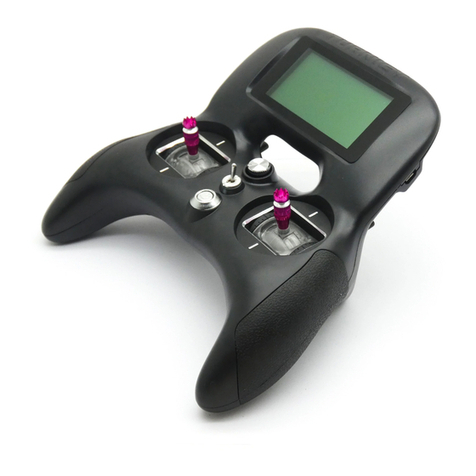
VistaCNC P2-S(E) CNC Control Pendant for LinuxCNC

www.vistacnc.com - 2 -
www.vistacnc.com - 2 - P2-S Pendant LinuxCNC Manual v. 1.1
PREFACE
Any machine tool, including computer controlled machine tool, is potentially dangerous. VistaCNC LLC accepts
no responsibility for any damage or injury caused by its use. It is your responsibility to insure that you
understand the machine you are using and the procedures for safety operations.
If you are in any doubt you must seek guidance from a professionally qualified expert rather than risk injury to
yourself or to others.
Information in this document is subject to change without notice. The manufacturer does not make any
representations or warranties (implied or otherwise) regarding the accuracy and completeness of this document
and shall in no event be liable for any loss of profit or any other commercial damage, including but not limited to
special, incidental, consequential, or other damages.
WARNING
E-STOP switch button in iMachIII P2-S(E) CNC Control Pendant only provides
Emergency STOP signal to LinuxCNC application.
For further protection in CNC operation, other emergency protection methods
may be needed.

www.vistacnc.com - 3 -
www.vistacnc.com - 3 - P2-S Pendant LinuxCNC Manual v. 1.1
FEATURES
Plug n’ Play USB connection and controls.
100 steps high precision MPG encoder.
Step, Velocity and Continuous mode jogging through MPG.
Feed override, Rapid override, Max velocity, Spindle speed, and Step jogging size and rate
changing through MPG.
Program Cycle Start and Spindle control buttons.
X, Y, Z button jogging.
LCD display with backlit.
Large E-Stop button.
4 Axis selections.
4 control functions.
Extended E-STOP functions. (P2-SE model).
.
Driver and HAL file installation
1. Download the latest P2-S LinuxCNC upgrade package from www.vistacnc.com download page,
and unzip the package.
The package includes following files:

www.vistacnc.com - 4 -
www.vistacnc.com - 4 - P2-S Pendant LinuxCNC Manual v. 1.1
1. This manual
2. Pendant FW update procedure --- for pendant firmware upgrade
3. Pendant FW Loader --- tools for FW upgrade
4. P2S_LinuxCNC_FW_v --- FW for LinuxCNC
5. P2-S LinuxCNC Installation Instruction --- for driver installation
6. 99-vistacnc-pendant.rules
7. vc-p2s --- driver file
8. vc-p2s.hal ---HAL file
9. vc-p2s-postgui.hal --- HAL file
10. Makefile --- to move 99-vistacnc-pendant.rules and vc-p2s into the corresponding
folder.
2. Refer to “iMach3 Pendant FW update procedure” to upgrade the pendant firmware (FW) to
LinuxCNC if the pendant was used with other CNC application or a newer FW version is available.
The upgrade application needs to be run under XP or Win7 PC.
3. Refer to “P2-S LinuxCNC Installation Instruction” to install driver and other files, and add lines to
the .ini file.
CONNECTION and START
Directly plug the USB cable into any USB port on the PC.
LCD displays
-> ->
FUNCTIONS and OPERATIONS
1. Axis selection

www.vistacnc.com - 5 -
www.vistacnc.com - 5 - P2-S Pendant LinuxCNC Manual v. 1.1
Turn axis selection knob to X, Y, Z, or A position to select an axis to jog.
□Selected axis name. It flashes at ½ second rate.
□Step size and Step jogging rate. The size and rate display changes alternately every 2 seconds.
2. MPG (Manual Pulse Generator) mode selection
2.1 STEP, STEP SIZE and STEP JOG RATE
STEP In STEP mode, the selected axis moves 1 step at each MPG click (detent) with the step
size currently in the system and with speed of step jogging rate.
STEP SIZE While pressing and holding the EN side button , turn MPG one or few clicks
clockwise or counterclockwise to select predefined step size. All step sizes are defined in vc-
p2s.hal file.
STEP JOG RATE While double clicking (press, release, and press, within half a second) and
holding the EN side button , turn MPG to change step jogging rate.

www.vistacnc.com - 6 -
www.vistacnc.com - 6 - P2-S Pendant LinuxCNC Manual v. 1.1
2.2 VELOCITY, SLOW V and SLOW V RATE
VELOCITY Axis moves at 0 to 100% of maximum axis speed based on how fast the MPG wheel
is turned.
SLOW V Pressing and holding the EN side button while in V mode temporally slows down the
axis movement .
SLOW V RATE Double clicking and holding the EN side button and turn MPG clockwise or
counterclockwise to change V slow down rate. Settable number: 2, 3 and 4.
2.3 CONTINUOUS, CONTINUOUS RATE
CONTINUOUS In CONTINUOUS mode, axis moves at constant speed of continuous rate set in
CONTINUOUR RATE mode.
□Continuous rate
CONTINUOUS RATE Pressing and holding the EN side button to change to C% mode. In C%
mode, turning MPG changes the speed used in CONTINUOUS mode.
2.4 FEED OVERRIDE and SPINDLE OVERRIDE
FEED OVERRIDE In F% mode, turning MPG changes current feed overridden (FO) rate

www.vistacnc.com - 7 -
www.vistacnc.com - 7 - P2-S Pendant LinuxCNC Manual v. 1.1
SPINDLE OVERRIDE Pressing and holding the EN side button to change to S% mode. In
S% mode, turning MPG changes current spindle speed overridden (SO) rate.
2.5 AXIS ZEROING
Turn axis selection knob to select an axis and double click to zero selected axis
->
2.6 FUNCTION F1, F2, F3, F4 button
Turn axis selection knob to select an axis and double click execute the function.
F1chine ON/Off button
F2 Go to Zero button
F3 RAPID OVERRIDE change
F4 MAX VELOCITY change
2.7 OFFLINE and DECIMAL PLACE

www.vistacnc.com - 8 -
www.vistacnc.com - 8 - P2-S Pendant LinuxCNC Manual v. 1.1
OFFLINE When the pendant is in Offline mode, any MPG signals are not sent to LinuxCNC
application. Offline mode can be used to align the MPG wheel to a specific number with no axis
movement.
DECIMAL DIGITS Pressing and holding the EN side button to set up number of decimal
digits to display. Settable number: 2, 3 and 4.
□4 and 2 decimal digits.
3. Operation Controls
START / HOLD button :
Double click execute the function
STOP button :
Double click execute the function
SPINDLE ON / OFF button :
Double click execute the function

www.vistacnc.com - 9 -
www.vistacnc.com - 9 - P2-S Pendant LinuxCNC Manual v. 1.1
4. E-Stop switch button
5.1 E-Stop switch button in P2-S model
Press E-STOP switch button to send out E-Stop signal to LinuxCNC application and activate
Emergency Mode in LinuxCNC.
When the button is pressed, the switch is locked down. Twist the button to reset the button and
reset E-STOP.
5.2 E-Stop switch button in P2-SE model
Press E-STOP switch button to send out E-Stop signal to LinuxCNC application and activate
Emergency Mode in LinuxCNC.
The same E-stop signal is simultaneously sent out through a 2-wire loop, which can be used to
control a relay or to connect with other E-stop buttons.
When the button is pressed and the switch is locked down, the 2-wire loop is open.
Twist the button to reset the switch and reset E-STOP signal, and at the same time, the two
wires are connected at the switch end and form a closed loop.
A EE box is needed as an interface to separate the 2-wire loop and USB signal.

www.vistacnc.com - 10 -
www.vistacnc.com - 10 - P2-S Pendant LinuxCNC Manual v. 1.1
E-STOP switch and EE box connection in P2-SE
SPECIFICATIONS
100 steps (clicks) per Rev MPG.
MPG MTBF > 10000 hour.
Shipped with10' High Speed USB cable. Extendable to 15’ with extension cable, or to 45’ with
USB repeater cables.
Size (over all) 6.1"(L) x 3.1"(W) X 2.7"(H)
Other manuals for P2-S
1
This manual suits for next models
1
Table of contents
Other vistaCNC Control System manuals
