VISUAL P5 ALLDRO User manual

1
User manual
GSM Mobile Phone
Model P5 ALLDRO

2
Contents
Appearance and Keypad Operations ............................................................................................................. 3
Using Memory Card as U Disk ....................................................................................................................... 4
Wifi............................................................................................................................................................... 5
Bluetooth...................................................................................................................................................... 7
Mail .............................................................................................................................................................. 9
Dialling........................................................................................................................................................ 11
Messaging................................................................................................................................................... 14
Contacts...................................................................................................................................................... 15
Internet Explorer......................................................................................................................................... 18
Widgets ...................................................................................................................................................... 20
Recorder ..................................................................................................................................................... 21
Clock ........................................................................................................................................................... 22
Calculator ................................................................................................................................................... 23
Camera ....................................................................................................................................................... 24
Images ........................................................................................................................................................ 26
Music .......................................................................................................................................................... 27
Calendar ..................................................................................................................................................... 30
FM Radio .................................................................................................................................................... 32
Settings....................................................................................................................................................... 33
Specifications.............................................................................................................................................. 41
DECLARATION OF CONFORMITY ................................................................................................................. 45

3
Appearance and Keypad Operations
4
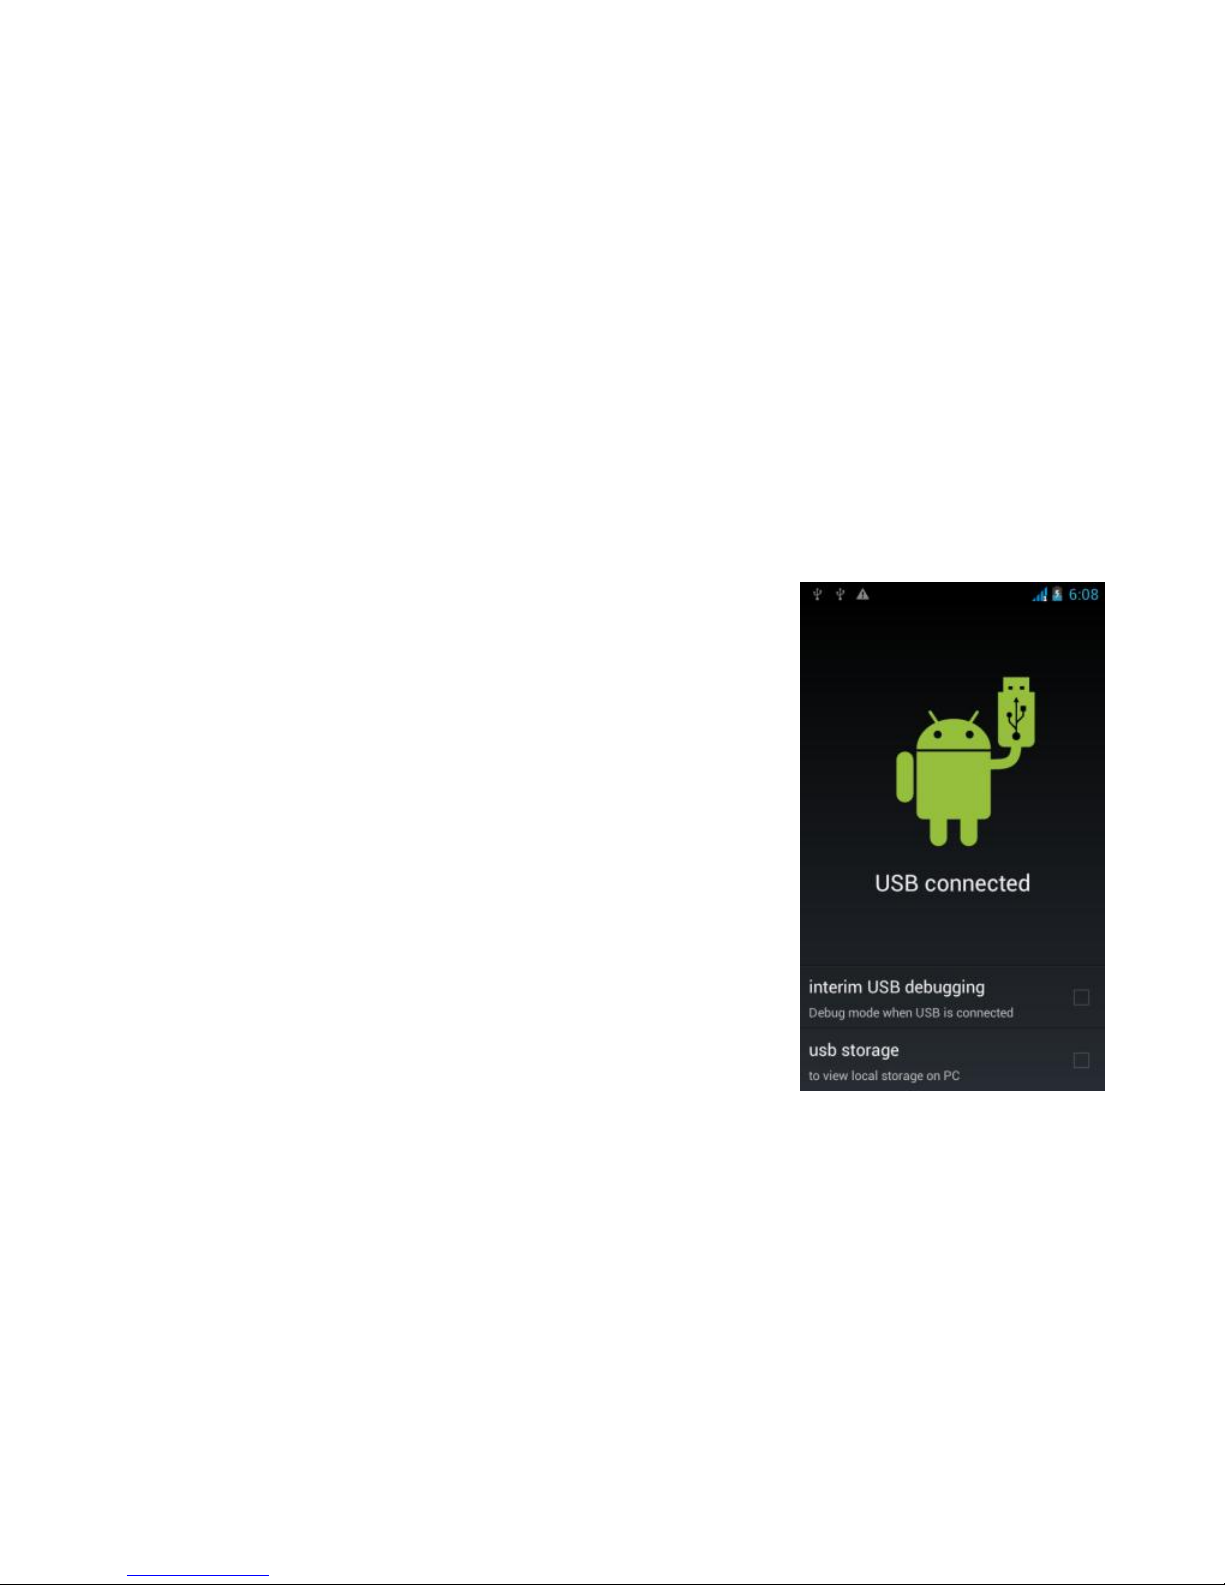
Using Memory Card as U Disk
If you want to send music, pictures or other files to the phone’s
memorycardfromthecomputer youshould set memorycardasudisk
first. Setmemorycardasudisk
Connect the phone to the computer with USB cable. The
notificationiconwillappearinthestatusbox.
Openthenotificationpanel.
In the notification panel, touch USB connected then check the
“usb storage” option.
Notices: If you connect your phone to the computer then choose
open the USB device, the phone can’t read the memory card. You
temporarilycannotusesomeapplications,suchascamera.
Uninstall the U Disk from computer
To do this you have to uncheck the “usb storage” option

5
Wifi
Wi-Fiprovidesasfaras300feet(100M)rangeofwirelessnetworkaccess.Ifyouusecellphonetoconnectwifi,youshould
connecttothewirelessaccesspointor hotspots .
Notices:The availability and coverage of Wi-Fi signal depend on the number, infrastructure and other
objects penetrated by the signal.
Open Wi-fi and to connect to the wireless network
Press home>Menu then touch Settings> WLAN symbol
Slide thewi-fiswitch toactivateWi-Fi.Phonewillautomaticallyscanforavailablewirelessnetworks. ThenalistofWi-
Finetworkwillshowthefounded networknameandsecuritysettings. (opennetworkorWEP WPA/WPA2withpassword).If
youenablethenotificationin Wi-Fisettings,thestatusboxwillshowaniconwhenopenavailablewirelessnetworkfound.
Touch one of the Wi-Fi choices to connect the network. When you choose open network, phone will
connect to it automatically. If you choose WEP WPA/WPA2 with password, you should type the
password first, then touch to connect it.
Table of contents
Other VISUAL Cell Phone manuals


