manuals.online logo
Brands
  1. Home
  2. •
  3. Brands
  4. •
  5. Vmar
  6. •
  7. Toy
  8. •
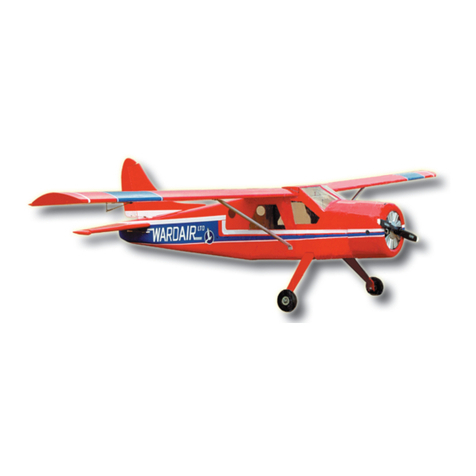
  9. Vmar DEHAVILLAND BEAVER 120 ARF User manual

Vmar DEHAVILLAND BEAVER 120 ARF User manual

Model airplanes, model engines, model engine fuel, propellers and related accessories, tools and equipment can be
hazardous if improperly used. Be cautious and follow all safety recommendations when using your VMAR model
airplane. Keep hands, tools, clothing and all foreign objects well clear of engines when they are operating. Take particu-
lar care to safeguard and protect your eyes and fingers and the eyes and fingers of other persons who may be nearby.
Use only a good quality propeller that has no cracks or flaws. Stay clear of the propeller and stay clear of the plane of
rotation defined by the propeller.
The Manufacturer, Distributor, Retailer and/or other suppliers of this product expressly disclaim any warranties or repre-
sentations, either expressed or implied, including but not limited to implied warranties of fitness for the purposes of
achieving and sustaining remotely controlled flight.
In no event will the Manufacturer, Distributor, Retailer and/or other suppliers of this product have any obligation arising
from contract or tort, or for loss of revenue or profit, or for indirect, special, incidental, consequential or other damages
arising from the use of this product.
In purchasing and/or using this product, the user accepts all responsibility for its use and accepts all liability associated
with such use.
Proceeding with assembly and use of this product indicates
Agreement With and Acceptance of the Liability Disclaimer.
A Remote Control Model Aircraft is not a toy. It is a flying model that functions much like a full size airplane.
If you do not assemble and operate this product properly you can cause injury to yourself and others and
damage property. DO NOT FLY this model if you are not qualified.
You are ultimately responsible for the mechanical, aeronautical and electrical integrity of this model and it's
structure, control surfaces, hinges, linkages, covering, engine, radio, wiring, battery and all other compo-
nents. Check all components before and after each flight. Don't fly until it's right!
CAUTION
IMPORTANT INFORMATION
ABOUT VMAR BEAVER 120 ARF
PLEASE READ THIS BEFORE ASSEMBLY!
#VMA-B190C
TM
TM
V-COTE covering is engineered in Canada & available only from VMAR. V-COTE is a thermally
reactive film that shrinks well with standard hobby heat guns and hobby irons intended for model airplane
covering. We bond the graphic elements to the rugged thermal film using a proprietary process that results
in an economical highly detailed finish without the need for decals, layers, strips or stripes! Best of all, you get the detailing without having
to put in hours and hours of work... we've done it all for you! With VMAR models and V-COTE covering you will spend more time flying
and less time building and detailing! Here are a few tips to make it easy to keep your V-COTE covering looking it's best!
CARE: Avoid puncturing. Avoid leaving your model in a closed car exposed to direct heating from the sun for lengthy periods.
Temperatures under such conditions can exceed 50C (122F) and sagging may occur. V-COTE is resistant to fuels having up to 15%
nitro methane. If you must use higher nitro fuels, avoid spilling raw fuel onto the V-COTE covering and remove fuel residue as soon
as possible using soft paper towels and gentle wiping when doing so. Some color bleeding and deterioration may be experienced
with prolonged exposure to high nitro fuels.
TIGHTENING: To tighten V-COTE we recommend using a medium-high temperature heat gun. Work with the gun set at 250-300F.
Experiment on small areas first to get comfortable with the temperatuee and the process described below.
a) To seal and bond the seams, edges, around perimeters and over solid surfaces use a heat gun set at 250F and a soft cotton
cloth or glove. Heat a small area of the covering and then press the warm covering down firmly with a soft cotton cloth to bond the
covering to the underlying substrate. Avoid hard rubbing side to side while the covering is warm. Higher temperatures may assist with
complex curved surfaces. Avoid using more heat than required to prevent bubbles from forming beneath the covering. Be patient and
work systematically starting with a small out of the way area first to gain experience.
b) To shrink V-COTE over open bays use a medium-high temperature heat gun set at 250-300F. Practise on a single bay on the
bottom of a less noticeable section first. Heat the V-COTE until it is warm and sags slightly then remove the heat and the V-COTE
will shrink tight. Try this repeatedly until the covering over the open bay is tight. Be patient and work systematically. As you gain
experience you will be able to judge better how much heat to apply and for how long. You will likely only have to tighten V-COTE
once or twice to accomodate any shrinkage of the airframe in dry hot conditions.
CLEANING AFTER FLYING: To clean V-COTE after flying we recommend Fantastic household cleaner and disposable paper
towels. You can use other similar cleaners but avoid cleaners with solvents or abrasives. It is a good idea to always test a small out
of the way spot first. Wipe along seams, not across. To really show off your V-COTE covering, after cleaning wtih Fantastic... use a
bit of Armorall and buff dry & shiny.
CLEANING INITIALLY: V-COTE has very few seams and we use our SURE SEAL system to really lock the seams down. Upon
initial inspection if you see a thin streaky film on any of the covering when looked at under bright light this is a residue from the
SURE SEAL process. Use alcohol with a paper towel and wipe the residue away. V-COTE and the graphics detailing are resistant
to alcohol but it is always a good idea to test alcohol or any other cleaner or solvent you are using on a small out of the way area
first! Change towels frequently. If you want to accentuate the gloss of V-COTE even more, use a bit of Armorall and buff shiny with
a clean paper towel. Test the Armoral on a small out of the way area first! Discard all soiled paper towels into a metal garbage can
stored outdoors.
REMOVING & USING TAPE: Tape may been used to hold control surfaces or other parts in place during shipping. When
removing tape from V-COTE, peal the tape back on itself so that the pulling is parallel to the surface of the covering. If the
tape is near or across a seam or an edge, peal towards the edge or seam. Do NOT pull the tape up at right angles to the
covering or away from a seam or edge. If you use tape during the assembly process use a low tack masking tape and
remove it using the procedure noted above.
CARE & MAINTENANCE OF V-COTE COVERING.
TM
RESEALING SEAMS: V-COTE seams are sealed with our SURE SEAL system and will not normally lift. If you find a loose edge,
thoroughly clean any oil residue from the area and the edge and reseal with thin CA.
PATCHING: If you puncture V-COTE, thoroughly clean any oil residue from the area of the puncture. We clean using Fantastic and
a paper towel. Once you have all the oil residue removed, wipe the area again with a fresh clean towel moistened with water or
plain alcohol. The patch should be 1/2" bigger than the hole on all sides. We recommend using the V-COTE patch sheets provided
with your model or after market V-COTE patch material. You can also use polyester covering such as POLYCOTE, ULTRACOTE or
ORACOVER. Monokote or SolarFilm covering material will also work. Cut the patch with rounded corners. Seal the patch in place
with a heat iron set at 250F first and then tighten the patch and the original covering around the patch using a heat gun as outlined
in the tightening section above. To repair larger more extensive damage areas, you may wish to obtain the appropriate V-COTE
covering set for this model.
VMAR and V-COTE are Trademarks of VMAR Manufacturing and authorized
VMAR Agents worldwide.Copyright Richmond RC Supply Ltd
CUTTING: V-COTE is made from a thermally reactive film.
Where possible, use scissors to cut V-COTE. Scissors work well.
Otherwise use a new sharp #11 Blade. The blade must be SHARP.
Check for updates and more
information about V-COTE at
www.richmondrc.com/support.htm
B190C_Important_Info_20021007.pmd
3
ERRORS & OMISSIONS For more information that may be relevant to
this model please visit us at
www.richmondrc.com/support.htm
Copyright Richmond RC Supply Ltd
VMAR is a Trademark of VMAR Manufacturing Inc. and authorized VMAR Agents worldwide
TM PLEASE READ EVERYTHING BEFORE ASSEMBLY!
B190C_Important_Info_20021007.pmd
Related to the First Edition of the Beaver 120 ARF
Assembly and Operations Manual 20010126
Step 2.2 on Page 6 of the Manual is entitled "Dry As-
sembly of the Wing Halves" The final paragraph of Step
2.2 refers to "... the second larger wing spar joiner..
approximately 3/4 x 10-1/4 in."
Add the following...
Step 2.2.1 During flight preparations, it is possible to
install the second larger wing spar joiner incorrectly by
inserting it too far into one wing half and not far enough
into the other wing half. This could lead to wing failure
under load. To prevent incorrect insertion of the second
larger wing spar joiner at a later date, we recommend that
it be epoxied into either the left or right wing half at this
time before beginning Step 2.3. Very carefully mark the
spar joiner at it's mid point and using ONLY 30 MINUTE
EPOXY permanently install the second larger wing spar
joiner. Use plenty of 30 MINUTE EPOXY... do not skimp.
Insert the spar joiner only to the mark you have made at
the centre of the spar joiner. Carefully remove any excess
epoxy that may run out onto the face of the wing root or
onto the exposed portion of the wing spar joiner.
Please note that...
- There are NO aileron wiring extensions included with
the Beaver 120 ARF.
- The cockpit set is now included at now extra charge.
The cockpit set consists of two full body pilots, seats and
a set of fabric cabin liners.
Please see the Assembly Manual for...
Components & Parts Supplied... Page 4
Tools & Shop Materials... Page 5
Assembly Procedure... Page 6-16
Setup Information... Page 17
ASSEMBLY MANUAL INFO
AFTER MARKET PARTS FOR THIS MODEL
If you have damaged or lost something or had what we call an "uncontrolled flight" into terrain and pranged your model,
don't panic! We can probably help! Visit our web site at www.richmondrc.com and check out the VMAR On-Line store for
a full listing of replacement parts or contact us by email at [email protected].
4
HINTS & TIPS For more information that may be relevant to
this model please visit us at
www.richmondrc.com/support.htm
OUR CONTROL HORNS are unique. They do not look
like most of the control horns you have seen before and
you may think they are missing. They are in the control
horn parts bag inside the master bag of hardware and
consist of a metal bolt, metal nut, beveled white plastic
washer, a white plastic T-nut and the white plastic
control horn itself that connects to a clevis or rod.
Control Horn Set Before Installation. Note 5 parts
make up the set.
Control Horn Set
Partially Installed
Control Horn Set Fully
Installed.
Note that the metal nut has
been tightened down snugly
against the top of the T-Nut as
a safety lock. Then the plastic
control horn is threaded on to
the metal bolt as shown.
Note that the bevelled washer
has the bevel side facing the
control surface and the flat
side against the head of the
metal bolt.
PLASTIC
T- NUT
BEVELLED
WASHER
METAL
BOLT
PLASTIC CONTROL
HORN METAL
BOLT
PLASTIC
T-NUT
FRONT
METAL
NUT
B190C_Important_Info_20021007.pmd
Copyright Richmond RC Supply Ltd
VMAR is a Trademark of VMAR Manufacturing Inc. and authorized VMAR Agents worldwide
TM PLEASE READ EVERYTHING BEFORE ASSEMBLY!
DeHAVILLAND
BEAVER 120 ARF
WING STRUTS MUST BE USED
Do NOT fly the Beaver 120 ARF without in-
stalling and properly connecting the wing
struts to the underside of the wing and the
side of the fuselage.
Make sure all screws are well attached, repair any
stripped holes or poorly fitting screws before
flying.
We strongly suggest wicking medium thick
CA such as PACER ZAP-A-GAP or VCA+ into
the strut screw holes initially to harden the
wood and periodically thereafter to ensure
that the wood around the screw holes does
not strip or soften with repeated use.
The wing struts are ESSENTIAL for the safe
operation of the Beaver 120 ARF.
We have had one report of an attempt to fly the
Beaver 120ARF without the wing struts. The
wing failed in flight and the entire model was lost.
Do NOT fly the Beaver 120 ARF without installing
and properly connecting the wing struts.
If the wing struts are not properly installed
using all screws properly threaded into the
attachment points, the Beaver 120 ARF wing
WILL FAIL IN FLIGHT!

Other manuals for DEHAVILLAND BEAVER 120 ARF

1

This manual suits for next models

1

Other Vmar Toy manuals

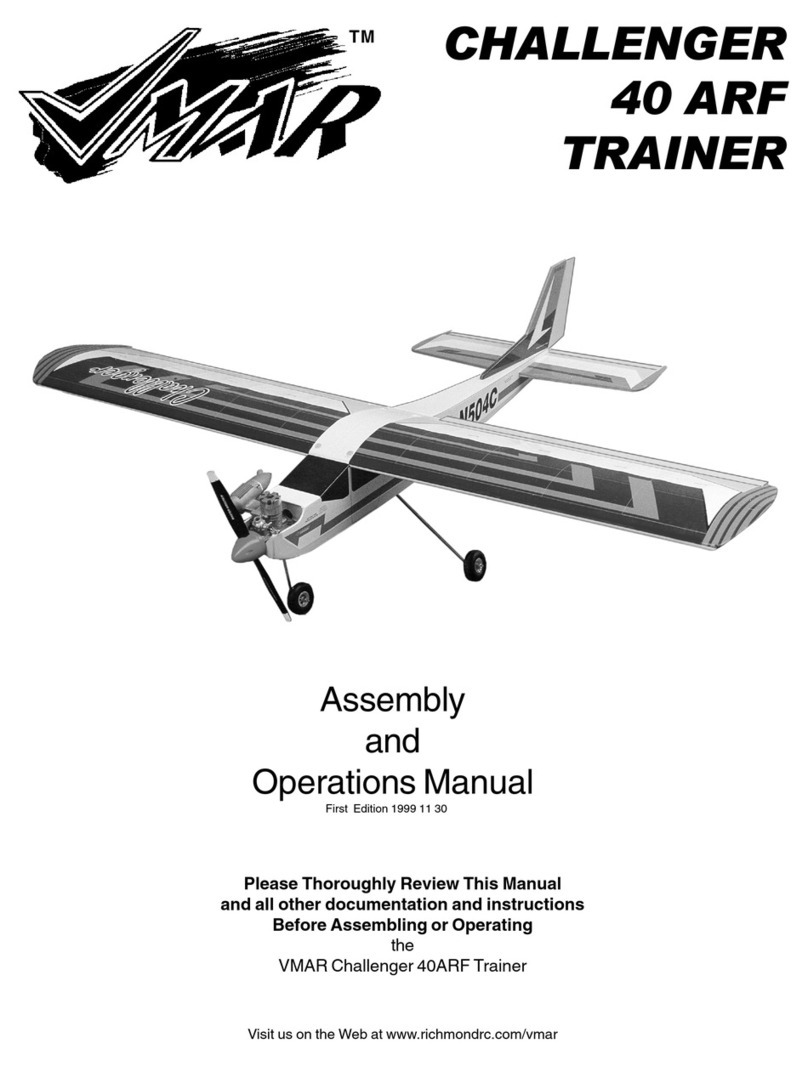
Vmar EASY 3D FUN Sport Installation and operating instructions

Vmar

Vmar EASY 3D FUN Sport Installation and operating instructions

Vmar AERO SUBARU Supplement

Vmar

Vmar AERO SUBARU Supplement

Vmar Challenger 40ARF Trainer Installation and operating instructions

Vmar

Vmar Challenger 40ARF Trainer Installation and operating instructions

Vmar PILATUS PC6B Operating manual

Vmar

Vmar PILATUS PC6B Operating manual

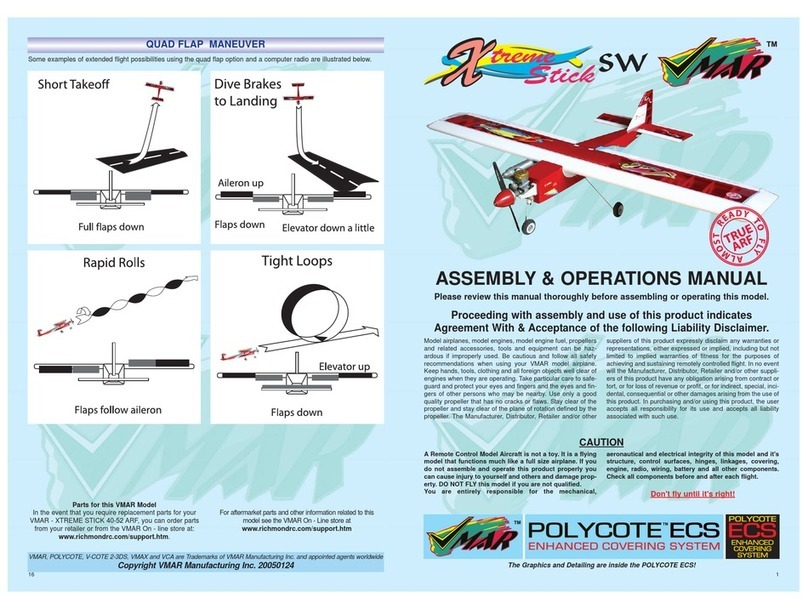
Vmar Xtreme Stick SW Installation and operating instructions

Vmar

Vmar Xtreme Stick SW Installation and operating instructions

Vmar Polycote ECS DHC 6 TWIN OTTER Supplement

Vmar

Vmar Polycote ECS DHC 6 TWIN OTTER Supplement

Vmar EDGE - 540T Installation and operating instructions

Vmar

Vmar EDGE - 540T Installation and operating instructions

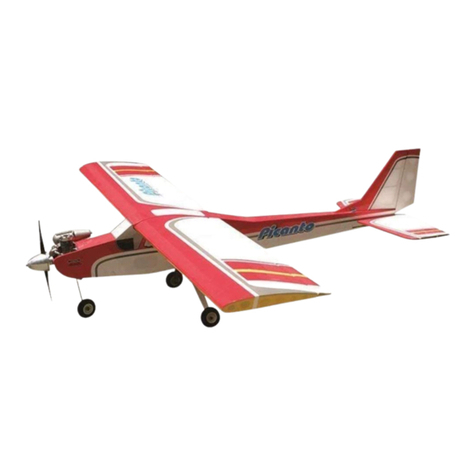
Vmar Picanto Series User manual

Vmar

Vmar Picanto Series User manual

Vmar Nouvo 1300 EP User manual

Vmar

Vmar Nouvo 1300 EP User manual

Vmar DEHAVILLAND BEAVER 120 ARF Installation and operating instructions

Vmar

Vmar DEHAVILLAND BEAVER 120 ARF Installation and operating instructions

Vmar VSTICK PNP EP User manual

Vmar

Vmar VSTICK PNP EP User manual

Vmar F5E Tiger II Supplement

Vmar

Vmar F5E Tiger II Supplement

Vmar J3 Piper Cub L4 1375 EP User manual

Vmar

Vmar J3 Piper Cub L4 1375 EP User manual

Vmar JODEL DR400-180 REGENT Installation and operating instructions

Vmar

Vmar JODEL DR400-180 REGENT Installation and operating instructions

Vmar Stinger Installation and operating instructions

Vmar

Vmar Stinger Installation and operating instructions

Vmar EXTRA-330L Installation and operating instructions

Vmar

Vmar EXTRA-330L Installation and operating instructions

Vmar ARROW-Tiger User manual

Vmar

Vmar ARROW-Tiger User manual

Vmar POLYCOTE ECS P51 D MUSTANG EP Supplement

Vmar

Vmar POLYCOTE ECS P51 D MUSTANG EP Supplement

Vmar CESSNA L-19 BIRD DOG User manual

Vmar

Vmar CESSNA L-19 BIRD DOG User manual

Vmar Piper J3 Cub 2000 Giant Scale ARF User manual

Vmar

Vmar Piper J3 Cub 2000 Giant Scale ARF User manual

Vmar CESSNA L-19 BIRD DOG Supplement

Vmar

Vmar CESSNA L-19 BIRD DOG Supplement

Vmar VSTICK 60 User manual

Vmar

Vmar VSTICK 60 User manual

Vmar JODEL DR400 - 180 Installation and operating instructions

Vmar

Vmar JODEL DR400 - 180 Installation and operating instructions

Vmar J3.PIPER GUB Supplement

Vmar

Vmar J3.PIPER GUB Supplement

Popular Toy manuals by other brands

The Learning Journey Techno Gears Marble Mania Slingshot instruction manual

The Learning Journey

The Learning Journey Techno Gears Marble Mania Slingshot instruction manual

Mega Bloks MARVEL SPIDER-MAN 3 Sandman Bank Heist 2004 instruction manual

Mega Bloks

Mega Bloks MARVEL SPIDER-MAN 3 Sandman Bank Heist 2004 instruction manual

Horizon Hobby E-flite Commander mPd EFL4875 instruction manual

Horizon Hobby

Horizon Hobby E-flite Commander mPd EFL4875 instruction manual

Joy Automatic JT-188 owner's manual

Joy Automatic

Joy Automatic JT-188 owner's manual

Eduard BRASSIN P-51D wheels block tread manual

Eduard

Eduard BRASSIN P-51D wheels block tread manual

Pichler Douglas DC-3 instruction manual

Pichler

Pichler Douglas DC-3 instruction manual

Badger Basket 14951 Assembly instructions

Badger Basket

Badger Basket 14951 Assembly instructions

Hasbro NERF GLOWSTRIKE IMPERIAL DEATH TROOPER quick start guide

Hasbro

Hasbro NERF GLOWSTRIKE IMPERIAL DEATH TROOPER quick start guide

Top Flite Elder Biplane RC-37 instruction manual

Top Flite

Top Flite Elder Biplane RC-37 instruction manual

Eduard J-29F Tunnan Assembly instructions

Eduard

Eduard J-29F Tunnan Assembly instructions

marklin Baureihe 61 user manual

marklin

marklin Baureihe 61 user manual

Hasbro Electronic Launchin' Solar Surfer 3906 instruction manual

Hasbro

Hasbro Electronic Launchin' Solar Surfer 3906 instruction manual

Mattel Barbie CCL74 instructions

Mattel

Mattel Barbie CCL74 instructions

Eduard Challenger II manual

Eduard

Eduard Challenger II manual

Eduard RF-101C interior quick start guide

Eduard

Eduard RF-101C interior quick start guide

GAUGEMASTER Fordhampton Level Crossing quick start guide

GAUGEMASTER

GAUGEMASTER Fordhampton Level Crossing quick start guide

Lenoxx 90403B instruction manual

Lenoxx

Lenoxx 90403B instruction manual

LEGO 9466 manual

LEGO

LEGO 9466 manual

manuals.online logo
manuals.online logoBrands
  • About & Mission
  • Contact us
  • Privacy Policy
  • Terms and Conditions

Copyright 2025 Manuals.Online. All Rights Reserved.