512
5J- Insert the horizontal stabilizer into
the slot.
Step 5.2 Mark the outline of the vertical stabilizer onto the horizontal stabilizer
using a non-permanent felt tip marker. See 5D & 5E..
Step 5.3 Now remove the horizontal stabilizer. Using a sharp knife & ruler CARE-
FULLY cut just 1/16 (1.5 mm) inside the marked lines (see 5F) and remove the
covering on both sides of the horizontal stabilizer (see 5G), , making sure you only
press hard enough to cut the covering, not the horizontal stabilizer.
USE CA TO FILL AND REPAIR ANY CUT MARKS IN THE WOOD.
Step 5.4 Apply sufficient 30 minute epoxy to the exposed wood areas on the top
and bottom of the horizontal stabilizer and into the slot of the vertical stabilizer. Use
only 30 minute epoxy. See 5H and 5I
Step 5.5 Insert the horizontal stabilizer in its slot in the vertical stabilizer and re-
check the alignment as in step 5.1. See 5M
Step 5.6 Clean off any excess epoxy with a rag or tissue before it cures. See 5K.
Step 5.7 After the epoxy has completely cured, install the rudder to the vertical
stablizer using the hinges supplied. Glue hinges into place using thin CA. See 5L.
WE RECOMMEND PINNING HINGES TO LOCK THE HINGES INTO PLACE.
5D- Mark the outline of the vertical
stabilizer onto the horizontal stabiliz-
er.
INSTALLING THE LANDING GEAR
STAGE
6
5E- Mark both sides of the vertical sta-
bilizer 5F- Carefully cut through the cover-
ing. Do NOT cut the wood
5H- Apply sufficient 30 minute epoxy
to the exposed wood areas on the top
and bottom of the horizontal stabiliz-
er.
90o
5K- Clean off any excess epoxy
with a rag or tissue before it cures. 5M- 90 degree angle between the
horizontal and vertical stabs
5L- Install the rudder using the
hinges supplied. Glue hinges with
thin CA.
5G- Remove the covering from
both sides.
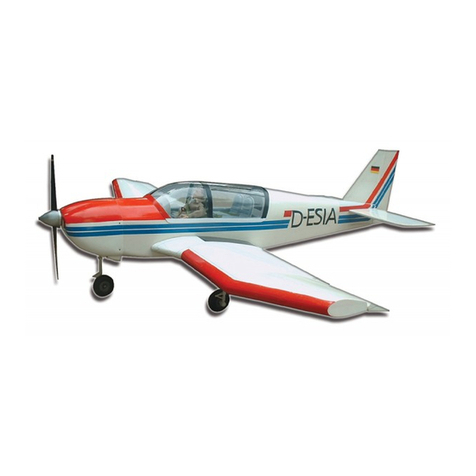
The DHC 6 Twin Otter has a trike gear configuration using main landing gear and steerable nose gear.
CONFIRM RADIO OPERATION
STAGE
17
BALANCING THE AIRCRAFT
STAGE
18
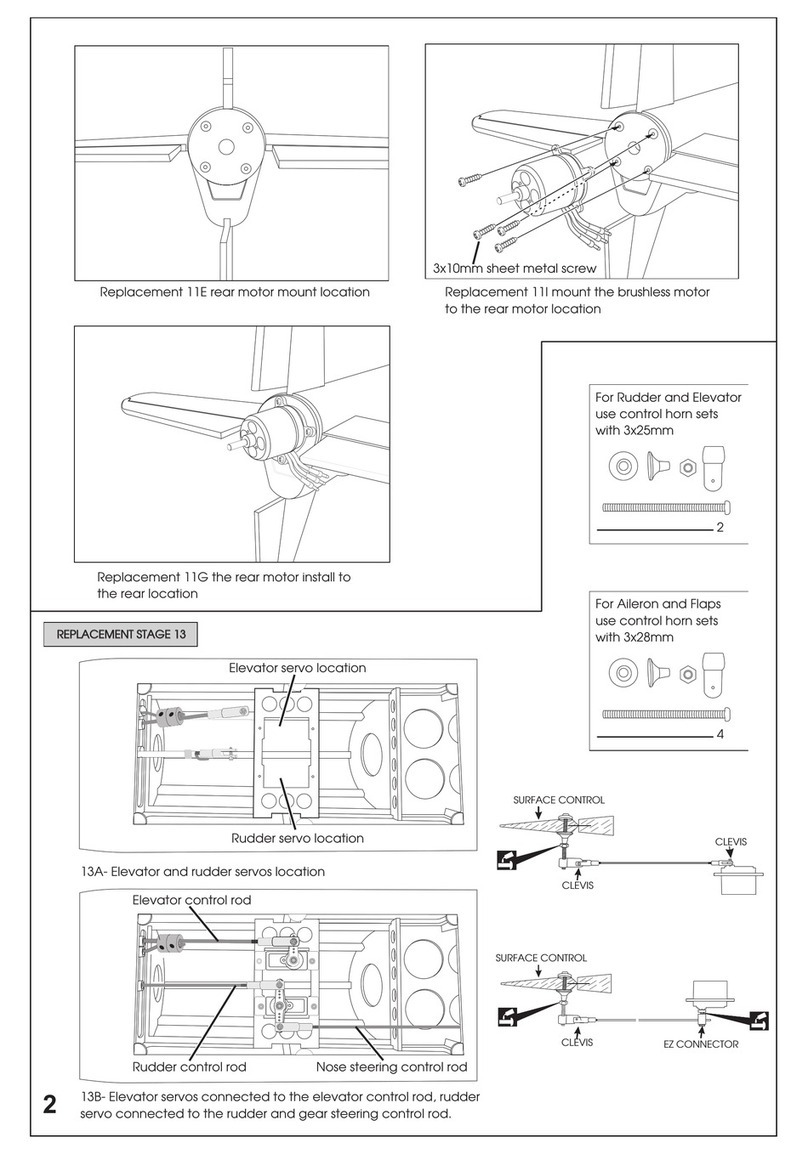
Carefully review how your Electronic Speed Controls (ESC)
work. Most ESC's will not power up a motor until the throt-
tle has been reduced to zero. Avoid both props in case
either or both of the two motors suddenly start to turn.
Step 17.1 Consult your radio manual for instructions about
testing and operating your radio system.
Step 17.2 Pay particular attention to charging your batter-
ies and range testing your system before and after each
flight.
Step 17.3 Check that all controls are working correctly
before and after each flight.
FOR ELECTRIC POWER, YOU WILL NEED TO INSTALL
THE FUSE AND YOUR BATTERY TO TEST THE ESC'S
AND THE MOTORS.
Step 18.1 The CG for your DHC6 Twin Otter is located at
2“ to 2-1/8" (50 - 55 mm) back from the leading edge of the
wing when the wing has been attached to the fuselage as
per illustration 19A.
Step 18.2 For the initial flight, the CG should be located at
2” (50mm) back from the leading edge of the wing when the
wing has been attached to the fuselage.
Step 18.3 The CG is measured with the motor, battery and
all other components installed.
Step 18.4 Set up the CG as it will be when you fly it.
Step 18.5 It is very important to have the CG correct. Flying
your model with the CG too far back will likely lead to loss
of control and a crash. If you discover that after you have
assembled your model and installed your radio, motor and
battery that the CG of your model is incorrect you must
bring the CG to the correct location by doing the following
BEFORE FLYING :
- Move the battery pack fore or aft
- Do not add weight to correct the CG. Move components &
especially your battery pack rather than add weight. Only
add weight as a measure of last resort.
CONFIRM MECHANICAL INTEGRITY
STAGE
19
Step 19.1 Once you have confirmed that the CG is correct,
you should do a thorough review of the entire model before
your first flight. Check everything twice! Every hook up,
every coupling, everything! Do it twice!!
Step 19.2 Before your first flight, have an experienced flyer
review your work. Do not fly your model until it has been
checked out by a third party who knows how to fly and how
to set up a model aircraft. Do not fly alone. Seek experi-
enced help.
Step19.3 Once you have completed your first flight, get in the
habit of checking your model over before and after each flight!
Don’t fly if you find something that is not right!
CONTROL SURFACE THROW SPECIFICATIONS:
The throws are measured at the widest part of the control
surface. Adjust the position of the pushrods at the control
and/or servo horns to control the amount of throw. You may
also use ATV's if you radio has them but the mechanical
linkages should still be set so that theATV's are near 100%
for best servo resolution.
Low rate High rate
ELEVATOR 1/6 “ (4mm) up 1/4” (6 mm) up
1/6 “ (4mm) down 1/4” (6 mm) down
AILERON 1/6” (4 mm) up 1/4” (6 mm) up
1/6” (4 mm) down 1/4” (6 mm) down
RUDDER 1/3 “ (8 mm) right 2/5” (10 mm) right
1/3 “ (8 mm) left 2/5” (10 mm) left
19A- CG location
55mm
50mm
5I- Apply sufficient 30 minute epoxy
into the slot of the vertical stabilizer.


