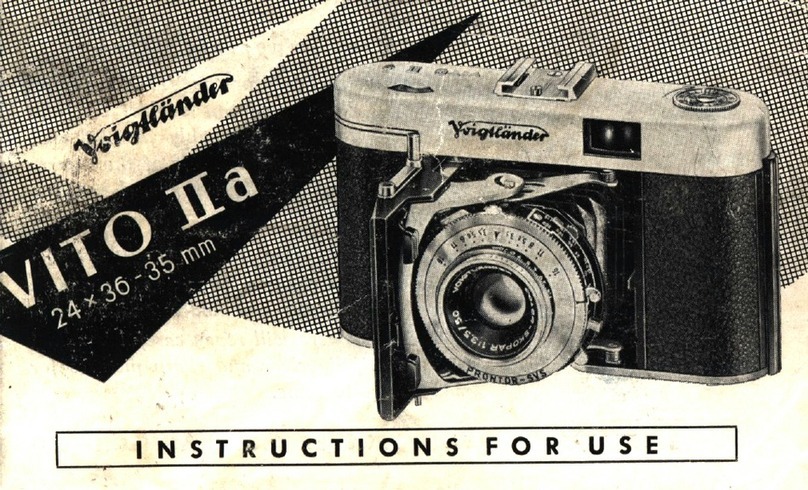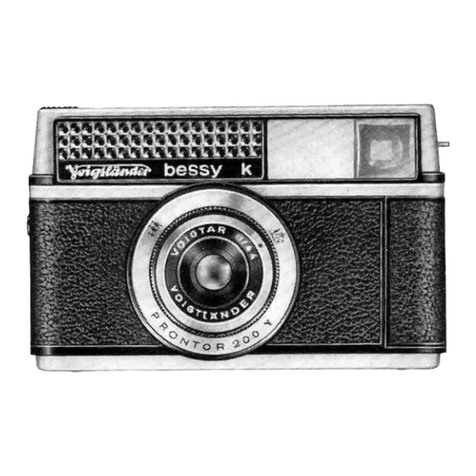
The built-in Lightmeter
makesit easierfor you to get the correctaperture
for whatevershutter-speedis used.
Instructions:
Move scale, by pushing
the milled
square (e), to either left or right until the film-
speed(for instance
1B
DIN or 50ASA) appearsin
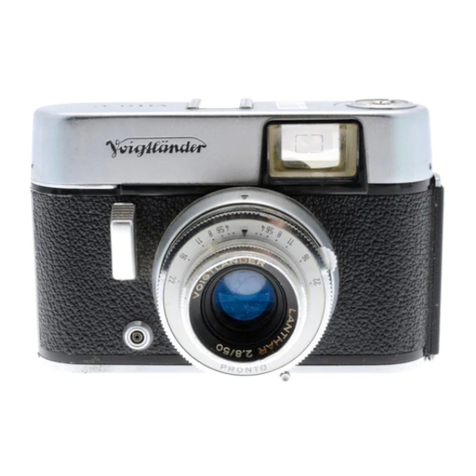
eitherwindow (d) or (f).Now focus on the subject
and turn the setting ring (b) until the two pointers
in the lightmeterwindow (a) precisely
cover each
other. Now you can read off any combinationof
shutter-speed-aperture
(c) and transmit
both
to the
settingringson the lens
barrel.
Shutter-speed setting
Turn
shutter-speedringto the selected
speed.
The
correct speed 1/soo,1/'tzs,1/ao,
1/to
will then be pro-
perly set off in the shutter mechanism
when the
shutteris released.
On "8" settingthe shutterwill stay openas long
as the releaseis kept depressed.
Forthis purpose
the camerahas to be put on a tripod and a cable
release
has to be used (12).
Setting the aperture
Turn aperture ring (4) by using the two black
handles
andset the selected
lens
openingopposite
the indexmarking.
Setting the distance
In the centre of the crystal-frame
finder you can
see the brightcircularfield of the coupledrange-
finder. As long as the subject is not correctly
focused,the latter appearswith double image in
the rangefinderfield.
Turn focusing
(1) until the double outlines
fuse
into one image. Now the camera is set for the
correct distance.
Of course, you can also use the footage scale
or the red snapshot markings for focusing:
O (4112
feet) = Portraits, V (11 feet) = GrouP,
O (33feet or more) : landscapes.
The crystal-frame inside the viewfinder
outlinesclearlyin life-size
thepictureyou
will get.
On short subject distancethe two small lines
within the finder witl indicatethe limitationsof
the picture area - between 3 and 7 feet either
horizontally
or vertically.
The Rapid-wind
Always turn one full swing, thus cocking the
shutter,transportingthe film, and advancing
the
frame-counter.There is also an automatic
double-
ex.posure
prevention
in connection
with the shutter
release.
i+:E
