INSTALLATION
The unit is fitted with Rubber feet for benchtop mounting, Or you can fit the supplied side brackets for
Under bench applications.
1. This power supply is designed for indoor use only. Place or mount the unit in a well ventilated location and
allow at least 50mm (2 in.) space on both sides and the back to allow sufficient fan cooling.
2. Check for the correct input AC voltage with the rating label on the power supply
3. Turn on the power supply for a few minutes, the power switch (1) should be lit and the indicator (2) should be in
green.
4. Turn off the power supply and connect the equipment with correct polarity.
5. Turn on the power supply first, then turn on the equipment.
6. When the operation is finished, turn off the equipment first, then turn off the power supply.
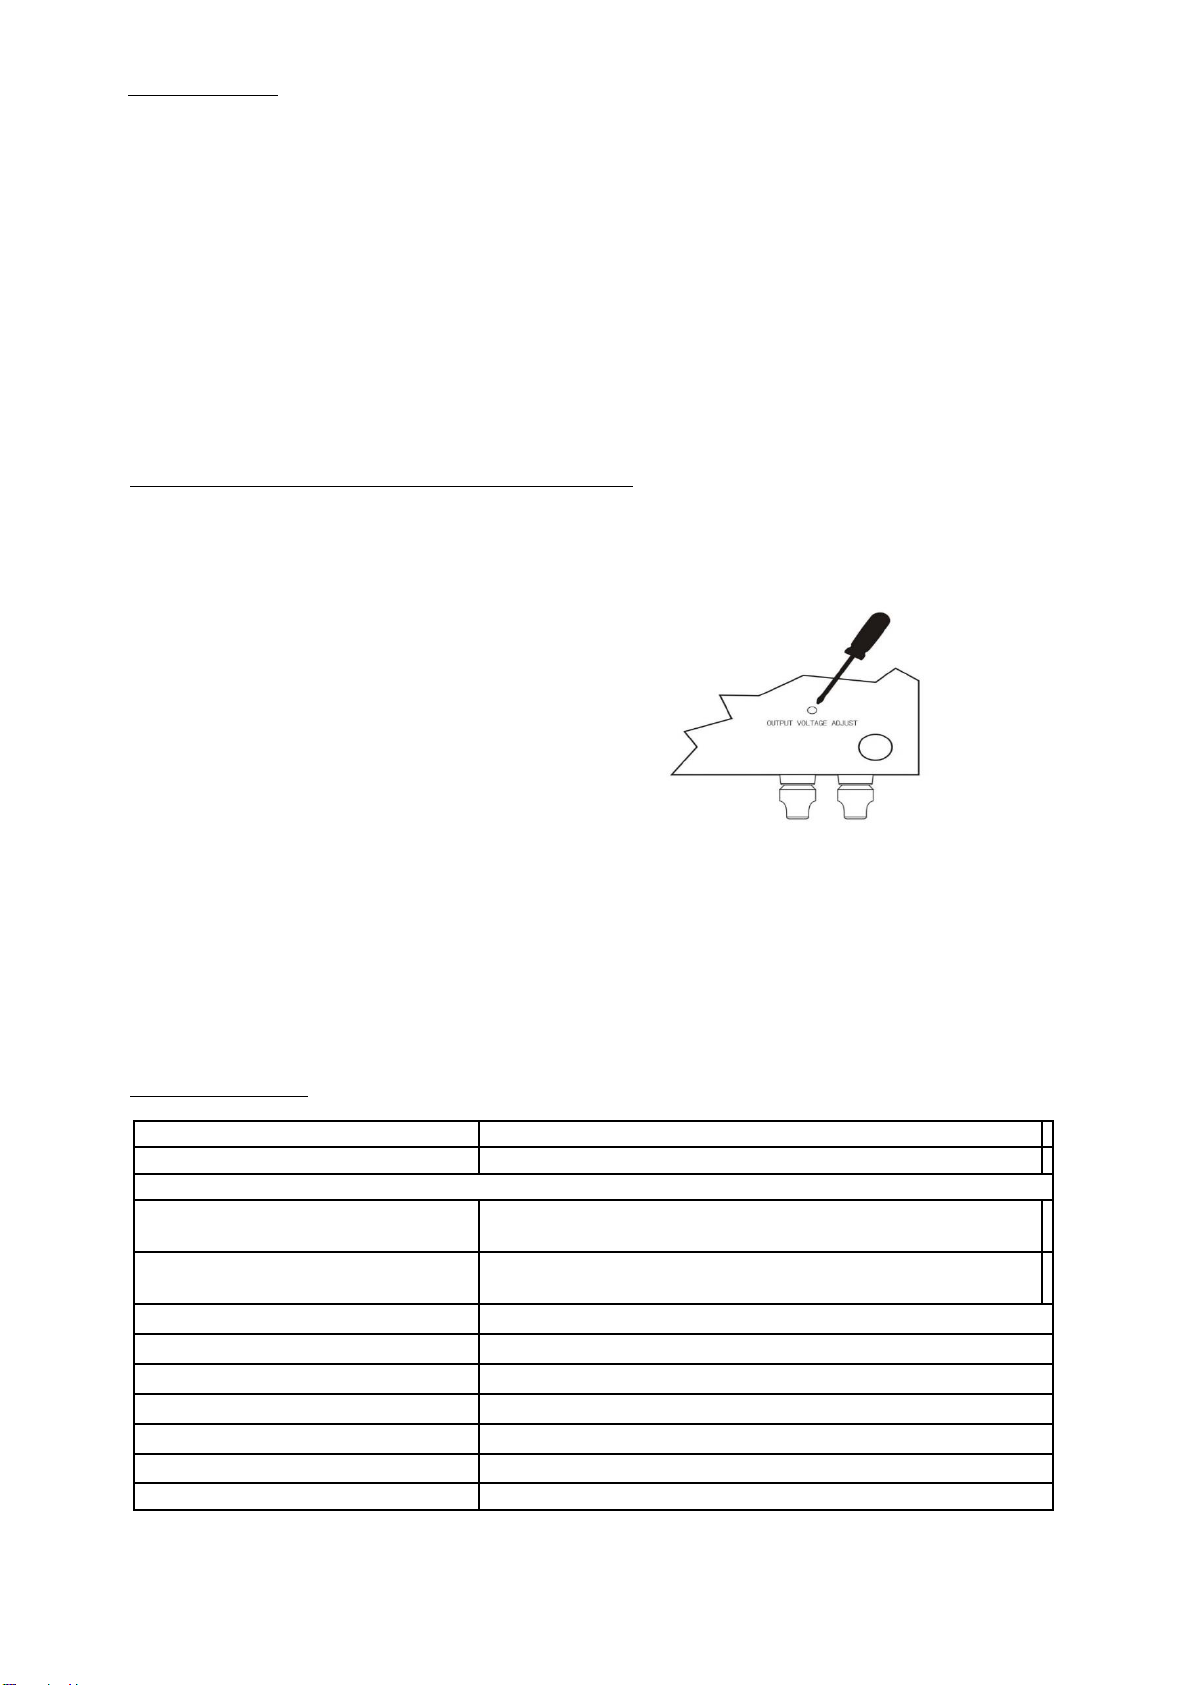
FINE TUNING THE OUTPUT VOLTAGE (13.3 ~14.5V)
This regulated power supply has been factory preset at 13.8VDC
output. However, If you need to alter the Preset Voltage,
Please refer to the following procedure.
Bottom View
Fig.1
1. Let the power supply warm up for about 15 min.
2. Turn the power supply over with the bottom up and connect a digital multi-meter (DMM) with at least 2 decimal
read out to the main output terminal (4).
3. Locate the fine tune access hole (8) on the bottom as shown in Fig.1.
4. Insert a slim flat head screw driver to get to the trimmer as shown in Fig.1.
5. Carefully and slowly turn the screw driver clockwise or anti-clockwise while keeping an eye on the DMM for your
desired voltage setting.
6. Measure again the output voltage to re-confirm your new setting after returning the power supply to its normal
operation position.
SPECIFICATIONS
OUTPUT VOLTAGE:
Preset (Fixed) 13.8Vdc +/-0.5V
Main Output Posts (rear):
Front Socket:
23A Continuous, 25A Max. (1 min. 50% duty cycle)
10A Continuous, 10A Max.
FUSE RATINGS; Ac Input Fuse:
Dc Output:
Forced air cooling by variable speed cooling fan
Rev1.0 07/15 www.electroparts.com.au


